
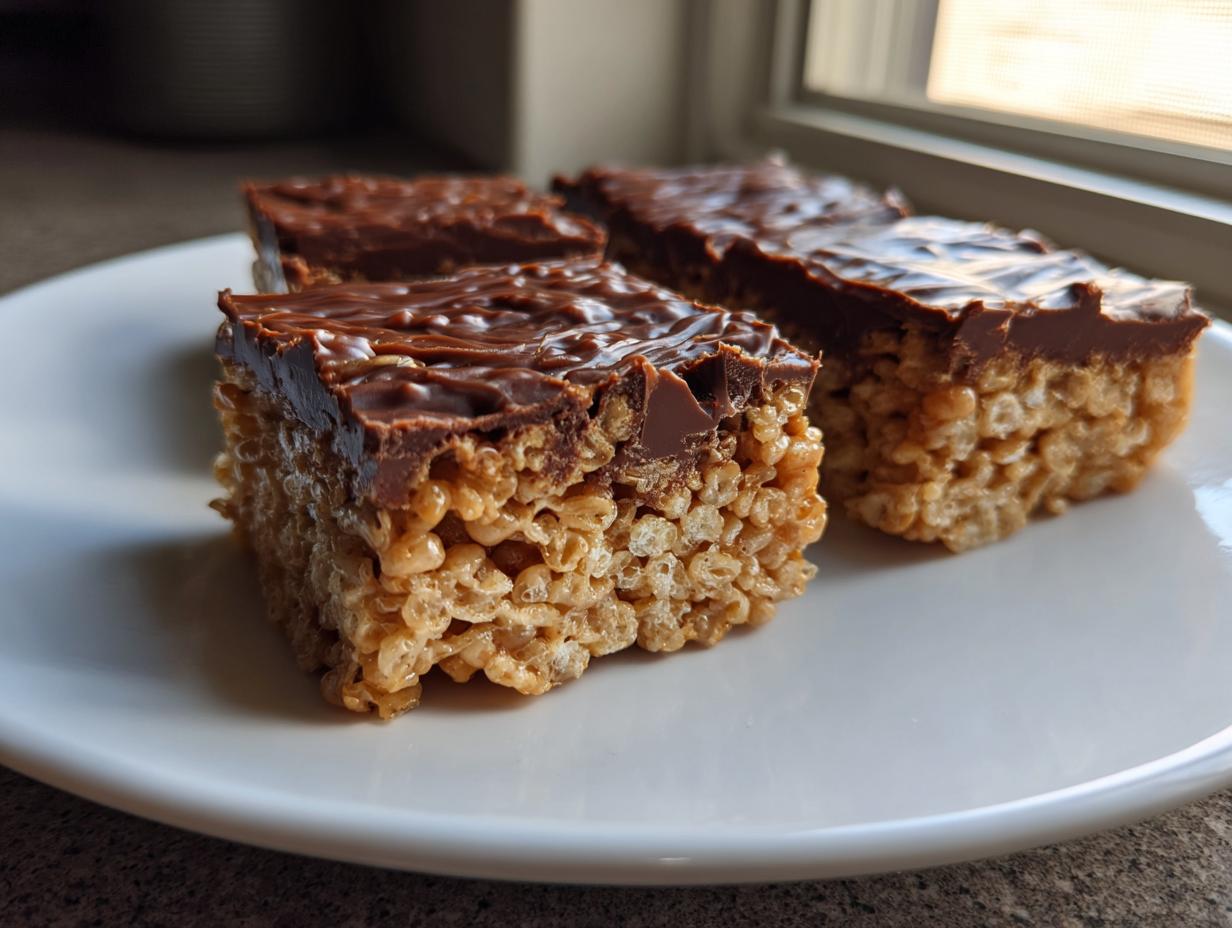
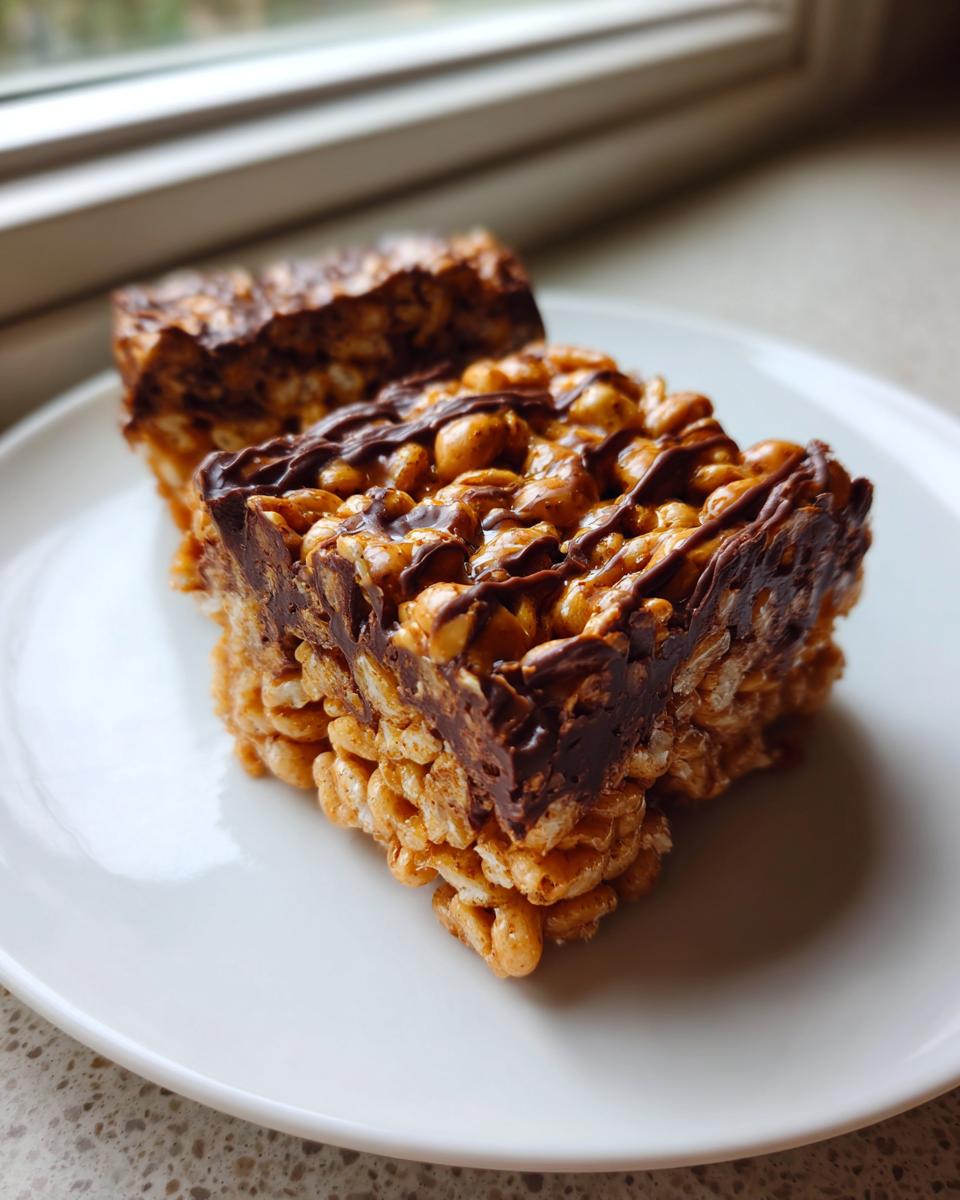
Oh, how I love a snack that instantly whisks me back to childhood! If you’re anything like me, those simple, no-bake treats hold such a special place in your heart. Forget those hard, crumbly squares you sometimes get; we are taking that memory and perfecting it today with the most unbelievably soft and chewy peanut butter rice krispie treats you’ll ever make. This version, featuring a decadent chocolate swirl, is my go-to recipe when I need something fast and deeply satisfying. Here at HearthBite, Sarah Miller is obsessed with making sure every recipe is delightfully reliable, and these bars are proof that the classics, when done right, are truly unbeatable. They come together so quickly, and the flavor payoff is huge! If you love peanut butter comfort food, you absolutely have to check out my classic soft and chewy peanut butter cookies recipe, too.
- Why This Chocolate Swirl peanut butter rice krispie treats Recipe Stands Out
- Gathering Ingredients for peanut butter rice krispie treats
- Step-by-Step Instructions for Easy No Bake peanut butter rice krispie treats
- Tips for Perfect Chewy peanut butter rice krispie treats Every Time
- Variations on Classic peanut butter rice krispie treats
- Storage and Making Ahead peanut butter rice krispie treats
- Frequently Asked Questions About peanut butter rice krispie treats
- Estimated Nutrition Facts for these peanut butter rice krispie treats
- Share Your Favorite Nostalgic Snacks
Why This Chocolate Swirl peanut butter rice krispie treats Recipe Stands Out
Honestly, what’s not to love here? We’re talking about one of the best Easy No Bake Desserts you can pull together. If you need something amazing in about 15 minutes of actual work time, this is it! We skip the fuss but keep all the flavor of those wonderful, Gooey Rice Krispie Bars we remember from childhood. The chocolate swirl isn’t just pretty; it adds that extra layer of nutty sweetness that makes these Peanut Butter Cereal Bars truly addictive.
Achieving the Perfect Soft and Chewy peanut butter rice krispie treats Texture
The secret to making these bars shatter-proof and perfectly tender lies in two simple things. First, never, ever let your marshmallows boil or cook for too long once melted. As soon as they’re smooth, they come off the heat! Second, when you press the mixture into the pan, be gentle. A feather-light touch is all you need. If you pack it down hard, you invite hardness and crumbling later. A light press ensures you get that beautiful, chewy bite every single time. If you love chewy sweets, you should definitely check out my recipe for soft and chewy sea salt caramels; the same low-and-slow philosophy applies!
Gathering Ingredients for peanut butter rice krispie treats
Gathering our supplies couldn’t be easier, which is why these are such amazing Easy No Bake Desserts! We use basic pantry staples combined with creamy peanut butter to create these incredible Peanut Butter Marshmallow Bars. You probably have most of this already. My biggest tip here is to make sure your peanut butter is smooth and creamy, not the crumbly natural kind that separates—that’s the key to maximum gooeyness!
Ingredients for the Chewy peanut butter rice krispie treats Base
- 6 cups crispy rice cereal
- 1 cup creamy peanut butter
- 1 cup (2 sticks) unsalted butter
- 1 package (10 oz) marshmallows (remember: fresh is best!)
- 1 teaspoon vanilla extract
- 1/2 teaspoon salt
Ingredients for the Chocolate Swirl Topping
- 1 cup semi-sweet chocolate chips
- 1/4 cup creamy peanut butter (yep, we need a little more for the swirl!)
If you’re feeling adventurous and want to make your own binder, you should totally check out how I make easy homemade marshmallows sometime. But for this recipe, the store-bought help us keep it speedy!
Step-by-Step Instructions for Easy No Bake peanut butter rice krispie treats
This is where the magic happens, and honestly, it’s so fast you’ll wonder why you hadn’t made these Easy No Bake Desserts sooner! Just be ready to move quickly once those marshmallows are melted; this recipe likes to work fast, but we want to keep everything light and gooey, not stiff!
Preparing the Pan and Melting the Base
First things first, get your 9×13 inch pan ready. I always skip the butter-and-flour routine and just line mine with parchment paper, leaving big overhangs on the sides. Trust me, lifting them out later is a game-changer! Now, grab your biggest saucepan and set it over medium heat. We melt the butter down first. Once it’s lovely and liquid, toss in the whole bag of marshmallows. Stir constantly, always stirring, until the mixture is completely melted and looks like glossy, white lava. The absolute key here is to pull that pan right off the burner before you add anything else. Heat is the enemy of chewiness later on!
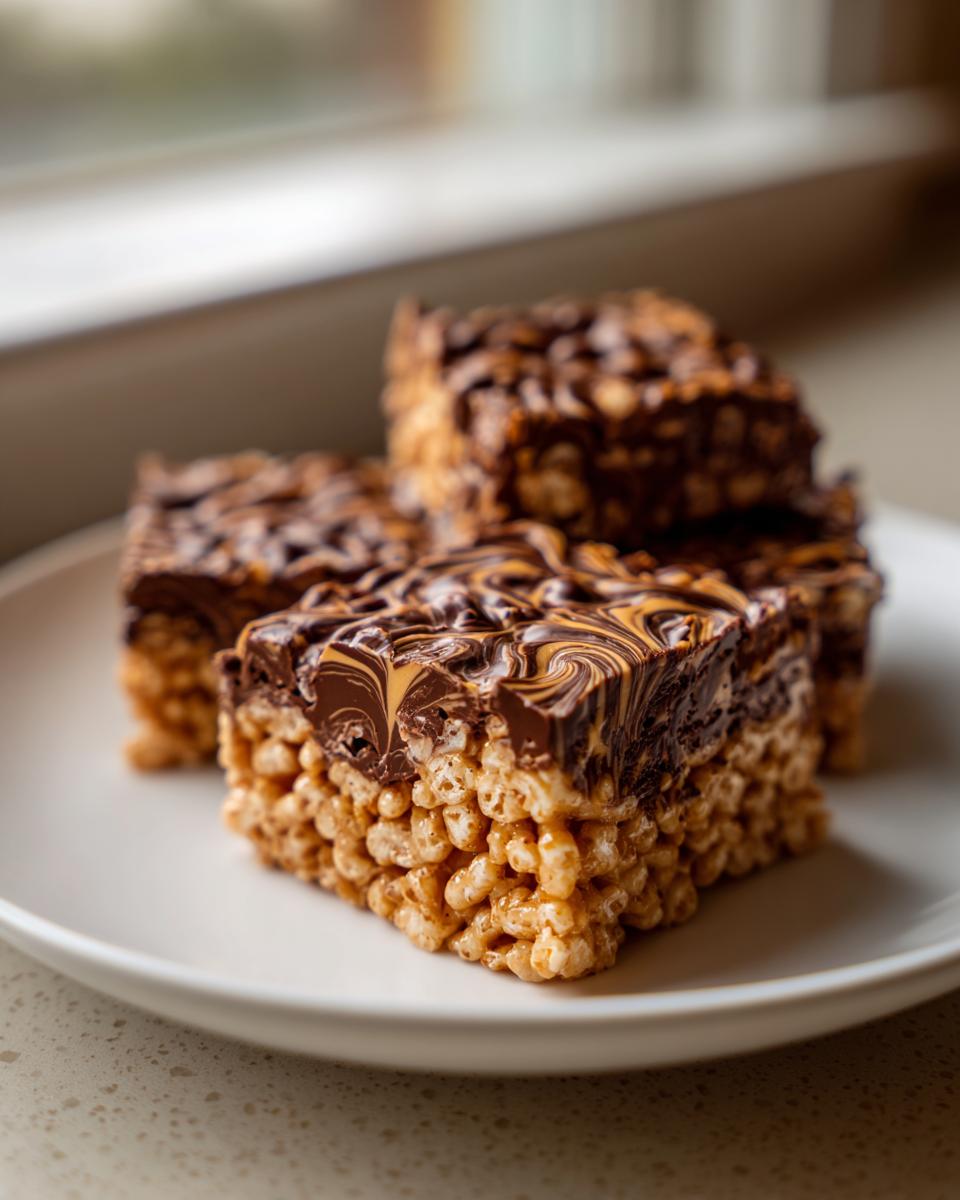
Mixing the Cereal and Pressing the peanut butter rice krispie treats
Right after it’s off the heat, stir in that whole cup of creamy peanut butter, vanilla, and salt mixture until it’s totally slick and combined. It will look thick, but hang in there! Now, gently fold in your 6 cups of crispy rice cereal. Use a spatula and *fold*, don’t mash. We want that light, airy texture. Once the cereal is just coated—and I mean just coated—pour it into your prepared pan. Remember that light touch I mentioned? Use a piece of wax paper placed directly on top of the mixture and press down very gently, just enough to even it out. This ensures you get those fantastic No Crumble Rice Krispie Treats everyone loves.
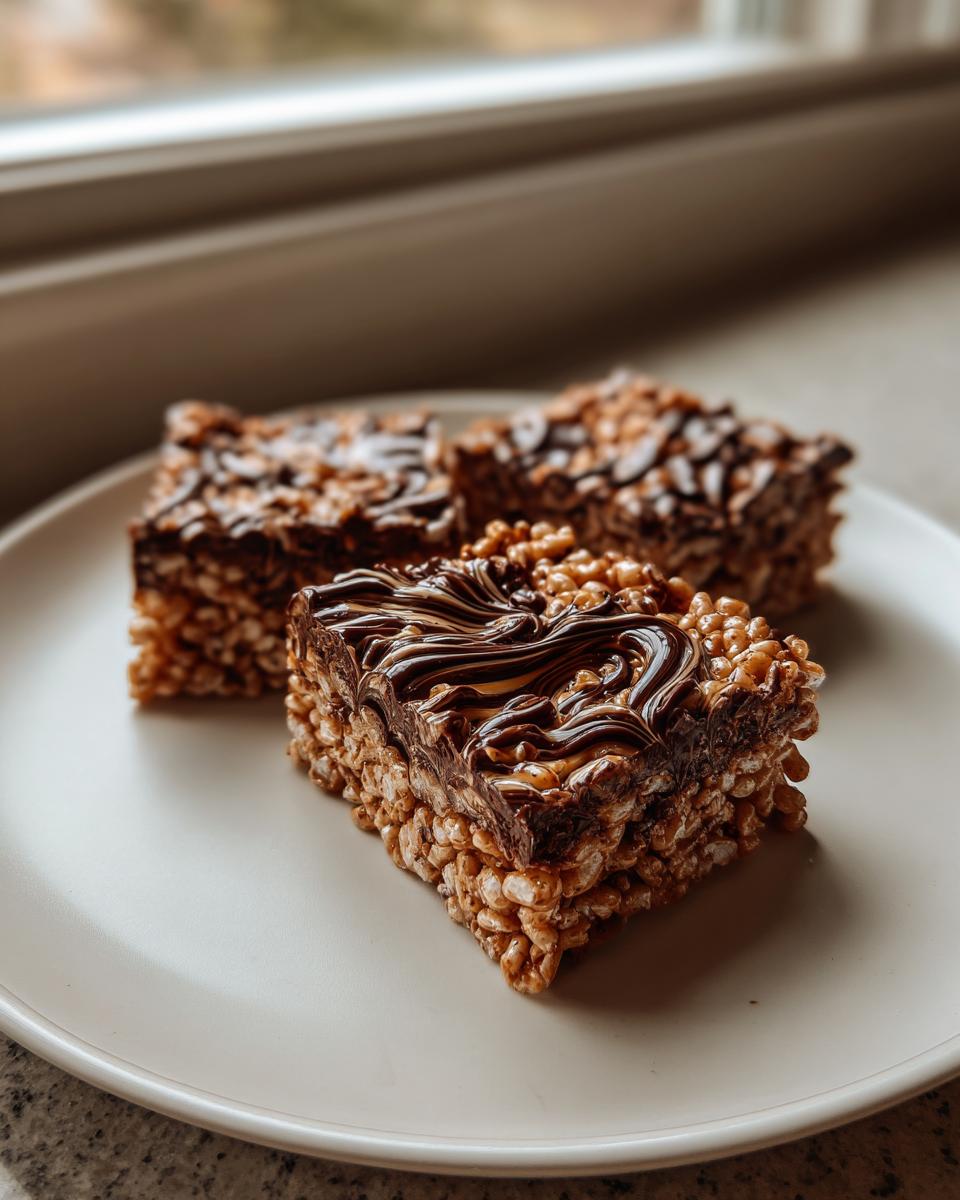
Creating and Swirling the Chocolate Peanut Butter Krispie Bars Topping
While the base is cooling just a tiny bit, we whip up the gorgeous topping. Combine the chocolate chips and that last 1/4 cup of peanut butter in a bowl safe for the microwave. Pop it in for 30-second bursts, stirring well in between, until it’s shiny and smooth. Pour this decadent chocolate peanut butter mixture right over the top of the base. Take a knife or offset spatula and gently drag it through the chocolate to create those beautiful swirls—don’t overdo it! If you’re going for the classic alternative, this is where you would melt your butterscotch chips instead for a true Scotcheroos Recipe style.
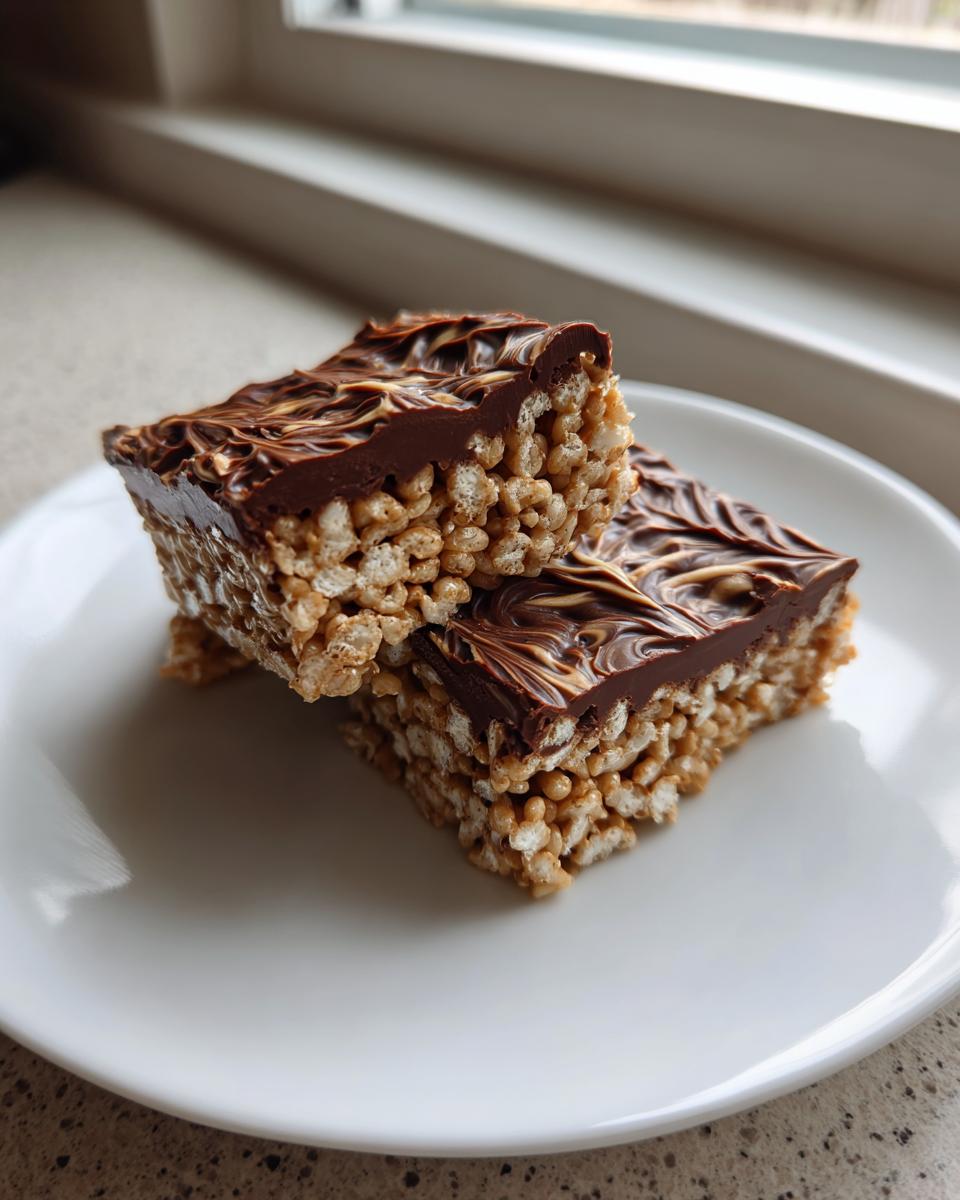
Setting and Serving Your peanut butter rice krispie treats
We’re almost there! Let these beauties set up completely. I usually let mine sit on the counter at room temperature for about an hour. You can speed this up by popping them in the fridge for about 20 minutes, but I find letting them cool slowly keeps the texture softer. Once they are firm enough to slice clean, use those parchment paper slings to lift the whole slab out onto a cutting board. Then, slice them into perfect squares! Enjoy these amazing quick dessert for parties!
Tips for Perfect Chewy peanut butter rice krispie treats Every Time
If you want these to be the Best Rice Krispie Treats Recipe you’ve ever tried, a few small shifts can make a huge difference. I’ve learned from trial and error, and I want to pass that hard-won knowledge along so you get gooey perfection!
Ingredient Quality for Rich peanut butter rice krispie treats Flavor
Please, please check your marshmallows. If they are hard and stale from the back of the pantry, your bars will be hard, too. Fresh marshmallows melt beautifully and maximize that chew factor. Also, stick to creamy, conventional peanut butter for the base binder. Natural peanut butter often has too much oil that separates out when heated, leading to a greasier, less stable bar. For the best binding and texture, conventional creamy is the way to go for these easy homemade protein bars-style treats.
Avoiding Hard or Crumbly peanut butter rice krispie treats
This is the most common mistake people make! When you press the mixture into the pan, you have to resist the urge to squish it down like you’re packing a snowball. We only want to gently coax the mixture into place so the cereal is lightly stuck together. If you pack them down hard to fit more in the pan, you squeeze out all the air, and you end up with a hard block that’s impossible to bite later. Light pressure equals soft, chewy results!
Variations on Classic peanut butter rice krispie treats
Even perfection needs a little room to breathe, right? While I stand by our Chocolate Swirl version as the ultimate, sometimes I like to remix things slightly, especially when I’m making a big batch for a potluck. These Peanut Butter Cereal Bars are such a perfect canvas for creativity! Think of this as a Classic Krispie Bars Variation that can be adapted on the fly. I love sneaking in extra texture because who doesn’t want a little surprise in their sweet snack? If you enjoy experimenting with classic flavors, you might also love my recipe for chewy old-fashioned fruitcake cookies—it’s all about taking something familiar and making it your own!
Making Scotcheroos Recipe Style peanut butter rice krispie treats
If you’ve been around the Midwest, you’ve probably heard of Scotcheroos. They are *so* close to what we are making, just swapping out one ingredient in that glorious topping. Instead of using just semi-sweet chocolate chips for the drizzle, try replacing half of them with butterscotch chips! Melt the chips and the small amount of peanut butter together just like we did before. That butterscotch adds such a warm, deep caramel note that complements the peanut butter base perfectly. It’s such a simple, yet totally transformative step for these Quick Peanut Butter Squares.
Adding Extra Crunch to Your peanut butter rice krispie treats
Sometimes you just need a bit more texture, especially when you’re snacking on them straight from the fridge. If you want to add a bit more grit to your base, try mixing in about a half cup of chopped nuts—pecans or peanuts work beautifully! Or, for a fantastic salty-sweet kick, crush up some pretzels and fold those in with the cereal. Just make sure they are dry before they go in! If you’re looking for other quick ways to satisfy that salty craving, you might want to check out what my friend Julie suggests for a different take on these amazing peanut butter rice krispie treats.
Storage and Making Ahead peanut butter rice krispie treats
The best part about these Quick Peanut Butter Squares? You can totally make them ahead of time! Since we worked so hard to make them gooey and chewy, we need to store them right so they don’t dry out. Keep them in an airtight container at room temperature. Seriously, no need to refrigerate unless it’s scorching hot in your kitchen, because the cold can actually make them firm up too much. They taste best within the first two days, but if you seal them up tight, they usually hold their lovely soft texture for about four days. If you’re planning way ahead, these freeze beautifully! They are great candidates for freezing, much like my recipe for easy strawberry freezer jam.
Frequently Asked Questions About peanut butter rice krispie treats
I know you guys might have questions, because when you find a rock-solid recipe, you want to make sure you follow it to the letter! These are some of the things I get asked most often about making the ultimate Sweet Peanut Butter Snack.
Can I use natural peanut butter in this peanut butter rice krispie treats Recipe?
I strongly advise against it, sweet friends! Natural peanut butter separates terribly under heat, and that oil seeps out when you melt it with the marshmallows. What you end up with is often a greasy base that just won’t bind properly—hello, greasy hands! For these bars to hold together as perfect Kid Friendly No Bake Recipes, you really need that stabilized, creamy stuff for the best texture.
How do I prevent my peanut butter rice krispie treats from getting hard?
It all comes down to heat control and how much you use those muscles! Make sure you bring the marshmallows and butter mixture *off* the stove before stirring in the peanut butter. That last bit of residual heat is enough. And remember what I said earlier? Don’t press them into the pan like you’re cementing tiles! Light pressure is the key to keeping them soft and chewy days later.
Are these peanut butter rice krispie treats safe for school lunches?
That depends on your school’s allergy policy, of course, since these are absolutely loaded with peanut products! If nuts are banned entirely, then obviously, these aren’t for school. If peanuts are okay, they are generally fine, though they can be a little sticky sometimes! I recommend cutting them into smaller squares for lunchboxes, and storing them between sheets of wax paper so they don’t get stuck together in the container. If you’re looking for other great things packed for school, you might want to peek at my ideas for easy breakfast recipes that travel well!
Estimated Nutrition Facts for these peanut butter rice krispie treats
Now, let’s talk tracking, because even though these are a sweet treat, knowing what goes into one square helps manage things, right? I always tell people to remember that this is an estimate based on the standard ingredients we used here for the base and the chocolate swirl. If you swap ingredients, the numbers will change! Since these are such Simple Dessert Ideas, they are easy to log if you need to. Here is a general breakdown so you know what you are looking at!
For one single serving (one square):
- Calories: 220
- Fat: 12g (with 5g being saturated fat)
- Carbohydrates: 28g
- Protein: 4g
- Sugar: 18g
- Sodium: 150mg
Because we are using butter, peanut butter, and chocolate chips, the fat content is definitely there, but honestly, they are worth every single glorious bite! These numbers are based on yielding 16 lovely squares from the batch. Enjoy them, knowing they are far superior to anything store-bought!
Share Your Favorite Nostalgic Snacks
Well, we did it! We took the humble Rice Krispie treat and gave it that rich, wonderful peanut butter hug, all tied up with a bow of chocolate. Doesn’t that smell like childhood happiness? I truly hope you love this recipe for Peanut Butter Rice Krispie Treats Recipe as much as my family does. It’s become one of those recipes I keep on rotation because it’s nearly impossible to mess up, provided you remember my gentle pressing trick!
But now, I need to hear from you! Did you try this recipe? Did you swirl your chocolate or go for the full butterscotch dip? I rely on your feedback! Please take a moment to give this recipe a rating right below—it helps other home cooks find this recipe, too. And if you made a batch, snap a picture! Tag me on social media; I absolutely adore seeing the results of the hard work we put in together in the kitchen. Speaking of comfort, if this sweet square hit the spot, be sure to browse through my collection of other favorite best American comfort food recipes!
What’s your ultimate nostalgic snack memory? Was it a specific cookie or maybe something your grandpa always made? Drop a comment below and share your favorite childhood treat story. I read every single one, and nothing makes me happier than connecting over the food that built us!
PrintUltimate Chocolate Swirl Peanut Butter Rice Krispie Treats
Make these soft and chewy peanut butter Rice Krispie treats, featuring a rich chocolate swirl topping. This easy, no-bake recipe delivers nostalgic flavor and a perfect gooey texture.
- Prep Time: 10 min
- Cook Time: 5 min
- Total Time: 75 min
- Yield: 16 servings 1x
- Category: Dessert
- Method: No Bake
- Cuisine: American
- Diet: Vegetarian
Ingredients
- 6 cups crispy rice cereal
- 1 cup creamy peanut butter
- 1 cup (2 sticks) unsalted butter
- 1 package (10 oz) marshmallows
- 1 teaspoon vanilla extract
- 1/2 teaspoon salt
- 1 cup semi-sweet chocolate chips
- 1/4 cup creamy peanut butter (for topping)
Instructions
- Lightly grease a 9×13 inch baking pan or line it with parchment paper, leaving an overhang for easy removal.
- In a large saucepan over medium heat, melt the butter.
- Add the marshmallows to the melted butter and stir constantly until completely melted and smooth. Remove the pan from the heat.
- Stir in 1 cup of creamy peanut butter, vanilla extract, and salt until fully combined.
- Add the crispy rice cereal to the marshmallow mixture and fold gently until the cereal is evenly coated. Do not overmix.
- Press the mixture evenly into the prepared baking pan. Use a piece of wax paper or lightly buttered spatula to avoid sticking.
- In a small, microwave-safe bowl, combine the chocolate chips and the remaining 1/4 cup of peanut butter. Microwave in 30-second intervals, stirring well after each, until smooth and fully melted.
- Drizzle the melted chocolate mixture over the cereal base. Use a knife or offset spatula to gently swirl the chocolate into the peanut butter layer.
- Let the treats set at room temperature for at least 1 hour, or chill briefly to speed up the process.
- Once firm, lift the bars out using the parchment overhang and cut into squares.
Notes
- For the softest, chewiest bars, use fresh marshmallows and do not overcook the marshmallow mixture.
- If you prefer a classic Scotcheroos flavor, substitute the chocolate chips with 1/2 cup semi-sweet chocolate chips and 1/2 cup butterscotch chips for the topping.
- Press the cereal mixture lightly into the pan to prevent the final bars from becoming too hard or crumbly.
Nutrition
- Serving Size: 1 square
- Calories: 220
- Sugar: 18g
- Sodium: 150mg
- Fat: 12g
- Saturated Fat: 5g
- Unsaturated Fat: 7g
- Trans Fat: 0g
- Carbohydrates: 28g
- Fiber: 1g
- Protein: 4g
- Cholesterol: 10mg