
Isn’t it wild how much money we spend on those weirdly plasticky, overly packaged store-bought protein bars? Seriously, you open them up and they smell like a chemistry lab instead of something genuinely good for you. That’s exactly why I wanted to share this recipe with you—because if there’s one thing I learned from Sarah Miller’s philosophy here at HearthBite, it’s that food should be comforting and real, not complicated!
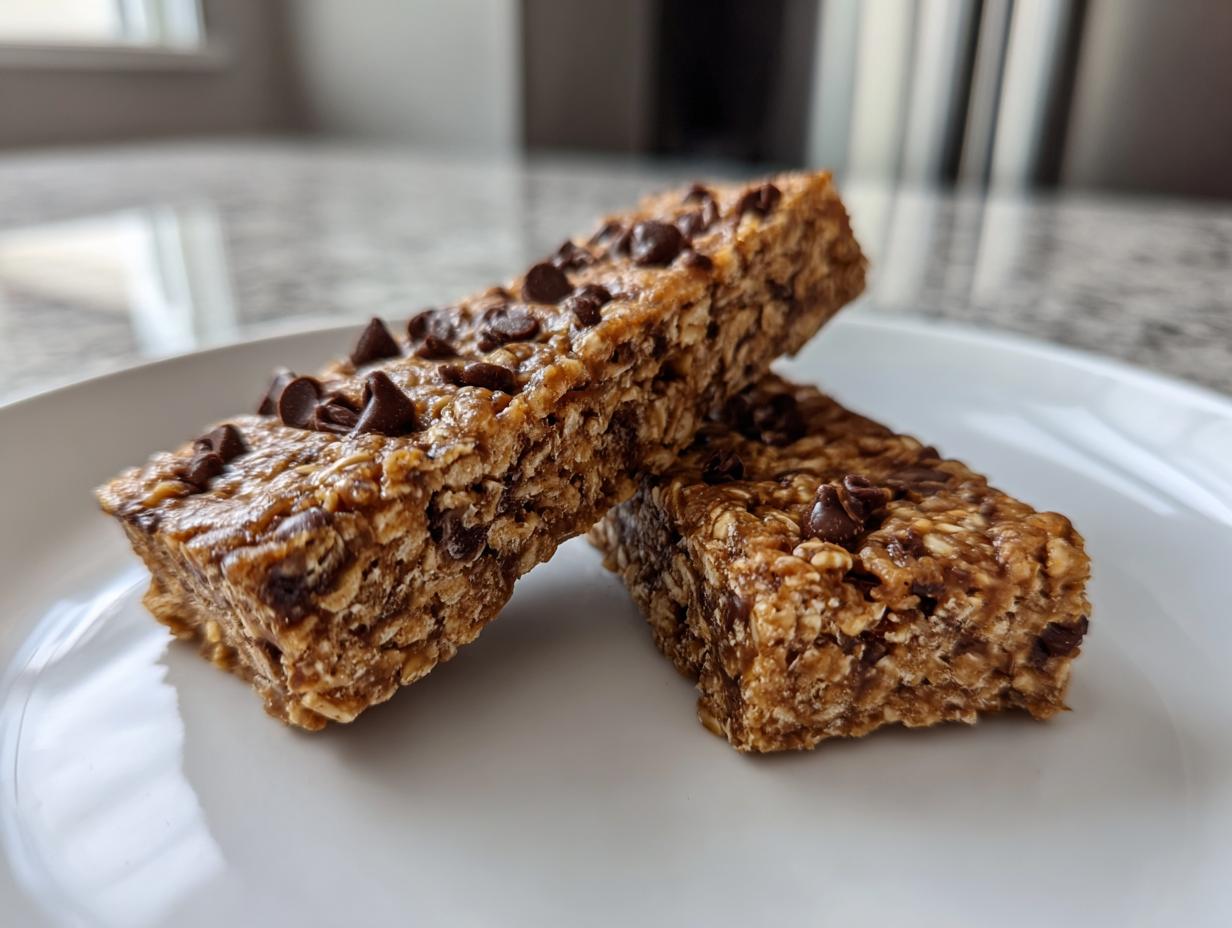
We needed a solution for quick energy that actually tasted like a treat. This is it! I promise you, these **protein bars** are the real deal. They’re completely no-bake, use incredibly simple ingredients, and have that perfect chewy texture you crave. You’ll never look back after making this batch. It truly brings that kitchen joy we talk about right into your busy schedule. You can read a bit more about our philosophy for keeping things simple over on our About page, which totally inspired this recipe.
- Why You Will Love These Homemade Protein Bars
- Ingredients for the Best No-Bake Peanut Butter Chocolate Chip Protein Bars
- Expert Tips for Perfect Chewy Protein Bars
- Step-by-Step Instructions for Quick Protein Bars
- Making Protein Bars Meal Prep Favorites
- Serving Suggestions for Your Homemade Protein Bars
- Frequently Asked Questions About Protein Bars
- Nutritional Snapshot of These Protein Bars
- Share Your Homemade Protein Bars Experience
Why You Will Love These Homemade Protein Bars
Forget hauling back those expensive cardboard boxes from the store! These are the kind of high protein treats you’ll actually look forward to eating.
- They are completely no-bake—seriously, no oven required!
- You only need about 5 core ingredients to make this base recipe work.
- They hit that perfect chewy texture that store-bought ones often miss.
- Perfect for fitting into your busy meal prep schedule.
- Customizable! You control the sweetness and add any mix-ins you love.
Ingredients for the Best No-Bake Peanut Butter Chocolate Chip Protein Bars
When you’re making quick **protein bars**, the quality of your core components really shines through since there’s no baking to mask anything. Trust me on this one: you need good, natural peanut butter—the kind where the oil sometimes separates a little bit. That means less sugar and better binding power!
For the dry stuff, we’re keeping it simple but mighty:
- One full cup of good quality rolled oats. Nope, don’t reach for instant, we need that structure!
- One full cup of your favorite protein powder. I always use vanilla or unflavored here so it doesn’t fight the peanut butter.
- That natural peanut butter we just talked about—half a cup is what we need.
- A sticky binder, half a cup of honey or maple syrup, depending on if you’re keeping it vegan!
- Just a splash of milk, about a quarter cup, dairy or non-dairy works fine to get it going.
- And the fun part, a quarter cup of mini chocolate chips if you want that little sweet bite.
It’s such an easy list, and you can find more pairings in my no-bake chocolate coconut balls recipe if you need more quick snack inspiration!
Expert Tips for Perfect Chewy Protein Bars
Listen, making **protein bars** that actually hold together is an art form for us no-bake folks! Store-bought ones charge a fortune because they have weird stabilizers. We’re doing this the real way, so we need to know how to avoid that dreaded post-refrigeration crumble. A few little tricks make all the difference between a perfect chewy snack and a handful of protein dust.
Achieving the Ideal Consistency in Your Protein Bars
This is all about that liquid balance. Too much milk, and you’ll be scraping goo off your counter. Too little, and they snap when you try to cut them. If your dough seems super dry when mixing, add liquid in tiny splashes—like just a teaspoon—until it starts holding together. And please, don’t skip the chilling! A full hour in the fridge is mandatory for these **protein bars** to firm up nice and naturally.
Ingredient Substitutions for Custom Protein Bars
I love that you can tweak these! If you can’t do peanut butter, almond butter or even sunflower seed butter works beautifully. Just know that almond butter is a hair thinner, so you might need an extra teaspoon of protein powder to balance the wetness. If you swap honey for maple syrup to keep things vegan, the texture is virtually the same, which is fantastic! This way, your custom **protein bars** are still top-notch.
Step-by-Step Instructions for Quick Protein Bars
Okay, let’s get these **protein bars** mixed up! Since we aren’t turning on the oven, this process is lightning fast—seriously, you’ll be done mixing before your coffee is cool! First thing, grab that 8×8-inch pan. You absolutely must line it with parchment paper first, and make sure you leave a good overhang hanging over the sides. That overhang is your handle later on, trust me, it saves your sanity!
Next, get your dry ingredients—the oats and the protein powder—into a large bowl and whisk them up good. We need everything evenly distributed before the wet stuff goes in. Now, dollop in that peanut butter and pour in your honey or maple syrup. It will look chunky and maybe a little scary at first, but that’s normal!
Pour in the milk and start mixing. You need to stir until it all comes together into one thick, cohesive dough. If it seems too dry and crumbly, add milk just a teaspoon at a time until it molds together nicely. Once it looks like a giant ball of cookie dough, fold in those chocolate chips.
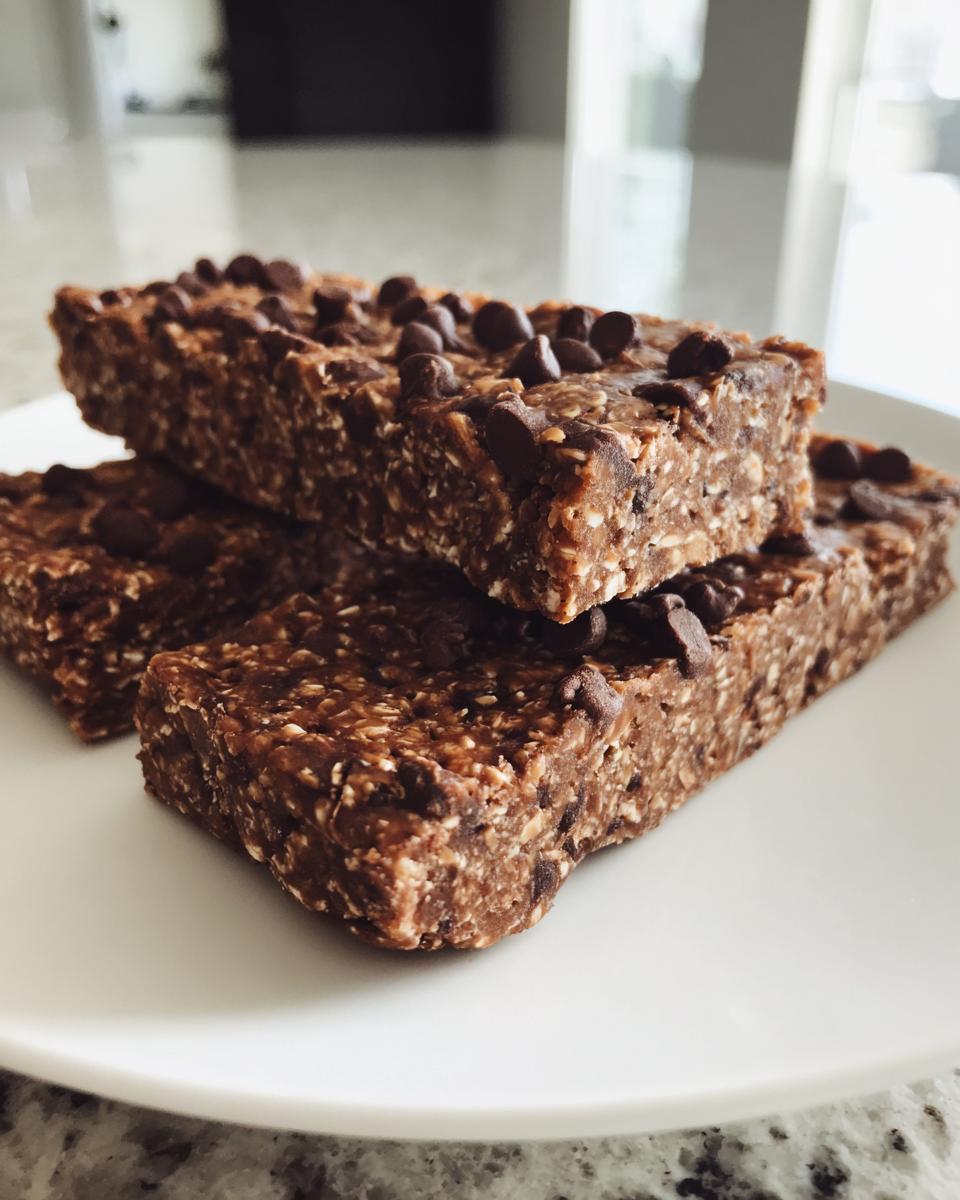
The hardest part comes now: pressing it down! Transfer that dough to your lined pan. Use the back of a spatula or even just a flat piece of parchment paper to press *really* firmly. We want this compacted! Cover it up and pop it into the fridge for at least an hour. Once it’s chilled and firm, use those parchment overhangs to lift it right out and slice it into 12 perfect bars. You can check out some of my favorite make-ahead strategies for healthy lunch recipes to pair these with!
Making Protein Bars Meal Prep Favorites
This is where these **protein bars** truly shine for me! They are the ultimate grab-and-go energy boost, which fits perfectly into my busy schedule. Since they are no-bake, you can literally whip up a batch right after your dinner routine is done, maybe while I’m organizing my list for tomorrow’s dinner, and they’re ready by lunchtime the next day!
Storage is super simple—just pop them into an airtight container. I find sticking them in the refrigerator is best; they stay firm and fresh this way. They should last you a full week easily! That means you have high-protein snacks set for your entire work week. If you’re interested in more great tips for planning ahead, check out this neat little recipe for 4-ingredient protein bars that people swear by for easy prep too!
Serving Suggestions for Your Homemade Protein Bars
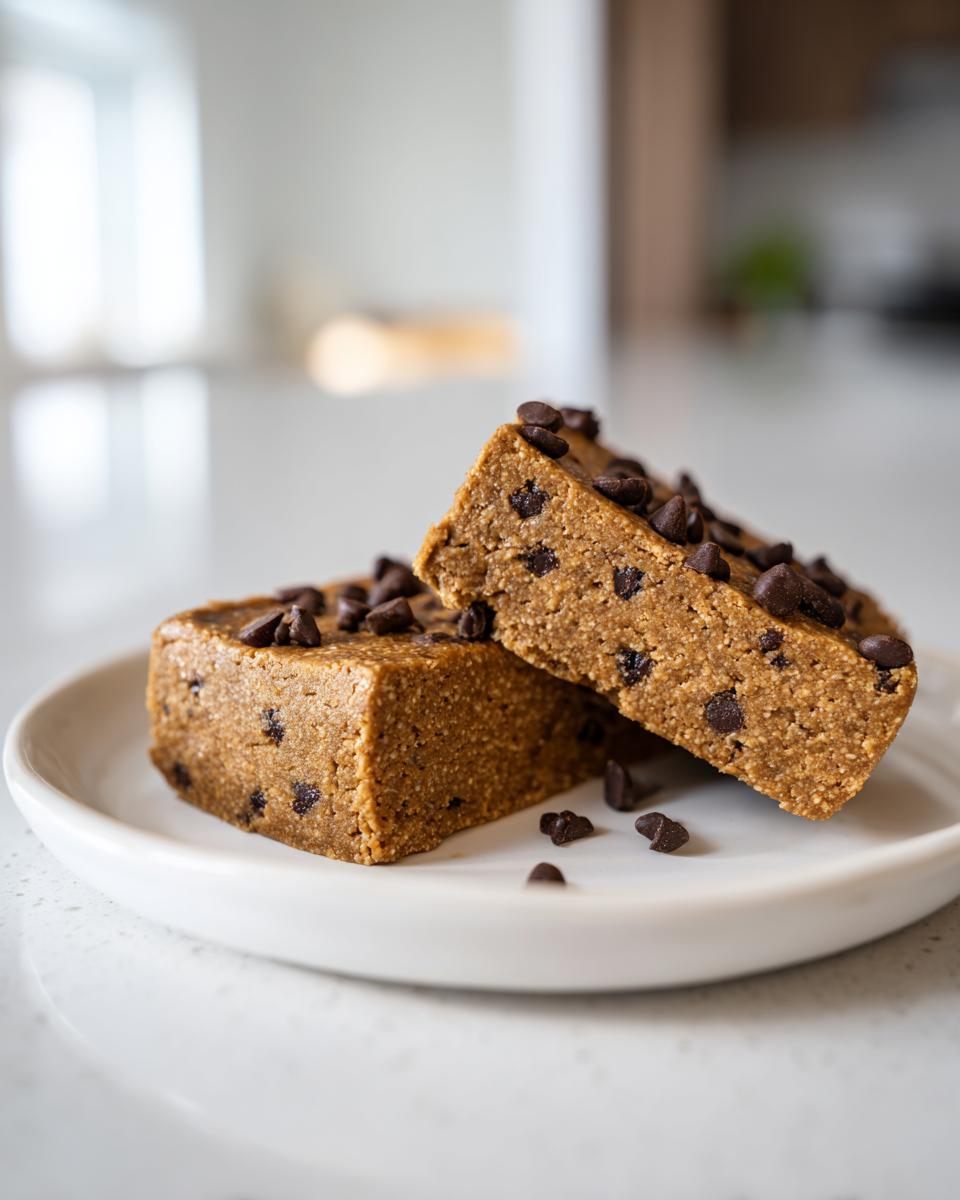
Just eating them cold from the fridge is fantastic, especially when you need a fast post-workout snack. But honestly, these peanut butter **protein bars** are so versatile! If you want a slightly gooey texture and that warm-bakery smell without actually baking, microwave a bar for about 10 seconds. It melts the chocolate chips just perfectly!
Alternatively, I love crumbling one of these **high protein treats** over a bowl of Greek yogurt in the morning instead of using granola—it gives great texture to my easy breakfast recipes. They make a fantastic, energy-packed topping!
Frequently Asked Questions About Protein Bars
I know sometimes when you make **protein bars homemade**, you have questions about tweaking them to fit your life. Don’t worry if you’re wondering about adjustments; that’s just part of making them *your* version of the **easy protein bar recipe**!
Can I make this an entirely vegan recipe?
Absolutely! This peanut butter recipe is super flexible. To keep it vegan, just make sure you use maple syrup instead of honey to keep that decadent sweetness locked in. Also, double-check your protein powder—lots of whey powders aren’t vegan. If you stick to a plant-based protein powder, you’ve got a certified vegan batch of **high protein treats** ready to go!
How can I make these bars lower in sugar?
That’s a great question, especially when you’re prepping them for regular snacking. The sugar mostly comes from the honey/maple syrup. You can try reducing that binder by about 1-2 tablespoons, but you MUST compensate by adding a tiny bit more milk or peanut butter back in. If you omit too much sweetener, the texture will get super crumbly because that sticky stuff is crucial for binding the dry oats and powder!
What is the best type of protein powder to use?
Honestly, it depends on your preference! Whey is usually the creamiest and mixes really easily, giving you that classic texture. However, if you need something plant-based, look for a blend (like pea/rice) because single-source vegan powders can sometimes absorb too much moisture, leading to a chalkier texture in these **protein bars**. No matter what I use, I always make sure to give them a good stir to incorporate everything evenly.
If you need more inspiration on how to make comforting, family-friendly treats that fit your needs, you might enjoy browsing my favorite comfort food recipes! For more tips on making bars that actually taste good instead of crumbling, check out what they’re saying over at Everyday Cooking Tips.
Nutritional Snapshot of These Protein Bars
Now, I always tell people these **protein bars** are fuel for busy days, not diet food, so keep that in mind! These numbers are just estimates based on using standard vanilla whey protein and honey. Since we’re keeping it real and using natural ingredients, your exact counts might swing a little bit.
- Calories: About 200 per bar
- Protein: A solid 15 grams!
- Sugar: Around 8 grams
- Fat: Roughly 10 grams
- Carbohydrates: We’re looking at 18 grams
We skip all those weird additives, so you know exactly what’s going into your body. Enjoy them guilt-free!
Share Your Homemade Protein Bars Experience
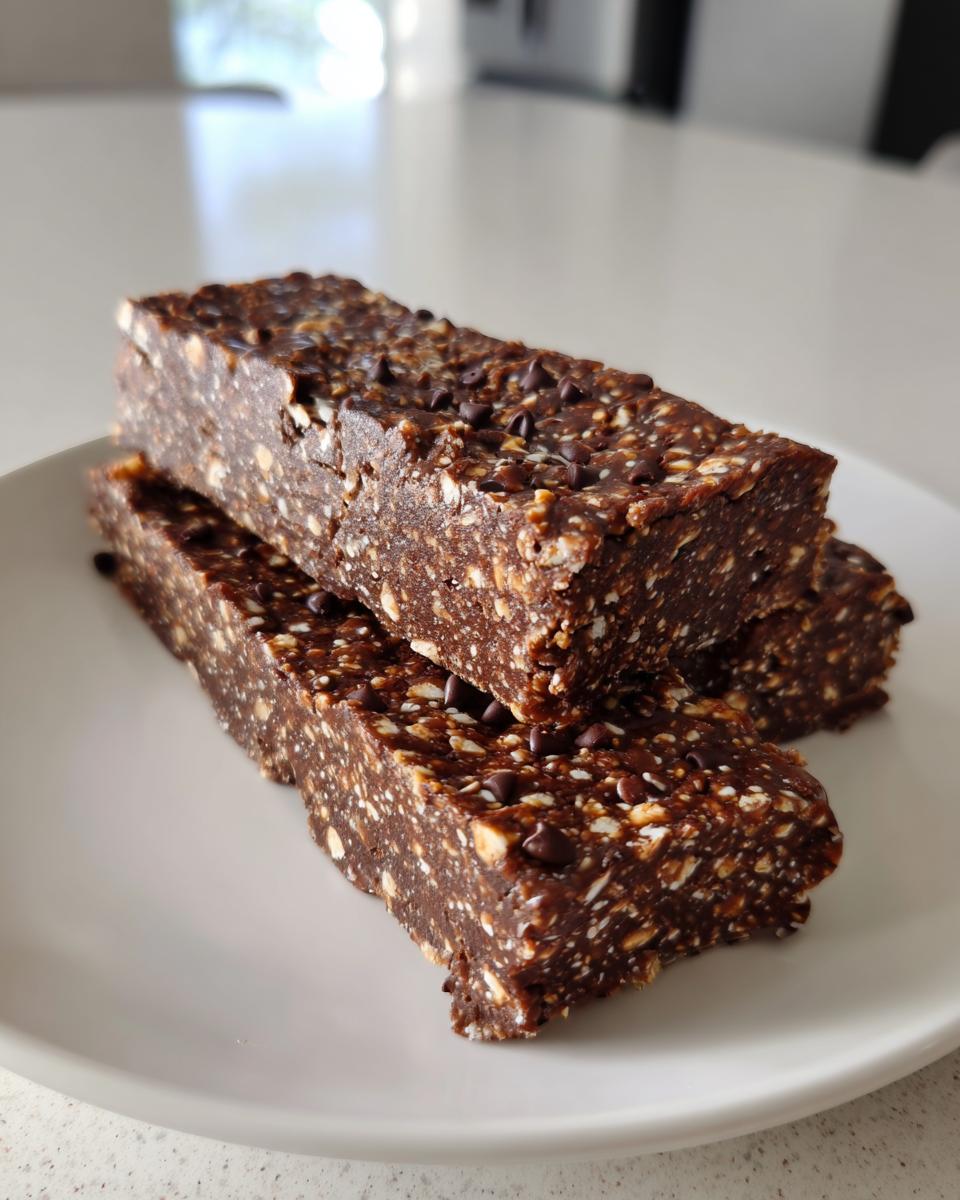
Whew! That’s it! You’ve done it! You’ve made the best, chewiest, genuinely tasty **protein bars** without a massive grocery bill or weird additives. Now that you have these fantastic grab-and-go snacks ready, I truly want to hear from you!
Did you stick to the peanut butter and chocolate? Or did you go wild with almonds or maybe even some dried cherries? Don’t keep all the fun to yourself!
I absolutely love seeing what you whip up in your own kitchens. Please leave a comment down below and tell me how many stars you’d give this easy protein bar recipe. Did you use it for a post-workout boost, or maybe sneak one into your work bag on a Monday morning? And if you snapped a picture, tag us! I love checking out your creations and connecting with you all. If you ever need to get in touch directly with a burning question, feel free to use our contact form. Happy snacking!
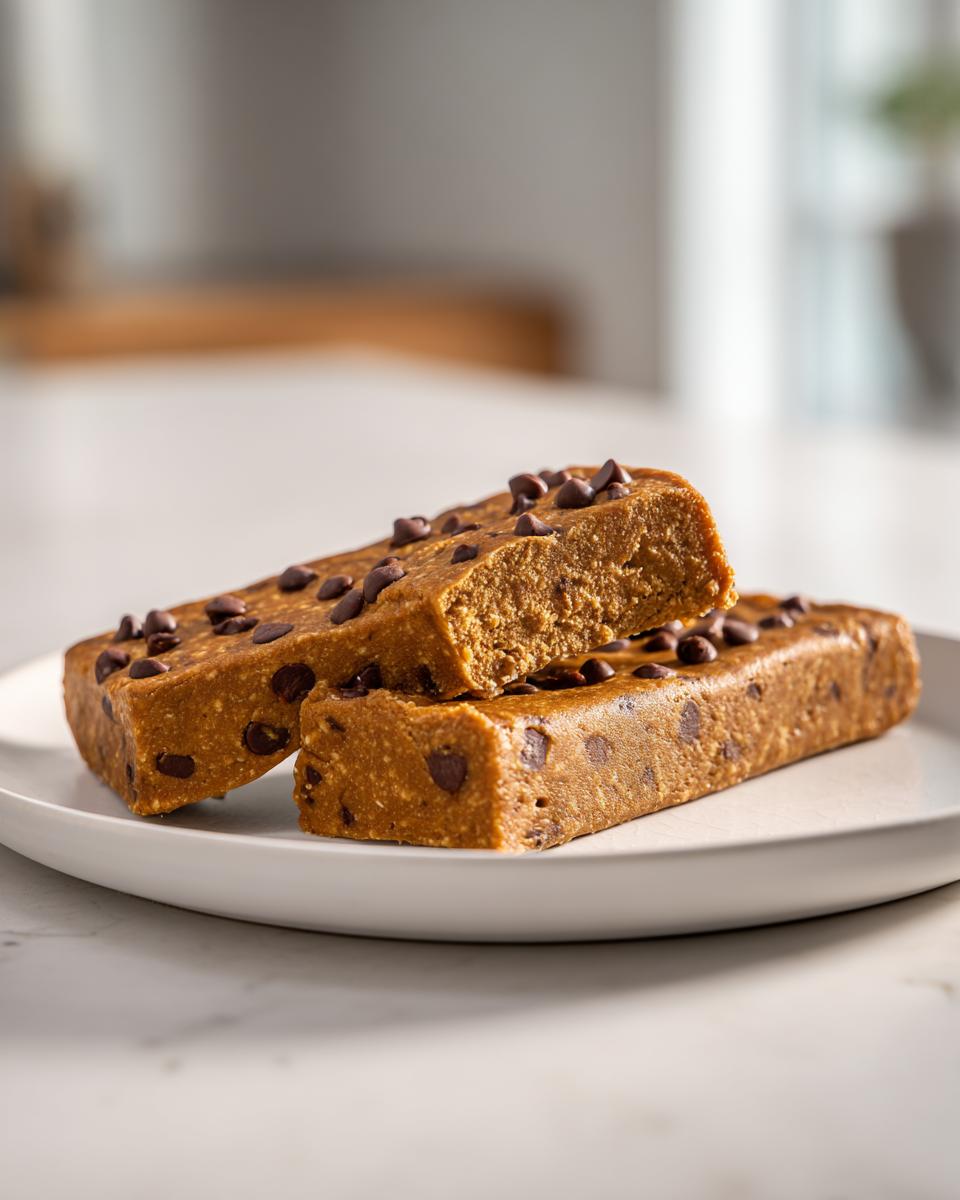
PrintEasy No-Bake Peanut Butter Chocolate Protein Bars

Make chewy, high-protein bars at home using simple ingredients. These no-bake bars are perfect for quick meal prep and satisfying post-workout energy.
- Prep Time: 10 min
- Cook Time: 0 min
- Total Time: 10 min plus 1 hour chilling
- Yield: 12 servings 1x
- Category: Snack
- Method: No-Bake
- Cuisine: American
- Diet: Vegetarian
Ingredients
- 1 cup rolled oats
- 1 cup vanilla or unflavored protein powder
- 1/2 cup natural peanut butter
- 1/4 cup honey or maple syrup
- 1/4 cup milk (dairy or non-dairy)
- 1/4 cup mini chocolate chips (optional)
Instructions
- Line an 8×8 inch baking pan with parchment paper, leaving an overhang for easy removal.
- In a large bowl, combine the rolled oats and protein powder. Mix well.
- Add the peanut butter and honey (or maple syrup) to the dry ingredients.
- Pour in the milk. Mix everything together until a thick, uniform dough forms. If the mixture is too dry, add milk one teaspoon at a time.
- Fold in the mini chocolate chips, if using.
- Press the dough evenly into the prepared pan. Use the back of a spatula or a piece of parchment paper to press firmly and compact the mixture.
- Cover the pan and chill in the refrigerator for at least 1 hour, or until firm.
- Lift the bars out of the pan using the parchment paper overhang. Cut into 12 equal bars.
- Store the bars in an airtight container in the refrigerator for up to one week.
Notes
- For a firmer bar, reduce the liquid slightly. For a chewier bar, ensure you press the mixture down firmly into the pan.
- You can substitute peanut butter with almond butter or sunflower seed butter for different flavors.
- These bars are excellent for grab and go energy and fit well into a meal prep schedule.
Nutrition
- Serving Size: 1 bar
- Calories: 200
- Sugar: 8
- Sodium: 150
- Fat: 10
- Saturated Fat: 2
- Unsaturated Fat: 8
- Trans Fat: 0
- Carbohydrates: 18
- Fiber: 2
- Protein: 15
- Cholesterol: 5