
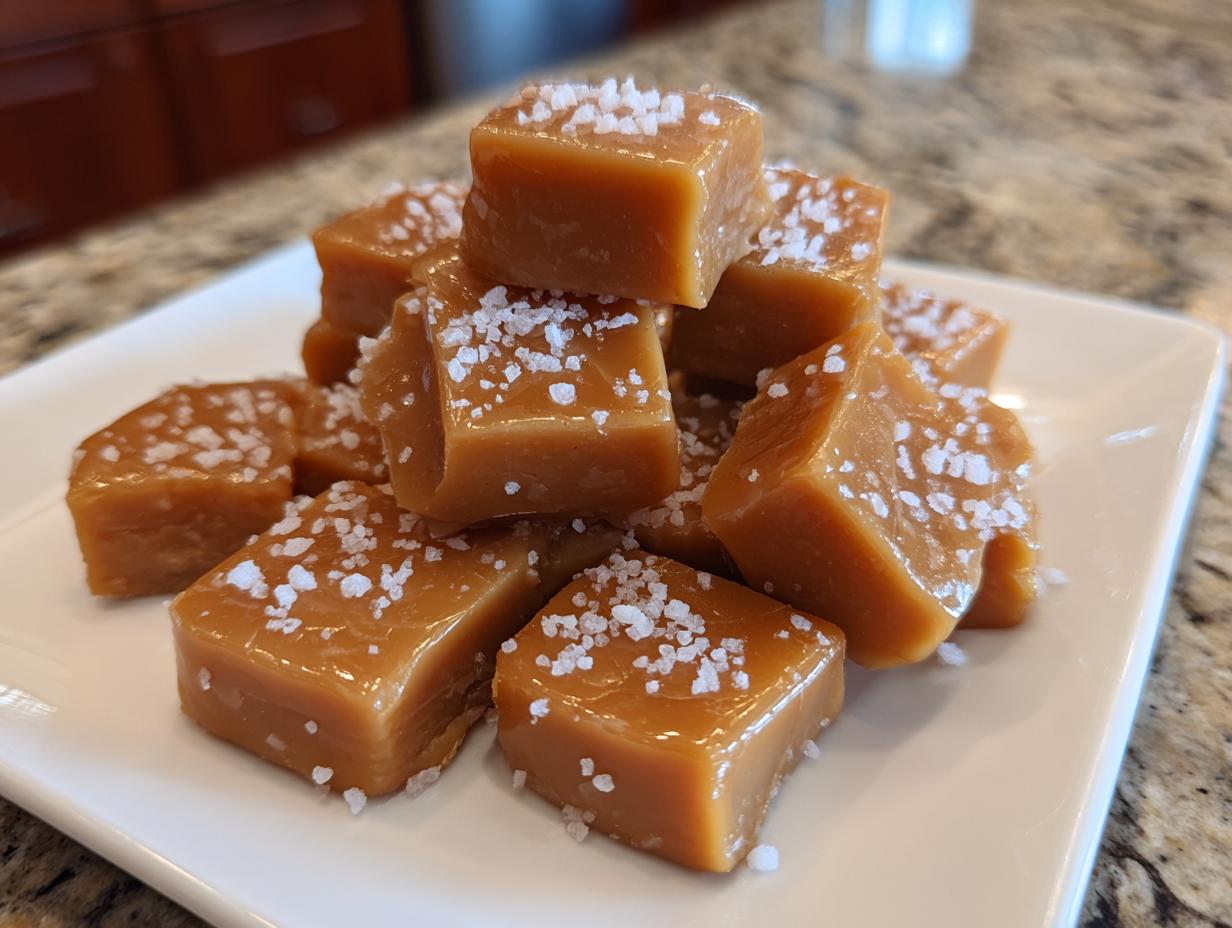
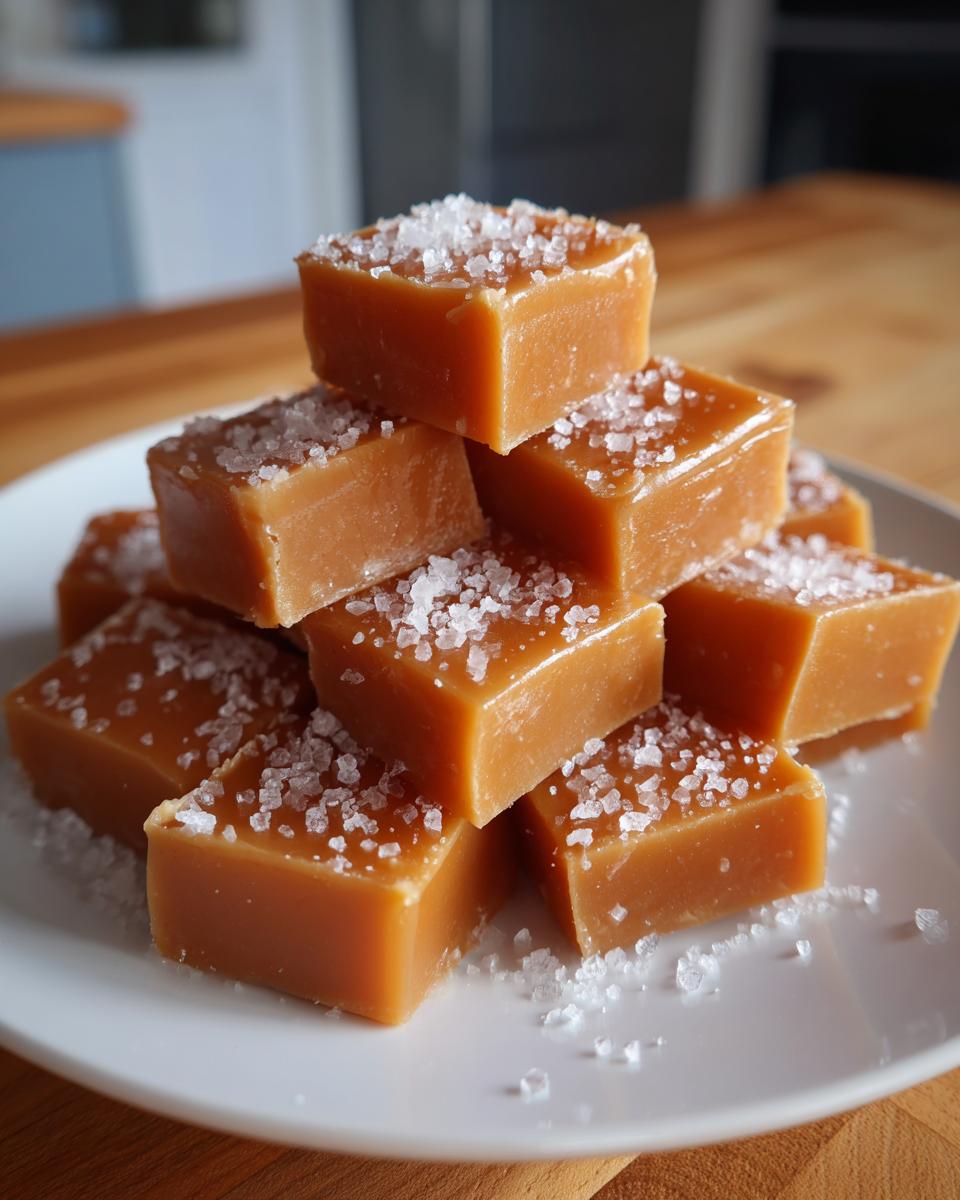
There is just something incredibly nostalgic and comforting about making candy right in your own kitchen, isn’t there? Forget those waxy, disappointing versions you find in massive bags. Here at HearthBite, we believe in making things the right, cozy way. That’s why I’m thrilled to share my absolute favorite recipe for **Easy Homemade Soft & Chewy Sea Salt Caramels**. These aren’t just any caramels; they are rich, deeply buttery, and truly melt-in-your-mouth delicious. As Sarah Miller, my goal for you is always to feel confident, and these reliable, comforting sweets bring pure joy from the first batch you pull out of the oven. You can read more about our commitment to honest, tested recipes over on our About Page!
- Why You Will Love These Soft & Chewy Sea Salt Caramels
- Essential Ingredients for Buttery Homemade Caramels
- Step-by-Step Instructions for Easy Homemade Caramels
- Tips for Making Perfect Soft Caramels Every Time
- Storage and Serving Suggestions for Homemade Caramels
- Frequently Asked Questions About Making Caramels
- Nutritional Estimate for Your Sea Salt Caramels
- Share Your Homemade Caramels Creations
Why You Will Love These Soft & Chewy Sea Salt Caramels
I know we all get busy, but trust me on this one—making these incredible, buttery treats is worth every single minute. We’ve perfected the technique so they turn out exactly how you want them every time we whip up a batch for holiday candy making.
Perfect Texture: Soft and Chewy Caramels
These are the ones that just disappear the moment they hit your tongue! They are never hard or brittle. We are aiming for that perfect, satisfying chewiness that keeps you coming back for just one more piece. They really do melt in your mouth.
Ideal for Holiday Candy Making and Gifting
Honestly, wrapping these up is half the fun. They look so gourmet, but they are simple to package. If you are putting together favor bags or treat tins, these homemade sea salt caramels are always the first thing to vanish. They make the best caramel gift ideas!
Essential Ingredients for Buttery Homemade Caramels
When you’re making classic candy like this, the quality of what goes in really shows up on the plate! I listed out exactly what you need for this batch of buttery, chewy goodness below. Remember, these are **from scratch caramels**, so we need the right stuff—one cup of sugar, one cup of light corn syrup, one cup of heavy cream, half a stick of unsalted butter, a teaspoon of vanilla, and salt. Everything needs to be measured properly when you’re dealing with candy, or you can end up with a sticky mess! You can find ideas for pairing these with other baked goods, like my buttery soft pretzel bites, later on!
Ingredient Notes and Substitutions for Your Caramels
Listen closely, because this is where the magic stays put! You absolutely must use heavy cream here; please don’t try to substitute half-and-half or milk because the fat content won’t be there to keep things smooth and rich. For the topping, make sure you grab yourself some flaky sea salt—the texture contrast is a game-changer! If you’re feeling nervous about the thermometer, remember you can always use the quick alternative method we talk about later instead of worrying about the stovetop heat.
Step-by-Step Instructions for Easy Homemade Caramels
Alright, this is the moment of truth! Making these **caramels** is much more about technique than timing, but don’t let the candy thermometer scare you. First things first, we need containment. Grab that 8×8 inch pan and line it completely with parchment paper. Make sure the paper hangs over the sides—those overhangs are your handles later! You can check out my trick for making homemade marshmallows too, which uses a similar pan prep. Once you’ve got your little nest ready, we can start the actual cooking process. Keep your eye on the pot; this part moves fast once it gets hot!
Preparing the Pan and Cooking the Caramels to Soft-Ball Stage
You’ll start by gently stirring the sugar, syrup, and cream together in a heavy saucepan until that sugar dissolves completely. Once it starts boiling, stop stirring immediately—that’s crucial! Now, clip on that candy thermometer and let it do its thing over medium heat. It usually takes between 15 to 20 minutes to hit that sweet spot: 245 degrees Fahrenheit. If you stir or jostle it too much while it cooks, or if you scrape the sides when you go to pour, you might get crystals. We want smooth, chewy perfection!
Finishing, Cooling, and Cutting Your Chewy Caramels
The second that temperature hits 245°F, pull that pot off the burner right away! Then, you carefully stir in that beautiful stick of butter until it smooths out, followed by your vanilla and salt. Pour everything into your prepared pan—and no scraping the sides, remember? Sprinkle that flaky sea salt on top while it’s still warm. Now comes the hardest part: waiting. The caramel needs at least three hours to set up completely at room temperature. Once it’s firm, use those parchment handles to lift it out, and have a sharp knife (maybe even lightly oiled) ready to cut those beautiful, chewy squares. Don’t forget the wax paper for wrapping if you plan on saving them!
Tips for Making Perfect Soft Caramels Every Time
Even when you follow a great recipe like this one, candy making can sometimes feel a little fussy, especially depending on the weather. I’ve learned a few tricks over the years to make sure these buttery treats behave perfectly. It’s all about being attentive to the heat and knowing when to rely on a shortcut if you’re in a rush! These small details are what separate good caramels from truly unforgettable ones. Speaking of mastering tricky things, you might want to check out my post on how to make sugar cookie icing that hardens just right.
Temperature Control for Ideal Caramels
That 245 degrees Fahrenheit we hit is essential for that soft, chewy texture we love! If you happen to overshoot and hit 248°F—which I have definitely done, oops!—don’t panic. Your candies will just be firmer, moving closer to a traditional taffy consistency. For this recipe’s intended melt-in-your-mouth feel, stick strictly to 245°F, no excuses!
The Microwave Caramels Quick Alternative
Look, I love tradition, but who doesn’t want a quick caramel option sometimes? If you’re skipping the stovetop, you change your cooking environment to a microwave-safe bowl. You’ll want to cook this mixture on high power, but you HAVE to stop and stir it well every two minutes. This keeps the heat even, which is key to preventing those annoying crunchy spots.
Storage and Serving Suggestions for Homemade Caramels
Once you’ve fought the urge to eat them all immediately, you’ll need to store these beauties properly. Since these are such soft caramels, you really must wrap them individually—wax paper works perfectly, or you can use little cellophane squares if you’re getting fancy for gifts. Store them sealed tight in an airtight container at room temperature for up to two weeks; they don’t need refrigeration, thank goodness! For serving, they are amazing on their own, of course. But they are also divine chopped up and folded into my homemade hot cocoa mix for an extra luxurious winter treat!
Frequently Asked Questions About Making Caramels
I know you might have a few lingering questions before you dive into your first batch of homemade goodness, so let’s clear up the doubts! It’s totally normal to worry about things going wrong in candy land, but honestly, these **homemade caramels** are incredibly forgiving if you stick to the basics we discussed. You’ve got this!
Can I make these caramels without a candy thermometer?
Yes, you absolutely can! If you don’t have a thermometer, the easiest route is the microwave method we mentioned because it relies on time rather than precise heat readings. If you must do it stovetop, you’ll test the soft-ball stage by dropping a small spoonful of the hot mixture into a glass of ice water. If it forms a soft, pliable ball that squishes easily between your fingers, it’s ready. That’s our little secret for being flexible with this **easy caramel candy** recipe!
How do I prevent my caramels from becoming too hard?
This all comes down to temperature, my friend! If your **caramels** end up rock hard, you cooked them just a bit too long; it happens to everyone. For that supremely **soft caramels recipe** cloud-like texture, you must pull them off the heat the second that thermometer hits 245°F. If you let it creep up to 250°F or higher, they will set up much firmer. Keep that mixture moving and watch that monitor like a hawk!
What is the best way to wrap these caramels for gifts?
If you’re planning on these being wonderful **caramel gift ideas**, you need to prevent them from sticking together in one giant slab! Since these are soft, individual wrapping is essential. I highly recommend cutting small squares of wax paper or clear cellophane. Cut the paper slightly larger than the candy piece, place one caramel in the center, and twist the ends up tight, just like the old-fashioned ones. They look beautiful and stay fresh perfectly wrapped this way. For more inspiration on amazing home-baked gifts, check out my favorite comfort food recipes collections!
Nutritional Estimate for Your Sea Salt Caramels
Now, I always say that when you’re eating something this decadent, you probably aren’t checking labels too closely, but I want to be fully transparent here at HearthBite! Because we are making these rich **buttery candy recipes** from scratch, these numbers are just an honest estimate based on the standard ingredients list. Please know that these are approximations!
For one piece (assuming this recipe makes about 64 small caramels), you are looking at roughly 95 calories, about 2.5 grams of total fat, around 17 grams of carbohydrates, and about 18 grams of sugar. This is a wonderful, manageable little treat, especially when you consider how incredibly satisfying these **classic caramel candy** bites are!
Share Your Homemade Caramels Creations
I truly hope you loved making these! Seriously, once your **caramels** are cooled and cut, I’d adore hearing how they turned out for you. Did you go for the flaky sea salt? Are you using them mixed into fudge or dipped in chocolate? Please hop down to the comments section below and leave your star rating and all your thoughts. It helps me know these recipes are working for fellow home cooks like you! If you need to reach out directly with a question, you can always find us on the Contact Page!
PrintEasy Homemade Soft & Chewy Sea Salt Caramels

Make soft, buttery, and chewy caramels from scratch. This recipe yields melt-in-your-mouth candy perfect for holiday gifting or enjoying as a simple, comforting treat.
- Prep Time: 15 min
- Cook Time: 20 min
- Total Time: 3 hours 35 min
- Yield: About 64 pieces 1x
- Category: Dessert
- Method: Stovetop Cooking
- Cuisine: American
- Diet: Vegetarian
Ingredients
- 1 cup granulated sugar
- 1 cup light corn syrup
- 1 cup heavy cream
- 1/2 cup (1 stick) unsalted butter
- 1 teaspoon vanilla extract
- 1/2 teaspoon salt (plus extra flaky sea salt for topping)
Instructions
- Lightly grease an 8×8 inch baking pan and line it with parchment paper, allowing the paper to overhang on two sides for easy removal. Set aside.
- Combine the sugar, corn syrup, and heavy cream in a heavy-bottomed saucepan.
- Place the saucepan over medium heat. Stir constantly until the sugar dissolves and the mixture begins to boil.
- Stop stirring once boiling begins. Insert a candy thermometer and cook the mixture until it reaches 245 degrees Fahrenheit (soft-ball stage). This usually takes about 15 to 20 minutes. Watch carefully to prevent scorching.
- Remove the pan from the heat immediately when it reaches 245 degrees F. Carefully stir in the butter until it is completely melted and incorporated.
- Stir in the vanilla extract and 1/2 teaspoon of salt.
- Pour the hot caramel mixture into the prepared baking pan. Do not scrape the sides of the pan.
- Sprinkle the top evenly with flaky sea salt while the caramel is still warm.
- Allow the caramel to cool completely at room temperature for at least 3 hours, or until firm.
- Once firm, use the parchment paper overhang to lift the block of caramel out of the pan.
- Cut the block into 1-inch squares using a sharp, oiled knife or kitchen shears.
- Wrap individual caramels in wax paper or cellophane for storage or gifting.
Notes
- For a quicker method, you can cook the mixture in a microwave-safe bowl on high power, stirring every 2 minutes until it reaches 245 degrees F. Total microwave time varies by machine.
- If you prefer a less chewy caramel, cook the mixture to 248 degrees F instead.
- Store wrapped caramels in an airtight container at room temperature for up to two weeks.
Nutrition
- Serving Size: 1 piece
- Calories: 95
- Sugar: 18
- Sodium: 35
- Fat: 2.5
- Saturated Fat: 1.5
- Unsaturated Fat: 1
- Trans Fat: 0
- Carbohydrates: 17
- Fiber: 0
- Protein: 0.2
- Cholesterol: 8