
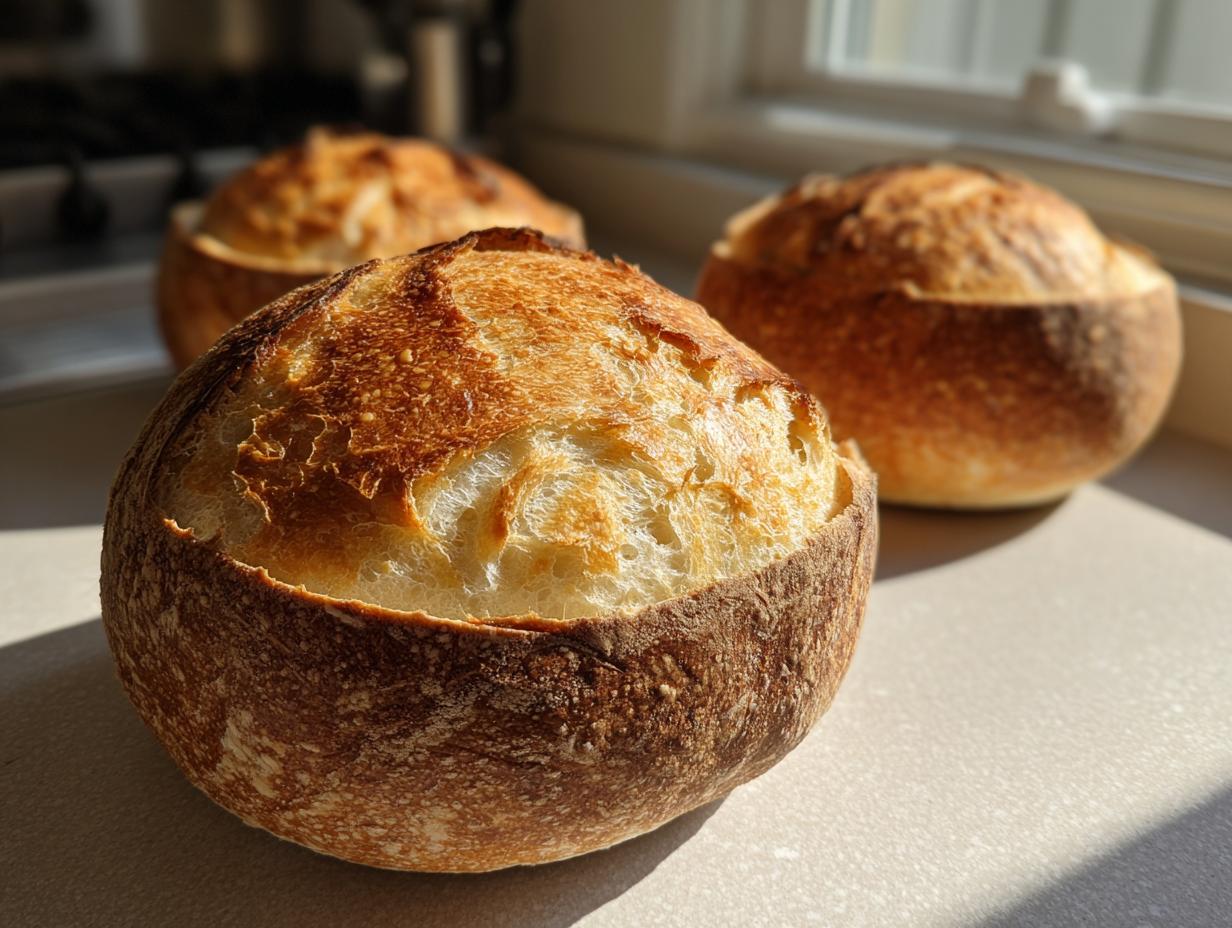
There’s nothing quite like that first bite of a hearty soup poured right into an edible, freshly baked bowl. It’s the definition of comfort food, isn’t it? If you’ve always thought making your own sturdy **bread bowls** was strictly for professional bakeries, I’m here to tell you that’s simply not true. Here at HearthBite, we believe that the best meals bring family right to the table, and this recipe is the absolute foundation for so many cozy dinners. I’ve tested this dough structure time and time again—through humid Ohio summers and chilly fall evenings—and I can promise you this recipe yields perfectly structured, soft-centered loaves ready to hold whatever deliciousness you serve them in. For more meals that feel just like home, check out my collection of comfort food recipes.
- Why Our Homemade Bread Bowls Are the Best Bread for Soup Bowls
- Ingredients for Perfect Crusty Bread Bowls
- How to Make Bread Bowls From Scratch: Artisan Bread Bowl Tutorial
- Tips for Success: Achieving Bakery Style Bread Bowls
- Bread Bowl Fillings Ideas: What to Serve in Your Bread Bowls
- Storage & Reheating Instructions for Homemade Bread Bowls
- Variations: Beyond the Classic Bread Bowls Recipe
- Frequently Asked Questions About Making Bread Bowls
- Estimated Nutritional Data for Your Bread Bowls
- Share Your Homemade Bread Bowls Creations
Why Our Homemade Bread Bowls Are the Best Bread for Soup Bowls
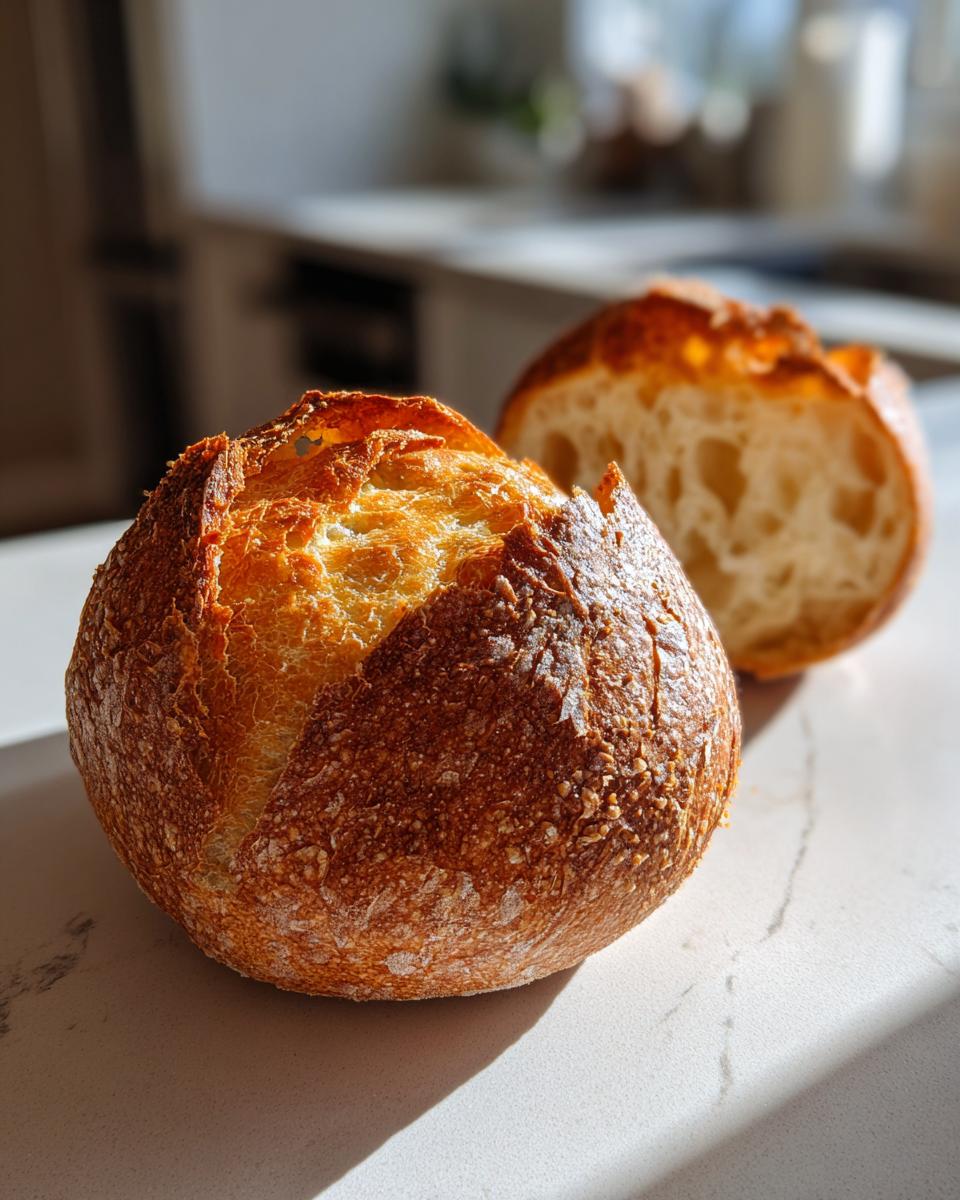
The number one question I always get about baking your own **Homemade Bread Bowls** is this: Will it get soggy immediately? And my answer is a resounding no, if you follow this formula! Standard sandwich bread just won’t cut it; it breaks down too fast. Our secret lies in a slightly lower hydration dough than a soft sandwich loaf, which results in a denser crumb structure without making it tough.
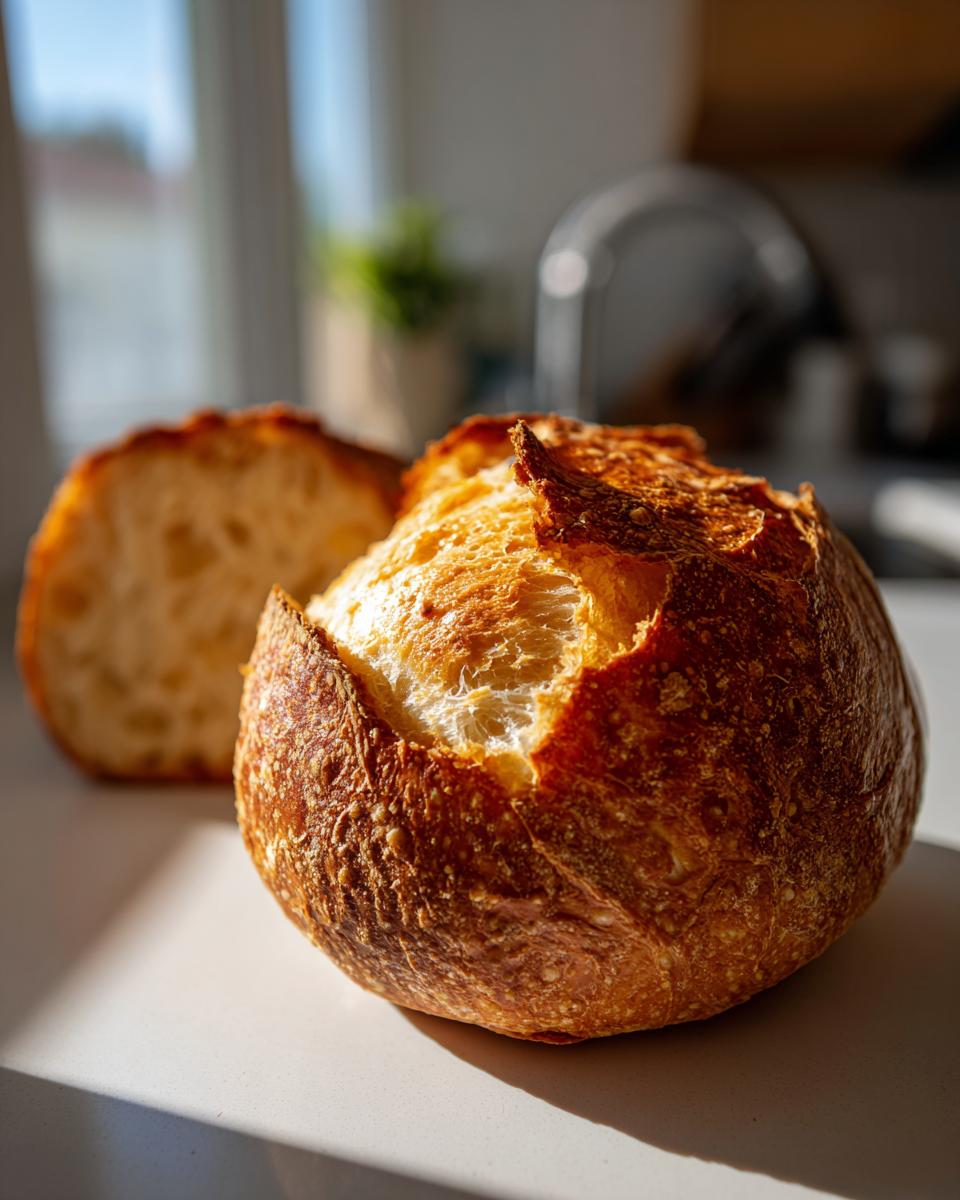
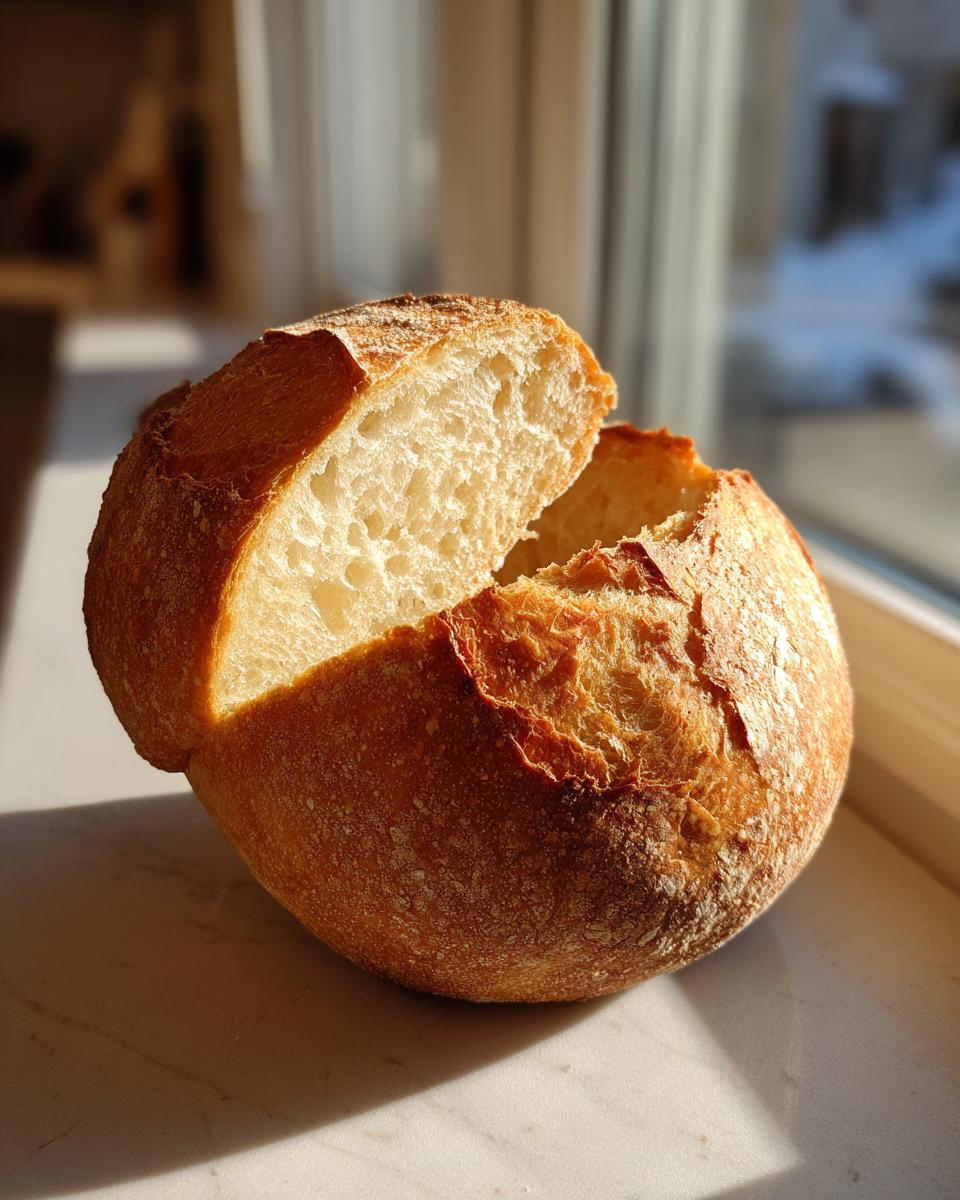
These loaves are designed to be Sturdy Edible Bowls Recipe champions. They create that beautiful, crisp crust from the egg wash, but the interior stays wonderfully tender, ready to soak up every last drop of your creamy chowder. After all, the bowl is just as important as the filling, right? For another great crusty loaf, you should try my guide to making easy crusty Italian bread.
Ingredients for Perfect Crusty Bread Bowls
Okay, let’s talk about what you need to make these edible bowls so they stand up beautifully to a big bowl of chili. I’ve listed everything here, and I really want you to measure everything carefully. Baking is a science, even when it feels cozy!
For the dough, you’ll need:
- 1 packet active dry yeast (that’s usually about 2 1/4 teaspoons, so don’t eyeball it!)
- 1 teaspoon granulated sugar
- 1 cup warm water—and this is important: make sure it’s between 105°F to 115°F. Too cold, and the yeast won’t wake up; too hot, and you’ll kill it before it even starts!
- 3 cups all-purpose flour, plus extra for dusting surfaces
- 1 1/2 teaspoons salt
- 2 tablespoons unsalted butter, melted
And for that golden shine and the perfect crust on your finished **bread bowls**:
- 1 egg, beaten well
- 1 teaspoon water (mixed with the egg for the wash)
That’s it! Simple ingredients leading to such stunning **Artisan Bread Bowl Tutorial** results. Trust me, seeing that yeast foam up is the first magical moment!
How to Make Bread Bowls From Scratch: Artisan Bread Bowl Tutorial
I know the thought of **Baking Bread Bowls From Scratch** sounds intimidating, but trust me, once you see the dough come together, you’ll be hooked. This process is straightforward, and tackling this **Artisan Bread Bowl Tutorial** at home will completely change your soup night. We follow the instructions exactly because that’s how we guarantee success every time.
Activating Yeast and Mixing the Dough for Your Bread Bowls
First things first, we need happy yeast! Get that teaspoon of sugar dissolved in your warm water—remember that sweet spot: 105°F to 115°F. Sprinkle the yeast right on top and just stand back. If it’s foamy in 5 to 10 minutes, you’re ready for action! While it blooms, quickly whisk your flour and salt in your big bowl. Then, pour in that foamy yeast mixture and the melted butter. Mix it until it looks shaggy; we’re just bringing things together here.
Kneading and Allowing Your Bread Bowls Dough to Rise
Now comes the fun part that really builds structure! Turn that shaggy mess onto a lightly floured surface. You need to knead this dough until it feels smooth and elastic. Honestly, I love doing this by hand for about 6 or 8 minutes—it’s therapeutic! If you’re using your stand mixer, the dough hook is your friend on medium-low for about 5 minutes. Once it’s smooth, pop it into an oiled bowl, cover it up tight, and set it somewhere warm. It needs a good 1 to 1.5 hours to double; don’t rush this first rise, this is where the flavor builds!
Shaping and Baking Your Crusty Bread Bowls
Gently punch that air out once it’s doubled! Now, divide the dough into four equal pieces. Take each piece and pull the edges toward the bottom to create a nice, tight round ball. Placing these on parchment paper ensures excellent oven spring. Cover them up for one last rest—about 30 to 45 minutes until they look puffy. While they rest, get that oven really hot—we need it preheated to 375°F (190°C)! Before they go in, brush them generously with that simple egg wash. That wash is crucial; it locks in moisture but seals the outside to create that signature golden, crisp top.
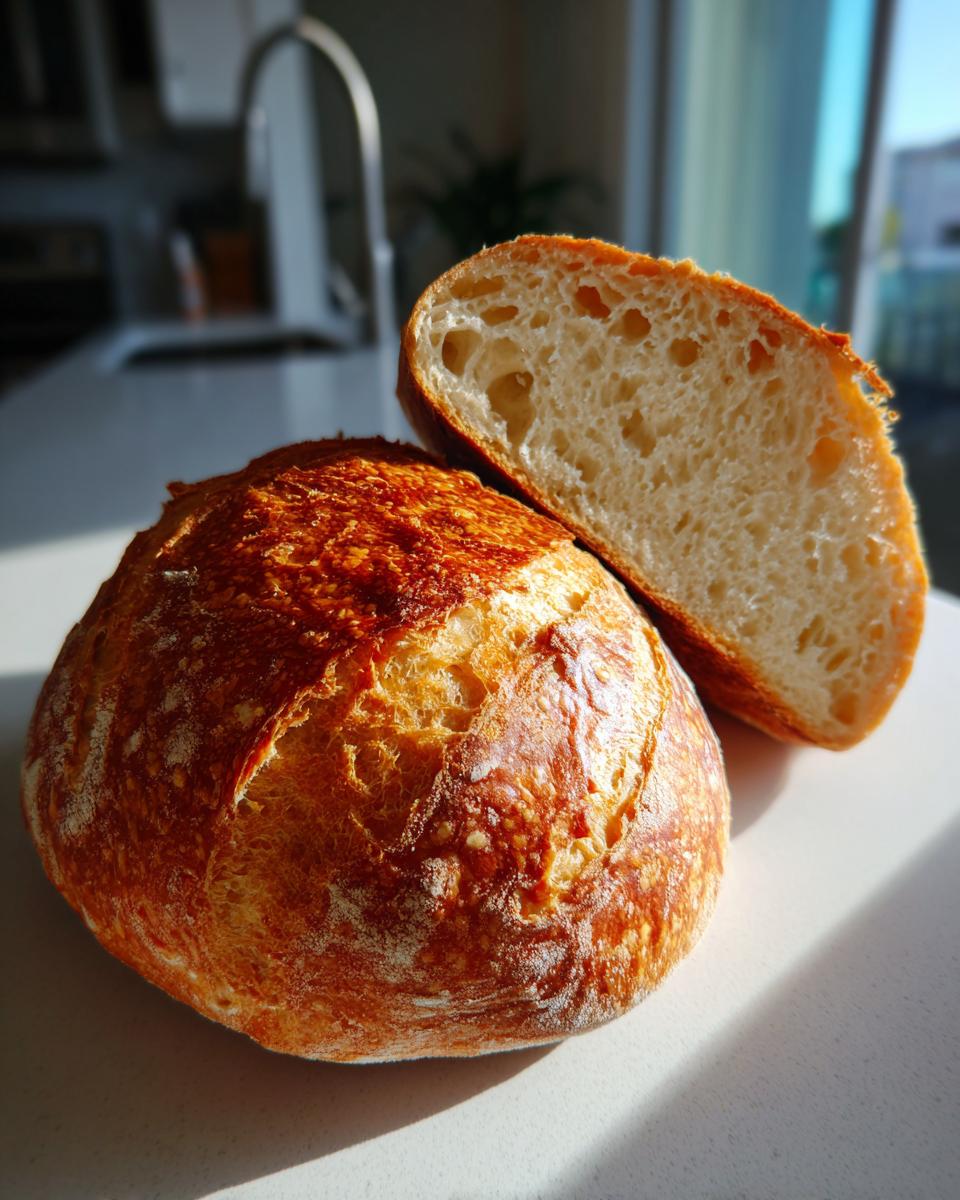
Hollowing Out Your Finished Bread Bowls
Bake them for about 25 to 30 minutes until they are deeply brown and sound hollow when you tap the bottom. Let them cool completely! This is non-negotiable, or they’ll collapse when you cut them. Once cool, use a sharp knife to cut a circle around the top, leaving about an inch of wall thickness. Scoop out the soft interior bread. Here’s a pro tip: if you want extra-sturdy **bread bowls** that won’t leak even with the best chunky chili, pop those hollowed-out shells back into the 375°F oven for another 5 to 7 minutes. It dries the interior just slightly, creating a fantastic waterproof barrier!
Speaking of amazing, sweet things, check out how I make easy homemade soft and chewy sea salt caramels when I need a break from savory baking!
Tips for Success: Achieving Bakery Style Bread Bowls
You’ve got the recipe down, but let’s talk about those little tricks that take you from ‘good bread’ to truly **Bakery Style Bread Bowls**. Humidity plays a huge role in baking, especially when you aren’t using a bread machine. If it’s a rainy day where you live, you might need just a tiny splash more flour during kneading to keep the dough from feeling sticky. Don’t just dump it in, though—add it teaspoon by teaspoon!
If your dough seems flat after the first rise, it usually means your kitchen was too cold. Next time, find a warmer spot, maybe near the pilot light on the water heater or inside an oven that you’ve preheated for just 30 seconds and then turned *off*. That little bit of warmth makes all the difference.
And don’t skip that egg wash! That’s what helps the **bread bowls** get that beautiful, deep golden-brown shine instead of looking pale. For more baking tips that will boost your confidence, you have to check out how I make fluffy, bakery-style scones.
Bread Bowl Fillings Ideas: What to Serve in Your Bread Bowls
Now the best part: deciding what’s going into the edible masterpiece you just created! You’ve spent the time making those sturdy **Soup Bread Bowls**, so we need a filling that lives up to the effort, right? I always gravitate toward something creamy because the contrast between the rich filling and the crusty **bread bowls** is just heaven.
For classic comfort, you can’t beat a thick, cheesy chowder. My personal favorite is pairing these with my creamy chicken corn chowder—it’s thick enough that you can eat the last spoonful without worrying about leaks.
But honestly, these aren’t limited to soups! They make incredible serving dishes for hearty chili, like the one in my easy dump beef chili recipe. If you’re having a party, don’t forget about dips! Scoop out the sides and fill the hollowed-out bread with hot spinach and artichoke dip. The **Bread Bowl Fillings Ideas** are endless once you start thinking outside the soup pot!
Storage & Reheating Instructions for Homemade Bread Bowls
So, you managed to resist eating all four of those gorgeous **bread bowls** straight out of the oven! Good job, because proper storage can keep them tasting fresh for days.
If you didn’t hollow them out, keeping them whole is easy. Just wrap the cooled bread tightly in plastic wrap and then tuck it into a Ziploc bag or airtight container. Stored like this on the counter, they stay wonderfully soft for about two or three days. They are best eaten within 48 hours, though. We all know fresh bread doesn’t last long, and that’s a good thing!
Now, if you’ve already hollowed them out—which is what most people do so they’re ready for soup night—storage is slightly different. You only want to store the hollowed shells, not the scooped-out centers, unless you plan to eat those centers very soon.
Wrap each hollow shell tightly in plastic wrap or foil. If you skip this, they dry out fast! You can keep these shells on the counter for a day, but for maximum freshness, I suggest the freezer. They freeze beautifully! In an airtight zip-top bag, they’ll be perfect for up to a month.
When it’s soup time and you’re ready to serve, do NOT fill a cold, stale shell! Take the shell (frozen or right from the counter) and put it directly onto a baking sheet. Pop it into a warm oven—250°F is fine—for about 5 to 8 minutes. This wakes up that crust, makes the inside nice and toasty, and restores that bakery-fresh texture just before you ladle in your steaming hot chowder. It’s such a simple step that makes a huge difference!
Variations: Beyond the Classic Bread Bowls Recipe
While our classic recipe lays the perfect foundation, I love when you all get creative with your **bread bowls** because they are so versatile! If you want to elevate these even further, think about mixing things right into the dough during the kneading stage. A handful of fresh rosemary and some grated Parmesan cheese turns these into savory little gems.
Imagine serving a mushroom stew inside a rosemary-parmesan bowl! It’s just so much fun.
And if you’re feeling extra adventurous, you can always pivot entirely and try out the beautiful, salty chew of a pretzel when making your edible containers. I saw a fantastic Pretzel Bread Bowls Tutorial recipe, and I absolutely have to try dipping those in my next batch of beer cheese soup. If you’re looking for another pretzel-inspired treat, you have to see how I make my buttery soft pretzel bites!
Frequently Asked Questions About Making Bread Bowls
Can I skip the kneading if I’m short on time?
Oh, I wish I could tell you yes, but for these **bread bowls**, kneading is absolutely crucial! Remember how I talked about creating that sturdy, non-soggy shell? Kneading develops the gluten structure that traps the moisture from your soup so your bowl doesn’t turn to mush after ten minutes. If you’re in a huge rush, you could use a bread machine for the initial mix and knead cycle, but you still need that rest period afterward. If speed is your main goal, look toward my easy quick dinner recipes for another night!
What is the best flour to use for sturdy bread bowls?
I strictly use all-purpose flour for this recipe. It gives you that wonderful balance of softness inside and crust on the outside. While someone might try bread flour for more structure, I find it can make the final product a little too chewy instead of the tender crumb we want for a **Soup Bread Bowl**. All-purpose flour keeps the texture exactly right for scooping!
Can I make these bread bowls ahead of time?
Yes, you absolutely can, and I highly recommend it for parties! The best way to make these ahead is to complete the entire process, let them cool completely, and then store the entire loaf (unhollowed) tightly wrapped at room temperature for up to two days. If you want them even further out, freeze them wrapped tightly for up to a month. Remember what I said earlier—just reheat them in a warm oven before hollowing them out to make them crisp again!
Do I need a special technique to cut the tops off?
Not really special, just careful! Use your sharpest knife—a serrated one can sometimes tear the crust. Score a circle around the top of the completely cooled loaf, cutting down about an inch toward the center. Don’t cut all the way through to the bottom, obviously! Then, when you scoop the middle out, use your fingers or a spoon to gently loosen the inside bread from the base. You are essentially creating a sturdy vessel, so make sure those walls are about an inch thick all the way around.
Estimated Nutritional Data for Your Bread Bowls
I always like to give a little peek at the nutrition breakdown here, even though these are meant for cozy indulgence! Remember, baking is all about enjoying the moment, and this data is an estimate for one whole bread bowl before you decide to fill that glorious cavity with chowder or chili. These numbers don’t include any toppings or fillings, of course!
Here is the estimated nutritional breakdown per serving (1 bread bowl, without filling):
- Calories: 280
- Fat: 5g
- Saturated Fat: 3g
- Trans Fat: 0g
- Unsaturated Fat: 2g
- Cholesterol: 25mg
- Sodium: 350mg
- Carbohydrates: 52g
- Fiber: 2g
- Sugar: 2g
- Protein: 8g
They are wonderfully low in sugar, which is great because we’re not adding sugar to the bowl itself, just letting the yeast do its happy work! Enjoy every part of that crusty shell.
Share Your Homemade Bread Bowls Creations
Seriously, after all that hard work nurturing your dough and baking these beautiful **bread bowls**, I want to see what you made! Creating meals is a shared experience here at HearthBite, and nothing makes me happier than seeing one of my foundational recipes come to life in your kitchen.
If these loaves survived cooling and actually made it to soup night, please come back and give this recipe a star rating. Honest feedback helps everyone, and it tells me if I need to tweak the instructions for future bakers!
Even more excitingly, snap a picture of your finished goods—especially what incredible filling you chose! Did you stick to the classic loaded potato soup, or did you try something wild like spaghetti in a bowl? Tag us on social media or drop a comment below showing off your edible crafts. If you’re looking for inspiration for what to do with any leftovers (ha!), I always share some fun, simple ideas over on my easy breakfast recipes page.
And if you’re looking for more ideas on creative ways to serve food in homemade vessels, check out this inspiration on creative twists on classic bread bowl recipes. Happy baking, and may all your bowls be sturdy!
PrintClassic Homemade Bread Bowls for Hearty Soups
Make sturdy, bakery-style bread bowls from scratch. These edible bowls have a crisp crust and soft interior, perfect for holding your favorite creamy soups or chili.
- Prep Time: 20 min
- Cook Time: 30 min
- Total Time: 2 hours 5 minutes
- Yield: 4 servings 1x
- Category: Baking
- Method: Baking
- Cuisine: American
- Diet: Vegetarian
Ingredients
- 1 packet active dry yeast (about 2 1/4 teaspoons)
- 1 teaspoon granulated sugar
- 1 cup warm water (105°F to 115°F)
- 3 cups all-purpose flour, plus more for dusting
- 1 1/2 teaspoons salt
- 2 tablespoons unsalted butter, melted
- 1 egg, beaten (for egg wash)
- 1 teaspoon water (for egg wash)
Instructions
- Activate the yeast: In a small bowl, dissolve the sugar in the warm water. Sprinkle the yeast over the top and let it sit for 5 to 10 minutes until foamy.
- Combine dry ingredients: In a large mixing bowl, whisk together 3 cups of flour and the salt.
- Mix the dough: Pour the yeast mixture and the melted butter into the flour mixture. Mix with a wooden spoon or stand mixer until a shaggy dough forms.
- Knead the dough: Turn the dough out onto a lightly floured surface. Knead for 6 to 8 minutes until the dough is smooth and elastic. If using a stand mixer, use the dough hook and knead on medium-low speed for 5 minutes.
- First rise: Place the dough in a lightly oiled bowl, turning to coat. Cover the bowl with plastic wrap or a clean kitchen towel. Let the dough rise in a warm place for 1 to 1.5 hours, or until doubled in size.
- Shape the bowls: Gently punch down the risen dough. Divide the dough into 4 equal pieces. Shape each piece into a tight, round ball. Place the dough balls on a baking sheet lined with parchment paper, leaving space between them.
- Second rise: Cover the dough balls loosely and let them rise again for 30 to 45 minutes. They should look puffy.
- Preheat and prepare: Preheat your oven to 375°F (190°C). Line a baking sheet with parchment paper.
- Apply egg wash: In a small bowl, whisk together the beaten egg and 1 teaspoon of water. Brush the tops of the dough balls evenly with the egg wash. This helps create a golden, crusty exterior.
- Bake: Bake for 25 to 30 minutes, or until the bread bowls are deep golden brown and sound hollow when tapped on the bottom.
- Cool: Transfer the bread bowls to a wire rack to cool completely before hollowing them out.
- Hollow the bowls: Once cool, use a sharp knife to cut a circle around the top of each loaf, leaving about a 1-inch thick border. Carefully scoop out the soft interior bread, leaving a sturdy shell. Save the scooped bread for dipping.
Notes
- For sturdier bread bowls that hold liquid better, bake the hollowed-out shells for an additional 5 to 7 minutes after scooping out the center. This dries the interior slightly.
- If you are using a bread machine for the initial mix and knead cycle, follow your machine’s instructions and then proceed to the first rise step.
- These bread bowls pair perfectly with loaded baked potato soup or classic broccoli cheddar soup.
Nutrition
- Serving Size: 1 bread bowl (without filling)
- Calories: 280
- Sugar: 2
- Sodium: 350
- Fat: 5
- Saturated Fat: 3
- Unsaturated Fat: 2
- Trans Fat: 0
- Carbohydrates: 52
- Fiber: 2
- Protein: 8
- Cholesterol: 25