
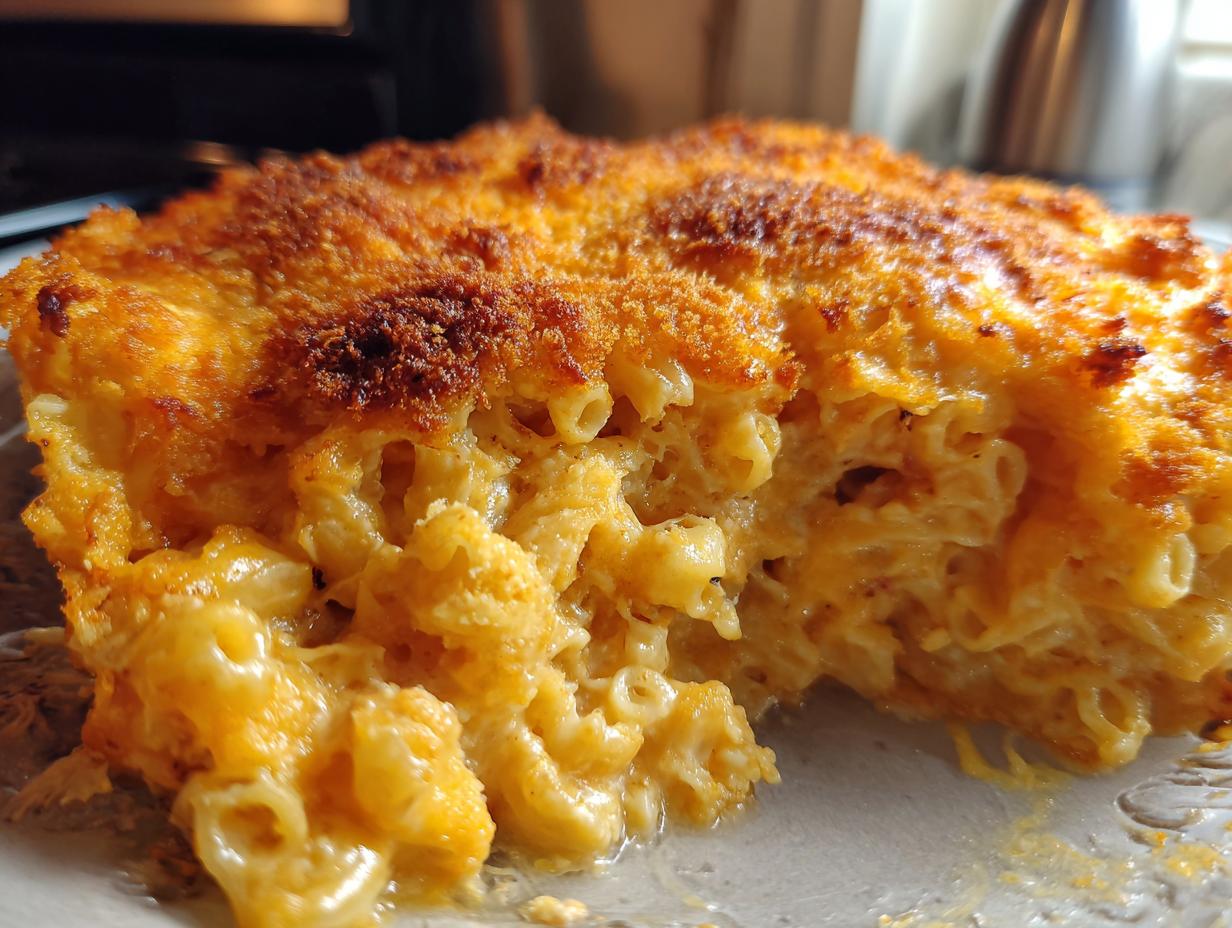
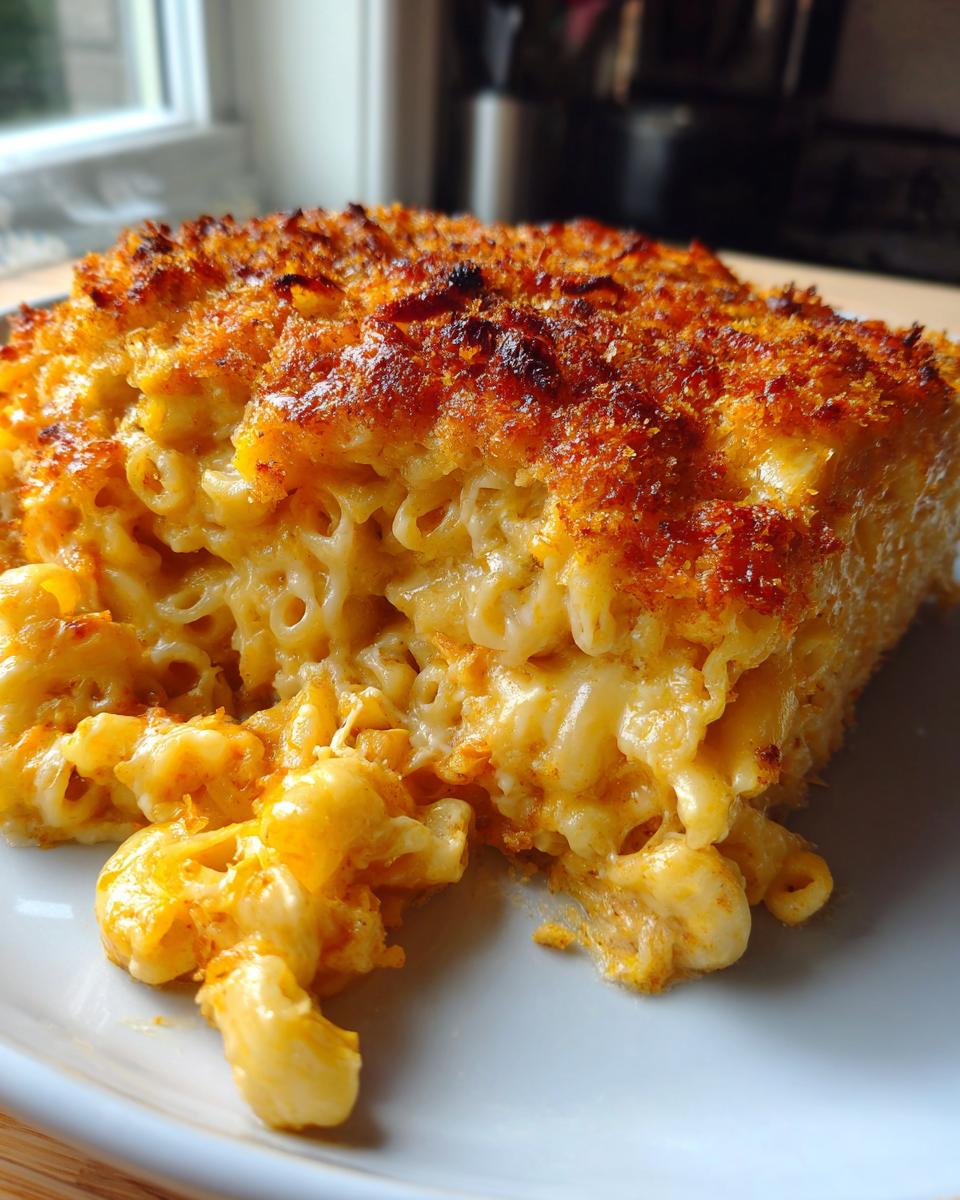
You know those nights? The ones where only deep, soulful comfort food will do? That’s exactly why I’m sharing my recipe for what I genuinely believe is the Ultimate Creamy Baked Mac and Cheese with a Crunchy Panko Topping. Here at HearthBite, we believe your recipes need to be reliable, and this dish is the definition of that—silky sauce, tender pasta, and a golden top that snaps when you cut into it. This isn’t just any casserole; it’s that indulgent, cheesy macaroni and cheese that instantly transports you back to childhood. My promise to you, following these steps, is that your baked mac and cheese will be the creamiest thing you’ve ever pulled from your oven. If you want more dishes just like this one, check out all my favorite comfort food recipes. Forget everything else; this is the one you’ll want to memorize.
- Why This Baked Mac and Cheese is the Ultimate Comfort Food Casserole
- Ingredients for Your Creamy Baked Mac and Cheese
- Step-by-Step Instructions for the Best Homemade Mac and Cheese
- Tips for Success with Your Baked Mac and Cheese
- Ingredient Notes and Substitutions for Baked Mac and Cheese
- Storage and Reheating Instructions for Leftover Baked Mac and Cheese
- Serving Suggestions for This Indulgent Cheesy Side Dish
- Frequently Asked Questions About Creamy Baked Mac and Cheese
- Share Your Ultimate Comfort Food Recipes Experience
Why This Baked Mac and Cheese is the Ultimate Comfort Food Casserole
I get asked all the time why my version of creamy baked mac and cheese is different. Honestly, it comes down to texture, plain and simple. You deserve a comforting, cheesy bake that doesn’t dry out or turn grainy in the oven—that’s just disappointing! We tackle those issues head-on so you get the absolute best comfort food casserole experience every time. We’re aiming for silky sauce that hugs the pasta, contrasted beautifully with a shatteringly crisp top layer. It’s all about maximizing that cheesy goodness without turning it into a brick.
Secrets to a No Grainy Baked Mac and Cheese Sauce
Graininess is the enemy, right? Here’s my non-negotiable rule: we build our sauce using a nice, slow roux first. That’s just butter and flour cooked together—it’s what thickens the milk perfectly. Then, and this is huge, you have to take the sauce entirely off the heat before you start melting in all that wonderful cheese. If the temperature is too high when the cheese hits the sauce, those proteins seize up, and boom—you’ve got graininess. Stay calm, stay low, and stir!
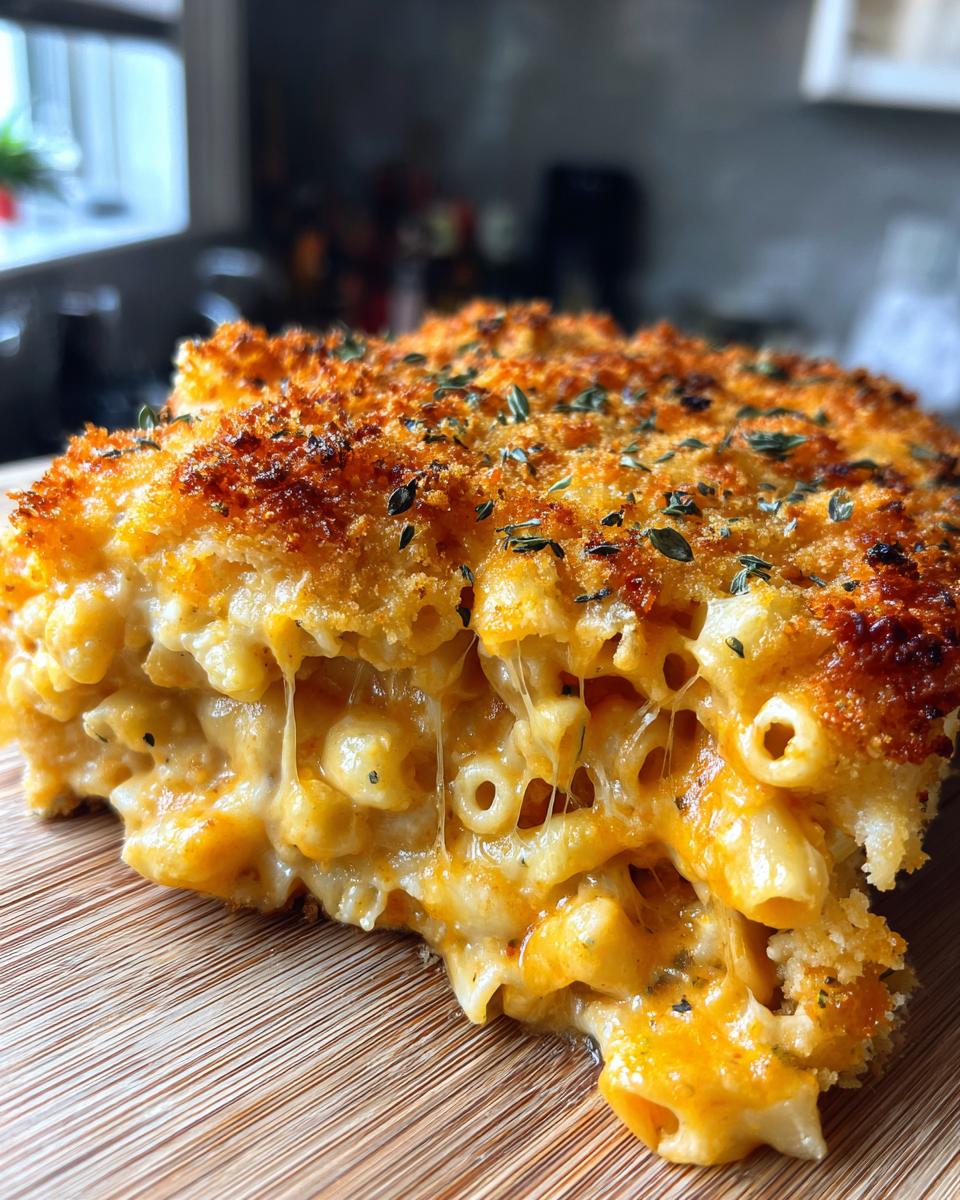
Achieving the Perfect Crunchy Topping Mac and Cheese
That crisp top is just as important as the creamy inside, in my opinion! If you use regular dried breadcrumbs, they just burn or turn to dust. We use Panko breadcrumbs because they are flakier and absorb way less oil. I toss them with just a little melted butter before sprinkling them over the top layer of cheese.
This coating fries up beautifully in the oven, giving you that amazing textural contrast that makes this crunchy topping mac and cheese so memorable. Trust me, don’t skip this step; it takes one minute and elevates the whole dish! If you want another amazing contrast recipe, check out how I make my easy cheesy scalloped potatoes.
Ingredients for Your Creamy Baked Mac and Cheese
Okay, gathering your ingredients is where the magic starts, but stick close to these measurements, especially with the cheese quantities! I use sharp cheddar because that’s where the real flavor lives, but remember my golden rule: you must shred your own cheese from blocks for this baked mac and cheese. Pre-shredded stuff has coatings that stop it from melting smoothly into that perfect sauce we are aiming for. Trust me, taking the extra five minutes to grate that cheese makes all the difference between great and spectacular!
Here is what you’ll need for this amazing dish:
- 1 pound elbow macaroni
- 6 tablespoons unsalted butter
- 1/2 cup all-purpose flour
- 4 cups whole milk, warmed
- 1 teaspoon salt
- 1/2 teaspoon black pepper
- 1/4 teaspoon ground nutmeg
- 1/4 teaspoon cayenne pepper
- 4 cups (about 16 ounces) shredded sharp cheddar cheese, divided
- 1 cup (about 4 ounces) shredded Gruyère cheese
- 1/2 cup (about 2 ounces) shredded Fontina cheese
- 1 cup panko breadcrumbs
- 2 tablespoons melted butter
If you’re looking for more satisfying pasta dishes, check out my recipe for the ultimate cheesy rigatoni bake—it uses a similar layered approach!
Step-by-Step Instructions for the Best Homemade Mac and Cheese
Alright, let’s get cooking! This is the fun part, but timing is everything, especially when we want that famously smooth texture. Since we are baking this dish, remember that we are using the oven to finish the cooking process. I’m going to walk you through exactly how to build that incredible sauce and layer everything up so your **best homemade mac and cheese** comes out perfectly bubbly and golden. Don’t rush the sauce steps, and you’ll be rewarded. If you want to see another great baked dish, take a peek at my recipe for classic baked spaghetti pie.
Preparing the Pasta and Oven Setup
First things first, get your oven set to 375°F (190°C) and give your 9×13 baking dish a light grease so nothing sticks later! Now, listen closely about the macaroni: cook it for just a minute or two less than the package directions tell you. This is key! We want it firm, or ‘al dente.’ Since it’s going into the oven for another 25 minutes, if you cook it all the way now, you’ll end up with mush. Drain it well once it’s just shy of done.
Making the Silky Cheese Sauce for Baked Mac and Cheese
Time for the roux! In a large saucepan, melt those 6 tablespoons of butter over medium heat. Once it’s shimmering, whisk in your flour all at once and cook that mixture for exactly one minute—it should smell kind of nutty. Now, slowly whisk in the warmed milk, a bit at a time, constantly stirring. Keep stirring! You need the sauce to thicken enough to lightly coat the back of your spoon. This takes patience, usually about 5 to 7 minutes, but don’t let it boil hard while you’re waiting for it to thicken up.
Melting the Cheese and Combining with Pasta
This is where we guarantee zero graininess. Once that milk base is thick, pull the entire saucepan completely off the burner. Stir in your seasonings—salt, pepper, nutmeg, and cayenne. Now, start adding your cheeses—3 cups of cheddar, all the Gruyère, and all the Fontina. Stir gently until everything is melted smooth as silk! Once it’s velvety, you can dump in your par-cooked pasta and gently fold it all together so every noodle gets coated in that amazing sauce. Transfer this whole mixture into your prepared baking dish right away.
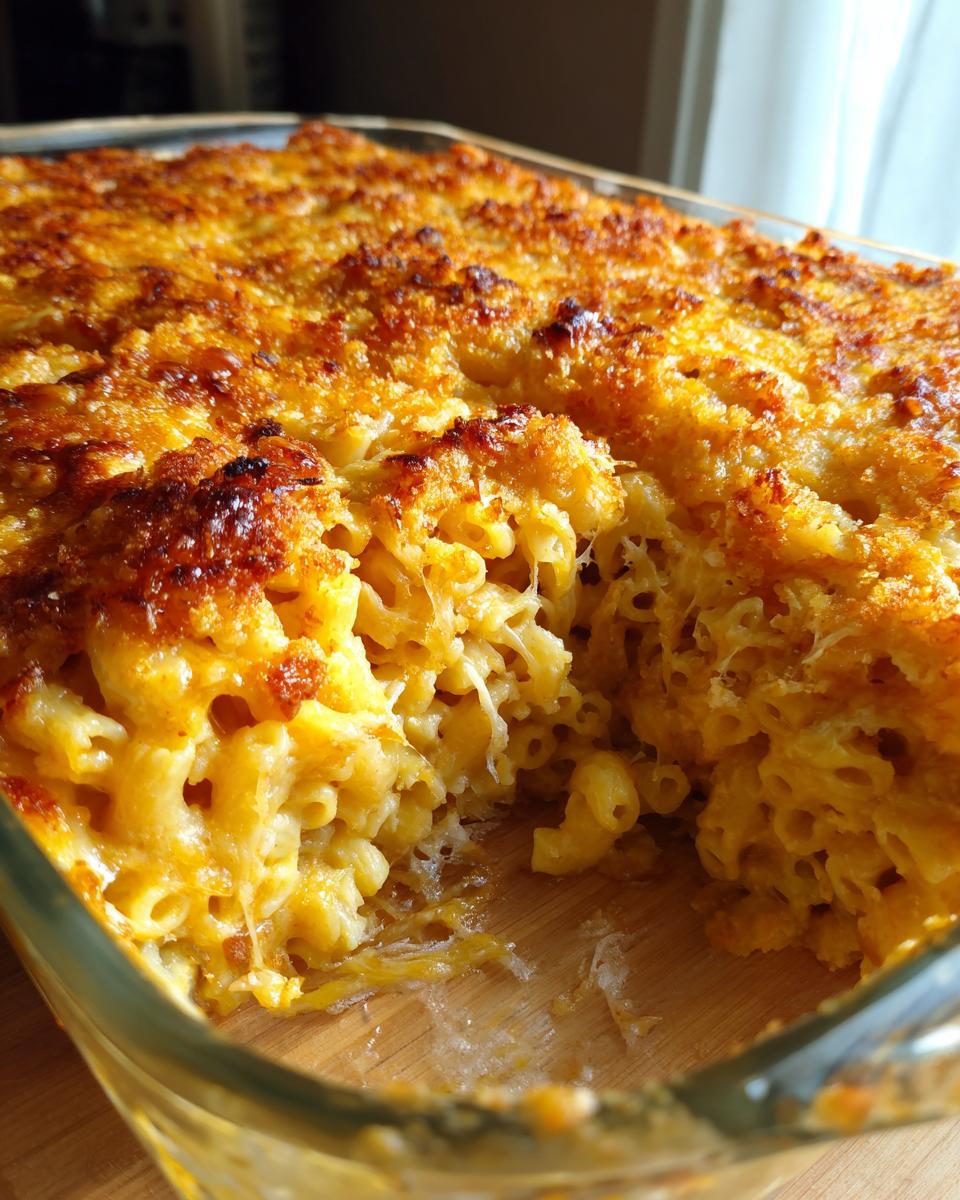
Topping and Baking Your Family Favorite Pasta Bake
We need that crunch! While it’s still warm, take the remaining 1 cup of cheddar and sprinkle it over the pasta layer. Then mix your panko breadcrumbs with the 2 tablespoons of melted butter and scatter that mixture right on top. Pop it into your preheated oven for about 20 to 25 minutes. You’re looking for bubbly sauce around the edges and a beautifully golden, crisp topping. Once it comes out, you absolutely must let this family favorite pasta bake rest for 10 full minutes before you try to serve it. It sets up beautifully during that rest!
Tips for Success with Your Baked Mac and Cheese
When I’m making an indulgent cheesy side dish like this, I treat the process almost like science—but seasoned with a whole lot of love, of course! Over the years of testing this recipe for HearthBite, I found a few non-negotiables that Sarah Miller simply won’t bend on. These little tweaks guarantee that rich, soulful experience we’re all looking for when we crave macaroni and cheese. If you follow these pointers, you’re going to nail that perfect texture every single time. I keep these notes taped right next to my stove when I make it!
- For the creamiest result, you absolutely must shred your own cheese from blocks! Seriously, those bags of pre-shredded stuff are coated in starch to stop clumping, and that starch stops our sauce from ever getting silky smooth.
- When you add the milk to your roux, make sure it’s warm—not boiling, but definitely not ice cold from the fridge. Adding cold milk to hot butter and flour can cause lumps to form instantly, and then you’re playing clean-up!
- Don’t forget the resting time after it comes out of the oven. I know, it’s tough waiting when it smells *that* good, but letting it sit for 10 minutes lets the sauce set up. If you cut into it right away, it will run everywhere.
If you’re looking for something sweet to finish off the meal, you have to try my recipe for easy homemade soft and chewy sea salt caramels!
Ingredient Notes and Substitutions for Baked Mac and Cheese
When you’re aiming for the best flavor in your baked mac and cheese, I like to treat the ingredients like a team that needs the best players. While I listed Gruyère and Fontina, you might wonder if you absolutely need them for this excellent baked cheese casserole. The sharp cheddar is the backbone—use the sharpest one you can find! If you can’t find Gruyère? No sweat. Substitute it with the same amount of good quality Monterey Jack or Provolone; they melt beautifully. If you happen to have no Fontina, just add an extra half-cup of sharp cheddar. You can certainly use different pasta shapes, too—rigatoni or cavatappi work great, as long as they are similarly sized to elbow macaroni.
If you are serving this alongside something hearty, you might be looking for a great bread recipe, too! I highly recommend my cast iron skillet cornbread recipe to go perfectly with this rich side dish.
Storage and Reheating Instructions for Leftover Baked Mac and Cheese
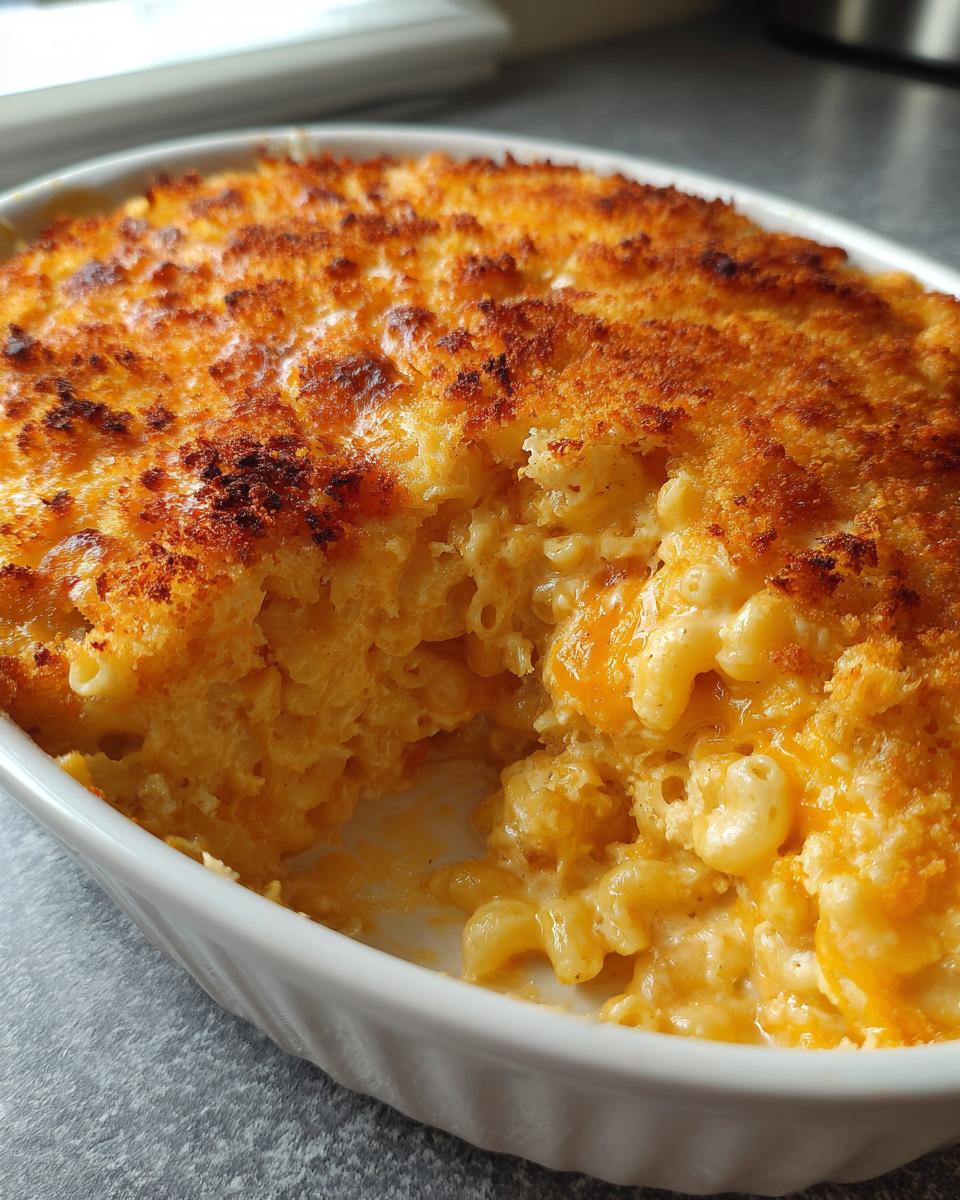
Oh, leftovers! That’s when this indulgent cheesy side dish somehow gets even better the next day, if that’s even possible. Once your perfect baked mac and cheese has cooled down, cover the baking dish tightly with foil or transfer any remainder into an airtight container. It stays great in the fridge for about four days. When it’s time to reheat, you have to be gentle to keep it creamy. I like reheating smaller portions in the microwave—just add a tiny splash of whole milk or even a spoon of cream right before you heat it up. That splash brings the moisture back instantly! If you’re warming up the whole casserole, cover it tightly with foil and pop it back in a 350°F oven until it’s warm through. And for future planning, this freezes beautifully too! If you want another cozy leftover, you should try my easy Crockpot chili recipe.
Serving Suggestions for This Indulgent Cheesy Side Dish
When you pull this magnificent baked mac and cheese out of the oven, you might think it needs nothing else, but hear me out! Because it is so ridiculously rich and cheesy, it just begs for something bright and acidic to cut through all that goodness. I always pair it with a big, fresh green salad drizzled with a tangy vinaigrette. It also sits perfectly next to smoky BBQ pulled pork or some simple roasted chicken—it steals the show every time, but it makes a great supporting act!
Of course, if it’s just me and my family on a chilly evening, this is the main event. No side dish needed! If you’re planning a party spread, this pairs well with my famous easy Rotel dip for a full-on appetizer marathon!
Frequently Asked Questions About Creamy Baked Mac and Cheese
Oh, I’m so glad you asked! When you’re committing to a dish as important as the **best homemade mac and cheese**, you want to make sure every detail is nailed down. I’ve gathered the questions I get asked the most over at HearthBite so you can feel fully confident before you even turn on the oven. Let’s make sure your next comfort food casserole is absolutely perfect!
Can I make this baked mac and cheese ahead of time?
Absolutely, that’s a huge bonus for entertaining! You can totally assemble the whole thing—pasta mixed, topped with cheese and panko—and just cover it tightly and keep it in the fridge for up to two days. When you’re ready to bake, just add about 10 extra minutes to the baking time since it’s starting cold. If you bake it ahead of time and then reheat it later, the topping might soften slightly, but honestly, it’s still amazing warm!
What is the secret to how to make baked mac and cheese creamy?
The entire secret to this creamy baked mac and cheese boils down to two things we talked about: first, making a proper roux with butter and flour, and second, taking that sauce completely off the heat before you stir in your cheeses. If you keep the heat high when adding the cheddar and the others, those proteins tighten up and you get that grainy texture you hate. Keep it low and slow when melting, and you get that luxurious, silky result!
Can I use different cheeses in this baked mac and cheese?
You sure can play around, but keep the sharp cheddar as your flavor base! If you’re missing the Gruyère or Fontina, swap them out for similar good melting cheeses like Monterey Jack or even some Gouda. The main warning I always give is please, please don’t rely on just pre-shredded bags for all of it. We need those freshly grated blocks to ensure a smooth sauce and avoid that disappointing *no grainy baked mac and cheese* disaster. If you’re ever looking for another easy casserole, check out my 15-minute prep rice casserole recipe!
Share Your Ultimate Comfort Food Recipes Experience
Now it’s your turn! I hope making this ultimate baked mac and cheese brings as much joy to your table as it does to mine. If you tried this recipe, please come back and tell me all about it. Did the panko crisp up perfectly? Are you already planning on making this a new standby in your rotation of quick and easy dinner recipes? Leave a rating below; I truly read every comment. Happy cooking, friend!
PrintThe Ultimate Creamy Baked Mac and Cheese with a Crunchy Panko Topping
Achieve the best homemade mac and cheese with this recipe. You get a rich, silky cheese sauce that stays creamy, topped with a golden, crunchy panko crust. This is the ultimate comfort food casserole.
- Prep Time: 15 min
- Cook Time: 35 min
- Total Time: 50 min
- Yield: 6 servings 1x
- Category: Side Dish
- Method: Baking
- Cuisine: American
- Diet: Vegetarian
Ingredients
- 1 pound elbow macaroni
- 6 tablespoons unsalted butter
- 1/2 cup all-purpose flour
- 4 cups whole milk, warmed
- 1 teaspoon salt
- 1/2 teaspoon black pepper
- 1/4 teaspoon ground nutmeg
- 1/4 teaspoon cayenne pepper
- 4 cups (about 16 ounces) shredded sharp cheddar cheese, divided
- 1 cup (about 4 ounces) shredded Gruyère cheese
- 1/2 cup (about 2 ounces) shredded Fontina cheese
- 1 cup panko breadcrumbs
- 2 tablespoons melted butter
Instructions
- Preheat your oven to 375°F (190°C). Lightly grease a 9×13 inch baking dish.
- Cook the macaroni according to package directions until al dente. Drain well and set aside. Do not overcook the pasta.
- While the pasta cooks, prepare the cheese sauce. In a large saucepan, melt 6 tablespoons of butter over medium heat. Whisk in the flour and cook for 1 minute, stirring constantly, to create a roux.
- Gradually whisk in the warm milk until the mixture is smooth. Continue to cook, stirring often, until the sauce thickens enough to coat the back of a spoon, about 5 to 7 minutes. Do not let it boil rapidly.
- Remove the saucepan from the heat. Stir in the salt, pepper, nutmeg, and cayenne pepper.
- Add 3 cups of the cheddar cheese, all of the Gruyère, and all of the Fontina cheese to the sauce. Stir until the cheese is completely melted and the sauce is smooth. This step prevents a grainy texture.
- Add the drained pasta to the cheese sauce and stir gently to coat every piece evenly.
- Transfer the macaroni mixture to the prepared baking dish. Sprinkle the remaining 1 cup of cheddar cheese evenly over the top.
- In a small bowl, combine the panko breadcrumbs with 2 tablespoons of melted butter. Sprinkle this mixture over the layer of cheese.
- Bake for 20 to 25 minutes, or until the sauce is bubbly and the topping is golden brown and crisp.
- Let the baked mac and cheese rest for 10 minutes before serving. This allows the sauce to set slightly.
Notes
- For the creamiest result, shred your own cheese from blocks; pre-shredded cheese contains anti-caking agents that can affect sauce smoothness.
- Use warm milk when adding it to the roux; cold milk can cause lumps.
- Resting time after baking is key to achieving a thick, non-runny sauce when you serve it.
Nutrition
- Serving Size: 1 serving
- Calories: 650
- Sugar: 5
- Sodium: 750
- Fat: 38
- Saturated Fat: 22
- Unsaturated Fat: 16
- Trans Fat: 1
- Carbohydrates: 55
- Fiber: 3
- Protein: 28
- Cholesterol: 110