
Oh, the smell of fresh bread warming up the whole house! Seriously, nothing beats it. If you’ve ever avoided baking because you thought achieving that perfect, bakery-style crusty italian bread was too complicated, you need to try this recipe. I promise you, this is proof that beginners can absolutely nail a crunchy exterior and a dreamy, soft interior right in their own kitchen.
We crafted this recipe here at HearthBite specifically because we believe cooking should bring joy, not stress. Sarah Miller, our founder, spent ages perfecting these simple steps so every home cook feels confident. You can read more about our story at HearthBite’s beginnings. It’s all about reliable, delicious results every single time. We want your table to be the heart of your home, and this loaf is the perfect centerpiece!
- Why This Homemade Italian Bread Recipe Works for Everyone
- Essential Ingredients for Your Easy Crusty Italian Bread
- Step-by-Step Instructions for Bakery Style Italian Loaf
- Tips for Success When Making Your Italian Bread
- Serving Suggestions for Your Fresh Baked Bread Aromas
- Storage & Reheating Instructions for Leftover Italian Bread
- Frequently Asked Questions About Making Italian Bread
- Share Your Experience Baking This Italian Bread
Why This Homemade Italian Bread Recipe Works for Everyone
Are you looking for the secret to Easy Crusty Bread Baking without the fuss? This recipe is built around achieving that amazing texture contrast—a super Soft Inside Crusty Outside Bread dream. I know lots of folks get nervous about yeast, but trust me, my biggest tip from Sarah Miller herself is this: don’t panic about the first rise!
If your dough doesn’t look perfect after the first hour, that’s okay! She says the yeast knows what it’s doing; just give it a little extra time in a slightly warmer spot. Since we use basic ingredients and simple kneading, it really lowers that barrier for anyone trying italian bread for the first time. It’s all about confidence here!
Achieving the Perfect Golden Brown Crust Bread
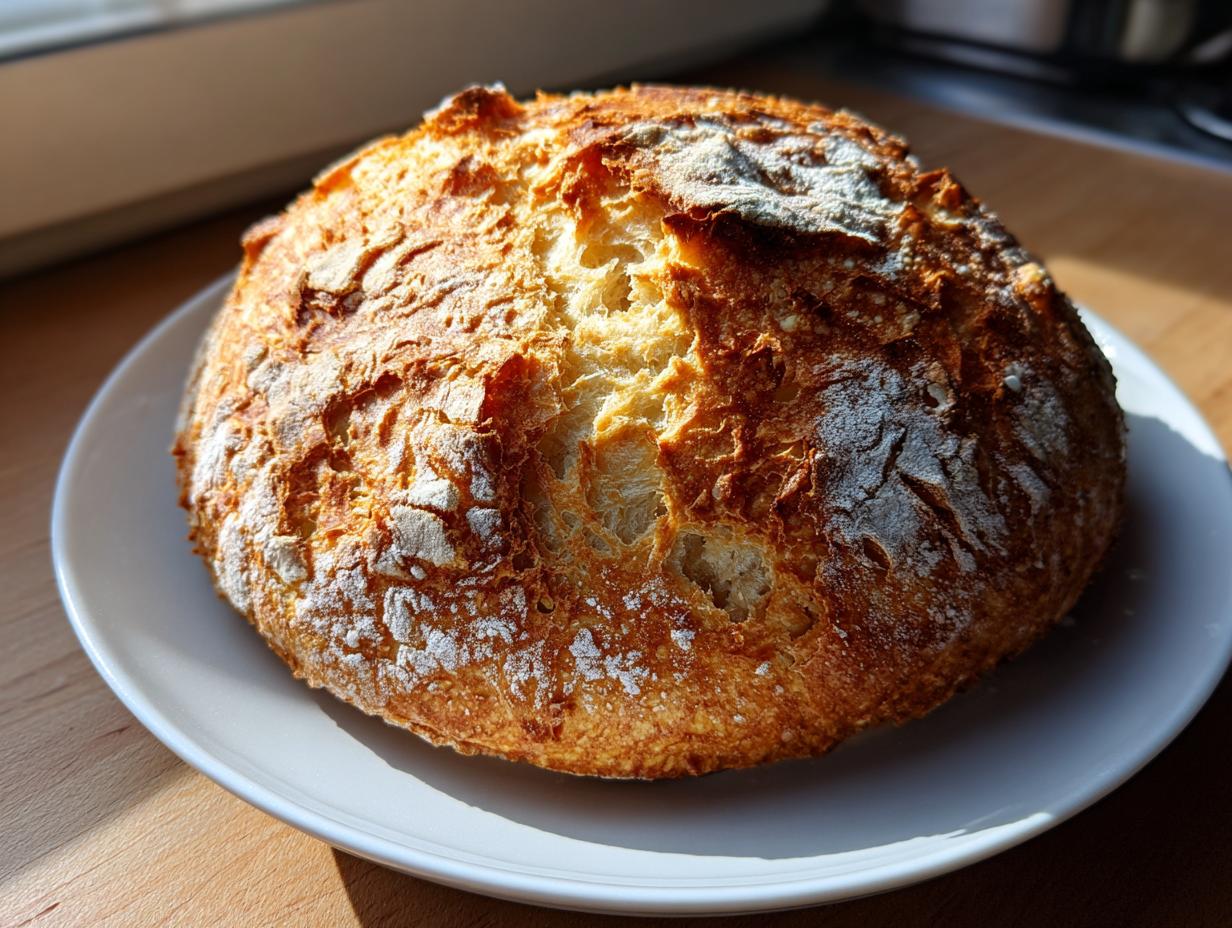
The crackle you hear when you slice this loaf? That’s all about steam! We use a simple trick mentioned in the instructions: placing a shallow pan on the bottom rack while the oven preheats. When you slide your bread in, you spritz that hot pan with water. That burst of steam keeps the crust soft long enough to expand fully, resulting in that incredible Golden Brown Crust Bread you see at the best bakeries.

Simple Ingredients for Classic Italian Baking
You don’t need to run out and buy specialty items for this. This is truly Classic Italian Baking made accessible. We stick to all-purpose flour, yeast, salt, a touch of sugar, and olive oil. That’s it! No fancy bread flour or mixes required. You probably have everything sitting in your pantry right now to make this amazing italian bread.
Essential Ingredients for Your Easy Crusty Italian Bread
When we talk about making homemade Italian bread that tastes incredible, it all starts with using exact measurements for these simple pantry staples. I learned the hard way that yeast is fussy, so pay attention to the details here, okay?
For the dry team, you are going to need exactly 3 1/2 cups of all-purpose flour and 1 1/2 teaspoons of salt, plus just 1 teaspoon of granulated sugar to wake up that yeast. Don’t skimp!
For the wet side, the water is crucial: it must be warm, sitting right between 105 and 115 degrees Fahrenheit. That’s the sweet spot for 2 1/4 teaspoons of active dry yeast – use exactly one packet if you’re measuring by volume. Finish it off with 2 tablespoons of olive oil, which really adds flavor, plus a bit extra to grease your bowl later.
Step-by-Step Instructions for Bakery Style Italian Loaf
Okay, now for the fun part! Turning that shaggy blob into an honest-to-goodness Bakery Style Italian Loaf takes just a little bit of elbow grease and patience. Follow these steps closely, and I guarantee you’ll be smelling that amazing crust in no time. If you need to reach out with a question during the process, you can always contact us here!
Mixing and First Rise for Chewy Italian Loaf
First things first, ditch the electric mixer—we’re going old school for this dough! Mix your flour, salt, and sugar together in a big bowl. In another small dish, dissolve your yeast in that 105-115°F water until it gets foamy—that’s how you know it’s alive! Pour that yeast mixture and the olive oil right into your dry stuff. Mix it with a wooden spoon until it looks messy, like shredded yarn. Now, turn it out onto a floured counter and knead, knead, knead! You need about 5 to 7 solid minutes until it feels smooth and stretchy. That kneading is what builds the strong gluten for that great Chewy Italian Loaf texture.
Once it’s smooth, lightly oil a clean bowl, pop the dough in there, and turn it around to coat. Cover it up tight and let it hang out in a warm spot for 1 to 1.5 hours. You are waiting for it to totally double in size. Don’t poke it too much!
Shaping and Second Proofing of the Italian Bread
When it’s doubled, gently punch the air out—just a quick press. Then, ease it onto your counter and shape it into a nice round ball or a cozy oval log. Get a baking sheet ready with parchment paper and put your loaf right there, covered loosely again. This second rest is shorter—maybe 30 to 45 minutes. You want it to look visibly puffy but not huge again. Patience is key here!
Baking Techniques for Maximum Crust Development
Time to crank up the heat! Preheat your oven to 400°F (200°C). This is important: put a shallow pan—like an old pie plate—on the very bottom rack while it preheats. Once the second rise is done, brush the top of your loaf with a little water (this helps scoring) and slash the top once or twice with a very sharp knife, just a half-inch deep. Slide that loaf onto the center rack, then—and this is the magic part—carefully pour about a cup of hot water into that hot pan on the bottom rack to create steam. Bake it hard for 30 to 35 minutes. When it’s done, it’ll sound completely hollow when you gently tap the bottom. If you want that real shatteringly crisp crust like the pros get, check out some advanced tips here!
Tips for Success When Making Your Italian Bread
You’ve done the hard work of mixing and waiting, so let’s talk about how to guarantee the best results for your italian bread! These little pointers are the difference between a good loaf and a “we need the recipe for this immediately” loaf. I know sometimes we want to swap things out, but trust me on the basics here.
First, that water temperature for the yeast? It is non-negotiable! If it’s lukewarm, the yeast sulks and doesn’t wake up. If it’s too hot—anything over 120°F—you actually kill it. My personal little tip? I keep a dedicated kitchen thermometer just for this, but honestly, the best way is the ‘baby bath’ test. It should feel pleasantly warm, not hot, when you dip a finger in. Consistency here makes your bread rise beautifully, which is essential for that nice lift.
Also, while you *could* try swapping in some whole wheat flour if you wanted more fiber, for this specific recipe aiming for that airy, chewy Italian loaf texture, stick to all-purpose flour. It has the right protein balance for the structure we need without getting too dense.
Ingredient Notes and Substitutions for This Recipe
Remember how I stressed the yeast water temperature? Make sure that water is between 105°F and 115°F so that 2 1/4 teaspoons of yeast really gets happy and foamy during that 5-minute bloom time. That tells you the whole mixture is ready to go!
For the flour, all-purpose is your champion here. It gives that classic, light interior crumb we are aiming for in this italian bread. If you throw in too much whole wheat, you might end up with a loaf that’s a bit too heavy for dipping, which defeats the purpose of serving it with olive oil! We want a light structure, not a dense brick.
Now, later on, depending on how you like your final loaf, you have a choice about the crust texture. If you want that maximum crackle, follow the steam instructions exactly, and maybe check out these great tips over at Naya Baker’s blog about getting that bakery finish.
But if your family hates a sharp, loud crust, don’t sweat it! Immediately after the bread comes out of the oven, brush the top with small knob of melted butter. It stops the crust from hardening fully, giving you a softer bite while still looking beautiful and golden.
Serving Suggestions for Your Fresh Baked Bread Aromas
Honestly, the absolute best part of this whole process isn’t even tasting it—it’s the smell! When that golden loaf comes out, filling your kitchen with those incredible Fresh Baked Bread Aromas, everything instantly feels cozy. That warm, yeasty, slightly toasted scent is just the best welcome home.
Since this italian bread is versatile, what do you do with it once it cools down enough to slice? Well, you have so many options! If you’re having Italian night, this is your star player. Don’t you dare serve an amazing marinara or lasagna without a big basket of this bread nearby for soaking up every last delicious drop. It’s truly the ultimate Dinner Side Bread Recipes choice.
And of course, you absolutely must save some for dipping! We often just drizzle some good quality olive oil—maybe with a tiny sprinkle of sea salt and black pepper—right onto a plate. These are my favorite kinds of Dipping Bread Recipes because you get that amazing contrast: crunchy crust meets soft center soaked in savory oil. It’s simple perfection!
You can also use the leftovers for incredible sandwiches the next day—the structure holds up perfectly! If you want to see how another blogger styles their amazing crust, check out this loaf inspiration over at Savoring Moments. But for now, go grab some butter or oil and enjoy that warm, crusty goodness while it’s fresh!
Storage & Reheating Instructions for Leftover Italian Bread
We hate to admit it, but sometimes we actually have leftover italian bread. It happens, usually because it’s so good we accidentally eat half the loaf standing over the sink, only to finish it the next day! The biggest challenge with a quality crusty loaf like this is keeping that crunch past the initial bake. Plastic bags are the enemy here, folks. Seriously, plastic traps moisture and turns that gorgeous, crisp crust into sad, rubbery disappointment overnight.
For storing leftovers, skip the plastic bag totally. You want air circulation but protection from drying out completely. The bakery trick? Wrap your cooled loaf snuggly in a clean paper bag, then maybe drop that into a slightly larger Ziploc bag, but leave the top of the Ziploc slightly open. This keeps it okay for a day or two.
Waking Up That Crusty Texture
But if the crust *has* gone soft—and it will—we have a simple revival trick that gets you back to that incredible Golden Brown Crust Bread experience. Don’t microwave it; that just makes it tough and chewy later on!
The best method is simple heat therapy. Take your cooled loaf (or half loaf) and toss it directly into a 350°F oven—no need to preheat the oven super high like when you baked it. You just want to warm the inside through and drive that surface moisture off. Give it about five to eight minutes. Maybe even give the top a quick spritz of water right before it goes in! When you pull it out, tap the bottom—it should sound hollow again, and you’ll have that satisfying crackle back in your Homemade Italian Bread Recipe.
Keeping It Fresh For Sandwiches
If you know ahead of time you’re saving half the loaf for sandwiches the next day, try to slice it *after* it has totally cooled, but don’t store the slices exposed. If you’re using it for a hearty filling later on, the main goal is just keeping the crumb soft enough to chew. If you must wrap it tightly in plastic *just* before bed, know that the crust will soften, but the interior will stay tender for slicing when you make your Simple Sandwich Bread the next morning.
Frequently Asked Questions About Making Italian Bread
It’s totally normal to have questions when you first dive into baking crusty loaves. Don’t worry if you’re feeling new to this—this recipe is designed to be a great starting point for Beginner Bread Making! We want you to feel super confident walking through this Quick Italian Bread Tutorial. Here are a few things I hear often from folks just starting out with their first loaf of italian bread!
Can I skip the kneading step in this Italian Bread Recipe?
Oh, I wish you could, but for this one, honestly, no, you really shouldn’t skip the kneading. Remember how we talked about getting that perfectly Chewy Italian Loaf texture? That chewiness? That comes entirely from developing the gluten network within the dough. If you just mix it and skip the 5 to 7 minutes of kneading, the dough won’t have the strength to hold all those beautiful air bubbles during the rise and bake. It’ll end up more like a softer roll texture than a rustic loaf!
How do I make this a No Knead Italian Bread?
This recipe isn’t designed as a true no-knead method, sadly. If you really want to try a no-knead approach, you absolutely can, but you have to dramatically change the timeline. Instead of that 1.5-hour first rise, you’re looking at maybe 12 to 18 hours on the counter or overnight in the fridge! The texture you get without kneading is usually much more open and irregular, almost like a ciabatta crumb. It’s delicious, but keep in mind it won’t match the uniform, slightly dense chew this particular italian bread recipe aims for.
What is the best way to use this bread for sandwiches?
This loaf makes the absolute best Simple Sandwich Bread because that crust gives you just the right backbone for heavy fillings—think thick slices of salami, mozzarella, or even just a thick layer of tuna salad. But here’s the most important thing to remember: You MUST let the bread cool completely before you slice it! If you cut into it while it’s warm, the steam escapes, and the interior gets sticky and gummy. Wait until it’s room temperature for the cleanest slices and the best texture contrast when you take that first bite!
If you check out the tips over at Cook Artisan, they have some great info on perfecting your crust, but don’t forget the cooling step, no matter how good that crust looks!
Share Your Experience Baking This Italian Bread
Now that you know all my secrets for getting that perfect, shattering crust on your homemade italian bread, I truly want to hear about it!
Baking is a shared experience here in the HearthBite kitchen, and seeing your successes is what keeps me sharing these recipes. Did the steam trick work wonders for you? Did your family devour the loaf while it was still warm? Don’t be shy!
Please take a minute to leave a star rating for this recipe right below this section. If you have any thoughts, questions, or those amazing crust results you want to brag about, drop a comment! I read every single one.
If you snap a photo of your beautiful golden loaf ready for dipping, please tag us! We love seeing our recipes come to life in your homes. We pour a lot of testing into these to ensure they are reliable—you can read about our commitment to privacy and testing standards here: our policies.
Go ahead, get that oven hot! I can’t wait to hear all about your first perfect, chewy loaf!
PrintEasy Crusty Homemade Italian Bread
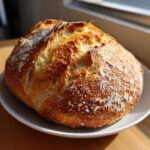
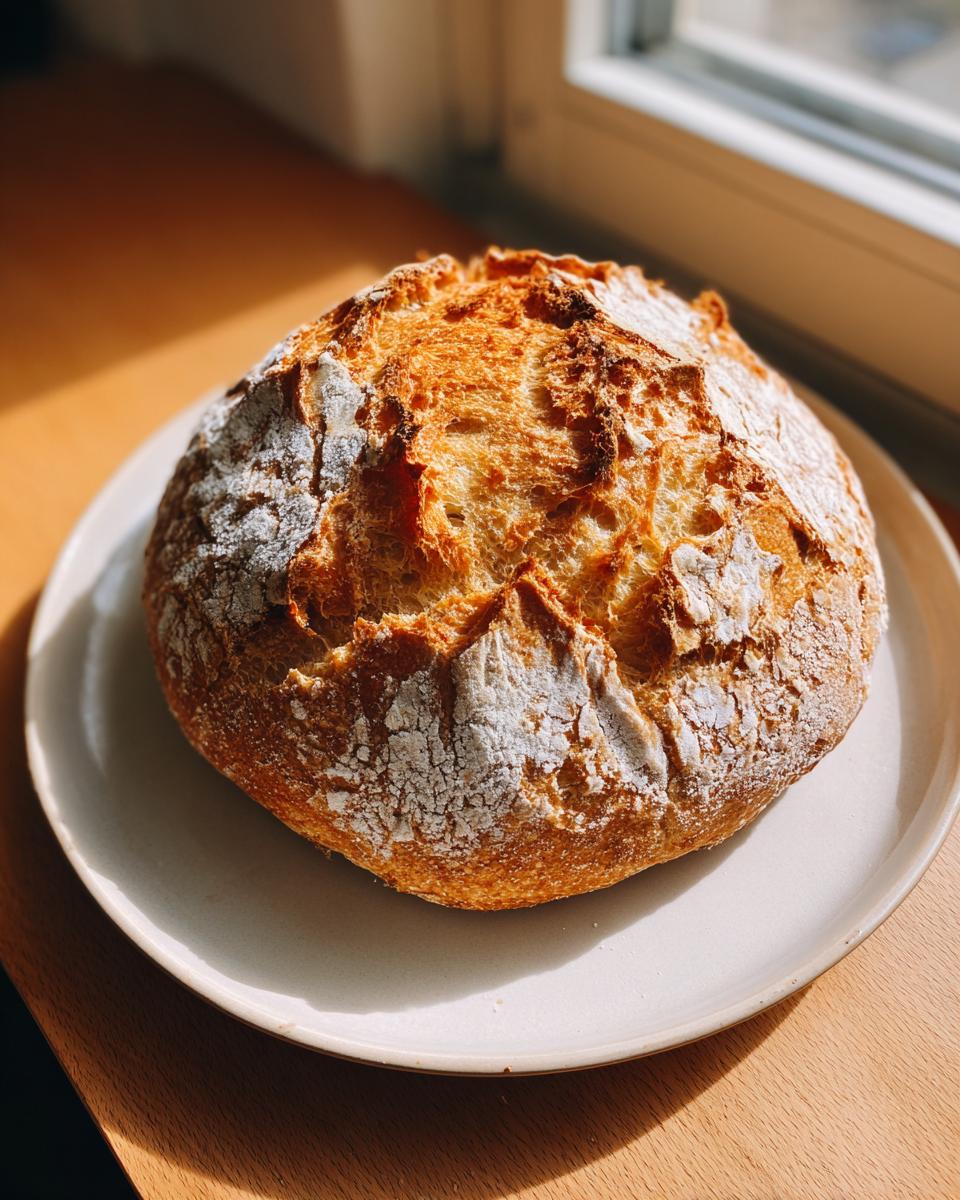
Bake a bakery-style Italian loaf with a golden, crunchy crust and a soft, chewy interior using simple pantry ingredients. This recipe is beginner-friendly and perfect for serving with dinner or making sandwiches.
- Prep Time: 20 min
- Cook Time: 35 min
- Total Time: 2 hours 50 min
- Yield: 1 loaf 1x
- Category: Bread
- Method: Baking
- Cuisine: Italian
- Diet: Vegetarian
Ingredients
- 3 1/2 cups all-purpose flour
- 1 1/2 teaspoons salt
- 1 teaspoon granulated sugar
- 2 1/4 teaspoons active dry yeast (1 packet)
- 1 1/2 cups warm water (about 105-115°F)
- 2 tablespoons olive oil, plus more for the bowl
Instructions
- In a large bowl, mix the flour, salt, and sugar.
- In a separate small bowl, dissolve the yeast in the warm water and let it sit for 5 minutes until foamy.
- Pour the yeast mixture and the olive oil into the dry ingredients. Mix with a wooden spoon until a shaggy dough forms.
- Turn the dough out onto a lightly floured surface. Knead for 5 to 7 minutes until the dough is smooth and elastic.
- Lightly oil a large bowl. Place the dough in the bowl and turn it to coat. Cover the bowl with plastic wrap or a clean kitchen towel.
- Let the dough rise in a warm place for 1 to 1.5 hours, or until it has doubled in size.
- Gently punch down the dough. Shape it into a round or oval loaf.
- Place the shaped loaf on a baking sheet lined with parchment paper or in a loaf pan. Cover loosely.
- Let the dough rise for a second time for 30 to 45 minutes, or until puffy.
- Preheat your oven to 400°F (200°C). Place a shallow pan on the bottom rack to create steam later.
- Before baking, lightly brush the top of the loaf with water. If desired, score the top with a sharp knife.
- Bake for 30 to 35 minutes, or until the crust is deep golden brown and sounds hollow when tapped. For extra crust, spray the inside of the oven with water from a spray bottle during the first 10 minutes of baking.
- Transfer the bread to a wire rack to cool completely before slicing.
Notes
- For a crispier crust, place a baking stone in the oven while preheating.
- If you prefer a softer crust, brush the loaf with melted butter immediately after it comes out of the oven.
- This bread is excellent for dipping in olive oil or serving with pasta sauces.
Nutrition
- Serving Size: 1 slice
- Calories: 150
- Sugar: 1
- Sodium: 250
- Fat: 2
- Saturated Fat: 0.3
- Unsaturated Fat: 1.7
- Trans Fat: 0
- Carbohydrates: 30
- Fiber: 1.5
- Protein: 5
- Cholesterol: 0