
I truly believe that the most special desserts don’t have to break your bank or steal your entire afternoon. Sometimes, the most elegant, show-stopping finals to a meal are built on simplicity and beautiful ingredients. That’s where these poached pears shine! We’re talking about gently simmering firm fruit in intoxicating red wine infused with warming spices.
This recipe for Spiced Red Wine Poached Pears is exactly the kind of comforting elegance I love to bring to my own table, especially when we have company over for the holidays. It feels gourmet, luxurious even, but honestly, it requires such minimal hands-on time. It’s a family favorite for special occasions because it tastes like you spent hours fussing, but you really didn’t!
This dish is proof that good food is about connection and care. If you’re looking for a beautiful, warm, spiced fruit dessert that looks incredibly impressive, stick with me. You can serve these with a side of something creamy from the freezer or bake up some of my favorite comfort food recipes for the main course.
- Why This Spiced Red Wine Poached Pears Recipe Works (The HearthBite Difference)
- Ingredients for Elegant Poached Pears
- How To Poach Pears: Step-by-Step Instructions
- Flavor Variations for Your Poached Pears Recipe
- Serving Suggestions for Your Elegant Fruit Dessert
- Storage & Make-Ahead Tips for Poached Pears
- Frequently Asked Questions About Poached Pears
- Nutritional Estimates for Poached Pears
- Share Your Poached Pears Creations
Why This Spiced Red Wine Poached Pears Recipe Works (The HearthBite Difference)
I always want my recipes to deliver maximum wow factor with minimal kitchen stress. That’s the HearthBite promise, and this dessert nails it every single time. You get incredible depth of flavor without having to fuss over timers or complicated techniques.
- It’s unbelievably easy—seriously, it’s mostly hands-off simmering time.
- It looks sophisticated enough for a dinner party but tastes like cozy comfort food.
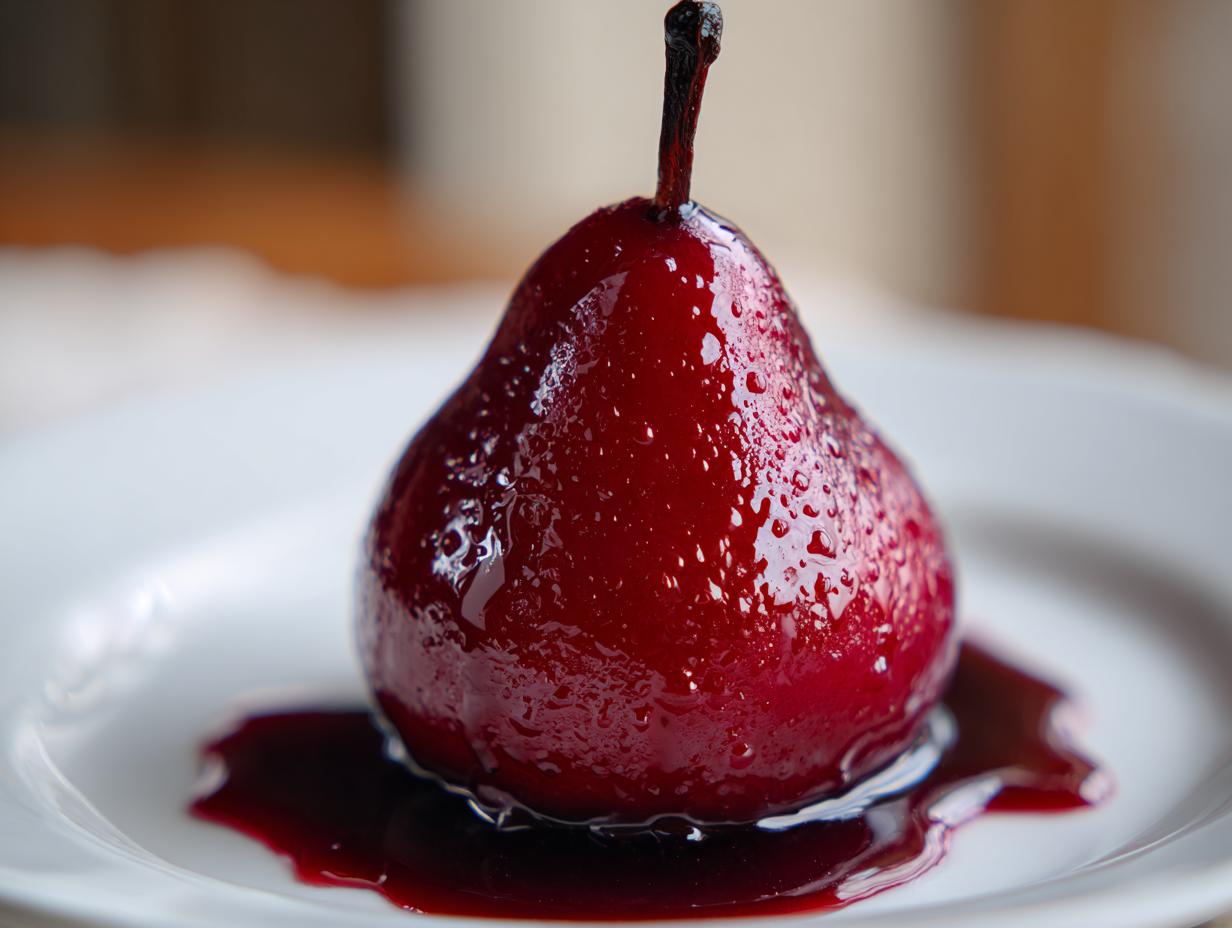
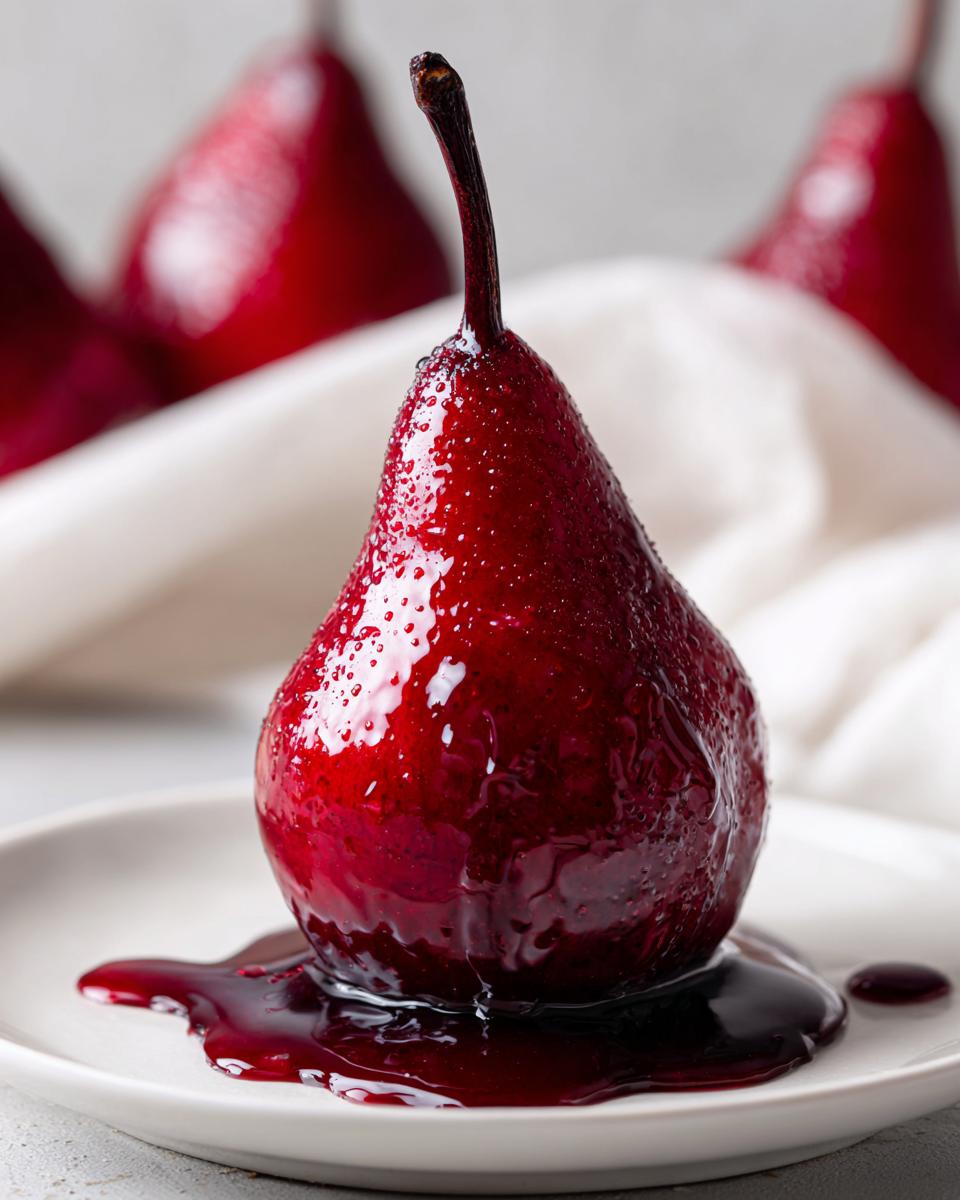
- The final result of these poached pears is a stunning, deep, jewel-toned color that photographs beautifully.
Achieving That Jewel Tone Color
The secret to that rich, gorgeous color is entirely in the red wine, of course. As the wine concentrates during the reduction phase, it coats the fruit in this amazing, rich stain. It’s completely natural, and it ensures your final dish looks absolutely breathtaking.
Tender Poached Pears Technique
The Tender Poached Pears Technique is all about patience when it comes to the heat. You must let the liquid come to a gentle simmer, not a rolling boil, once the pears are added. Boiling them hard will shred the beautiful exterior we worked so hard to protect. We are looking for tender, not mushy!
Ingredients for Elegant Poached Pears
When you’re making something this simple, quality matters, just like in my grandmother’s baking. For these elegant poached pears, we need firm fruit and fragrant spices. Don’t try to substitute the good stuff here!
- 4 firm pears (I really recommend Bosc or Anjou, trust me on this one)
- 1 bottle (750 ml) dry red wine (Merlot or Cabernet Sauvignon works beautifully)
- 1 cup granulated sugar
- 1 vanilla bean, split lengthwise (make sure you use your knife to scrape those seeds right into the wine before adding the pod back in!)
- 2 cinnamon sticks
- 6 whole cloves
- 1 strip orange zest (just about 2 inches—no bitter white pith, please!)
Choosing the Right Pears for Poached Pears
This is where many people rush things, and it’s a mistake! You absolutely must use firm pears, like Bosc or Anjou, when making poached pears. Softer varieties, like Bartlett when they’re perfectly ripe, just turn into mush before they can absorb all that gorgeous wine flavor. Firmness equals structure!
How To Poach Pears: Step-by-Step Instructions
Okay, let’s get these beauties cooking! This is where the magic of turning simple fruit into something spectacular happens. Don’t overthink this part; just follow the rhythm. We are aiming for tender, beautifully colored poached pears, and it happens right here on the stovetop.
- First things first, peel your pears, but please, leave those lovely stems on! It just looks so much more elegant for serving. If you want them to sit perfectly upright later, carefully slice a thin bit off the bottom so they have a flat base.
- Take your biggest saucepan—it needs to fit all the pears standing snugly together. Toss in the red wine, sugar, the scraped vanilla seeds, the vanilla pod, cinnamon sticks, cloves, and that strip of orange zest.
- Set the pan over medium heat. Stir gently until you see that sugar has completely vanished into the wine. It needs to be smooth before the pears go in. You don’t want crunchy sugar spots!
- Once the liquid is warm and steamy, gently nestle the peeled pears right into the pan. You want the liquid to cover at least two-thirds of them. If they look too exposed, just top it off with a little water.
- Now, choke back the heat! We cut it down to low—just the barest, gentle, lazy bubble. Partially cover the pan and let them simmer slowly for about 20 minutes, or up to 35 if your pears are rock hard. Give them a little turn every ten minutes so they soak up that color evenly.
Don’t worry about perfectly timing that dip in texture; just use a sharp little paring knife to test them. When the knife slides in without much resistance, they are done cooking. Once tender, scoop the pears out gently and set them on a plate for a minute. Now, we focus on the sauce! You can find quick tips for things like easy pizza sauce, but this next step is crucial for dessert success.
Preparing the Poaching Liquid for Spiced Pears Dessert
This poaching liquid is the absolute core of the flavor infusion for your spiced pears dessert. Don’t skimp on the aromatics! Throwing in that whole vanilla bean pod, even after you’ve scraped out the sugary seeds, adds a subtle perfume that makes the whole kitchen smell incredible. I always toss in the orange zest last because it brightens up the earthiness of the wine and cloves so nicely. It’s all about layering those warm, cozy notes together before the fruit even hits the bath.
Reducing the Syrup for Perfect Poached Pears
This is the payoff step! Once you pull those gorgeous pears out, turn that heat back up to medium-high. You want that wine mixture to boil—boldly! Keep it boiling uncovered until it thickens up into a lovely, glossy syrup. This reduction concentrates that beautiful red color and the spiced flavor. When you can drag a spoon through the liquid and it leaves a trail behind for a second or two, that’s when you know you’ve created the perfect coating for your poached pears.
Flavor Variations for Your Poached Pears Recipe
While I absolutely adore this classic red wine version, making poached pears is such a flexible process. It’s fun to switch things up, especially depending on what bottle of wine you happen to have open! I always feel like baking is about experimentation, right?
Since we are already using a lot of great spices, adding an extra layer of spirit or changing the base liquid gives you a totally new dessert experience. For example, if you’re hosting a big holiday dinner where you need a show-stopper, you could easily shift gears based on these ideas. Check out how we handled wine in this recipe for braised chicken thighs—the flavor concentration principles are similar!
Making Vanilla Poached Pears
If you don’t have a vanilla bean—and sometimes those beautiful things are pricey—you can certainly pivot toward simple vanilla poached pears. Just skip adding the actual pod to the pot. Instead, use a full teaspoon of really good quality vanilla extract. My tip? Stir the extract in right at the very end, *after you take the pot off the heat. Vanilla heat destroys its delicate flavor, so adding it last preserves that wonderful aroma.
Alternative: Moscato Poached Pears Recipe
If deep red wine isn’t your speed, especially for a summer meal or if you want a truly light dessert, switch your liquid base! Forget the dry red wine and use a sweet Moscato instead. This results in a much paler, almost golden pear, and the syrup stays inherently sweet, meaning you might cut back on the added sugar too. It’s a fabulous, bright flavor twist.
Oh, and don’t forget the boozy variation! If you want to try the famous combo I saw suggested online with dark spirits, just swap out about 1/4 cup of the wine—or use this recipe as a base—and add in some bourbon! That smoky note pairs unbelievably well with the cinnamon. You can see another great take on the vanilla bourbon poached pears inspiration out there.
Serving Suggestions for Your Elegant Fruit Dessert
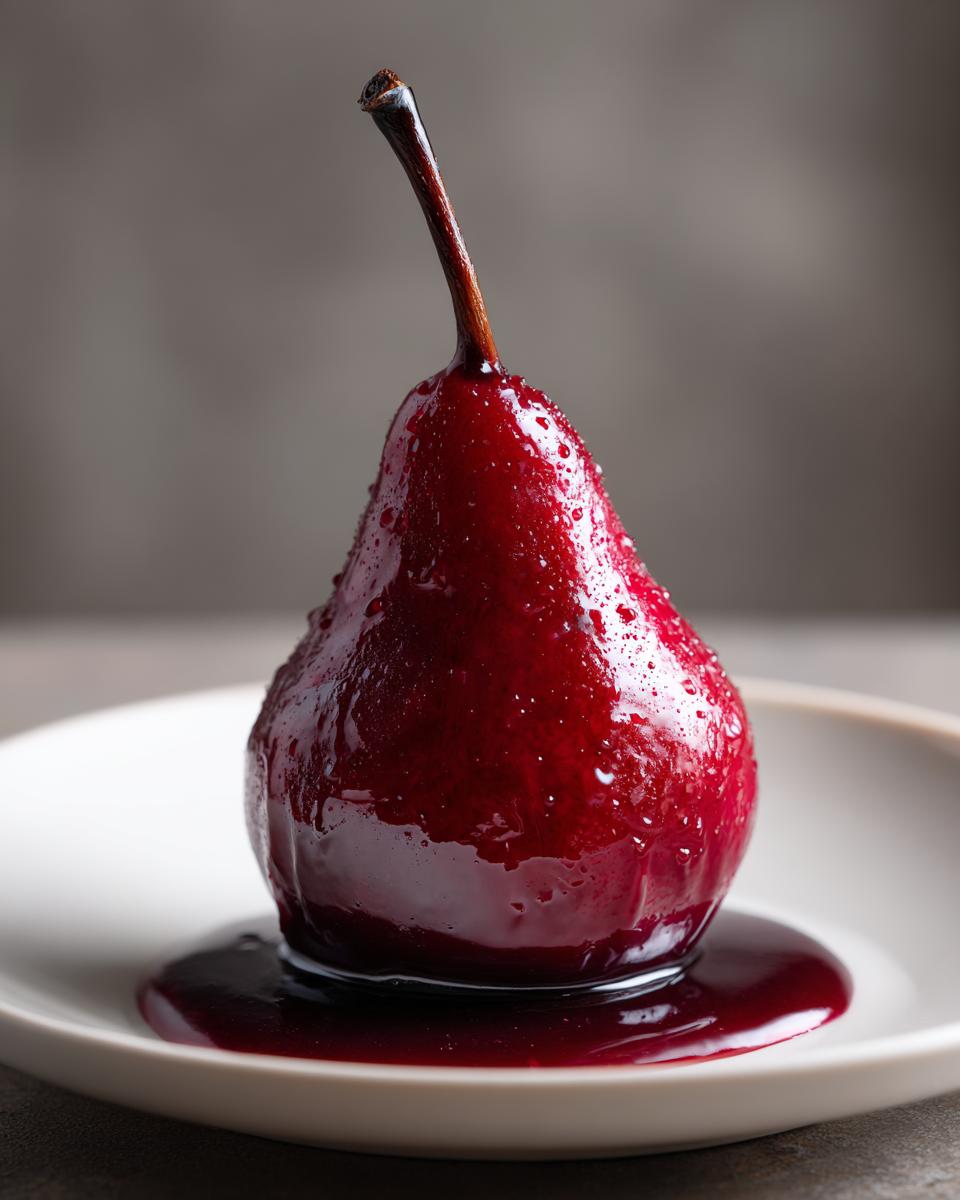
We’ve done all the work—the poaching, the reducing—now it’s time to make this truly shine on the plate! This is where our Elegant Fruit Dessert goes from delicious to ‘Wow, did you make this for a cooking competition?’ The way the deep, jewel-toned syrup clings to the pear is half the beauty of the dish, so don’t be stingy when spooning it over the top!
My favorite way to serve these, especially on a chilly night, is warm with a scoop of really good quality, cold vanilla ice cream. The temperature contrast is just wonderful. If I’m feeling extra fancy—maybe ringing in the New Year or celebrating an anniversary—I skip the ice cream and make a quick batch of crème anglaise instead. That rich custard sauce just complements the spiced wine syrup perfectly.
If you need a great side recipe for topping things off, I often whip up my classic Southern banana pudding for dessert the next night, but for these pears, keep it subtle. You can also check out why others love serving theirs with homemade crème anglaise for an extra touch of refinement.
Storage & Make-Ahead Tips for Poached Pears
Here’s the best part about making this elegant dessert: it tastes even better the next day! Seriously, those spices have more time to work their magic overnight. You can totally make these ahead of time, which is a lifesaver when you’re hosting.
Once the sauce has cooled a little, keep those beautiful poached pears submerged right in that reduced syrup. Transfer the whole thing—pears and sauce—into an airtight container. They last wonderfully for about three days tucked away in the fridge. It makes cleanup so easy the next day, too. If you’re looking for other make-ahead recipes, check out my notes on my no-cook strawberry freezer jam; I rely on preparation!
Frequently Asked Questions About Poached Pears
Since these beautiful poached pears look so impressive, people often think they must be tough to make, but I promise you, they aren’t! I get so many questions about technique and adaptation, so let’s clear up a few things. Hopefully, this helps boost your confidence when trying this recipe—it’s genuinely ideal for great Winter Dessert Ideas.
Can I make these poached pears in a slow cooker?
Yes, you totally can! People love turning to their slow cooker when they want something hands-off. The process is almost identical: set up your liquid, add your spices, and nestle the pears in. The main difference is that slow cooker poaching takes much longer—sometimes three to four hours on low. Also, you won’t get that intense syrup reduction you would on the stovetop, so you’ll need to carefully transfer the liquid to a small pot on the stove afterward to thicken it up.
What is the best way to serve these as a light dessert?
If you’re looking for lighter, less decadent post-meal treat, forget the heavy ice cream or thick caramel sauce! For truly easy poached pears that feel breezy, serve them chilled. Take the cooled pear out of the syrup, drizzle just a little bit of that reduced wine sauce over the top, maybe add a sprig of mint for color, and call it a day. The fruit is naturally sweet enough to stand on its own!
I often rely on simple recipes when time is short, like when I need a quick snack before rushing into my easy breakfast recipes the next morning. These pears fit that quick-but-quality profile perfectly!
Nutritional Estimates for Poached Pears
Okay, so while I don’t spend a lot of time counting every single macro when I’m enjoying a dessert, I know some of you need to see the numbers! Since we are dealing with wine and sugar, I wanted to give you a baseline idea of what you’re looking at with this recipe.
Remember, this is just an estimate for one serving—one pear with a generous drizzle of that thick, reduced syrup. It changes slightly based on the exact wine you use and how much you reduce the sauce, of course. Treat this as a helpful guide rather than a hard rule for your journey in the kitchen.
- Serving Size: 1 pear with syrup
- Calories: About 320
- Carbohydrates: 85g
- Sugar: 55g (Yes, it’s sweet, that wine reduction concentrates everything!)
- Fat: 0.5g
- Protein: 1g
See? Very low in fat—it’s practically guilt-free, provided you manage that sugar content! It’s a fantastic option when you want something profoundly satisfying that won’t weigh you down after a large meal. It’s all about balance, honey!
Share Your Poached Pears Creations
I truly hope you loved making these beautiful poached pears as much as I love sharing them with you. When you take the time to create something this elegant, I want to see it! Please leave a star rating right down below and tell me what accompaniment you chose—was it ice cream or that lovely crème anglaise?
If you snapped a picture, tag us on social media! We love seeing HearthBite dishes making memories around your tables. If you have any questions, don’t hesitate to reach out via my contact page. Happy cooking, friend!
PrintElegant Spiced Red Wine Poached Pears with Vanilla
Make this elegant dessert easily. Pears simmer in red wine with citrus and warm spices until tender, achieving a beautiful jewel-toned color. Serve warm with crème anglaise or ice cream.
- Prep Time: 15 min
- Cook Time: 35 min
- Total Time: 50 min
- Yield: 4 servings 1x
- Category: Dessert
- Method: Stovetop
- Cuisine: American
- Diet: Vegetarian
Ingredients
- 4 firm pears (Bosc or Anjou recommended)
- 1 bottle (750 ml) dry red wine (like Merlot or Cabernet Sauvignon)
- 1 cup granulated sugar
- 1 vanilla bean, split lengthwise
- 2 cinnamon sticks
- 6 whole cloves
- 1 strip orange zest (about 2 inches long)
Instructions
- Peel the pears, leaving the stems intact. You can trim a thin slice from the bottom so they stand upright when served.
- In a saucepan large enough to hold the pears standing up, combine the red wine, sugar, vanilla bean (seeds scraped into the liquid and the pod added back), cinnamon sticks, cloves, and orange zest.
- Bring the liquid to a simmer over medium heat, stirring until the sugar dissolves completely.
- Gently place the peeled pears into the simmering liquid. The liquid should cover most of the pears. If needed, add a small amount of water.
- Reduce the heat to low. Cover the saucepan partially and let the pears simmer gently for 20 to 35 minutes, depending on the ripeness of your pears. You want them tender when pierced with a knife but not mushy.
- Turn the pears occasionally during cooking to ensure even color absorption.
- Once tender, carefully remove the pears from the liquid and set them aside.
- Increase the heat to medium-high and boil the remaining poaching liquid, uncovered, for 10 to 15 minutes until it reduces to a thick, syrupy consistency. This is your sauce.
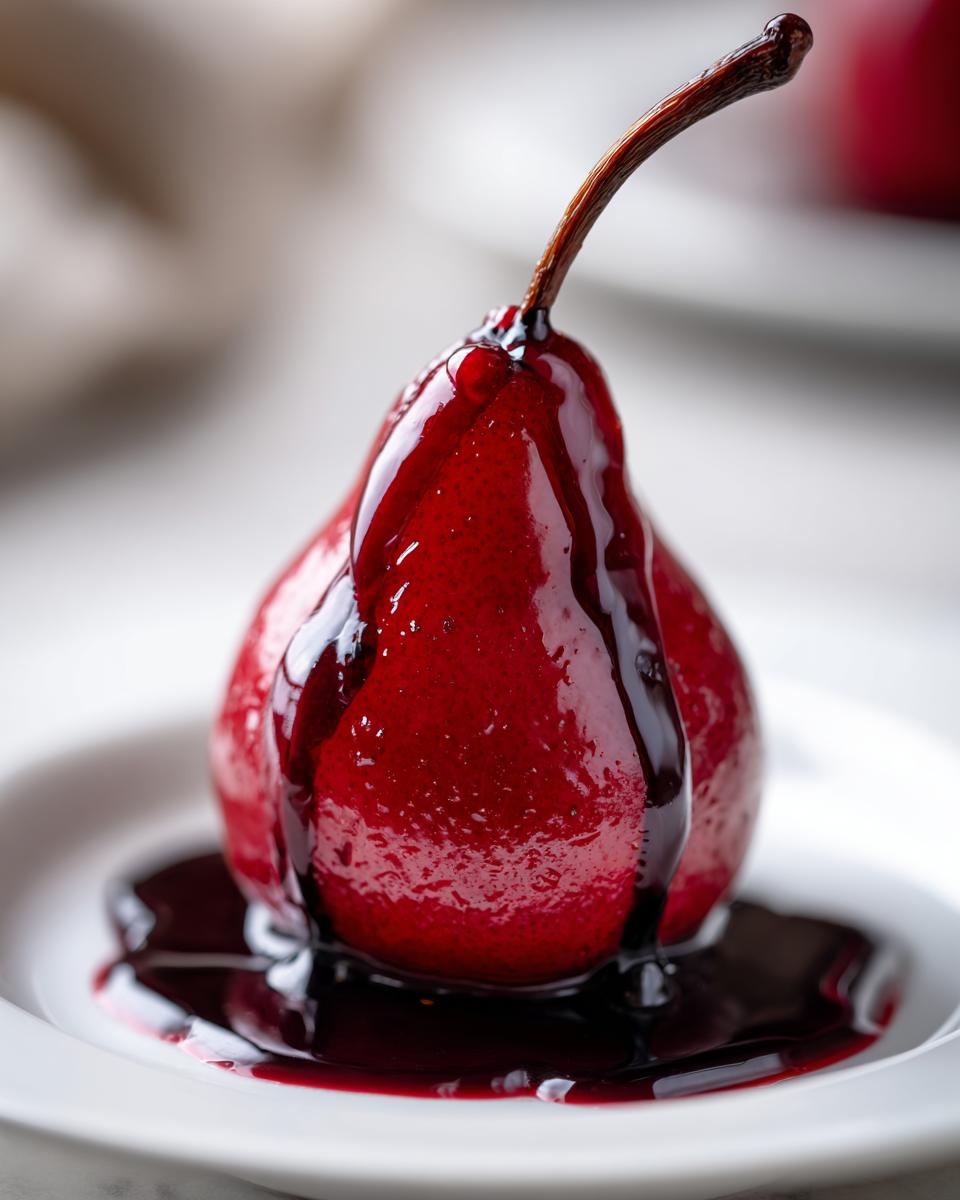
- To serve, place one or two pears in a bowl. Spoon the reduced red wine syrup over the top. Serve warm or chilled with a side of vanilla ice cream or crème anglaise.
Notes
- For a bourbon variation, add 1/4 cup of bourbon to the poaching liquid along with the wine.
- To achieve a deeper jewel tone, use a darker red wine.
- If you prefer a lighter syrup, use less sugar or substitute some of the sugar with honey.
- You can make these ahead; store the cooled pears submerged in the strained syrup in the refrigerator for up to three days.
Nutrition
- Serving Size: 1 pear with syrup
- Calories: 320
- Sugar: 55
- Sodium: 5
- Fat: 0.5
- Saturated Fat: 0.1
- Unsaturated Fat: 0.4
- Trans Fat: 0
- Carbohydrates: 85
- Fiber: 7
- Protein: 1
- Cholesterol: 0