
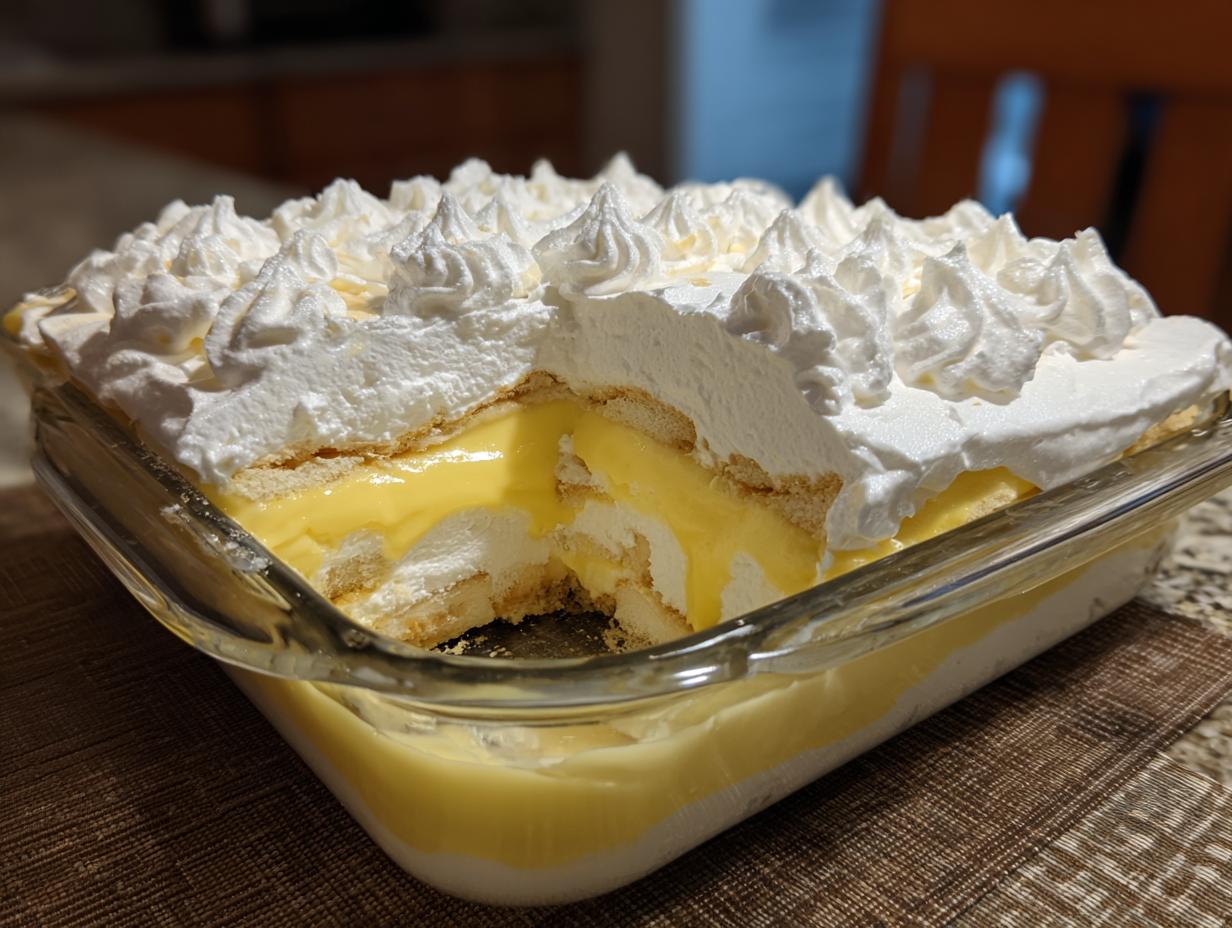
Oh, when I think about classic comfort desserts, my mind immediately goes straight to something creamy and cool—something that just hugs you from the inside out. That’s why I never keep a secret when it comes to our Best Old-Fashioned Southern banana pudding. This isn’t some rushed, box-mix version; this recipe is the real deal, built on that rich, slow-cooked custard foundation that makes the whole dessert sing.
When I first started HearthBite, my pledge was to share only the recipes that are absolutely road-tested and carry that real homemade flavor. Believe me when I say that every time I make this pudding, I feel like I’m channeling my grandmother’s warmth. We’re ditching shortcuts today because when it comes to Southern staples, tradition just tastes better. You’re going to absolutely love how this layered dessert comes together!
If you are looking for more comforting meals that feel like home, you should definitely check out my collection of supreme comfort food recipes!
- Why This Old-Fashioned Southern Banana Pudding Recipe Works
- Gathering Ingredients for Classic Banana Pudding
- Step-by-Step Instructions for No Bake Banana Pudding
- Expert Tips for the Best Homemade Banana Pudding
- Storage and Making Ahead of Your Banana Pudding
- Frequently Asked Questions About Classic Dessert Recipes
- Estimated Nutritional Content for This Banana Pudding
- Share Your Southern Banana Pudding Recipe Experience
Why This Old-Fashioned Southern Banana Pudding Recipe Works
I’m going to be honest with you—there are a million ways to whip up this dessert, but if you want that true, rich Southern experience, you have to commit to a few key details. This recipe skips all the grainy shortcuts and focuses on pure comfort. It’s no-bake, which is a huge win for summer potlucks, but the flavor is intense.
Here’s why people always ask me for this specific version of the banana pudding:
- It uses a genuine, from-scratch custard that is incredibly rich.
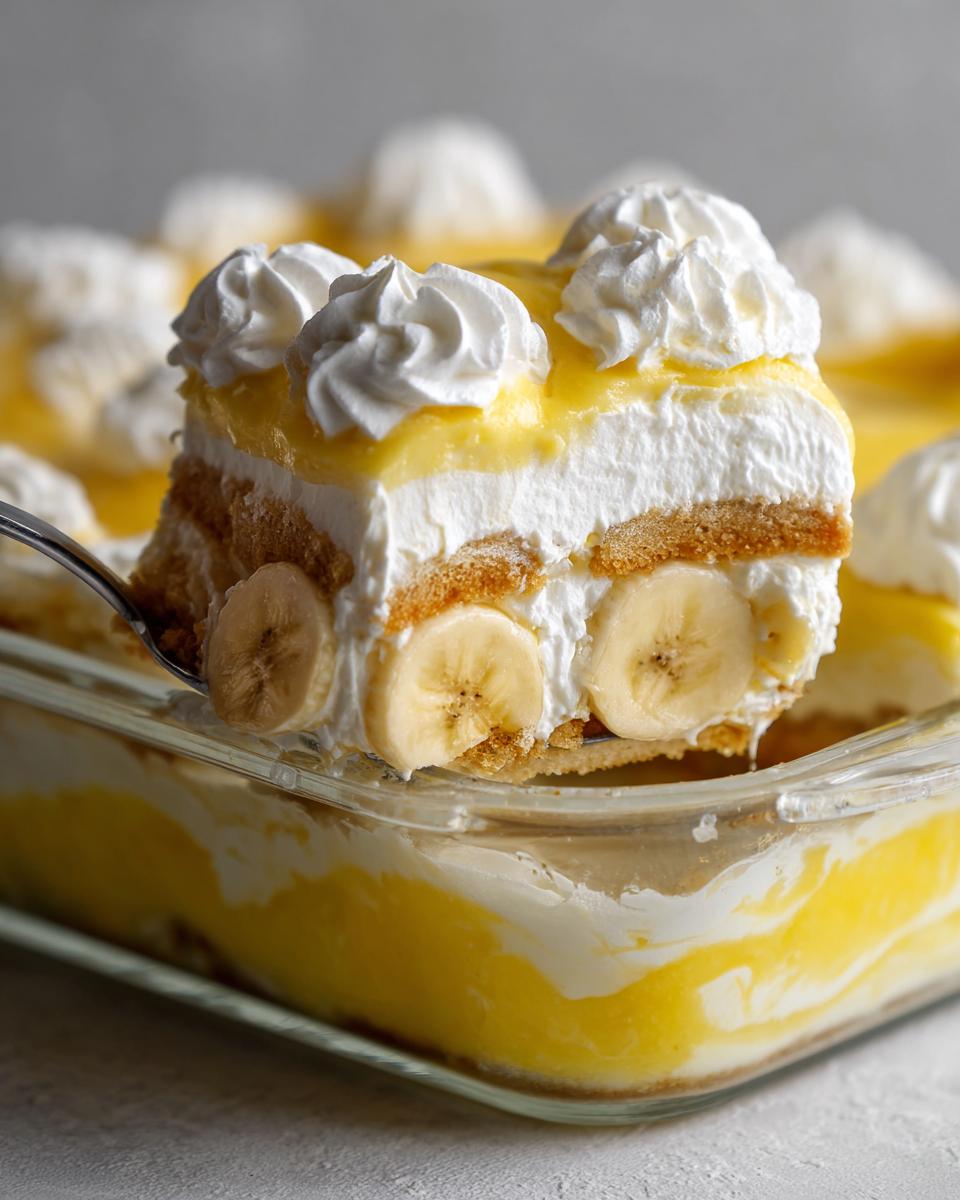
- It offers that perfect balance of textures—creamy pudding next to soft cake-like wafers.
- It’s designed to be made ahead, letting the flavors truly marry together beautifully.
Achieving a Truly Creamy Banana Pudding Custard
Skip the instant stuff! When you take the time to cook the flour, sugar, and egg yolks with the milk, you create something thick, substantial, and truly decadent. That slow cooking process is what gives you that luxurious, velvety texture. Honestly, the pudding has to chill for a couple of hours on its own before we even think about layering, just to get that perfect set.
The Secret to Perfect Banana Pudding with Vanilla Wafers
This is where most inexperienced folks go wrong. If you assemble the pudding and serve it immediately, those vanilla wafers stay crunchy, and frankly, that’s not what we want in classic Southern banana pudding. The magic happens in the fridge overnight! The moisture from the custard seeps into those wafers, transforming them into a soft, melt-in-your-mouth cake layer. It’s the best part!
Gathering Ingredients for Classic Banana Pudding
Okay, now that we know *why* this recipe is the one to use, we have to make sure we have all our components ready to go. Since this is a scratch recipe, we’re dealing with a few distinct parts: the cooked custard, the fresh fruit and wafers for layering, and that gorgeous airy topping.
Gathering everything first is key—it keeps us organized once we start cooking the custard on the stovetop. It’s all about precision here so that sweet, creamy texture comes out exactly right. If you’re looking for other high-quality staples to stock, you might want to check out my recipe for sweet caramels!
For the Homemade Custard Base
This is the heart of the dessert, so don’t skimp! Since we’re making it completely from scratch, here is what you need to pull together for that rich base:
- 1 cup granulated sugar
- 1/2 cup all-purpose flour
- 1/4 teaspoon salt (Just a pinch, but it makes a difference!)
- 4 large egg yolks, lightly beaten (Make sure they are well whisked!)
- 3 cups whole milk (I really prefer whole milk for the best mouthfeel here.)
- 1 teaspoon vanilla extract (Use the good stuff if you have it!)
For Layering the Banana Pudding
These simple additions provide the structure and the flavor punch we need. Don’t grab those rock-hard green bananas; we need ones that are just starting to get those little brown freckles on the peel.
- 4 large ripe bananas, sliced (Firm is best!)
- 1 box (11 ounces) vanilla wafers (Nilla Wafers are classic for a reason, trust me.)
For the Whipped Cream Topping
We keep the topping light and simple to complement that heavy custard underneath. It should be light and airy, not too sweet.
- 1 cup heavy cream, cold (It has to be cold to whip up properly!)
- 2 tablespoons powdered sugar
Step-by-Step Instructions for No Bake Banana Pudding
Alright, time to put on your apron! Even though this is a no bake banana pudding, Step One begins on the stovetop—that’s where the magic for the custard happens. Remember, we’re keeping things moving, especially the stirring, so our kitchen stays happy!
If you need a quick break from stirring on the stove, maybe check out my recipe for quick pizza sauce, though this pudding requires much more focused attention!
Making the Rich, From Scratch Banana Pudding Custard
First things first, grab your saucepan. Whisk together the sugar, flour, and salt until they look like a decent dry mix. Now, slowly pour in the milk while you whisk like crazy! We want zero lumps hanging around. Heat this over medium heat, but you have to stir constantly until it coats the back of a spoon—it should look thicker, not soupy.
This next part is crucial for showing off your skills: tempering the yolks. Take those 4 beaten yolks in a separate small bowl. Ladle about half a cup of that hot milk mixture *very slowly* into the yolks while whisking them non-stop. That keeps them creamy, not scrambled! Once tempered, pour the yolk mixture back into the main pot. Cook for just one more minute, then pull it off the heat and stir in that vanilla. Pour the finished custard into a clean bowl and here’s a pro tip: press a piece of plastic wrap right against the surface. This stops that ugly skin from forming while it cools down completely in the fridge—at least two hours!
Assembling Your Layered Banana Dessert
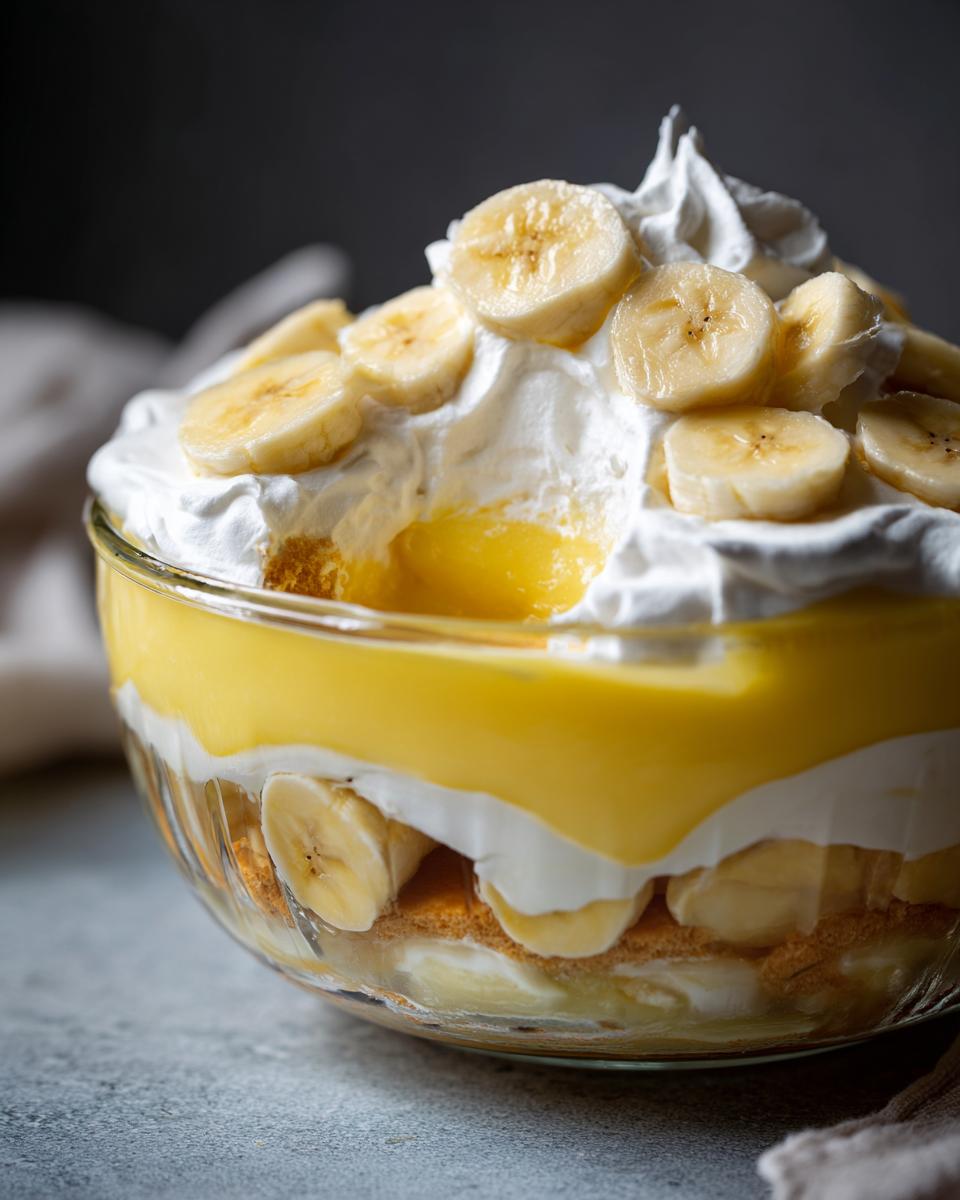
Once that custard is nice and cold—seriously, don’t rush this part—we can build this masterpiece. Grab your big glass dish or those cute little cups. We start with a small layer of vanilla wafers on the bottom. Then, sprinkle on some of those sliced bananas, followed by a generous layer of that cooled, creamy custard.
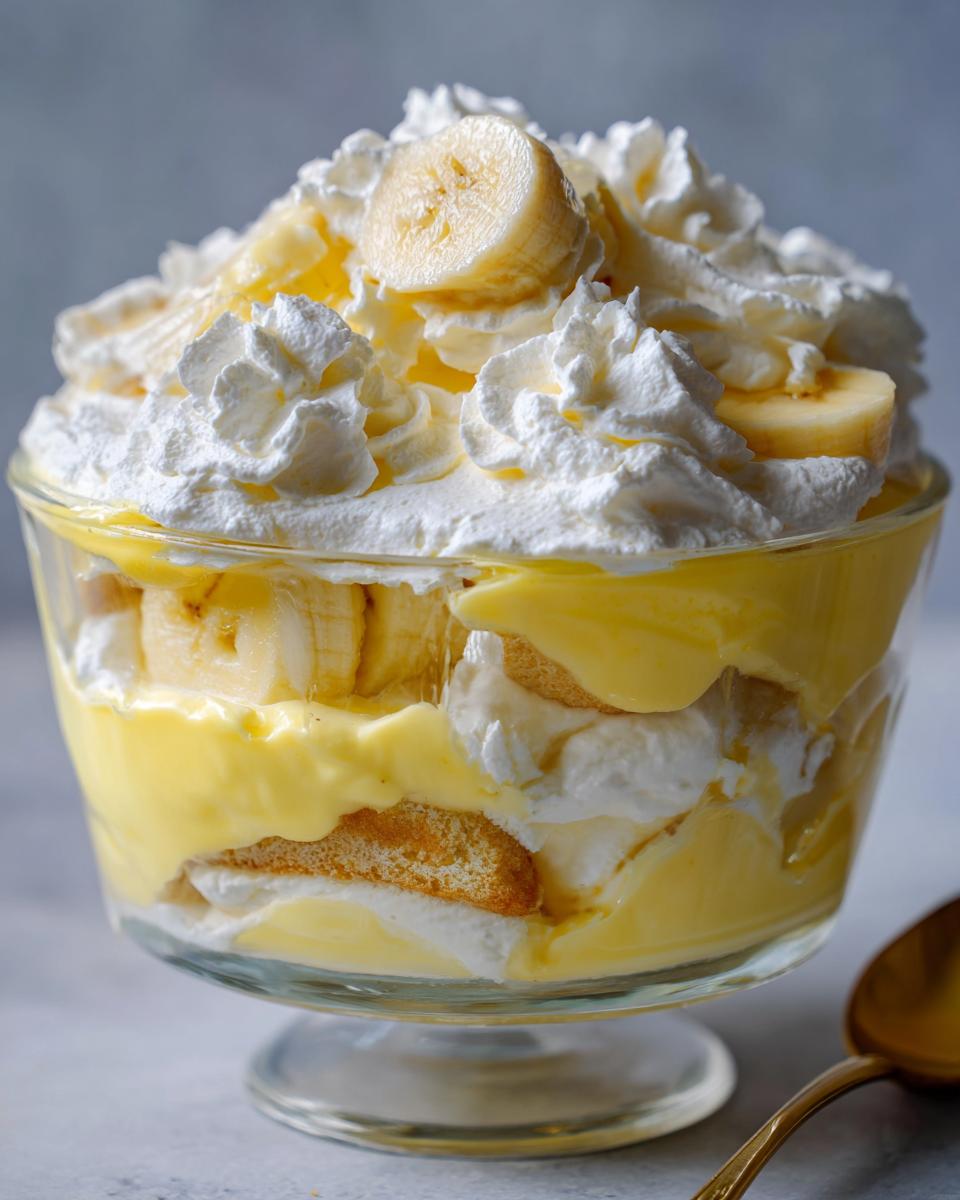
You just keep repeating that pattern: wafers, bananas, custard. Keep going until all your ingredients are used up. Make sure the very top layer is custard—we want that smooth, creamy blanket over everything so the wafers underneath get perfectly saturated while chilling.
Chilling and Serving the Banana Pudding
Now, we step away! Cover that dish and let it chill for a minimum of four hours, but if you can manage it, overnight is truly the goal for the best texture. That chilling time allows the vanilla wafers to transform into that wonderfully soft, cake-like consistency that we associate with incredible banana pudding.
Just before you bring it to the table, whip up your heavy cream and powdered sugar until stiff peaks form. Dollop that glorious whipped cream right on top. Slice it up and enjoy—it’s Southern dessert perfection!
Expert Tips for the Best Homemade Banana Pudding
Even though this recipe is based on old-school methods, I’ve picked up a few tricks over the years—mostly by making mistakes! These little changes ensure your banana pudding comes out looking beautiful and tasting exactly how it should. You want that tender layering, and it all comes down to the fruit and choosing your style.
If you happen to be experimenting with other baked treats, I have a fantastic bread pudding recipe that uses similar custard principles!
Banana Selection for Optimal Banana Pudding
This is non-negotiable for me. If you know you won’t be serving the pudding until the next day (say, for a big brunch or potluck), grab bananas that are still slightly firm. If they are perfectly speckled yellow, they might turn to mush after 12 hours in the fridge. But if you need to serve it the same evening you assemble it, go ahead and use those perfectly ripe, totally yellow bananas!
Variations: Copycat Magnolia Bakery Banana Pudding
I know some of you are totally devoted to that lighter, almost whipped texture you find at certain famous bakeries. If that’s your jam, you can absolutely cheat on the custard layer! For a fantastic banana pudding copycat, you skip making the custard entirely. Just mix one box of instant vanilla pudding with one cup of sweetened condensed milk and about 1 1/2 cups of cold water. Fold that mixture into a cup of store-bought whipped topping. It’s faster, but keep in mind, it tastes lighter than the rich, old-fashioned version we made today!
Storage and Making Ahead of Your Banana Pudding
Now, this dessert is famous for being perfect for potlucks and gatherings, which means making it ahead of time is usually required! I always prepare my pudding the day before we need to serve it. Covering it tightly and letting it chill overnight in the refrigerator is honestly the best thing you can do for the texture.
When it sits overnight, those vanilla wafers soak up just enough moisture from our thick, creamy layers to become delightfully soft—they turn almost cake-like! This aging process really lets all those flavors settle in together, which is why Southern recipes usually taste even better the second day.
I know folks are always asking about freezing desserts, especially when it comes to summer treats, but I really advise against freezing this one. The custard texture doesn’t hold up well after thawing; it tends to get a bit grainy or watery. Plus, the fresh bananas can turn dark and mushy. It’s best enjoyed fresh from a good 4-hour chill or, ideally, after resting overnight in the fridge. It usually lasts beautifully in an airtight container for about three days total.
Frequently Asked Questions About Classic Dessert Recipes
It’s always smart to ask! When you’re dealing with a cherished recipe like this Old Fashioned Banana Pudding, sometimes you just need a quick confirmation on the details. I’ve gathered the questions I get most often about making this the ultimate Southern classic and ensuring it lands perfectly every time you serve it up as a top-tier comfort food dessert.
If you’re curious about other reliable recipes that come together easily, this creamy pumpkin soup is another family favorite!
Can I use instant pudding instead of making the custard for this banana pudding?
You absolutely can, and that gives you an Easy No Bake Banana Pudding solution! However, you must know that the result won’t be the same as this recipe. Instant pudding is certainly faster, but it creates a much lighter, cooler texture. This recipe relies on that slow-cooked base for density. If you go that instant route, you’ll use the substitute mentioned in the notes—it’s great, but it’s a different animal entirely!
How long can I make this banana pudding ahead of time?
For that perfect, cake-like wafer texture, overnight is truly the sweet spot—about 10 to 12 hours chilling is ideal. It allows the wafers to fully absorb the custard. I wouldn’t push it much past 24 hours, though. Even with firm bananas, if they sit too long submerged, they start to break down too much, and we don’t want a soupy texture!
What is the best way to serve this layered banana dessert?
Always serve this straight from the refrigerator! It needs to be thoroughly chilled to hold its shape when you scoop a portion. The only thing you should wait to do is put on that cloud of fresh whipped cream topping. Whip that cream right before you serve it, dollop it gently over the top, and bring it right to the table before it has a chance to deflate.
Enjoy!
Estimated Nutritional Content for This Banana Pudding
Now, listen up: whenever you see nutrition facts on a recipe I post, you have to remember that this is a beloved, old-fashioned Southern dessert made with whole milk and real sugar. So, it’s definitely an indulgence, not a diet food! These numbers are just estimates based on breaking down the ingredients in our recipe across the 8 servings we aimed for.
We are looking at a rich, creamy portion here. If you’re serving this spectacular Old Fashioned Banana Pudding at a gathering, just think of it as the absolutely perfect, satisfying final bite of the meal. Here’s the general breakdown:
- Calories: Approximately 380 per serving. Yes, it packs a punch, but that’s the joy of homemade custard!
- Fat: Around 16g. That comes mainly from the whole milk in the custard and the heavy cream for the topping.
- Carbohydrates: About 58g. These are coming from the sugar we used in the pudding and the wafers.
- Protein: Roughly 6g, thanks to those egg yolks and the milk.
Like all my recipes here at HearthBite, these figures are an approximation. Your exact count will change based on the brand of vanilla wafers you choose or if you decide to swap out the sugar! But honestly, when something tastes this good, you just try not to overthink the math!
Share Your Southern Banana Pudding Recipe Experience
Now that you’ve made a big, beautiful dish of this banana pudding, I just have to hear about it! Honestly, seeing your results is the best part of my day. Did you serve it in a giant trifle bowl so everyone could see those majestic layers, or did you sneak off with a few individual cups?
I pour so much love and effort into testing these recipes—making sure every step yields that creamy, comforting result—and I truly value your feedback. If you tried a little twist, maybe you added a sprinkle of cinnamon to the whipped topping or used those specialty vanilla wafers, please tell me about it in the comments below!
It helps me and it helps other home cooks who are just getting ready to try this recipe for the first time. A rating or a quick description of how it went means the world to me as we build this wonderful community around real, soulful food here at HearthBite. If you want to know more about my journey in creating these recipes, you can always read more on our About page.
Go ahead, leave a star rating and share your experience making this piece of comfort food heaven. Happy baking—or, in this case, happy chilling!
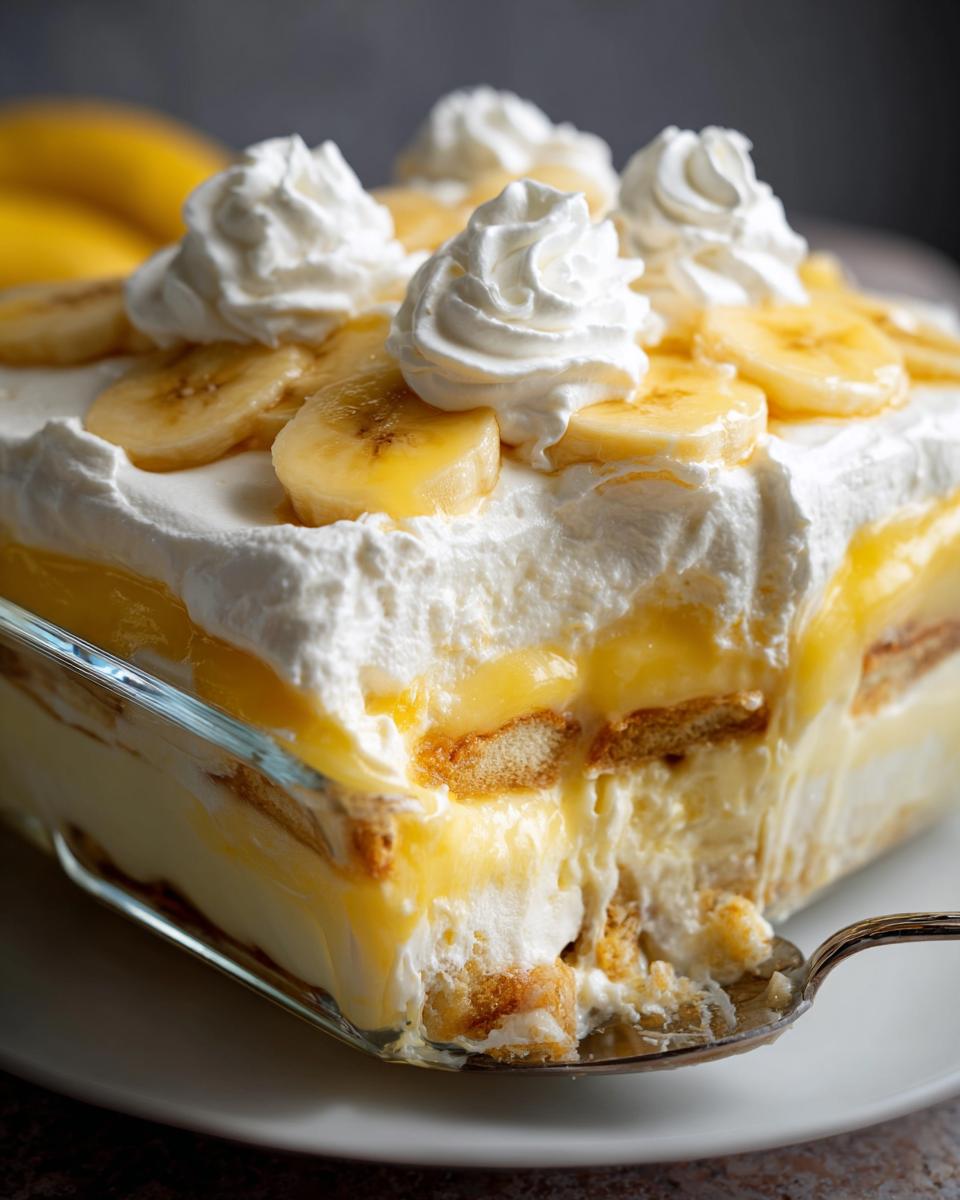
PrintThe Best Old-Fashioned Southern Banana Pudding (No-Bake)

Make this creamy, classic Southern banana pudding from scratch. This no-bake recipe layers fresh bananas, rich homemade custard, and vanilla wafers for a comforting, family-favorite dessert.
- Prep Time: 25 min
- Cook Time: 10 min
- Total Time: 3 hours 35 min
- Yield: 8 servings 1x
- Category: Dessert
- Method: No-Bake
- Cuisine: American
- Diet: Vegetarian
Ingredients
- 1 cup granulated sugar
- 1/2 cup all-purpose flour
- 1/4 teaspoon salt
- 4 large egg yolks, lightly beaten
- 3 cups whole milk
- 1 teaspoon vanilla extract
- 4 large ripe bananas, sliced
- 1 box (11 ounces) vanilla wafers
- 1 cup heavy cream, cold
- 2 tablespoons powdered sugar
Instructions
- Make the custard: In a medium saucepan, whisk together the granulated sugar, flour, and salt. Gradually whisk in the milk until smooth.
- Cook the custard: Place the saucepan over medium heat. Cook, stirring constantly, until the mixture thickens enough to coat the back of a spoon, about 8 to 10 minutes. Do not let it boil rapidly.
- Temper the egg yolks: In a small bowl, whisk the egg yolks. Slowly pour about 1/2 cup of the hot milk mixture into the yolks while whisking constantly. This prevents the yolks from scrambling.
- Return the tempered yolks to the saucepan with the remaining milk mixture. Cook over medium-low heat, stirring constantly, for 1 minute more. Remove from heat and stir in the vanilla extract. Pour the custard into a bowl and press plastic wrap directly onto the surface to prevent a skin from forming. Cool completely in the refrigerator, about 2 hours.
- Prepare the whipped cream: In a separate chilled bowl, beat the heavy cream and powdered sugar with an electric mixer until stiff peaks form.
- Assemble the pudding: Choose a large glass trifle dish or individual serving cups. Create the first layer with a thin layer of vanilla wafers. Top with a layer of sliced bananas, followed by a layer of the cooled custard. Repeat the layers: wafers, bananas, custard, until all ingredients are used, ending with a layer of custard.
- Chill: Cover the dish loosely and refrigerate for at least 4 hours, or preferably overnight. This allows the vanilla wafers to soften into a cake-like texture.
- Serve: Before serving, top the pudding with the prepared whipped cream. Slice and serve cold.
Notes
- For a Magnolia Bakery style copycat, you can substitute the homemade custard with one box of instant vanilla pudding mixed according to package directions, combined with 1 cup of sweetened condensed milk and 1 1/2 cups of cold water, then folded with 1 cup of whipped topping.
- Use firm, slightly under-ripe bananas if you plan to chill the pudding for more than 8 hours to prevent them from becoming too mushy.
- This recipe is excellent for potlucks; prepare it the day before serving for the best texture.
Nutrition
- Serving Size: 1 cup
- Calories: 380
- Sugar: 45
- Sodium: 210
- Fat: 16
- Saturated Fat: 8
- Unsaturated Fat: 8
- Trans Fat: 0
- Carbohydrates: 58
- Fiber: 2
- Protein: 6
- Cholesterol: 105