
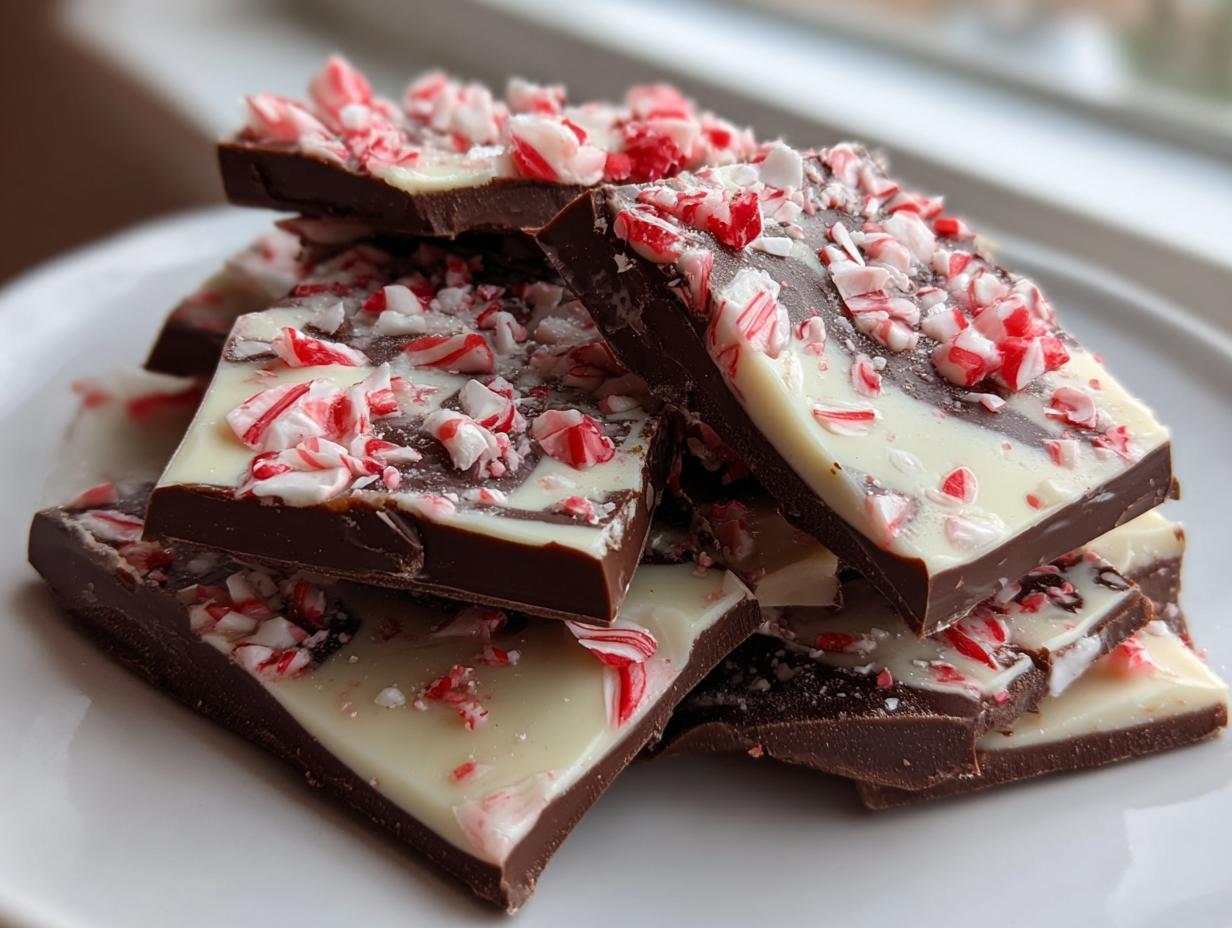
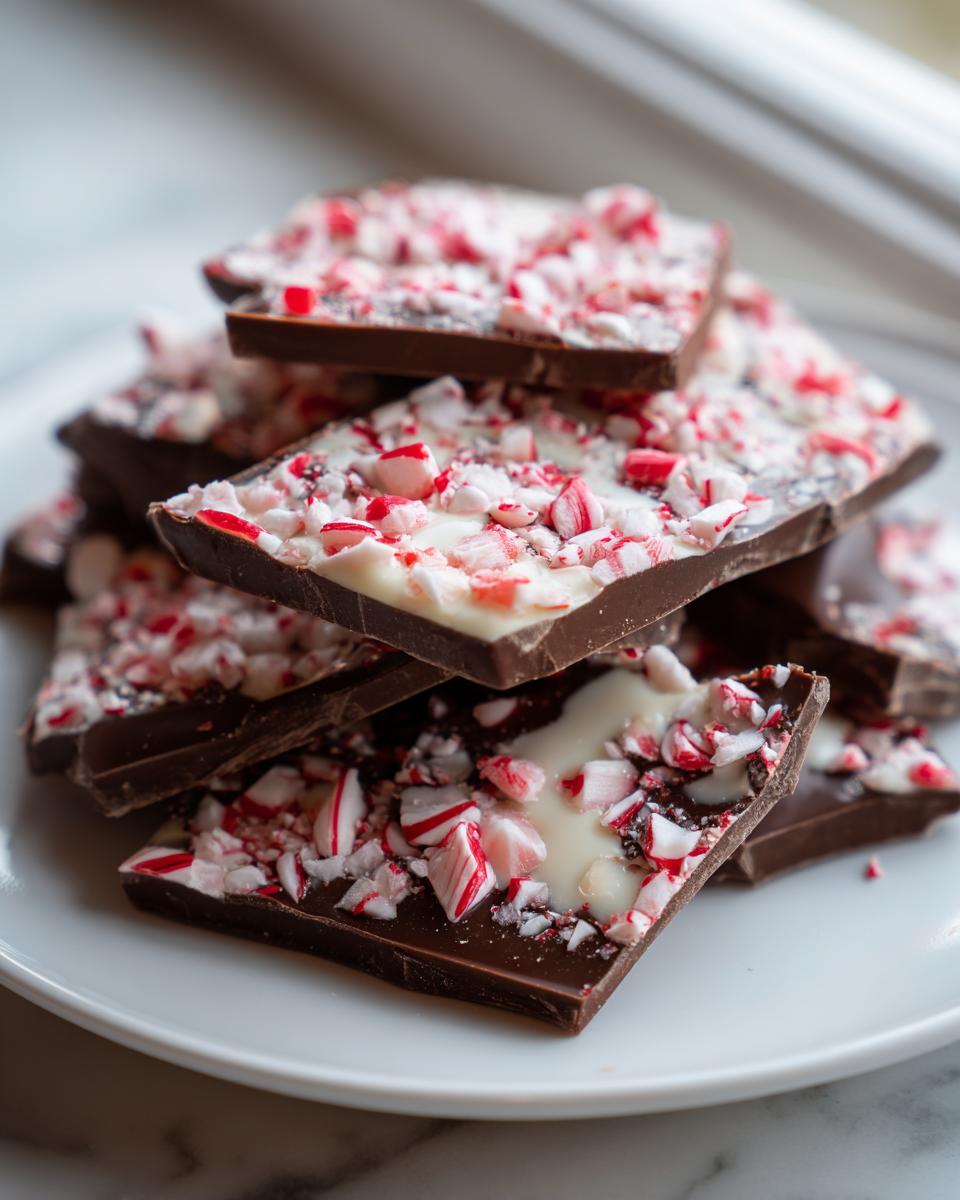
The holidays just aren’t complete without that vibrant, minty snap, are they? For me, making our classic peppermint bark recipe is one of the first things I do after the leaves start turning. It’s the ultimate Easy Peppermint Bark Recipe because it’s entirely No Bake Holiday Candy, meaning zero oven stress when everything else is complicated!
When Sarah first started HearthBite, she wanted recipes that felt like a warm hug, and nothing says comfort like these Homemade Christmas Treats. We aren’t breaking out the candy thermometers here; we’re just layering incredibly satisfying chocolate. This recipe comes together fast, and trust me, you’ll be happier than anyone buying the pre-made stuff.
If you’re looking for something unbelievably simple that still looks impressive on a dessert platter, grab your chocolate—we’re making the best bark right now. You can even pair it with my favorite no-bake peanut butter pie for a stellar holiday spread!
- Why This is the Best peppermint bark recipe for Home Cooks
- Gathering Ingredients for Your peppermint bark recipe
- Step-by-Step Instructions for the Easy peppermint bark recipe
- Making Variations on the Classic peppermint bark recipe
- Storage and Gifting Your Homemade Christmas Treats
- Frequently Asked Questions About the peppermint bark recipe
- Nutritional Estimates for This Seasonal Chocolate Candy
- Share Your Best Peppermint Bark Creations
Why This is the Best peppermint bark recipe for Home Cooks
The reason I push this Holiday Bark Recipe on everyone who asks is simple: it proves you don’t need complicated steps to get incredible results. This is the pinnacle of a Quick Candy Recipe because the prep is just 15 minutes, and the total time, including chilling, keeps us under an hour! That’s amazing for a Beginner Candy Making project.
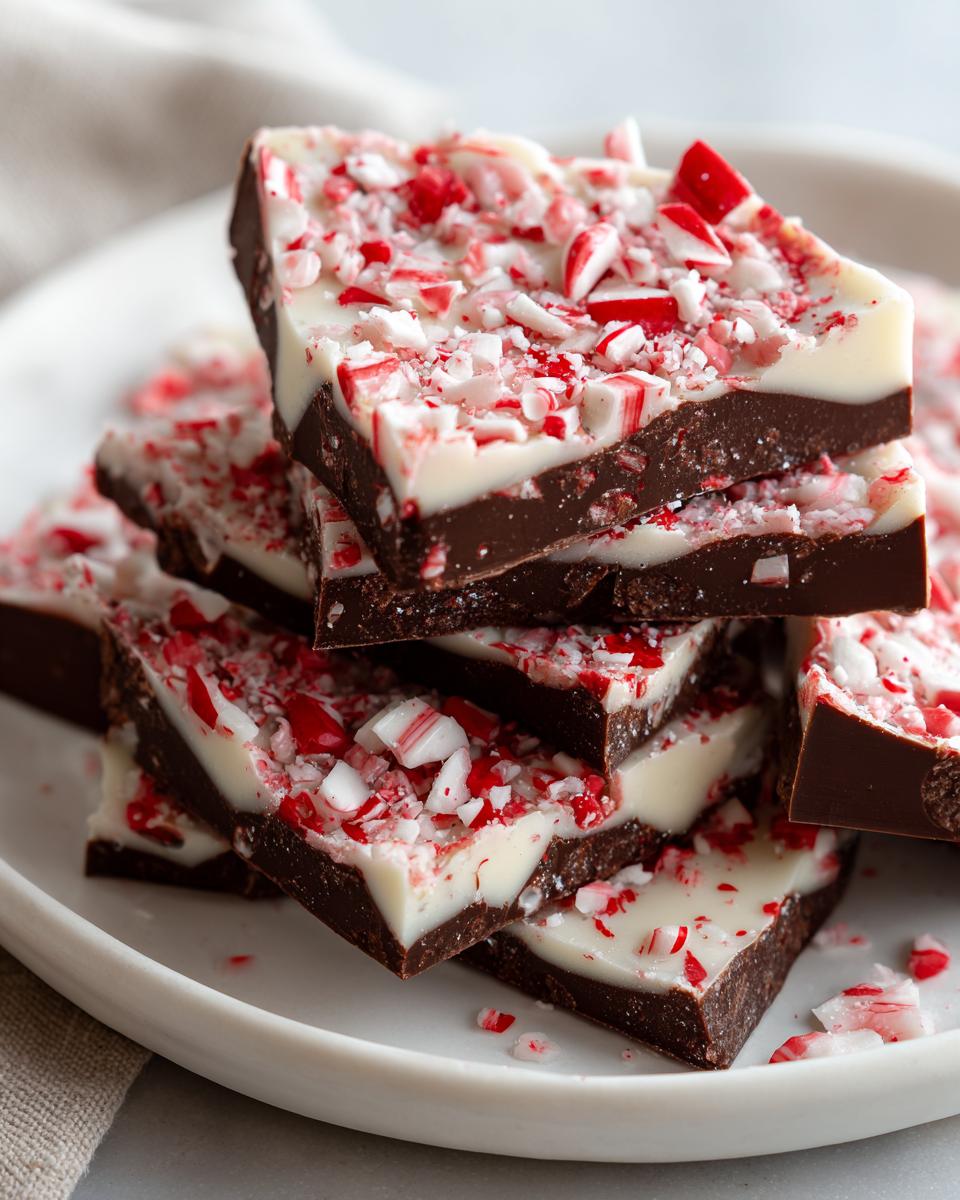
I used to dread making layered candy because the white chocolate would always slide right off the dark layer—total kitchen disaster! But when I switched to letting that first layer set up slightly in the fridge, everything changed. You get those crisp, clean *Festive Chocolate Layers* that look professional, but it’s honestly foolproof. It’s worth looking at how others handle this tricky stage, like the folks over at Seasonal Crave.
Key Benefits of Our peppermint bark recipe
- It’s absolutely no-bake; we just melt and chill!
- Total time commitment stays under 60 minutes.
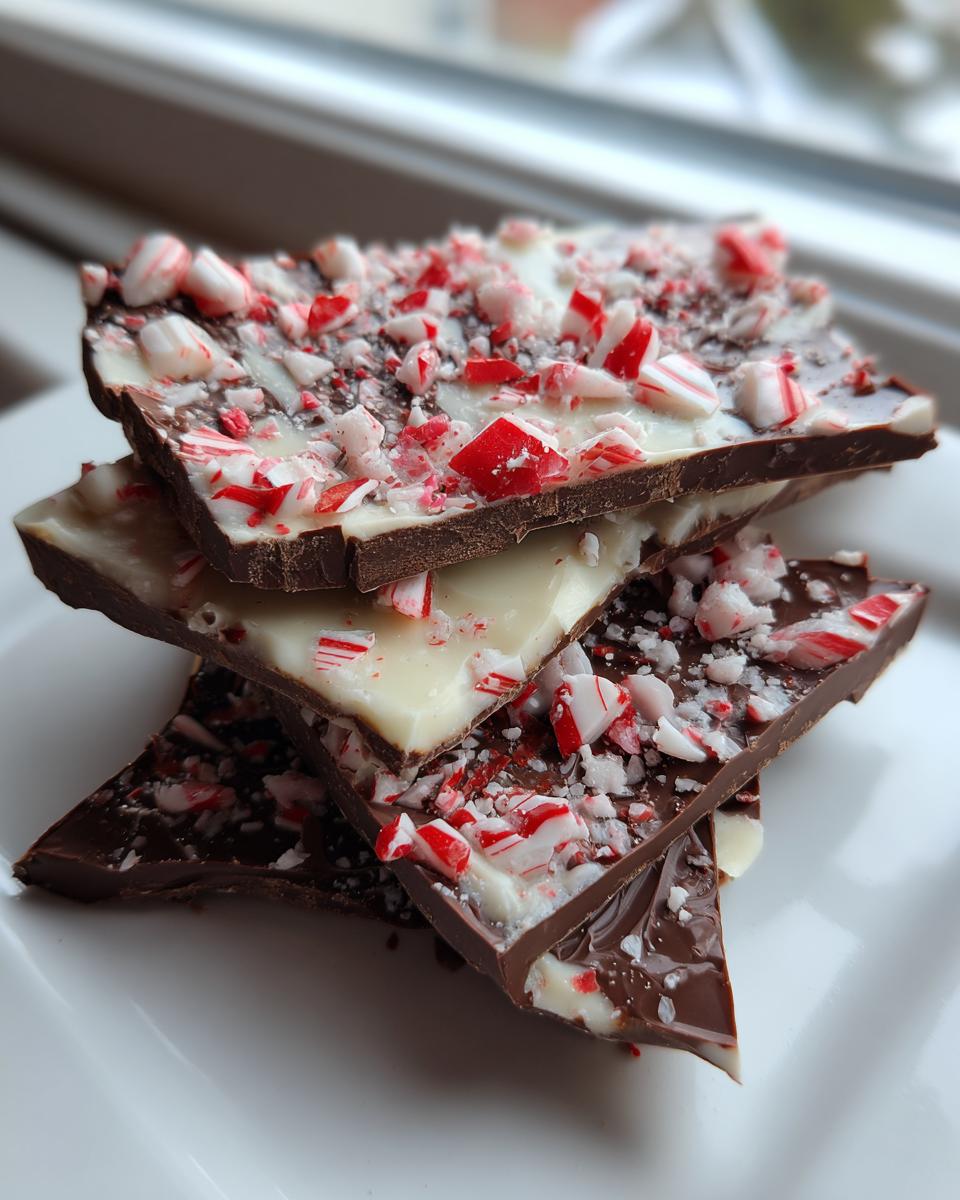
- The two-tone layering looks stunning on any holiday platter.
- It requires barely any special equipment.
Gathering Ingredients for Your peppermint bark recipe
Okay, let’s talk ingredients. Because this recipe is so minimal—we’re talking four main things—the quality of what you use really matters, especially since we need those perfectly smooth *Festive Chocolate Layers*. We aren’t messing around with chips here; you need chocolate that melts beautifully. I insist on 8 ounces of good quality semisweet chocolate, chopped, for the bottom layer, and 8 ounces of white chocolate, also chopped, for the top. Don’t skimp here!
You also need one teaspoon of creamy peppermint extract and, of course, the star crunch: one cup of crushed candy canes. If you’re aiming for the ultra-simple version, you can definitely skip the extract and just use the candy canes for flavor, making it a *3 Ingredient Peppermint Bark* wonder. Before you grab your chocolate, make sure you check out my tips for making protein bars—it’s all about precision!
Ingredient Notes and Substitutions for peppermint bark recipe
For the smoothest melt, use baking bars, not chocolate chips, unless you are absolutely sure your chips are formulated to melt well. Any water contamination means seized chocolate, and nobody wants that! When crushing your candy canes (*Crushed Candy Cane Treats*), put them in a sturdy Ziploc bag, tap them lightly with a rolling pin, and stop before they turn into dust—we want crunch!
If semisweet is too dark for your taste, swapping that first layer for milk chocolate works great, transforming it into a sweeter treat. The peppermint extract is potent, so measure exactly one teaspoon unless you want your eyes watering!
Step-by-Step Instructions for the Easy peppermint bark recipe
Alright, let’s get down to the fun part! This is the actual assembly, and it goes so fast you’ll think you missed a step. First thing: grab an 8×8 inch baking pan and line it with parchment paper. Make sure that paper hangs over the edges—these ‘handles’ are your best friend later when you lift this beautiful thing out. Don’t skip that bit, or you’ll be scraping chocolate out of the corners!
Next, we tackle that dark base. Melt your 8 ounces of semisweet chocolate slowly in the microwave. I like to use 30-second bursts and stir really well between each one. You want it perfectly smooth and glossy for those amazing *Festive Chocolate Layers*. Once it’s liquid gold, pour it into your prepared pan and quickly spread it out evenly. Now, here’s the trick: pop the pan in the fridge while you deal with the white chocolate. This sets the base so your top layer stays perfectly separate.
Once the base is firm, melt your white chocolate the same way. Right when it’s totally smooth, stir in that teaspoon of peppermint extract. Pour this over the set dark layer and spread gently—we don’t want to dig into the base! Immediately sprinkle that cup of crushed candy canes all over the top. Use your hands or the back of a spoon to just barely press them down so they stick. Then, back to the fridge it goes for at least 45 minutes until it’s rock solid. If you need inspiration on smooth melting, check out this guide on chocolate peppermint bark.
Melting Chocolate Tips for Perfect Festive Chocolate Layers
Guys, this is where we earn our stripes as good candy makers! When melting chocolate, moisture is the enemy. Seriously, even one tiny drop of water will make your beautifully melted chocolate seize up into a gritty mess. Make sure your bowls and spatulas are bone dry.
In the microwave, stick to those short 30-second intervals. Chocolate keeps cooking even after you pull it out, so stopping early is key. You want to stir vigorously between bursts until it looks completely smooth; that stirring incorporates air and keeps the temperature even. If you want a richer flavor, use good quality stuff, just like I use when I whip up my beer cheese dip!
Chilling and Breaking Your peppermint bark recipe
Patience pays off right at the end! You need the bark to chill for a minimum of 45 minutes. Don’t rush this! If it’s still soft when you try to snap it, you’ll just get messy, crumbly edges instead of those satisfying, sharp shards we want on our *Holiday Bark Recipe*.
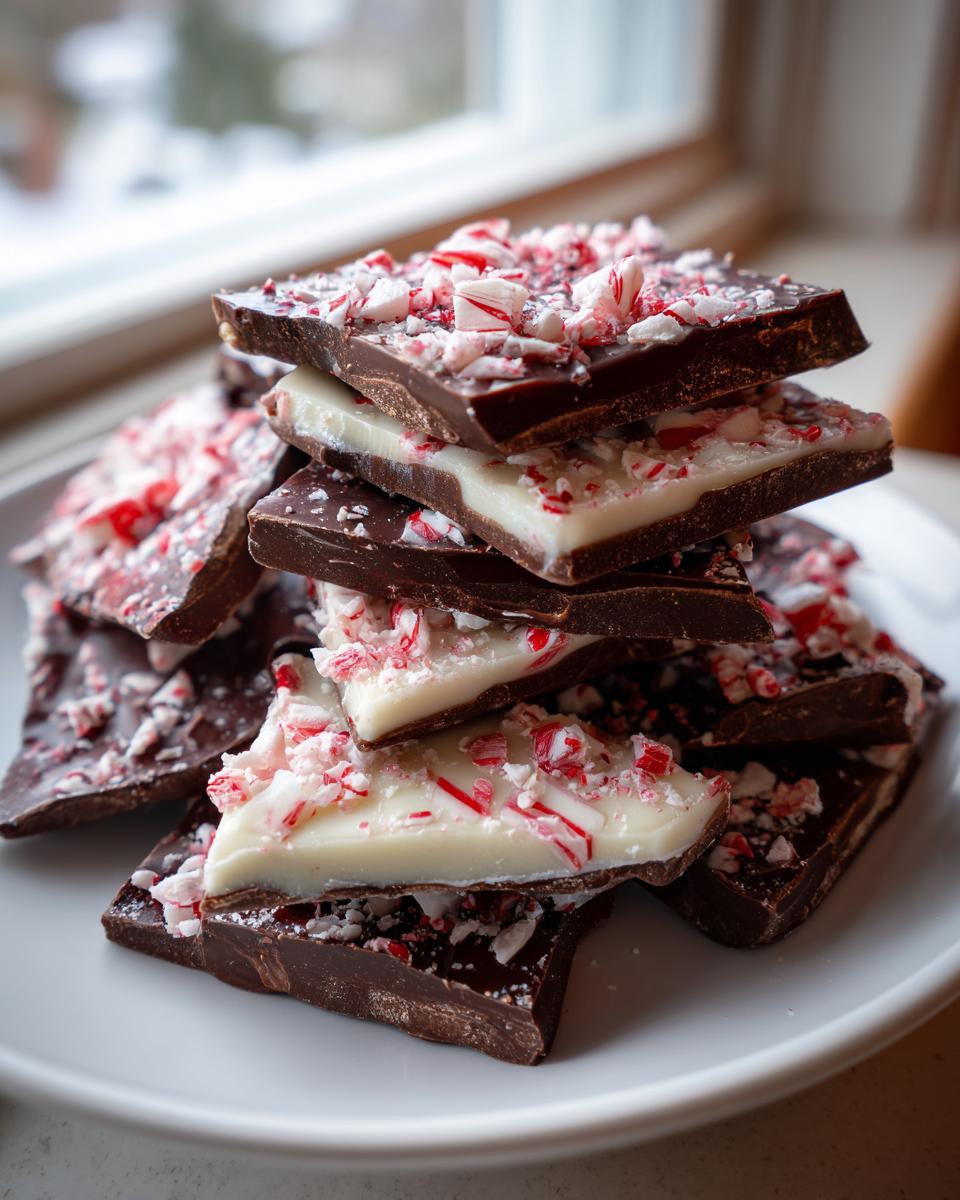
Once it’s completely firm, lift the whole slab out using those parchment paper handles—it should pop right out. Lay it on a cutting board. Now, for the break! I like getting irregular, large pieces. Just use the heel of your hand and give it a firm —but controlled—whack right down the middle. Listen for that wonderful crisp *snap*! You’ll get gorgeous, natural shards that are perfect for stacking in tins.
Making Variations on the Classic peppermint bark recipe
While the classic dark-on-white setup is absolutely perfect, sometimes you want to shake things up, especially when you’re making big batches for gifting! This peppermint bark recipe is endlessly adaptable, and I love playing around with different chocolate combinations. It shows off your creativity without adding any extra steps, seriously.
If you’re thinking about mixing up the chocolate base, you have so many fun options. Maybe you want a sweeter, richer foundation? Swap that dark chocolate out for milk chocolate—you’ll get a completely different, softer flavor profile. Or, if you want to focus solely on the mint and white chocolate, you can skip the first layer entirely and make a pure White Chocolate Peppermint Bark. Folks often do this when they want a cleaner, brighter look.
On the flip side, if you love that deep, slightly bitter cocoa flavor, go for a high-quality bittersweet chocolate for the base layer. It really makes the peppermint pop, creating what I call my *Dark Chocolate Mint Bark* experience! This approach is great if you’re looking for something a little less sweet overall.
Now, for mix-ins beyond the candy canes: I adore adding texture! If you’ve ever tried my recipe for chocolate caramel toffee crunch cake, you know I love an extra component. For bark, try sprinkling on some mini marshmallows right over the wet white chocolate layer along with the candy canes. They puff up just slightly as the bark chills, giving you a delightful, chewy crunch mixed in with the snap. It’s a game-changer!
Some people even use different extracts, though I always come back to peppermint. If a friend made a Joanna Gaines inspired batch once, she added a pinch of sea salt to the top layer before the peppermint! You can explore great ideas like that over at Julia’s Recipe. Just remember, keep it simple, and let those high-quality chocolates do the heavy lifting!
Storage and Gifting Your Homemade Christmas Treats
You made it! You have a giant, beautiful, snapping slab of deliciousness. Now we need to make sure it stays perfect until you eat it, or until it gets into the hands of whoever you’re sharing this with. Since this is a No Bake Holiday Candy masterpiece, storage is super easy, thank goodness!
Here’s the deal with keeping your bark fresh. Because we used real chocolate and peppermint extract, this stuff is quite sturdy. If your kitchen isn’t super warm—say, under 70 degrees—you can absolutely keep the bark in a hard, airtight container right on the counter until you run out. I usually put a small piece of parchment paper between layers if I’m stacking them, just to make sure nothing sticks together.
If your house is one of those warmer ones, or if you’re making this way ahead of time for holiday baking, pop it in the fridge. It will get firmer (which is great for breaking later!), but just pull it out about 15 minutes before serving so the chocolate softens up just a tiny bit. Remember, keeping things dry is key across the board!
Tips for Perfect Christmas Gift Ideas DIY food Wrapping
This is where this recipe truly shines as a go-to for Christmas Gift Ideas DIY food. People *love* homemade treats, and bark looks so fancy! Forget wrapping paper; we want visibility!
- Wrap individual pieces or small stacks in clear cellophane bags. Tie the tops with bright red or green baker’s twine—it’s easy and looks professional.
- If you are making a big batch, break the pieces into various sizes, then layer them in small, sturdy tins or decorative cookie tins. Fill any empty space with a little crinkle-cut paper so the candy doesn’t rattle around.
- I always attach a tiny handwritten note that just says, “Enjoy the snap!” It signals that it’s not some super-soft candy.
These little gifts are perfect for neighbors, teachers, or anyone who needs a burst of minty cheer. It shows you put time in, even though we know it was only about 15 minutes of active work! If you’re looking for more easy edible gifts that feel special, you have to try my cranberry orange cookies recipe too.
Frequently Asked Questions About the peppermint bark recipe
I know when I jump into a new Holiday Bark Recipe, I always have a few nagging questions that only a fellow home baker can answer. Don’t worry if something isn’t crystal clear below; we’re here to help you make the absolute *Best Peppermint Bark*!
How long does this No Bake Holiday Candy last?
This is an excellent question if you’re trying to bake ahead for the holidays! Because this is a pure chocolate candy and doesn’t have any eggs or dairy fillings that go bad quickly, this No Bake Holiday Candy lasts quite a while. If you keep it in a cool, dark, airtight container, it’s fantastic for up to three weeks at room temperature. If your house is warm, keep it in the fridge, where it can last even longer—about five or six weeks! It’s great for setting aside early for your Christmas Gift Ideas DIY food pile.
What is the best way to crush candy canes for the peppermint bark recipe?
This is key for those pretty *Crushed Candy Cane Treats* on top! Forget scraping your counter with a heavy hammer; we want consistency. Put all your candy canes into a heavy-duty, sealed plastic bag—you know, the ones with the zip-top. Lay that bag flat on a sturdy cutting board or counter. Then, grab a rolling pin (or even a heavy soup can!) and gently but firmly roll over the candy. I stop when I have a mix of small grains and some nice quarter-inch chunks. You want that crunch, not powder! This method works perfectly for all our Simple Winter Desserts.
Can I skip the white chocolate layer?
Absolutely! If you want to keep it focused and use fewer ingredients, you can turn this into a true *3 Ingredient Peppermint Bark*. Just melt down your dark chocolate, spread it, sprinkle the candy canes right on top, and chill. Honestly, it tastes fantastic—it just loses that classic visual pop of the white layer beneath the peppermint. It’s another great option if you’re looking for a super Quick Candy Recipe using fewer steps.
Is it necessary to use peppermint extract in the white chocolate?
It’s not strictly necessary, but I highly recommend it if you’re making the two-layer version! Remember, if you skip the extract, the white chocolate layer itself basically just tastes like sweet vanilla, and all your intense mint flavor comes only from the candy canes on top. Adding that teaspoon of extract into the melted white chocolate ensures you get two delightful flavor bursts with every bite of your Chocolate Peppermint Bark—the sweet creaminess first, followed by the strong mint snap.
If you make a batch of this wonderful bark, please let me know how you liked it! I love seeing your results. Feel free to share a photo or rate this recipe right on the chocolate coconut balls page, or just send me a note through the contact form. Happy snapping!
Nutritional Estimates for This Seasonal Chocolate Candy
Okay, I know we aren’t making this bark because it’s health food—it’s a festive treat! But I always feel better knowing what’s in the plate, so I tallied up some averages for you. This information is based on the recipe provided, and remember, since every chocolate brand and candy cane is a little different, these are just starting estimates for one piece of the bark.
When you break this beautiful *Seasonal Chocolate Candy* into about 16 good-sized pieces, here is what you can generally expect per serving. It’s a rich treat, for sure, but oh my goodness, it’s worth every bite!
- Calories: Around 180
- Total Fat: About 12 grams (watch that saturated fat!)
- Carbohydrates: Roughly 19 grams
- Protein: A modest 2 grams
- Sugar: Let’s just say it’s deliciously high, around 18g!
See? It’s straightforward candy nutrition. It’s holiday time, so we don’t stress the details too much, right? If you’re looking for something that delivers great energy alongside comfort, you might also want to check out my post on the sweet potato muffins recipe later in the week. But honestly, enjoying this bark is part of the fun of the season!
Share Your Best Peppermint Bark Creations
Now that you’ve made your peppermint bark recipe, I am dying to see what you came up with! Did you go for those giant, rustic shards, or did you snap them into tiny, perfect squares? Did you use only dark chocolate, or did you mix in some of those marshmallows I suggested?
Honestly, knowing that my favorite Easy Peppermint Bark Recipe is now showing up on dessert tables across the country—or maybe even getting tucked into holiday gift bags—just warms my heart right up. That’s what HearthBite is all about: blending simple, good food with real connection.
When you love a recipe this much, I really hope you take a second to let me know! Please jump down to the rating section and give this bark five stars if you thought it lived up to the hype. It helps other home cooks feel confident trying it out. If you’re sharing photos on social media, tag us! I love to see your snowy-topped creations.
And if you ever have a question while you’re in the kitchen, or want to share a substitution you loved, please don’t hesitate to reach out directly through my contact page. Welcome to the HearthBite family—I hope this No Bake Holiday Candy brings tons of joy to your home!
PrintEasy No-Bake Chocolate Peppermint Bark
Make classic homemade peppermint bark with simple layers of dark and white chocolate topped with crushed candy canes. This no-bake holiday treat is quick to prepare and perfect for gifting.
- Prep Time: 15 min
- Cook Time: 0 min
- Total Time: 60 min
- Yield: About 16 servings 1x
- Category: Dessert
- Method: No-Bake
- Cuisine: American
- Diet: Vegetarian
Ingredients
- 8 ounces semisweet chocolate, chopped
- 8 ounces white chocolate, chopped
- 1 teaspoon peppermint extract
- 1 cup crushed candy canes
Instructions
- Line an 8×8 inch baking pan with parchment paper, letting the paper overhang the sides for easy removal.
- Melt the semisweet chocolate in a microwave-safe bowl in 30-second intervals, stirring between each, until smooth. Do not overheat.
- Spread the melted semisweet chocolate evenly over the bottom of the prepared pan.
- Place the pan in the refrigerator while you prepare the white chocolate layer.
- Melt the white chocolate in a separate microwave-safe bowl using the same 30-second interval method until smooth.
- Stir the peppermint extract into the melted white chocolate.
- Pour the white chocolate mixture over the dark chocolate layer. Spread it gently to cover the surface.
- Immediately sprinkle the crushed candy canes evenly over the white chocolate layer. Gently press them into the chocolate with your hands or the back of a spoon.
- Return the pan to the refrigerator and chill for at least 45 minutes, or until the bark is completely firm.
- Lift the bark out of the pan using the parchment paper overhang. Break the bark into irregular pieces.
- Store the peppermint bark in an airtight container at room temperature or in the refrigerator.
Notes
- For the smoothest chocolate, use high-quality chocolate and avoid getting any water into the melting chocolate.
- If you prefer a stronger mint flavor, add a few drops more peppermint extract to the white chocolate layer.
- You can substitute dark chocolate with milk chocolate if you prefer a sweeter base layer.
Nutrition
- Serving Size: 1 piece
- Calories: 180
- Sugar: 18
- Sodium: 15
- Fat: 12
- Saturated Fat: 7
- Unsaturated Fat: 5
- Trans Fat: 0
- Carbohydrates: 19
- Fiber: 1
- Protein: 2
- Cholesterol: 5