
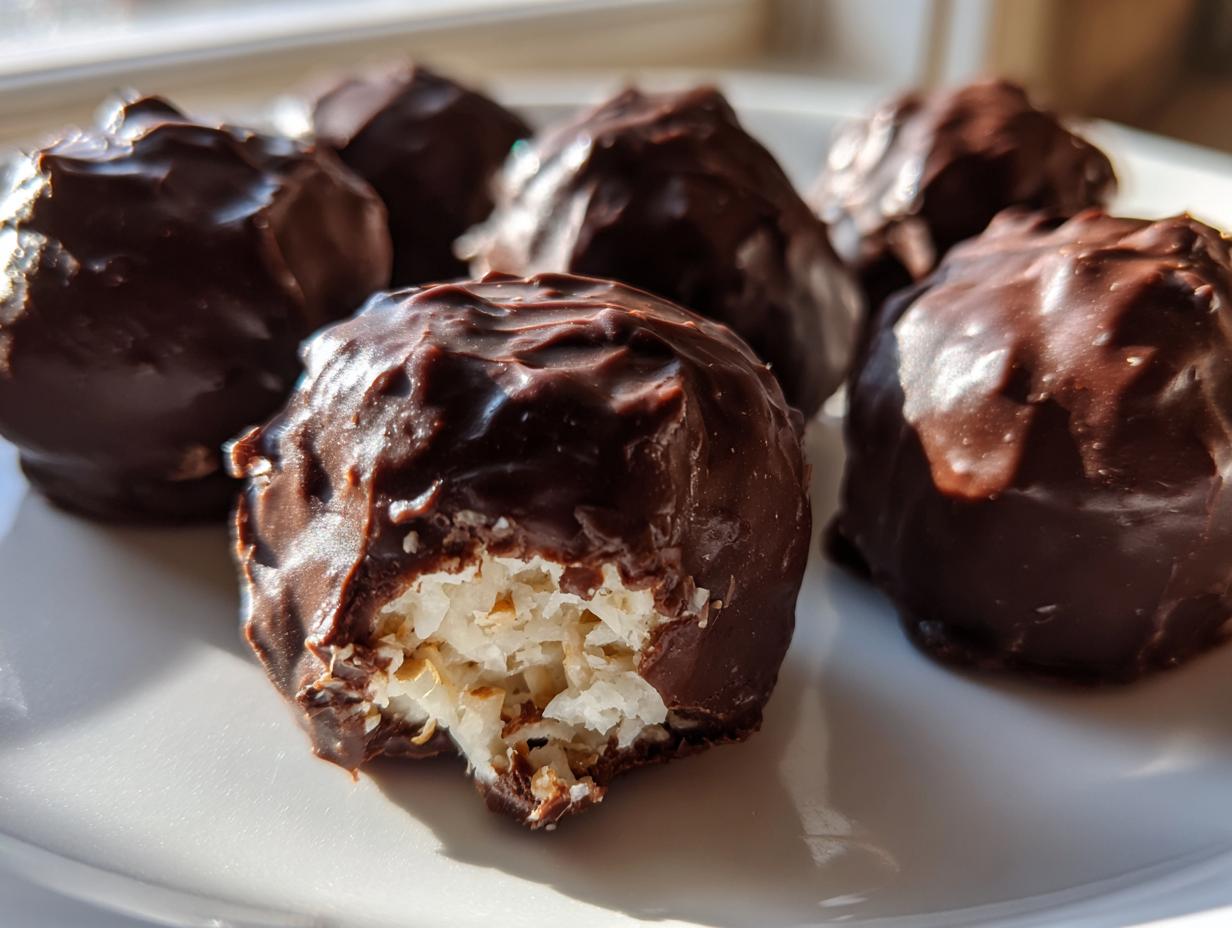
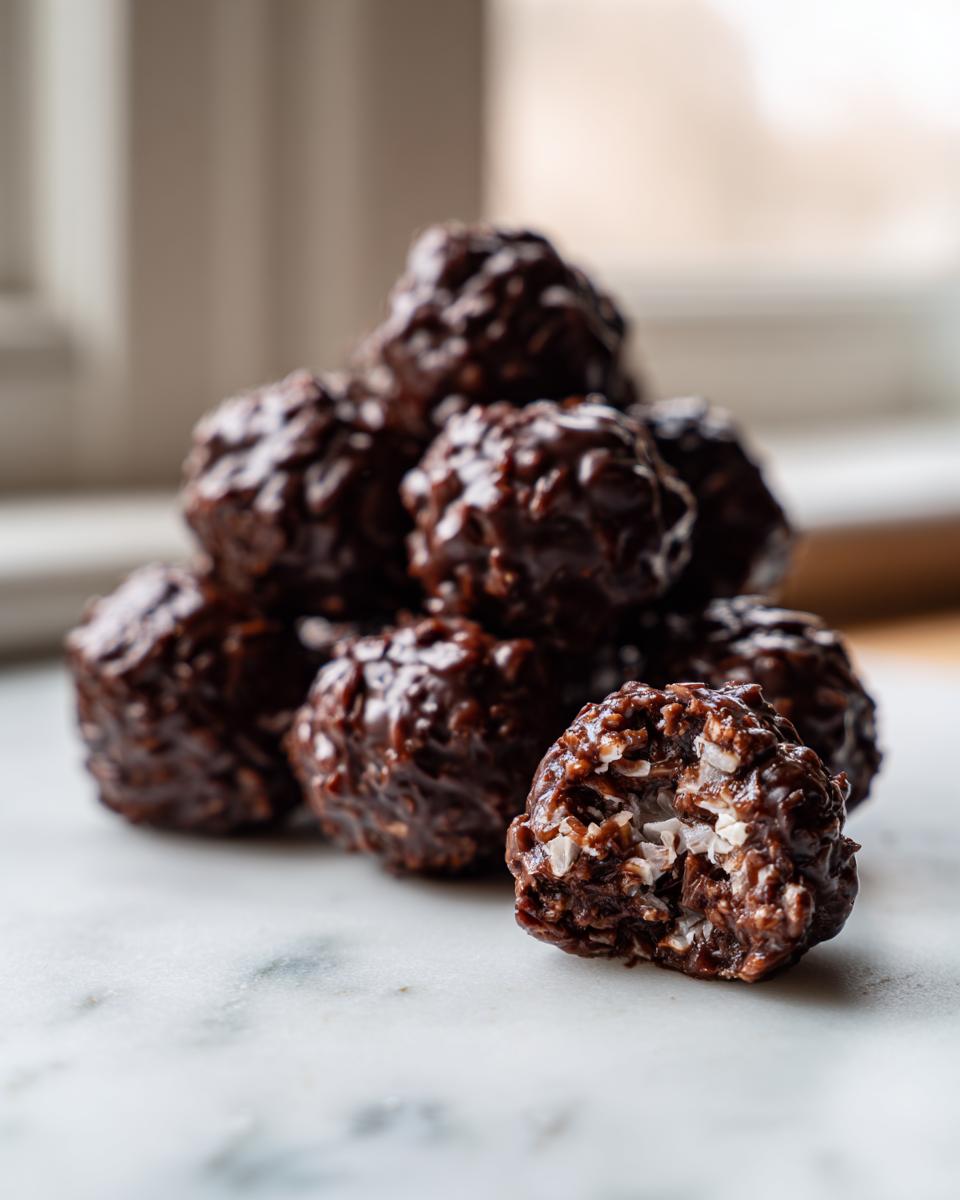
When life gets busy, but that sweet tooth starts whispering—you know the drill! We need instant comfort, and that’s where these Easy No-Bake Chocolate Coconut Balls come into play. Forget waiting for the oven to preheat; these little treats come together faster than ordering takeout, and they taste like pure paradise. My philosophy here mirrors Sarah Miller’s at HearthBite: food should bring joy and comfort without being a chore. These coconut balls are the epitome of that idea. They use just a handful of ingredients, yet they deliver that rich, creamy, tropical flavor everyone craves. If you need a quick dessert, something for a last-minute gathering, or just a fantastic snack that melts in your mouth, this is the recipe you’re keeping on repeat. You can read more about why we believe in simple, comforting food over on our About Us page!
- Why You Will Love These Easy No-Bake Coconut Balls
- Essential Ingredients for Perfect Coconut Balls
- Step-by-Step Instructions for No Bake Coconut Balls
- Tips for Making the Best Melt in Your Mouth Coconut Candy
- Variations: Making Chocolate Coconut Balls Your Way
- Storage and Serving Suggestions for Party Ready Coconut Snacks
- Frequently Asked Questions About Coconut Balls
- Estimated Nutritional Profile for Homemade Coconut Balls
- Share Your Sweet Coconut Bites Experience
Why You Will Love These Easy No-Bake Coconut Balls
Seriously, these delightful little treats are going to become your new go-to. They hit all the right notes for a busy weeknight or when company unexpectedly drops by. Why wait for a baked dessert when you can have this?
- They are genuinely no bake. Pop them in the fridge, and you’re done!
- The texture is pure bliss—they are truly melt in your mouth coconut candy.
- They act as the perfect quick dessert balls when you need something fast and impressive.
- They are amazing for holiday platters or just keeping hidden in the back of the fridge for yourself!
Essential Ingredients for Perfect Coconut Balls
You know, following a recipe that doesn’t require an oven is fantastic, but you still need the right building blocks! Because these coconut balls are so simple, the quality of your ingredients really shines through, so don’t skimp here if you can help it. We aren’t dealing with complicated flour blends or fussy rising agents; it’s all about that creamy base and the rich chocolate coating. Making sure you have everything measured out and ready before you start mixing is key to getting that perfect, consistent texture we are aiming for. Trust me, having everything lined up makes the whole process feel effortless!
Ingredient Breakdown and Notes for Your Coconut Balls
First, you absolutely must grab the sweetened condensed milk. That’s the non-negotiable binder here, giving us that incredible sweetness and sticky texture we need for these Condensed Milk Coconut Balls. For the coconut, it has to be sweetened shredded coconut—unsweetened just won’t give you the right result for this recipe, plain and simple. When it comes to the chocolate coating, I highly recommend using good quality semi-sweet chocolate chips. If you buy the cheap stuff, the coating can sometimes seize up or taste waxy, and we want smooth, luxurious dipping!
Also, that tiny bit of coconut oil you see in the list? Don’t skip it when melting the chocolate. It’s the secret to getting that beautiful, glossy drizzle that sets up nicely and doesn’t look dull when it hardens. It thins the melted chocolate just enough for easy dipping without making the final coating crack later on.
Step-by-Step Instructions for No Bake Coconut Balls
Okay, now for the fun part! Getting these Condensed Milk Coconut Balls made is incredibly straightforward, but we have two very important chilling times we can’t rush—patience here guarantees success later, especially when we dip them in the chocolate. The base mixture comes together in about five minutes flat, and then it gets a quick rest. Don’t try to roll them when the mixture is warm; they’ll just smear everywhere and you’ll get frustrated! Remember, this whole process is about speed and simplicity, but the fridge is your best friend for structural integrity.
Mixing and Shaping the Coconut Balls Base
First up, grab your bowl and dump in the condensed milk, the coconut, and the vanilla extract. Mix it all together until it looks uniformly combined. It should be thick—almost like wet sand that’s ready to stick together when you squeeze it. Take your time to really work that milk into all the coconut shreds, making sure there are no dry pockets left. Now, roll them out into little mounds, about an inch across—I usually aim for about 20 bites. If you find the mixture is sticking unmanageably to your hands while rolling, just give your fingers a quick, barely damp rinse; water helps stop the stickiness instantly.
Once you have the base balls formed, line up your baking sheet with parchment paper—this is vital!—and set them in the refrigerator. They need at least 30 minutes to firm up nicely so they don’t collapse when you handle them during the dipping process later.
Coating Your Coconut Balls in Chocolate
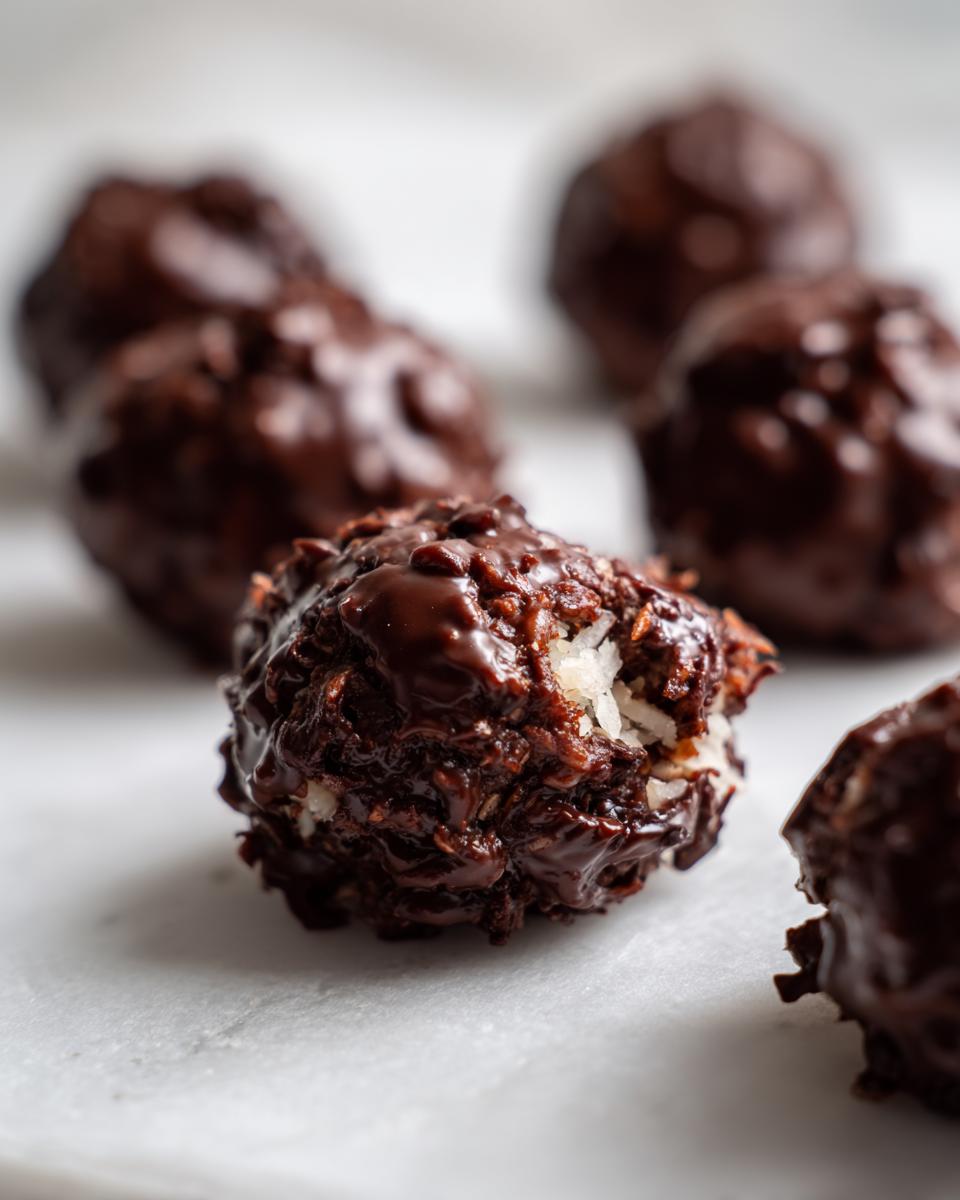
While those centers are chilling, melt your chocolate chips along with that tablespoon of coconut oil. I use the microwave for this; short, 30-second blasts are the way to go. Stir well after every blast until it’s perfectly smooth—that oil makes the chocolate so much more fluid, which means a thinner, prettier coating on your coconut balls. When the centers are firm, dip each chilled ball in, letting any excess drip off back into the bowl. Then, set them right back onto that prepared parchment paper. Pop the whole tray back into the fridge for about 15 minutes until that glorious chocolate coating is completely set.
Tips for Making the Best Melt in Your Mouth Coconut Candy
Getting these to truly be that perfect, melt in your mouth coconut candy comes down to a few tiny details, but they make a huge difference in the final experience! We already covered the chilling, which is paramount, but there are tricks for appearance, too. When you are dipping those chilled balls into the warm chocolate, resist the urge to aggressively stir them around in the bowl.
I remember Sarah joking that if you agitate them too much, they lose their smooth dignity! Instead, use two forks—one to lower the ball in and one to gently lift it out after a quick swirl. Let the chocolate drain off before setting it on the parchment. This keeps the chocolate shell thin, which is key; a thick chocolate layer fights with that soft interior.
If you notice any tiny cracks forming in the chocolate as it sets, it’s almost always because the interior coconut ball was too warm when it went swimming! Make sure those centers are thoroughly chilled before that chocolate dip. If you follow those tips, you’re guaranteeing a fantastic result every time. If you want more inspiration for great snacks, check out this neat recipe inspiration I spotted around the web that focuses on easy tropical treats! See this inspiration here!
Variations: Making Chocolate Coconut Balls Your Way
While I absolutely adore the classic chocolate-dipped version—the Chocolate Coconut Balls Recipe we just made is seriously hard to beat—I totally get that sometimes we want to switch things up! Maybe you ran out of dipping chocolate, or maybe you’re trying to sneak a few more nutrients into your sweet snacks. Don’t worry, these simple coconut balls are incredibly adaptable. You can change the coating, tweak the filling, or even pivot the whole concept if you’re looking for lighter options.
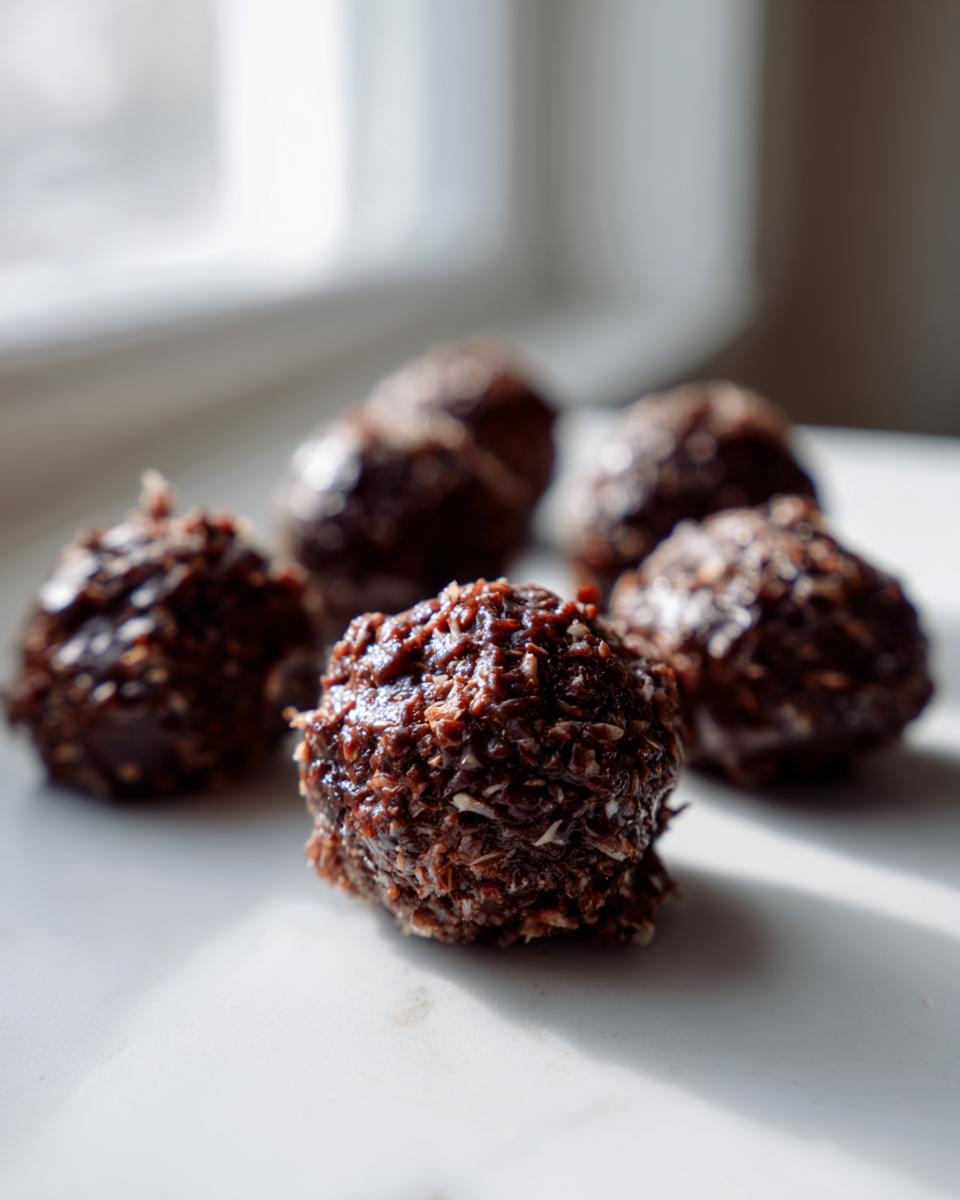
The beauty of a no-bake base like this is that it’s just waiting for your personal touch. If you’re experimenting, sometimes I’ll skip the chocolate coating entirely and just roll the chilled balls in finely chopped nuts or even espresso powder for a fun, coffee-infused twist. If you’re looking for ideas specifically on healthier coconut treats, I found this interesting approach online that focuses on alternative options, you might want to take a peek for inspiration! Check out these different coconut ball ideas here.
Creating Healthier Coconut Balls
If you want to move toward something closer to those energy bites, like maybe a Gluten Free Keto Coconut Bites profile, you can start adjusting the base mix before chilling. The recipe notes mention swapping out some of that sweetened shredded coconut for almond flour, and that’s a great first step! Almond flour adds healthy fats and keeps the texture nice and dense.
For sweetness, if you’re cutting back on the condensed milk, you’ll need a replacement, right? Instead of refined sugar, try stirring in a couple of tablespoons of pure maple syrup or even some finely mashed soft dates into the mix. You might need to add just a touch more shredded coconut to balance the stickiness back out so you can still roll them properly. While it changes the overall flavor profile completely, it still gives you that fantastic, dense, coconutty bite we love!
Storage and Serving Suggestions for Party Ready Coconut Snacks
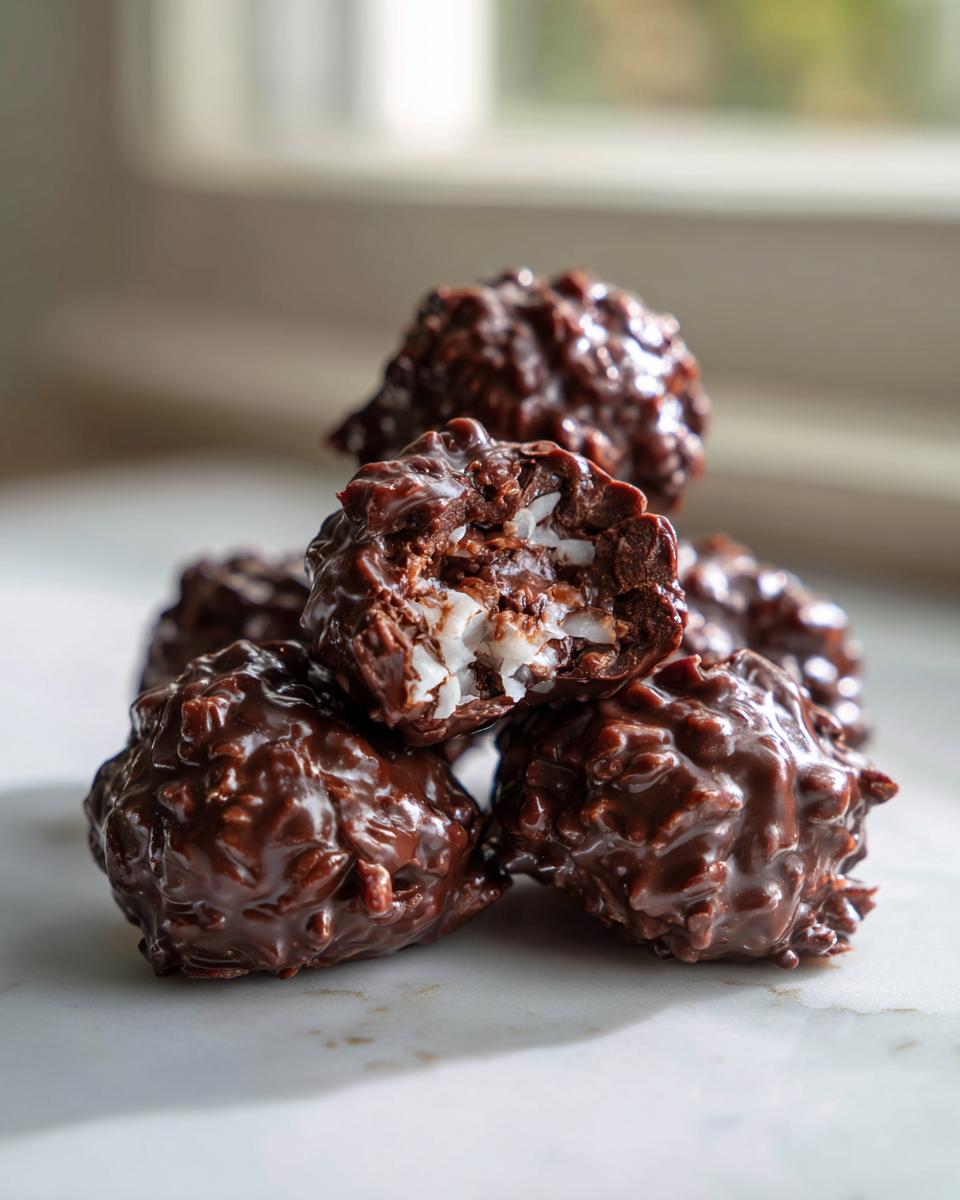
The best part about these coconut balls being no-bake is that cleanup is minimal, and they are so easy to store! Since they rely on the cold to keep their shape, the refrigerator is their natural home. I usually keep mine tucked away in an airtight container, and honestly, they stay perfectly fresh and creamy for about a week. If you want to make a huge batch for the holidays—because trust me, these are fantastic Holiday Coconut Desserts—you can absolutely freeze them!
Just arrange them on a parchment-lined tray, freeze until solid, and *then* transfer them to a freezer bag. They keep beautifully for up to three months that way. When you need a last-minute treat, just pull out what you need! For serving, especially when staging them as Party Ready Coconut Snacks, I like to use mini white or gold cupcake liners. It makes them look extra neat and means no one has to get sticky trying to pick one up from the platter. They look so elegant, no one would guess they took barely any effort!
Frequently Asked Questions About Coconut Balls
I always get questions rolling in about these treats because they seem almost too easy! People wonder about substitutions or how to troubleshoot if things go slightly sideways, which is totally normal when you’re making something completely no-bake. Here are the biggest questions I hear about achieving perfect Sweet Coconut Bites.
Can I make these coconut balls without sweetened condensed milk?
That’s a great question, especially if you’re trying to cut back on sugar or you just ran out! While sweetened condensed milk is the foundation for our classic creamy texture, you absolutely have options for making these Easy Coconut Treats without it. If you want to stick to a no-bake method, you can try blending cream cheese with powdered sugar until smooth, and then mix that into your coconut instead. It gives a slightly different, tangier vibe but works beautifully!
For a less processed option, you can use a sticky sweetener like maple syrup or pureed dates, but know that the texture will be softer, and you might need to use a little less of it than the required condensed milk, adding a bit more dry coconut to compensate so you can still roll them.
How do I prevent my coconut balls from falling apart?
This usually comes down to one of two things, and the fix is almost always about chilling! If your mixture is too warm when you roll them, they won’t hold their shape once dipped. Make sure your initial mixture is nice and cold after you first combine the milk and coconut before you even start rolling them into balls.
If they are still crumbling, it means the mixture is likely too dry—which happens if you use unsweetened coconut or if your condensed milk was very thick. If that happens, just stir in an extra tablespoon of milk or even a teaspoon of vanilla extract right into the bowl until the mixture just sticks cohesively when you pinch a bit between your fingers. Always chill them thoroughly for at least 30 minutes before dipping, too; that cold hardens the structure so the chocolate coating acts like a protective shell!
If you have other burning questions about substitutions or anything else while making these for your next gathering, don’t hesitate to reach out to us through our contact page!
Estimated Nutritional Profile for Homemade Coconut Balls
I always find it helpful to know what’s inside these sweet treats, especially when I’m sharing them with family or friends. I’ve put together the approximate nutritional breakdown below for our Easy No-Bake Chocolate Coconut Balls. Remember, since we are using simple, whole ingredients, these estimates are pretty reliable, but they can shift depending on the brand of chocolate or how much coconut oil you use in the coating!
If you’re ever curious about how we handle data across the site, feel free to check out our Privacy Policy. But for now, here is what you can generally expect per serving of these delicious little bites:
- Serving Size: 1 ball
- Calories: 150
- Fat: 9g (Saturated Fat: 7g)
- Carbohydrates: 16g
- Sugar: 18g
- Protein: 2g
- Sodium: 35mg
As you can see, these are definitely a treat! That sugar content reflects the condensed milk and the chocolate coating, which gives them that incredible sweetness, but they are low in actual protein. If you’re making large batches, just know that these values are based on dividing the recipe yield into 20 even servings. If you accidentally make 18 bigger balls, the numbers change slightly, so that’s just something to keep in mind!
Share Your Sweet Coconut Bites Experience
Well, folks, that’s all there is to it! We’ve gone from simple pantry staples to gorgeous, decadent chocolate-dipped coconut balls without ever turning on the oven. I really hope you take the time to try these out because they truly are magical, especially when you leave them in the fridge overnight to let those flavors really settle in.
I can’t wait to hear what you think! Did you love the richness of the condensed milk? Did you try any coating variations other than chocolate? Drop a comment below and let me know how many stars you’re giving these Sweet Coconut Bites. Pictures are always welcome too—I love seeing how you make these recipes shine in your own kitchens!
Happy snacking, and thank you for welcoming these comforting, easy treats into your home. Sharing food is sharing love, and I’m so happy you stopped by HearthBite today!
PrintEasy No-Bake Chocolate Coconut Balls

Make these simple, sweet, and creamy no-bake coconut balls coated in chocolate. This recipe uses few ingredients and sets quickly, making it perfect for parties or quick desserts.
- Prep Time: 15 min
- Cook Time: 5 min
- Total Time: 50 min
- Yield: 20 servings 1x
- Category: Dessert
- Method: No-Bake
- Cuisine: American
- Diet: Vegetarian
Ingredients
- 14 ounces sweetened condensed milk
- 3 cups sweetened shredded coconut
- 1 teaspoon vanilla extract
- 1 cup semi-sweet chocolate chips
- 1 tablespoon coconut oil
Instructions
- Combine the sweetened condensed milk, shredded coconut, and vanilla extract in a medium bowl. Mix until fully combined.
- Roll the mixture into small balls, about 1 inch in diameter. Place the balls on a baking sheet lined with parchment paper.
- Chill the coconut balls in the refrigerator for at least 30 minutes to firm them up.
- Melt the chocolate chips and coconut oil together in a microwave-safe bowl in 30-second intervals, stirring until smooth.
- Dip each chilled coconut ball into the melted chocolate, ensuring it is fully coated.
- Return the coated balls to the parchment-lined sheet.
- Refrigerate for another 15 minutes, or until the chocolate coating is set.
Notes
- For a healthier option, you can substitute almond flour for some of the shredded coconut.
- If you prefer a pure coconut flavor without chocolate, roll the chilled balls in extra dry shredded coconut instead of dipping them in chocolate.
- These coconut balls freeze well for later enjoyment.
Nutrition
- Serving Size: 1 ball
- Calories: 150
- Sugar: 18g
- Sodium: 35mg
- Fat: 9g
- Saturated Fat: 7g
- Unsaturated Fat: 2g
- Trans Fat: 0g
- Carbohydrates: 16g
- Fiber: 1g
- Protein: 2g
- Cholesterol: 10mg