
Oh, friend, let’s talk about sauces for a minute. You know how sometimes you want that deep, luxurious, restaurant-quality flavor, but you absolutely do not have an hour to stand over a stove emulsifying egg yolks? Me too! That’s why I live and breathe for this simple creation. If you need the garlic aioli recipe that comes together faster than boiling water, you’ve found it. Here at HearthBite, we believe cooking should be joyful and reliable, and this sauce proves you can have gourmet taste on a weeknight schedule. We are skipping the fuss and diving straight into the Ultimate 5-Minute Creamy Garlic Aioli Recipe—and yes, this one is wonderfully no egg, which makes it my absolute go-to for quick dips and spreads. You are going to put this on absolutely everything! If you’re looking for more fast-fix recipes for those busy mornings, check out my guide on easy breakfast recipes; they share the same spirit of speed and flavor!
- Why This Garlic Aioli Recipe Is Your New Kitchen Staple
- Gathering Ingredients for the Best Garlic Aioli Recipe
- Step-by-Step Instructions for Your Quick Aioli Recipe
- Expert Tips for the Ultimate Garlic Aioli Sauce
- Serving Suggestions for Your Homemade Dipping Sauce
- Storage and Reheating for Your Garlic Aioli Recipe
- Frequently Asked Questions About This Garlic Aioli Recipe
- Nutritional Estimates for Your Garlic Aioli Recipe
- Share Your Homemade Dipping Sauce Success
Why This Garlic Aioli Recipe Is Your New Kitchen Staple
I’ve made the classic, tedious, whisk-until-your-arm-falls-off version of aioli, and let me tell you: I never have time for that anymore. This recipe is different. It meets you right where you are—busy, hungry, and wanting something spectacular to dip fries into immediately. This isn’t just a sauce; it’s a whole weeknight upgrade hiding in your fridge!
The real magic here is that everything required for a truly creamy garlic aioli is measured, mixed, and ready to chill in less than five minutes. That means less time fussing in the kitchen and more time actually enjoying your meal. It works beautifully on everything from roasted potatoes to simple grilled chicken.
Speed and Simplicity: The 5-Minute Garlic Aioli Recipe
Seriously, don’t blink! This is the definition of a 5 minute sauce recipe. You don’t need an immersion blender or any fancy equipment. Grab a small bowl and a fork. That’s it! Because we are using mayonnaise as our powerhouse base, the emulsion happens instantly. You get that thick, velvety texture you crave without having to worry if the oil splits. It’s foolproof, and fast enough to whip up while your burgers rest on the grill.
The Secret to an Easy Homemade Aioli (No Raw Egg Worry)
I know some folks are nervous about traditional aioli because it means wrestling with raw egg yolks. Who needs that stress, right? My biggest appeal for this easy homemade aioli is that it completely avoids the raw egg step. We use a high-quality, store-bought mayonnaise. It’s already emulsified, perfectly stable, and gives you that richness right away. It’s an instant win for flavor and peace of mind! If you’re looking for more fantastic, quick meal solutions, you absolutely must check out my quick and easy dinner recipes.
Gathering Ingredients for the Best Garlic Aioli Recipe
Okay, we are keeping this simple because this is meant to be effortless. Remember how I said that mayonnaise is our secret weapon? It’s the foundation of this garlic mayo recipe, saving us tons of time! When you gather these few ingredients, just make sure they are fresh. Quality matters when you only have a few players in the game, so grab the best mayo you have on hand. If you need some ideas for what to serve this masterpiece with later, my guide to healthy lunch recipes might inspire you!
Ingredient Clarity for Perfect Garlic Aioli
Here’s the exact lineup. Pay close attention to the garlic prep—it makes a huge difference in how potent the flavor is without any harsh bite. Don’t skimp on the fresh lemon juice, either; that bit of acid cuts through the richness so beautifully!
- 1 cup good quality mayonnaise (Please use the full-fat stuff for the best texture!)
- 3 large cloves fresh garlic, minced very finely or pressed (I use my garlic press—it gets it perfectly smooth.)
- 1 tablespoon fresh lemon juice (Freshly squeezed only, please!)
- 1 teaspoon olive oil (Extra virgin preferred, just for that little bit of backbone flavor.)
- 1/4 teaspoon salt, or to taste (You might need more depending on your mayo brand.)
- 1/8 teaspoon black pepper, freshly ground
Step-by-Step Instructions for Your Quick Aioli Recipe
Look, you’ve gathered your ingredients, and now you’re staring down the clock, hoping this garlic aioli recipe is actually as fast as I claim. I promise, it is! The process is purely mixing, but we need to be focused on a couple of small things to ensure that luxurious texture. Think of this as assembling a flavor bomb rather than actual cooking. This is where we move from great ingredients to having the best aioli sauce you’ve ever made at home. If you’re looking for ideas on what hearty comfort food recipes to use this on, I’ve got plenty of ideas waiting for you! Check out my comfort food recipes section for inspiration.
Mixing the Creamy Garlic Aioli Base
Get that small bowl ready. I usually use a whisk just because it makes me feel fancy, but honestly, a sturdy fork works just as well. Dump everything in—mayo, that finely minced garlic, lemon juice, olive oil, salt, and pepper. Now, whisk or stir with purpose! You want to mix until that mixture isn’t just combined, but truly uniform. Step three in the recipe is essential: scrape down the sides of the bowl halfway through. If you skip this, you’ll end up with pockets of plain mayo that deflate the overall flavor. We are pushing for flavorful homemade sauce here, so get every bit incorporated!
The Crucial Resting Time for Flavor Development
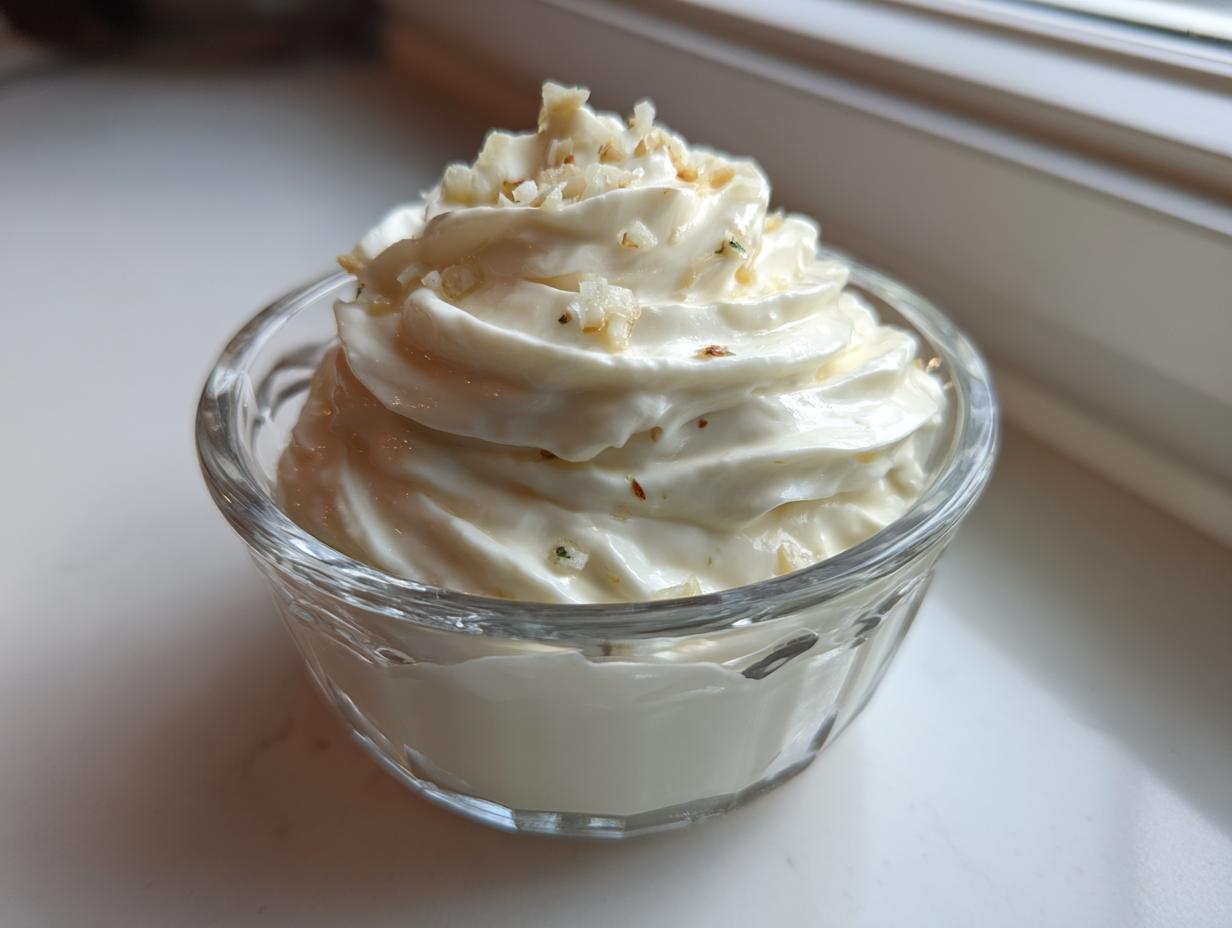
This is the step where impatient cooks mess up, so don’t be one of them! Once it’s all whisked up—smooth, light yellow, looking utterly delicious—you absolutely need to cover it and chill it. I know, I know, waiting sucks when you want to dip those fries *right now*. But here’s the deal: the sharp, raw bite of that fresh garlic needs time to chill out and mellow. When it rests in the fridge for that minimum of 15 minutes, the garlic infuses the whole creamy base. Trust me, letting it sit is the silent secret to turning this into a restaurant style aioli sensation.
Expert Tips for the Ultimate Garlic Aioli Sauce
You’ve made the base, you’ve let it chill—congratulations! You now have the best aioli sauce ready to go. But if you want to take this from ‘good’ to ‘holy cow, what is in this?’ territory, I have a few little tricks up my sleeve. These customizations help you build layers of flavor, turning this simple condiment into something truly memorable. Even with a simple garlic mayo recipe base, customizing is where the fun begins. If you’re already deep into making homemade treats, you might want to check out my recipe for easy homemade soft chewy sea salt caramels!
Variation: Creating Roasted Garlic Aioli Flavor
If you want a flavor that is deep, sweet, and almost smoky—forget the raw garlic and go for roasting! Roasting garlic changes everything. Take a whole head, slice off the top paper layer to expose the cloves, drizzle it with a tiny bit of olive oil, wrap it in foil, and pop it in the oven until it’s golden and jammy. It takes about 45 minutes, but honestly, you can do that while you’re prepping dinner for later in the week. Once it cools, you just squeeze those sweet, soft cloves right into your mayo mixture instead of the raw minced garlic. It creates this incredibly mellow, luscious roasted garlic aioli that is just heavenly.
How to Customize Your Garlic Aioli Recipe for Spice
Not everything needs to be sweet and garlicky, right? Sometimes you need a little kick! If you want to lean into that spicy aioli variation I mentioned, you can totally adjust this flavorful homemade sauce. Right there in Step 3 of the instructions, when you’re whisking everything together, this is the time to add about a quarter teaspoon of cayenne pepper. I find cayenne adds a nice slow heat without changing the texture. If you’re feeling really bold, a dash of your favorite sriracha works wonders too! If you aren’t using fresh garlic in this method, you can also add a tiny bit of garlic powder for an extra savory punch, but honestly, the fresh stuff is king!

Serving Suggestions for Your Homemade Dipping Sauce
Now that you’ve got this incredible, potent, creamy garlic aioli ready to go, the real fun starts: deciding what to ruin—I mean, *elevate*—with it! We all know it’s amazing on French fries, but honestly, that’s just the starting line for this stuff. It excels as a flavorful sandwich spread; think turkey clubs or veggie wraps where you want that savory zing instead of plain mayo.
Don’t forget its power as a straight-up aioli dipping sauce! It’s mandatory for crispy artichoke hearts or roasted broccoli. If you are making any kind of grilled meat or fish, this sauce sings. I love drizzling it right over baked sweet potatoes, too. If you’ve made my garlic herb roasted vegetables recipe—and I hope you have!—you know how this aioli just brings that whole dish to life. You can find the instructions for those gorgeous garlic herb roasted veggies right here on the blog. Go ahead, be generous, you deserve it!
Storage and Reheating for Your Garlic Aioli Recipe
Look, this condiment recipe is so good, you’re probably thinking you’ll eat it all tonight. But just in case you manage to save a little bit—and you should, because it tastes even better the next day—let’s talk storage. Because we skipped the raw egg, this recipe is really wonderful for leftovers, which builds our overall Trustworthiness here at HearthBite!
To keep your easy homemade aioli tasting fresh and flavorful, you need an airtight container. A small glass jar works perfectly. Seal it up tight, and pop it right into the refrigerator. This sauce stays beautifully creamy and safe to eat for about a week. Seriously, it’s one of the most convenient, make-ahead sauces you can have!

Now, about reheating? A cold sauce doesn’t really need reheating, does it? If you’re planning to use it in something hot, like drizzling it over a warm chicken breast, just consider setting your aioli out on the counter for about ten minutes before you serve it. That lets the flavors open up a tiny bit. But please, never heat this sauce directly! It contains mayonnaise, and putting that on the stove will just turn it into oily sadness. If you’re looking for a shelf-stable option you can heat up, maybe try my recipe for homemade teriyaki sauce instead!
Frequently Asked Questions About This Garlic Aioli Recipe
I know when you find a fantastic garlic aioli recipe, you have questions! It’s only natural. Since this is my go-to hack for that rich flavor, I’ve collected the things people ask me most often. Hopefully, this clears everything up so you can get back to dipping everything in sight. If you need more fast ideas for using homemade sauces, check out my easy, quick, no-cook pizza sauce recipe for more inspiration!
Can I make a lemon garlic aioli variation using this base?
Oh, absolutely! You’re ahead of the game, because you’ll notice that fresh lemon juice is already required in the main recipe! That little bit of acid is what keeps the flavor bright. If you want to lean even harder into the citrus and make it a true lemon garlic aioli, go ahead and add about a half teaspoon of fresh lemon zest right when you mix everything in Step 3. It really boosts the aroma!
What is the difference between this aioli and garlic mayo?
That’s a great question that gets right to the heart of why this shortcut is so good! Technically, traditional aioli is an emulsion made purely from garlic pounded with olive oil, slowly whisked until thick. My recipe here skips that whole, sometimes tricky, process and jumps straight to the flavor finish line by starting with a mayonnaise base. So, yes, in flavor profile and texture, this is a delicious, highly flavored garlic mayo recipe, but the name ‘aioli’ sticks because it delivers that punchy garlic flavor people associate with it!
How long does this quick aioli recipe last in the fridge?
Because we aren’t messing around with raw eggs, this sauce is surprisingly stable for a homemade condiment. If you keep it sealed tightly in an airtight container, you should be good to go for about one week in the refrigerator. That’s plenty of time to use up the rest of that batch on burgers, use it as a sandwich spread, or just sneak spoonfuls when nobody’s looking!
Nutritional Estimates for Your Garlic Aioli Recipe
Hey, if you’re counting macros or just curious what’s in this gorgeous sauce, I wanted to give you a quick rundown. Just remember, this is Sarah talking here, not a certified nutritionist! These numbers are just estimates based on the standard, full-fat ingredients I call for in the recipe. It’s a rich condiment, so watch those serving sizes, even though it’s so easy to over-serve yourself!
Since this recipe is so versatile, I’m sure you’ll find a million ways to enjoy it, whether you’re sticking to your gluten-free recipes plan or just craving flavor. It’s handy to know what you’re working with!
Keep in mind, these estimates are for a standard two-tablespoon serving size:
- Calories: About 190
- Total Fat: 21 grams (Mostly unsaturated—yay!)
- Protein: Less than 1 gram
- Carbohydrates: About 0.5 grams
- Sodium: Around 280mg (Depending heavily on the salt you add and your mayo brand)
It’s high in fat because, well, we used mayonnaise for that amazing creaminess! But wow, it delivers flavor for those few calories. If you serve this with lighter options, like steamed veggies or grilled fish, it balances out perfectly! If you’re looking for more ways to make your whole meal fit your macros, check out my library of great gluten-free recipes!
Share Your Homemade Dipping Sauce Success
Okay, I’m wrapping up, but don’t disappear yet! I truly want to know what you think of this ultimate, lightning-fast garlic aioli recipe. Did you try the roasted garlic variation? Did you use it primarily as an aioli dipping sauce for crispy homemade fries? Or did you slather it thick onto a grilled chicken sandwich?
This is what HearthBite is all about, right? Creating something delicious and then sharing the experience. Please take a moment when you’re done enjoying your sauce to come back here and leave a star rating—five stars if you think this quick method absolutely knocked the socks off the old traditional way!
Hearing how you use these recipes is the best part of my week! Drop a comment below and let me know what you paired this gorgeous, creamy sauce with. If you need to send me a picture, or if you have any lingering questions about sauces or spreads, feel free to reach out via my contact page. Happy dipping, my friend!
PrintThe Ultimate 5-Minute Creamy Garlic Aioli Recipe (No Egg)

Make the best homemade garlic aioli sauce in just five minutes. This creamy, flavorful garlic mayo recipe uses simple ingredients and is perfect as a dipping sauce for fries or a sandwich spread.
- Prep Time: 5 min
- Cook Time: 0 min
- Total Time: 5 min
- Yield: About 1 cup 1x
- Category: Condiment
- Method: Mixing
- Cuisine: American
- Diet: Vegetarian
Ingredients
- 1 cup good quality mayonnaise
- 3 large cloves fresh garlic, minced very finely or pressed
- 1 tablespoon fresh lemon juice
- 1 teaspoon olive oil (extra virgin preferred)
- 1/4 teaspoon salt, or to taste
- 1/8 teaspoon black pepper, freshly ground
Instructions
- Gather all your ingredients. You need a small bowl and a whisk or a fork.
- Place the mayonnaise, minced garlic, lemon juice, olive oil, salt, and pepper into the bowl.
- Whisk the ingredients together thoroughly until the mixture is completely smooth and uniform in color. Scrape down the sides of the bowl as needed.
- Taste the aioli. Add more salt or lemon juice if you prefer a tangier flavor.
- Cover the bowl and chill the garlic aioli in the refrigerator for at least 15 minutes before serving. This allows the garlic flavor to fully infuse the sauce.
- Serve this homemade dipping sauce with french fries, roasted vegetables, or use it as a sandwich spread.
Notes
- For a deeper, sweeter garlic flavor, try roasting the garlic first. Roast 1 whole head of garlic until soft, squeeze out the cloves, and mash them before mixing them in.
- To make a spicy aioli variation, add 1/4 teaspoon of cayenne pepper or a dash of your favorite hot sauce during step 3.
- Store leftover aioli in an airtight container in the refrigerator for up to one week.
Nutrition
- Serving Size: 2 tablespoons
- Calories: 190
- Sugar: 0.5
- Sodium: 280
- Fat: 21
- Saturated Fat: 3.5
- Unsaturated Fat: 17.5
- Trans Fat: 0
- Carbohydrates: 0.5
- Fiber: 0
- Protein: 0.5
- Cholesterol: 10