
Every year when the air gets crisp and the lights go up, my heart automatically turns toward the kitchen. There’s just something sacred about whipping up those simple, traditional holiday sweets, right? For me, nothing says “Christmas tradition” louder than a crisp, cool piece of homemade peppermint bark. Forget the complicated baking marathons; this recipe is pure holiday magic achieved quickly. I have this recipe memorized—it’s my go-to for last-minute neighbors or when I just need a perfect little dose of minty chocolate comfort. It’s our family’s Easiest 4-Ingredient Chocolate Peppermint Bark, and wow, does it deliver on flavor without asking for much time at all. It’s completely no-bake, which means less stress and more time enjoying the season!
- Why This Homemade Peppermint Bark Recipe is a Holiday Must-Make
- Essential Ingredients for Classic Peppermint Bark
- How to Make Perfect Layered Chocolate Peppermint Bark
- Tips for Success When Making Peppermint Bark
- Serving Suggestions for Your Festive Chocolate Peppermint Bark
- Storage and Reheating Instructions for Peppermint Bark
- Frequently Asked Questions About Peppermint Bark
- Estimated Nutritional Data for Peppermint Bark
- Share Your Festive Peppermint Bark Creations
Why This Homemade Peppermint Bark Recipe is a Holiday Must-Make
When the holiday schedule gets absolutely packed, you need sweets that perform under pressure. Trust me, this peppermint bark recipe is my secret weapon for edible holiday gifts and party platters. It’s all about reliability and simplicity—we aren’t breaking out the candy thermometer or worrying about fussy steps here! This recipe is a guaranteed success, even if you’re new to homemade candy making. It looks like you spent hours on it, but really, it’s so fast! People always ask me how I manage to get treats done for the cookie exchange when I’m already running around, and this is high on my list, right next to my Christmas cookie bars.
- It’s a true No Bake Holiday Treat, meaning the oven stays free for the big meals.
- The whole active process takes less than 20 minutes—Hello, Quick Holiday Desserts!
- It sets up perfectly every single time, creating those gorgeous contrasting layers.
- It’s the easiest Easy Christmas Candy you can possibly make.
Quick Prep Time for Last-Minute Needs
I love that the active prep time is just about 15 minutes, tops. Seriously! You melt the dark chocolate, spread it, crush a bag of candy canes, melt the white, spread that, and sprinkle! That’s it! This means if I realize Tuesday afternoon that I forgot to grab a little something for the teacher’s gift basket, I can still have stunning, professional-looking peppermint bark chilling in the fridge before dinner. It’s such a lifesaver!
Perfect for Edible Holiday Gifts
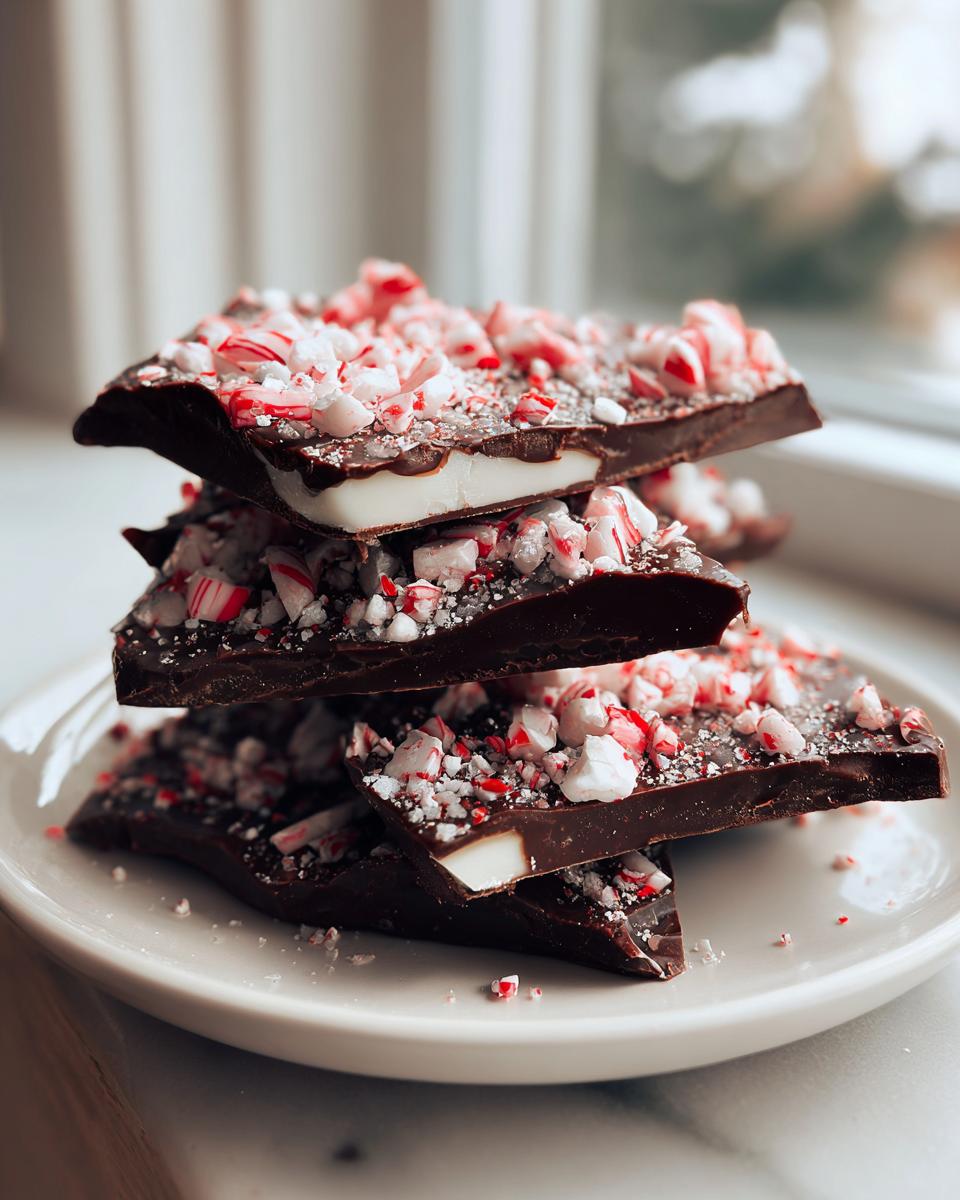
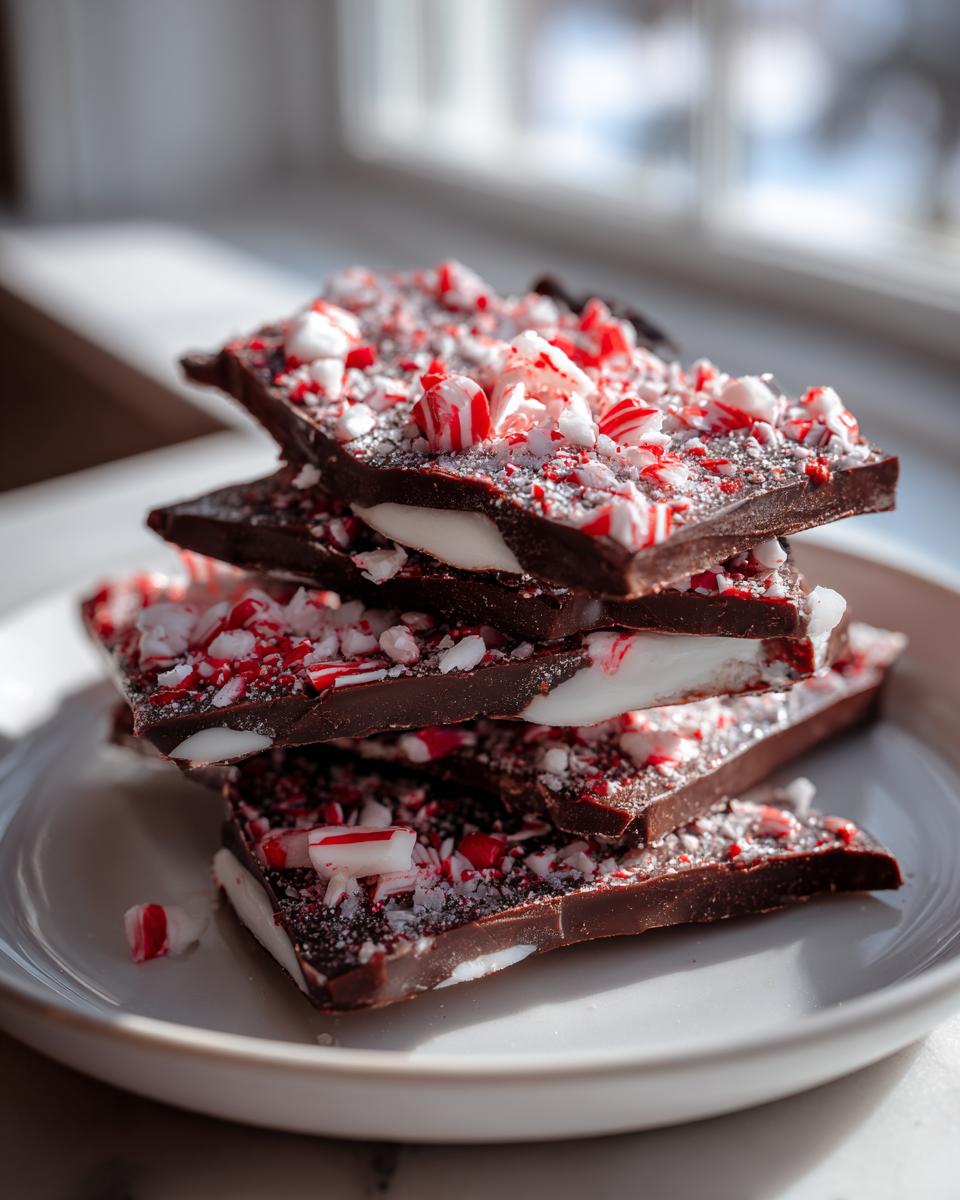
Honestly, this festive chocolate bark makes the best gifts because it looks so impressive when you wrap it up. I usually break it into jagged, rustic pieces and toss them into clear cellophane bags tied with bright red ribbon. The dark chocolate base popping against the bright white chocolate and the red and green peppermint pieces looks incredibly festive. People always assume I bought this from a fancy shop, which is my favorite part when they ask for the recipe!
Essential Ingredients for Classic Peppermint Bark
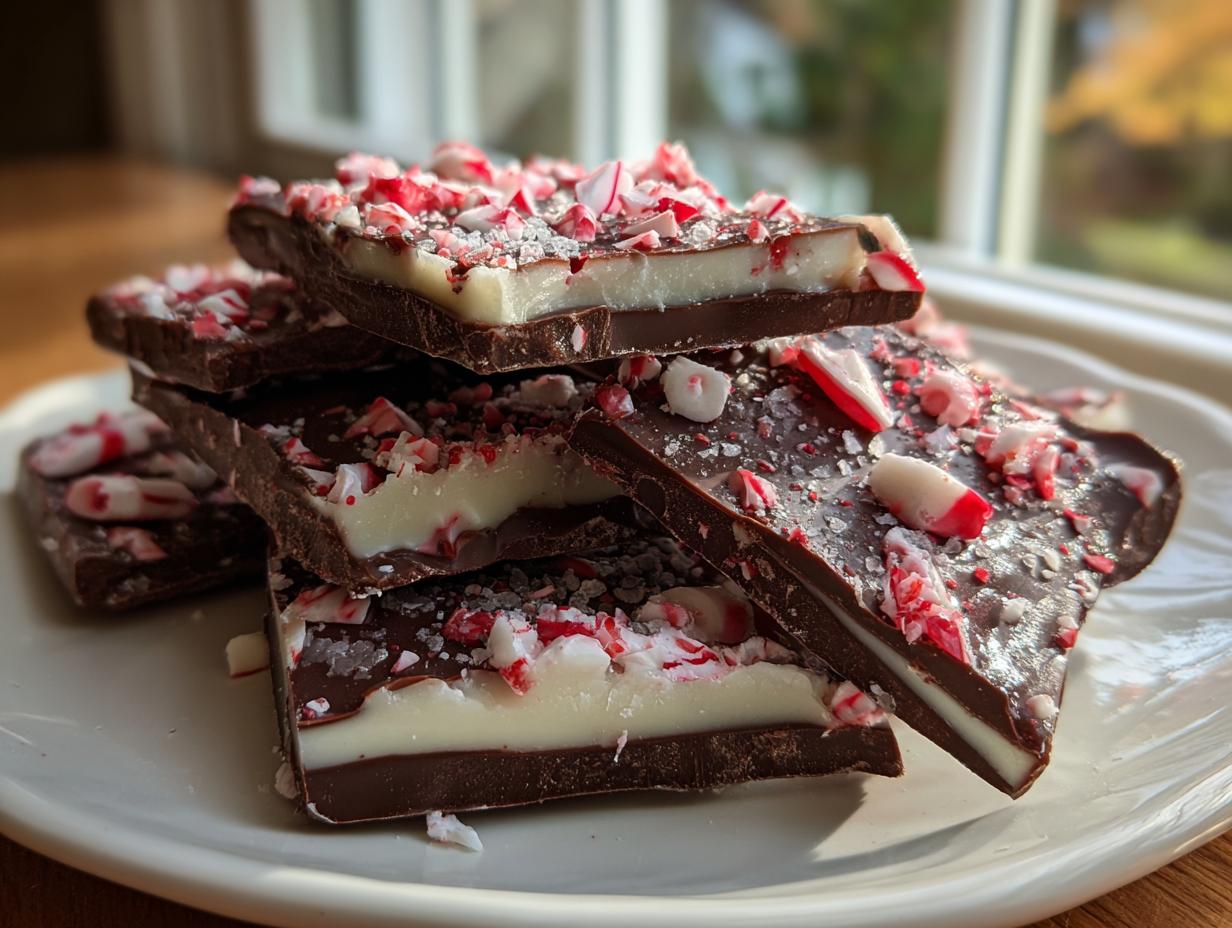
Part of why this peppermint bark is so foolproof is that it truly relies on just four main ingredients for that classic taste! We’re using high-quality chocolate to create our layers, which is where the magic starts. I always keep these supplies stocked from November onward because you never know when a last-minute gifting opportunity will pop up. If you want to elevate it slightly and make that gorgeous Salted Peppermint Bark variation that everyone dreams about, we always add a sprinkle of flaky sea salt right at the end. It brings out the chocolate flavors, trust me!
- 8 ounces dark chocolate (chips or finely chopped bars)
- 8 ounces white chocolate (chips or finely chopped bars)
- 1 teaspoon peppermint extract (or adjust to your minty preference!)
- 1 cup crushed candy canes (plus a little extra for sprinkling on top)
- Optional sprinkle: Flaky sea salt
Ingredient Notes and Substitutions for Your Peppermint Bark
Okay, let’s talk quality here. Since there are only four things in this recipe, they better be the good stuff! I strongly recommend using good quality chocolate chips or actually chopping up baking bars. Sometimes those cheaper coating wafers don’t melt as smoothly, and we don’t want any streaks or blooming later on. If you absolutely can’t find peppermint extract—which is rare!—a few drops of pure mint oil would work, but be careful, it’s strong!
If you’re short on time or really only love the white chocolate layer, you can skip the dark chocolate entirely. Just use 16 ounces of white chocolate, mix in your extract, and proceed! That makes for a stunning White Chocolate Peppermint Bark, and it’s even faster. Just make sure whatever chocolate you use, it’s nicely tempered or melted slowly so you get that satisfying snap when you break the finished pieces.
How to Make Perfect Layered Chocolate Peppermint Bark
Okay, this is where the fun really begins! Making layers of chocolate that don’t separate or get all oily is something people dread, but I promise you, if you take it slow, this process is incredibly satisfying. We are going to build this peppermint bark up carefully so you get that beautiful contrast. Remember to have your 8×8 inch pan ready and lined with parchment paper *before* you even think about turning on the microwave. That parchment paper overhang is your insurance policy for easy removal later—don’t skip it!
Melting Chocolate and Creating the First Peppermint Bark Layer
First up is our base layer: the dark chocolate. Pop your dark chocolate chips or chopped chocolate into a microwave-safe bowl. And here’s the critical rule for melting chocolate: use short bursts! I zap mine for 30 seconds, stir really well (even if it doesn’t look quite melted), and then zap it for another 30 seconds, stirring in between. If you rush it, it seizes up on you, and we absolutely don’t want that panic! Once it’s silky smooth, pour it into your lined pan and use an offset spatula to spread it into an even, thin layer across the bottom. Now, time for the first sprinkle! Scatter about half of your crushed candy canes right over that wet dark chocolate. Gently press them in a tiny bit so they adhere nicely.
Adding the Peppermint Extract to the White Chocolate Peppermint Bark
Next, we work on the white layer. Clean out that bowl (or grab a new one) and melt your white chocolate the exact same way—in short, patient 30-second bursts, stirring constantly until it’s totally melted and smooth. This is when we stir in that lovely peppermint extract! Taste it first on a tiny spoon—maybe you want a little more zing? Once you decide on the flavor, pour that white chocolate right over the set dark layer. You need to be gentle here. Use your spatula to spread it carefully so you don’t disturb the dark chocolate underneath or push all the crushed candy canes down to the bottom. Once it’s spread, quickly sprinkle the remaining candy canes, and if you’re doing the salty variation, dust on that flaky sea salt now before it sets.
Chilling and Breaking Your Finished Peppermint Bark
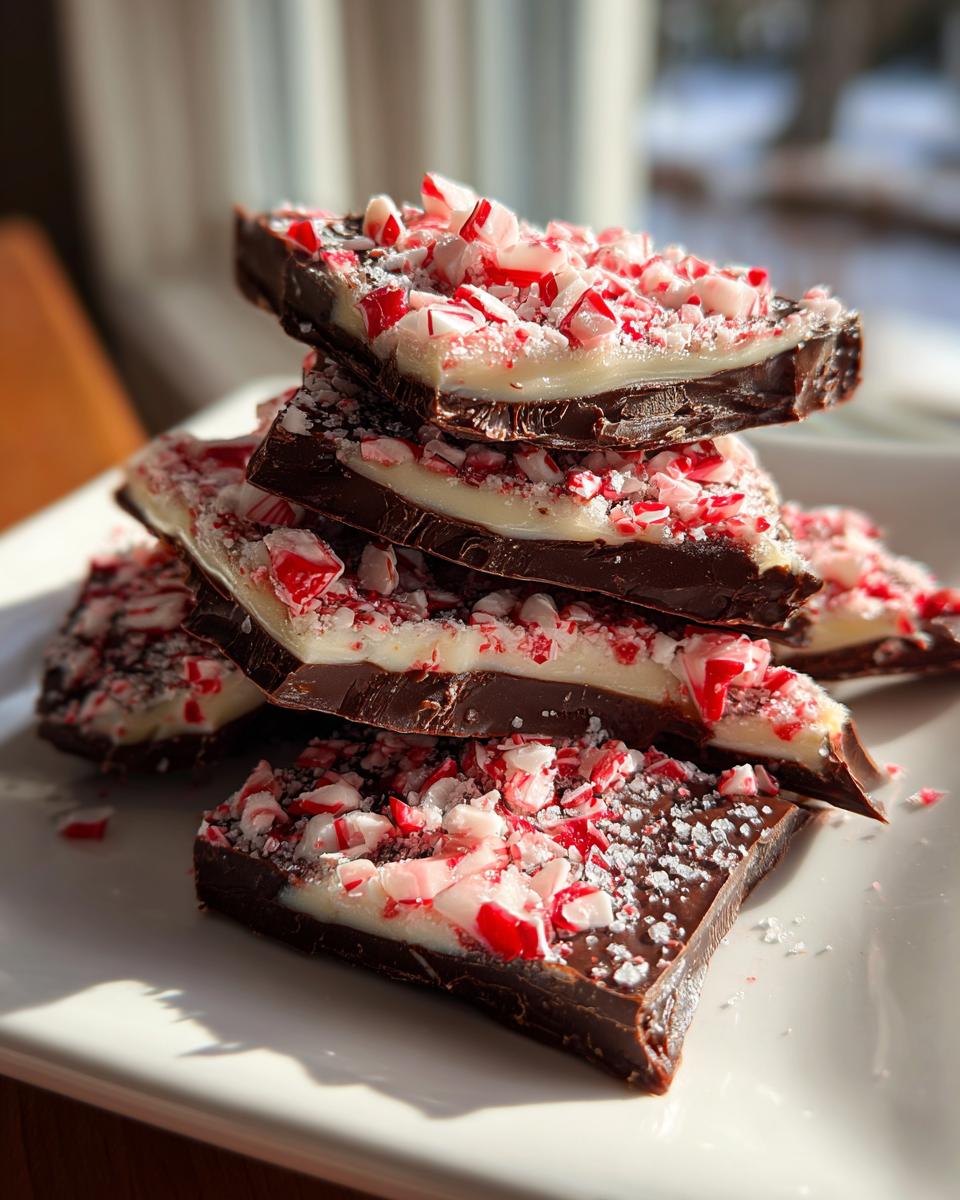
This is the hardest part: waiting! Since this is a no bake holiday treat, we let the fridge do all the work. Tuck the pan into the refrigerator for at least one full hour. You want it rock solid—no soft spots whatsoever. Once it’s totally firm, use those parchment paper “handles” to lift the whole bark slab out onto your cutting board. I never use a knife to cut this; that’s not the right texture! Instead, I place the bark down, put my hand flat on top near the edge, and just push down firmly until it cracks into wonderful, irregular shapes. Those jagged pieces are what make it look so rustic and homemade. If you want the recipe for my chocolate crinkle cookies, check that out next!
Tips for Success When Making Peppermint Bark
Oh, you will absolutely run into a few little hiccups if you try to rush this process—I know I did when I first started making peppermint bark! The biggest pitfall I see people run into involves the candy canes sticking, or the white chocolate separating from the dark layer later on. Knowing these little tricks really separates the ‘good’ bark from the *great* holiday bark!
First, about those candy canes: if you are crushing them by hand with a rolling pin, wrap them up tight in a durable bag, but leave just a tiny bit of air in it before you start rolling. If the bag is completely vacuum-sealed, the air pressure can cause the candy to shatter into super-fine dust, which doesn’t look as nice as those chunky red and white bits we want. I learned that the hard way when I tried to crush a whole bag at once—it looked more like peppermint snow than bark!
Another thing I watch out for is temperature control between the layers. If your first (dark) layer is too warm when you pour on the white chocolate, they can mix a little, and you lose that crisp separation. My trick is to spread the dark layer thin so it cools down faster. Once it feels mostly set—it shouldn’t be liquid, but still slightly pliable—then I pour the white on top. It gives you a stronger barrier.
And finally, if you are worried about the dreaded chocolate bloom (that gray film that sometimes shows up), make sure you are using high-quality chocolate and that there is zero water near your melting chocolate! Water, even a tiny drop, can make chocolate seize up instantly. If you want something equally delightful that doesn’t require melting chocolate, you absolutely must try my recipe for easy homemade marshmallows; they are surprisingly simple!
Serving Suggestions for Your Festive Chocolate Peppermint Bark
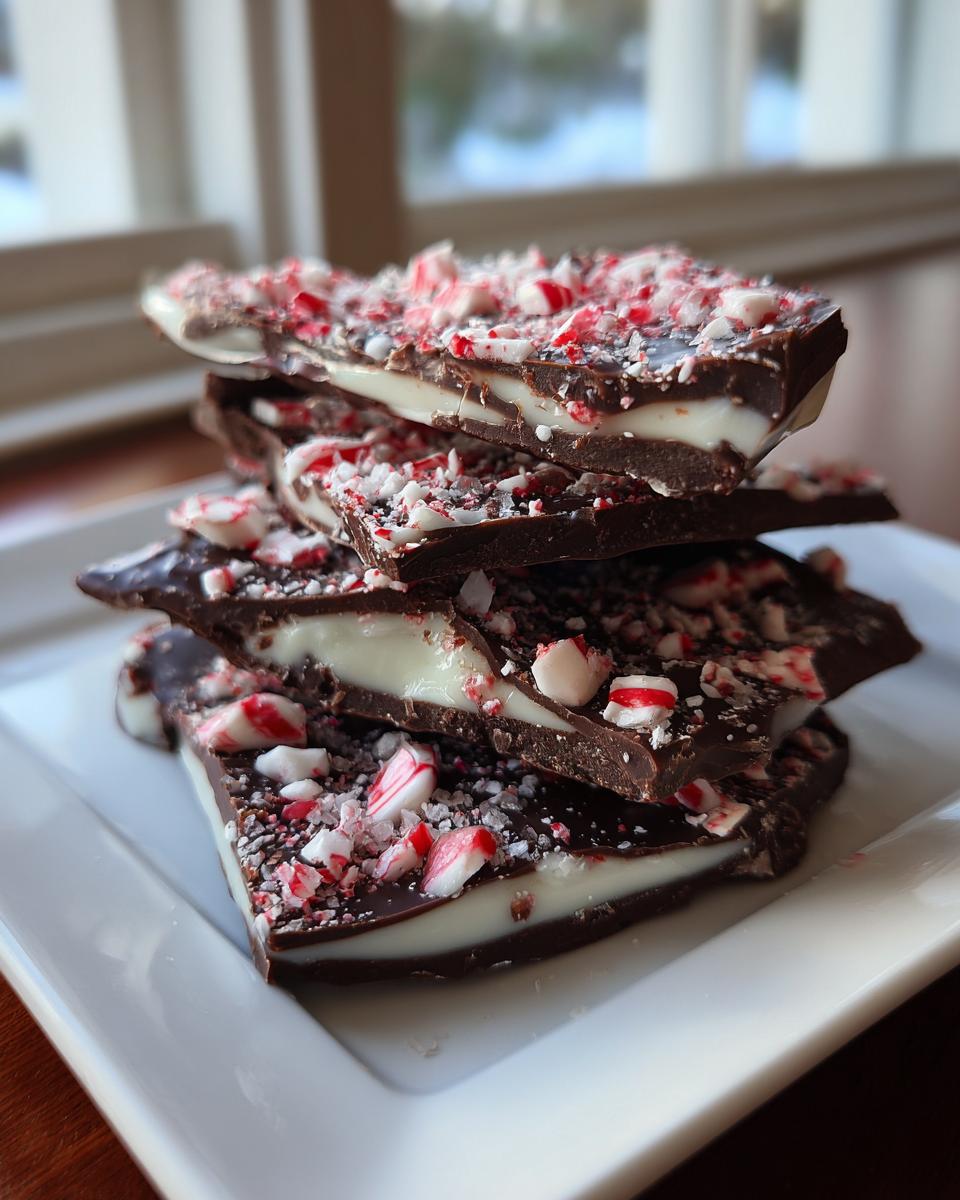
It’s almost a shame to just hide this beautiful Festive Chocolate Bark away once it’s made! Once it’s snapped into those perfect little pieces, it’s ready to shine. The way the dark chocolate hits the cool mint is just divine on its own, but I love serving it up styled a bit. For adult gatherings, I always set out a platter of the peppermint bark right next to hot mugs of my favorite hot cocoa mix recipe—it just feels so cozy!
You can also crush up a few extra pieces and use them as a topping for other things. Think about garnishing bowls of ice cream, or sprinkling them over warm brownies if you’re feeling extra decadent. Even just piling these colorful pieces high on a simple white pedestal looks elegant. Honestly, it’s one of those simple treats that makes any holiday spread look instantly more polished!
Storage and Reheating Instructions for Peppermint Bark
So, you’ve made this amazing, crunchy peppermint bark, and now you have to hide it from everyone (especially the kids!) until the party. The good news is that this candy stores really easily, which is another reason I love it so much for holiday prep!
The main thing you need to remember is that chocolate doesn’t like heat, and it doesn’t love being hot and then suddenly cold over and over again. If you live somewhere chilly, like I do here in Ohio during December, you can totally keep your airtight container right on the counter. Room temperature storage is best for maintaining that perfect snap!
If your house runs super warm, especially if you have a lot of family over or cookies baking constantly, then pop it in the fridge. Just make sure you seal it really well, because chocolate will absorb any funky smells floating around (we don’t want our mint tasting like leftover chili!).
If you keep it sealed tightly, this peppermint bark stays fantastic for a good two to three weeks. Honestly, it rarely lasts that long in my house! The only texture change to watch for is if you store it in the fridge and then set it out on a warm dish. If it gets too warm, the chocolate can soften around the edges, and you might lose that satisfying *crunch* when you break it the next time. If that happens, just pop it back in the fridge for 15 minutes to firm up again.
And just like my recipe for easy strawberry freezer jam, this bark freezes beautifully if you need to make a huge batch well in advance! Just wrap the pieces tightly in plastic wrap first, then foil, and keep them away from anything strong-smelling.
Frequently Asked Questions About Peppermint Bark
I always get so many questions when I post pictures of this peppermint bark on social media! It’s a simple recipe, but everyone has their own little preferences or fears about making candy. Let me try to answer the most common ones I hear every year so you can create your own perfect batch for holiday gifting!
Can I use only white chocolate for the peppermint bark?
Absolutely! If you aren’t a big dark chocolate fan, you can totally skip the first layer. That simply turns this into a pure, sweet White Chocolate Peppermint Bark. Just use the full 16 ounces of white chocolate for the recipe, making sure to add your peppermint extract to it when you melt it down. It will still be delicious, just sweeter and mintier overall!
How long does the peppermint bark actually take to set?
This is a huge selling point, honestly! While the active time is just 15 minutes, you do need chilling time for that perfect snap. I tell everyone to plan for about an hour in the refrigerator, maybe a little more if your kitchen is warm. You want the chocolate absolutely solid—the moment you try to break the Candy Cane Bark Recipe pieces, it should snap cleanly, not bend. If it bends, it needs more time chilling!
Can I freeze leftover peppermint bark?
Yes, you can! If you somehow end up with extra (which I doubt happens in my house!), freezing is a great option. Just make sure the pieces are wrapped super tightly—I like to wrap them in plastic wrap first, then pop them into a heavy-duty freezer bag. When you want to enjoy it, just let it thaw slowly in the fridge first before letting it come up to room temperature. Keep in mind, if you take it from freezing straight to a warm room, you might get a little condensation on the chocolate, so thawing slowly is key to keeping that pretty look.
My peppermint candy canes are turning my chocolate a weird gooey color. What did I do wrong?
Oh, I hate when that happens! That usually means your candy canes were a little too wet when you crushed them, or maybe there was moisture on your spatula when you spread the white chocolate. Candy canes melt strangely when they touch hot liquid chocolate for too long, so make sure your candy canes are bone dry before you sprinkle them on. Also, when you crush them, try not to let them sit ground up for an hour before using them either. Freshly crushed is best!
Estimated Nutritional Data for Peppermint Bark
Now, let’s talk quick numbers for our Easiest 4-Ingredient Chocolate Peppermint Bark. Since this is a highly customizable treat—maybe you use extra dark chocolate or skip the optional salt—please remember that these figures are just estimates based on the core ingredients listed in the recipe. We want you to enjoy the holidays without worrying too much about macros, but sometimes it’s nice to have a general idea!
This information is calculated per serving (one piece, assuming 16 servings from the pan). Because this is a rich, chocolate-based No Bake Holiday Treat, expect the fat and sugar content to reflect the wonderful melted white and dark chocolate layers we worked so hard to perfect!
- Serving Size: 1 piece
- Calories: 180
- Fat: 12g
- Saturated Fat: 7g
- Trans Fat: 0g (Hooray!)
- Carbohydrates: 19g
- Sugar: 18g
- Protein: 2g
- Sodium: 25mg (This will be slightly higher if you add the flaky sea salt!)
- Cholesterol: 5mg
Remember, this is based on the standard recipe provided. If you decide to make a pure White Chocolate Peppermint Bark using only white chocolate, the sugar and fat content will shift slightly upward. If you swap out the dark chocolate for a higher-cacao, less sweet version, you might bring those sugar numbers down a bit. Either way you make this Festive Chocolate Bark, it’s going to be incredibly delicious!
Share Your Festive Peppermint Bark Creations
My heart is so full knowing that you’ve made this amazing peppermint bark! Honestly, seeing your results is the best part of running HearthBite. Baking is all about sharing joy, and I would absolutely love to see how your festive layers turned out. Did you add that flaky sea salt, or stick to the classic version? I’m always curious if people try different candy cane colors or even add a little swirl!
Please hop down into the comments below and leave a quick rating for this recipe. It really helps other home cooks who are looking for reliable Christmas baking classics feel confident about trying it out. If you have a little photo of the beautiful, crunchy pieces you made, I’d be thrilled if you shared it on social media too! Tagging me lets me see your stunning work. It truly means the world to me when I see this simple recipe making its way onto your holiday tables.
If you managed to find a fantastic pairing for your bark—maybe you served it with homemade hot chocolate, or used it in some other fun way—tell us! We love getting new inspiration for how to use this simple, no bake holiday treat. I always check back to see what variations people have tried. And if you loved this quick recipe, you should definitely check out some of my other go-to comfort food recipes for the season. Happy sharing, and thanks for baking with me!
If you want to see a gorgeous example of how to package this for gifting, you should pop over and check out the tips on salted peppermint bark gift wrapping over there—it’s stunning!
PrintThe Easiest 4-Ingredient Chocolate Peppermint Bark (Classic & Salty Variation)
Make this classic, no-bake peppermint bark at home. This simple recipe uses four main ingredients to create beautiful, festive layers of dark and white chocolate topped with crushed candy canes. It is perfect for holiday gifting or serving at Christmas parties.
- Prep Time: 15 min
- Cook Time: 5 min
- Total Time: 1 hour 20 min
- Yield: 16 servings 1x
- Category: Dessert
- Method: No Bake
- Cuisine: American
- Diet: Vegetarian
Ingredients
- 8 ounces dark chocolate, chopped or chips
- 8 ounces white chocolate, chopped or chips
- 1 teaspoon peppermint extract (or more to taste)
- 1 cup crushed candy canes (plus extra for topping)
- Optional: Flaky sea salt for topping
Instructions
- Line an 8×8 inch baking pan with parchment paper, leaving an overhang on the sides for easy removal.
- Melt the dark chocolate: Place the dark chocolate in a microwave-safe bowl. Microwave in 30-second intervals, stirring well after each, until smooth. Do not overheat.
- Spread the melted dark chocolate evenly onto the prepared pan in a thin, flat layer.
- Crush the candy canes. You can place them in a zip-top bag and crush them with a rolling pin or the bottom of a heavy pan.
- Sprinkle half of the crushed candy canes evenly over the dark chocolate layer.
- Melt the white chocolate: In a separate microwave-safe bowl, melt the white chocolate using 30-second intervals, stirring until smooth. Stir in the peppermint extract.
- Pour the melted white chocolate mixture over the dark chocolate layer. Gently spread it to cover the entire surface.
- Immediately sprinkle the remaining crushed candy canes and the optional flaky sea salt over the white chocolate layer. Press them lightly into the chocolate so they stick.
- Chill the bark: Place the pan in the refrigerator for at least 1 hour, or until the chocolate is completely firm.
- Break the bark: Once firm, use the parchment paper overhang to lift the bark from the pan. Place it on a cutting board and break it into irregular pieces.
- Store the peppermint bark in an airtight container at room temperature or in the refrigerator.
Notes
- For the best results when melting chocolate, use good quality chocolate chips or finely chopped bars.
- If you want a thicker layer of dark chocolate, you can use 10 ounces instead of 8.
- For a Salted Peppermint Bark variation, sprinkle flaky sea salt over the white chocolate layer before it sets.
- If you want to make White Chocolate Peppermint Bark only, skip the dark chocolate layer entirely and use 16 ounces of white chocolate.
Nutrition
- Serving Size: 1 piece
- Calories: 180
- Sugar: 18g
- Sodium: 25mg
- Fat: 12g
- Saturated Fat: 7g
- Unsaturated Fat: 5g
- Trans Fat: 0g
- Carbohydrates: 19g
- Fiber: 1g
- Protein: 2g
- Cholesterol: 5mg