
There’s just nothing that wraps your kitchen in warmth quite like the scent of fruit slowly transforming into something rich and sweet, is there? That feeling of comfort is exactly why I love **pear butter** so much. It brings me right back to the idea that food should be joy, not a chore, which is the whole idea behind HearthBite. You can read more about how we approach cooking over on our About page! If you’ve been scrolling around looking for that perfect, thick, spiced spread, you’ve landed in the right place! I tested this recipe until it was foolproof in three different ways. You can absolutely nail the best homemade pear butter whether you’re setting it in the slow cooker, using the Instant Pot for speed, or just simmering it gently on the stovetop. It’s all about simple ingredients making something deeply comforting.
- Why This Ultimate Spiced Pear Butter Recipe Works
- Gathering Ingredients for Perfect Pear Butter
- How to Make Pear Butter Using the Stovetop Method
- Achieving Thick Pear Butter with the Slow Cooker
- Fast Results: Instant Pot Pear Butter Instructions
- Blending and Thickening Your Homemade Pear Butter
- Preserving and Storing Your Spiced Pear Butter
- Serving Suggestions for Your Sweet Pear Topping
- Frequently Asked Questions About Making Pear Butter
- Estimated Nutritional Data for Pear Butter
- Share Your Comfort Food Creations
Why This Ultimate Spiced Pear Butter Recipe Works
I know how busy life gets, so I designed this recipe to fit into *your* schedule, not the other way around! What makes this homemade pear butter recipe truly shine is its flexibility. You don’t need any fancy pectin either—the pears thicken all by themselves.
- It’s completely adaptable for your favorite appliance.
- The spice blend gives such a rich, cozy flavor, perfect for fall.
- It makes amazing, thoughtful homemade gifts, ready to jar up!
Quick Overview of Preparation Times
Here’s a quick look at how long you’ll need to commit, mostly just waiting time!
- Stovetop: About 2 hours
- Slow Cooker: 6 to 8 hours on Low
- Instant Pot: Total time under 1 hour active and passive cooking
Gathering Ingredients for Perfect Pear Butter
This part is so easy, honestly! Since we aren’t messing around with pectin in this recipe—we let the pears do all the heavy lifting—using really ripe fruit is key. You’ll start with 5 pounds of ripe pears, which sounds like a lot, but they cook down significantly. When you get to the end, this batch should fill up about four of those cute little half-pint jars, perfect for setting aside for yourself or wrapping up for a sweet holiday gift.
You need five pounds of ripe pears. We aren’t peeling them unless you really, really want to, because the skins help everything break down nicely!
- 5 lbs ripe pears (Anjou or Bartlett recommended)
- 1 cup packed brown sugar
- 1/2 cup water
- 1 teaspoon ground cinnamon
- 1/2 teaspoon ground cloves
- 1/4 teaspoon ground nutmeg
- 1/2 teaspoon vanilla extract
- 1/4 teaspoon salt
Choosing the Best Pears for Pear Butter
When you’re buying pears, think about texture! You want them to melt almost into submission during cooking. I always look for Anjou or Bartlett pears. Bartlett pears are fantastic because they break down super fast, meaning your slow cooker time might be on the shorter end. Anjou pears are a bit firmer, so they might need that extra simmer time, but they hold their shape wonderfully until you blend them smooth. Either way, make sure they smell fragrant—that means they are ready to go into the pot!
Flavor Customization: Spices and Add-ins for Your Pear Butter
The base spices are simple: cinnamon, cloves, and nutmeg. They give you that instantly recognizable, cozy fall flavor. Don’t skip the vanilla, either; it just brightens up the whole batch! But if you want to get really decadent? You can totally try making a Salted Caramel Pear Butter. Just toss in about 1/4 cup of soft caramel candies or a few tablespoons of caramel sauce right near the end of the simmering time. Trust me, that sweet, salty swirl in your homemade pear butter is addictive!
How to Make Pear Butter Using the Stovetop Method
The stovetop method is where I feel the most connected to the process. It’s just you, your favorite big pot, and the slow, steady magic happening. This method requires the most checking in, but honestly, stirring something lovely like this pear butter is kind of therapeutic!
First thing, make sure your quartered pears, brown sugar, water, and all those wonderful spices are nestled into a nice big pot. You need space because the mixture will bubble!
Turn the heat up to medium-high until you see it start to come to a good, rolling boil. Don’t worry if it seems a little active—that’s just the sugar dissolving.
Once it’s boiling, you immediately drop the heat way down to low. We want a gentle simmer here. Cover the pot, but maybe leave the lid cracked just a tiny bit so a little steam can escape. This simmering stage is crucial for softening those pears up completely, and it usually takes about an hour and a half to two full hours. You’ll need to stir it every 20 minutes or so, especially toward the end, to make sure nothing is sticking to the bottom of the pot. If you want to see how I handle thickening things like this on the stove, check out my apple pie filling recipe—the low and slow secret is the same!
When you can easily mash a piece of pear against the side of the pot with your spoon, you know the initial cooking phase for your spiced pear butter is done. Next up, blending!
Achieving Thick Pear Butter with the Slow Cooker
Now, if you are like me and sometimes you just prefer to get things started and then walk away to tackle laundry or just have a cup of coffee in peace, the slow cooker is your absolute best friend for homemade pear butter. People call this the ‘set it and forget it’ method, and honestly, it lives up to the hype!
You’ll take all those prepared pears, sugar, water, and spices—the exact same components as the stovetop method, remember?—and just pop them right into your crockpot liner. Don’t even worry about stirring too much initially. That big batch of ingredients goes in, and you close the lid. That’s it for a good while!
For the thickest, richest flavor, I always suggest setting your slow cooker fruit butter to **Low** and letting it go for a full 6 to 8 hours. If you’re in a bit of a pinch and need it done the same day, you can set it to **High**, but keep an eye on it—it usually takes about 3 to 4 hours on High. You know it’s ready when the pears are incredibly soft and mushy. They should just fall apart when you prod them.
We talked about how much I love using my Instant Pot, but nothing beats that deep, mellow flavor you get from something slow-cooking all day. You can see some amazing inspiration for other slow cooker goodness, including my favorite slow cooker turkey breast recipe if you want a full day of hands-off cooking! And hey, if you see a pin floating around for this exact recipe, like the one over at Viral Cooking, go ahead and save it, because this crockpot pear butter is a winner!
Once the pears are soft, the next step is blending everything smooth, whether you are using the slow cooker version or any of the other ones!
Fast Results: Instant Pot Pear Butter Instructions
Okay, if you are looking for the absolute fastest way to get delicious, thick pear butter on the counter, you have to use the Instant Pot. Seriously, I used to think speed meant sacrificing depth of flavor, but not with pressure cooking! This is how you make fantastic instant pot pear butter without waiting half a day.
First, gather your quartered pears, your brown sugar, water, and spices—the exact same simple ingredients we used for the other methods. You just dump everything right into the inner liner of your Instant Pot. No sautéing needed here, just combine it gently!
Now for the magic step. You secure that lid tight—double-check that valve is set to sealing, safety first, always!—and then you set the machine to High Pressure for exactly 15 minutes. That short cooking time is powerful!
This part is non-negotiable, so listen closely: After the 15 minutes are up, you must, absolutely must, let it do a Natural Pressure Release, or NPR, for 15 minutes. Don’t rush it! This slow, gradual release lets the pressure come down safely and, more importantly, it helps the texture of your pear butter set up perfectly so it doesn’t turn into watery mush. Once those 15 minutes are done? You can manually release any tiny bit of remaining steam.
When you open that pot, those pears will be screamingly soft. They’ll be ready for blending immediately. If you want to learn more about how I use this appliance for bigger meals, check out my tips for my Instant Pot turkey breast—the pressure cooking principles are very similar!
Whether you use this super speedy method or let it simmer slow on the stove, the next step is blending it smooth. We cover that critical step right after this!
Blending and Thickening Your Homemade Pear Butter
Okay, so now you have this big pot of soft, fragrant cooked fruit, no matter which appliance you chose! This next part is what takes it from ‘stewed pears’ to actual, luxurious pear butter. We need to get that texture silky smooth, and let me tell you, a little extra simmering time makes all the difference if things look a bit runny.
Carefully—and I mean carefully, hot fruit mixture explodes!—transfer the pear mixture to a sturdy blender. If you’re using an immersion blender right in the pot, that’s cleaner, but you have to scrape the sides really well. You need to blend this until there are absolutely no lumps left. We are aiming for velvet here!
If you peeled your pears first, you will get the smoothest texture imaginable, so that’s my personal pro-tip if you want that spread to feel absolutely luxurious on a toasted biscuit. If you left the skins on (like in the main instructions), you’ll need to blend for a minute or two longer to break everything down.
Here’s where we check for thickness. Some batches just come out thinner than others—it just depends on how juicy your original pears were. If you look at your blended mixture and it seems a bit too thin, don’t panic! This is totally fixable. Just pour everything back into your stovetop pot or, if you used the slow cooker, transfer it back into that insert, set it to High, and let it just simmer uncovered. You want to let that excess water gently evaporate.
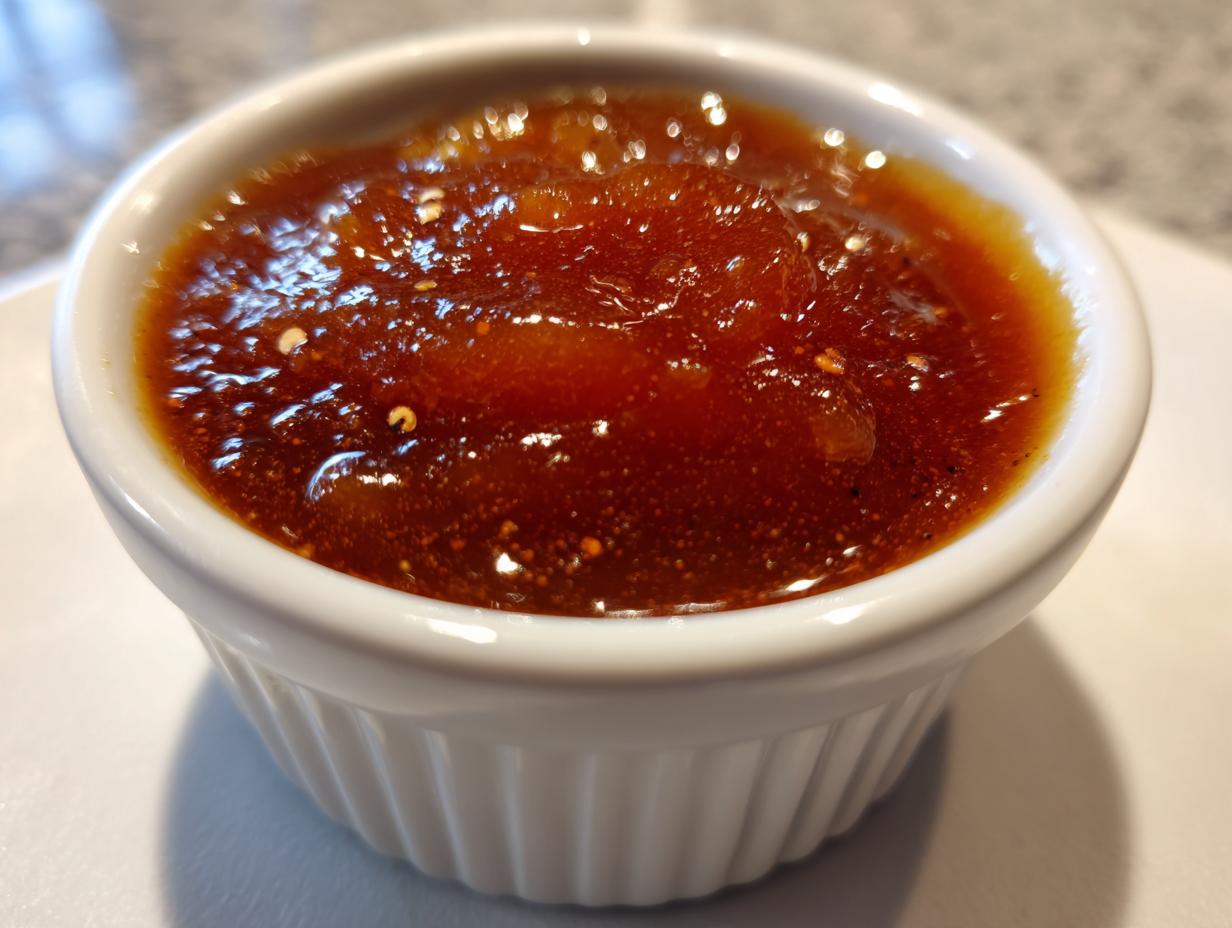
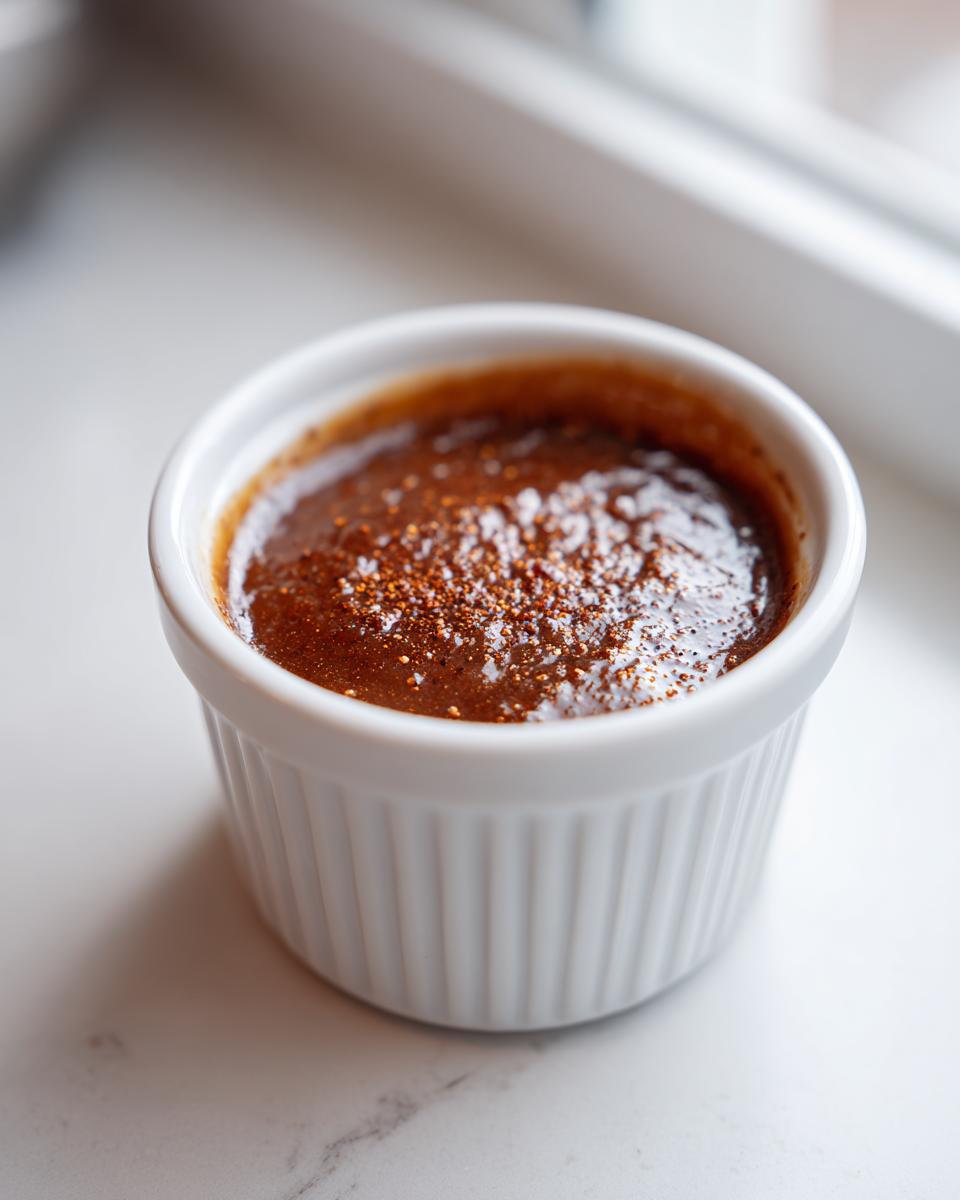
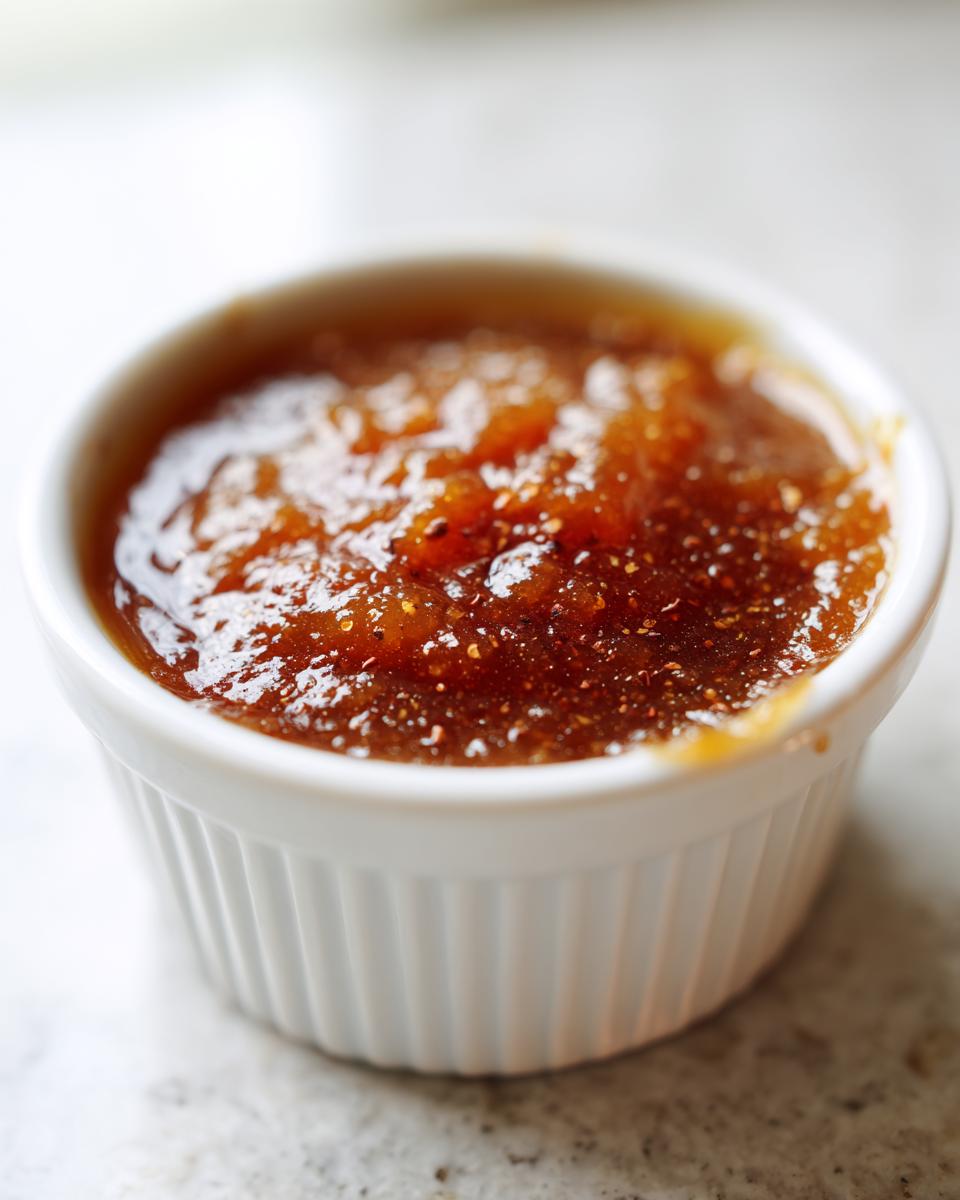
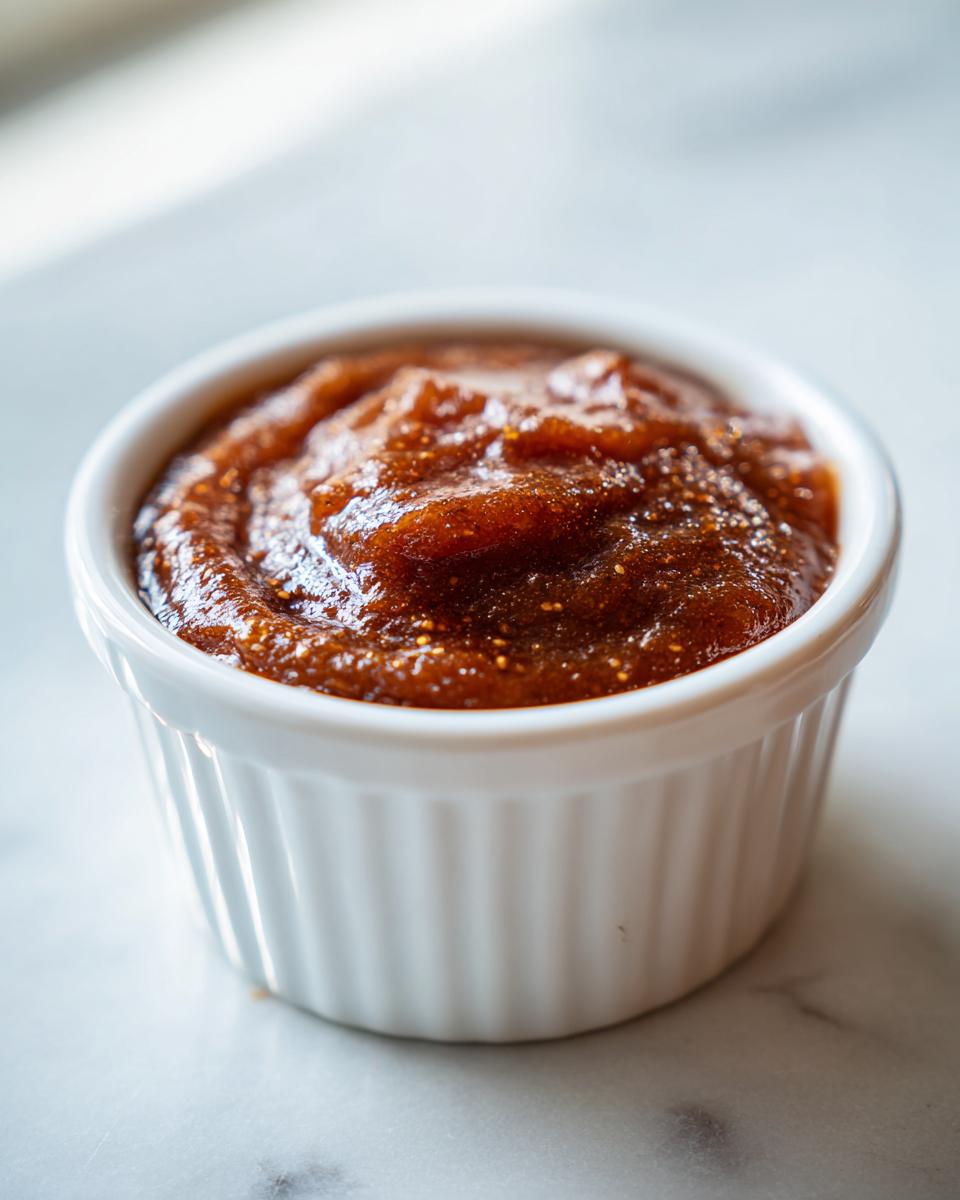
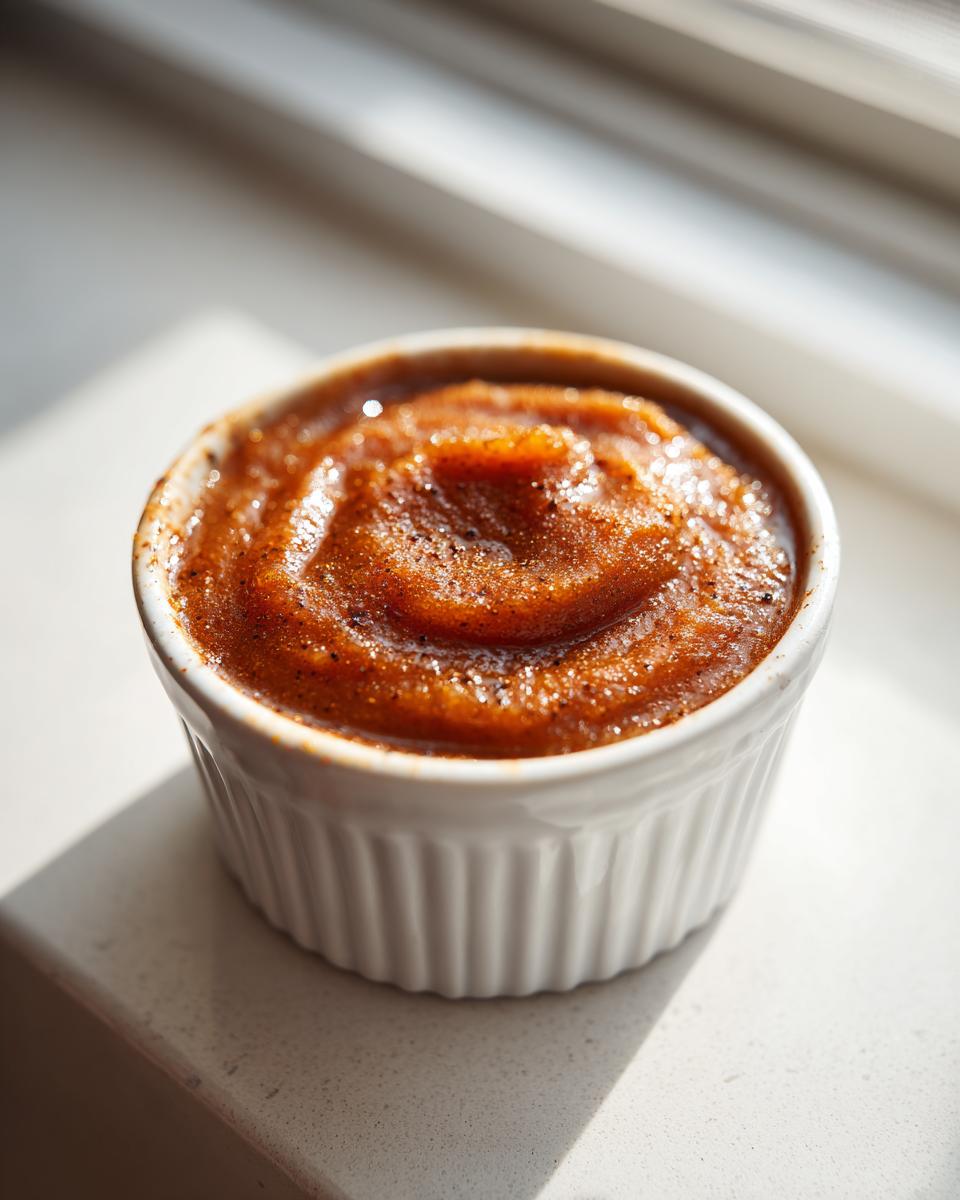
Keep stirring constantly while it simmers uncovered, because now that it’s concentrated, it can scorch quickly! This final simmer usually takes about 15 to 30 minutes, but you’ll *see* the change. The pear butter will visibly cling to the back of your spoon rather than running off immediately. Once it’s thick—thick enough that when you drag your spoon across the bottom of the pot, it takes a second or two for the mixture to flow back together—it’s perfect. Then, you stir in that lovely vanilla extract, taste for any final balance adjustments, and it’s ready to jar!
Preserving and Storing Your Spiced Pear Butter
Once you’ve achieved that perfect, thick, velvety texture, the next big question is, how do we keep this amazing homemade pear butter around longer than five minutes? Because this sweet pear topping is so naturally concentrated, it’s fantastic for canning, which means you can make a huge batch in the fall and enjoy it all through the winter—or use it for thoughtful homemade gifts!
If you want true shelf stability so you can stack the jars in the pantry, you need to get them sealed up. Make sure you are using clean, sterilized canning jars and lids. Remember, we need that pear butter piping hot when it goes in. Fill your jars almost to the top—leave about a quarter-inch headspace—and clean off the rims really well before sealing them.
Then, you’re going to process those hot jars in a boiling water bath. The jars go into the canner, ensuring they are covered by at least an inch or two of water, and you boil them hard for exactly 10 minutes. Once the 10 minutes are up, turn off the heat, let them sit for five minutes, and then pull them out carefully onto a towel or cooling rack to cool completely. You should hear those satisfying little pings as the lids seal shut!
Now, what about the jars you aren’t canning right away? If you are just storing it in the fridge because you know you’ll eat it fast, just transfer that hot pear butter into airtight containers—a nice glass jar works great. Because this recipe is so rich in sugar, it keeps beautifully in the refrigerator for several weeks. If you want some ideas on other things you can preserve in the fridge, you might want to check out my recipe for refrigerator pickles! They use a similar short-term storage setup.
If you’re curious about other ways people flavor this preserve, some folks experiment with adding vanilla extracts during the final blend, which you see mentioned in other popular recipes like the one over at Baked in AZ. Either way you store it, enjoy knowing you made it yourself!
Serving Suggestions for Your Sweet Pear Topping
So, you’ve got this glorious jar of thick, spiced pear butter cooling down, and now you’re probably thinking, “What on earth do I do with it all?” I’m here to tell you the possibilities are endless, but let’s start with the essentials! You obviously need to sample it right off the spoon first, but after that tasting session, it’s time to put this sweet pear topping to work.
The absolute classic way to enjoy homemade pear butter is on a slice of hot, buttered toast. The warm pear flavor just melts into the bread—it’s pure comfort, which is what we are going for here at HearthBite!
But don’t stop at toast! If you’re making oatmeal or yogurt in the morning, swirl in a big spoonful. It sweetens everything up naturally and adds that lovely hint of cinnamon and clove. It’s honestly so much better than plain sugar!
For me, the true test of any homemade fruit preserve is how it pairs with homemade baked goods. I’m obsessed with serving this pear butter alongside flaky biscuits. If you happen to be making a batch of my sweet potato biscuits, this pear butter is the *only* topping you need. They go together like they were always meant to be! The slight savory note from the sweet potato in the biscuit is just heavenly with the spiced pear sweetness.
And if you’re meal prepping breakfast for busy weekdays, try stirring it into your overnight oats! My recipe for apple cinnamon overnight oats would be fantastic with a dollop of this pear butter swirled in right before you eat it. It adds such richness right from the fridge. Honestly, once you taste your own spiced pear butter, you’ll be looking for excuses to put it on everything!
Frequently Asked Questions About Making Pear Butter
I totally get it! When you spend time simmering up a batch of something this good, you want to make sure you handle it right afterward. Here are a few things folks always ask me once they have finished making their spiced pear butter.
Can I freeze homemade pear butter?
Oh, absolutely, yes! Freezing is a wonderful option, especially if you made a giant batch on the stovetop and don’t want to bother with the boiling water bath canning process. Make sure you leave plenty of headspace—at least an inch—in your freezer-safe containers. The mixture expands when it freezes, and if you fill it to the brim, you’ll end up with broken jars, which is just sad! It keeps great in the freezer for up to a year.
What is the difference between pear butter and applesauce?
That’s a great question that gets right down to why we call this pear butter! Applesauce is just cooked apples blended up, often with a little water and maybe a touch of sugar. It’s usually looser and less concentrated. Pear butter, on the other hand, is cooked down way longer, which evaporates most of that extra water. It’s simmered until it’s super thick, almost like a dense jam or paste. The long cooking time concentrates the flavor of the pears and the spices beautifully, making this pear butter much richer than a standard applesauce!
How long does refrigerator pear butter last?
If you skip canning and just store your smooth pear butter in a clean, airtight container right in the fridge—maybe you’re planning to eat it fast on toast this week—it should be good for about three to four weeks. Just always use a clean spoon when you dip in to take some out! If you use a spoon that’s been in your mouth or one that’s been sitting out, you introduce bacteria and that shortens the shelf life significantly. Always trust your nose; if the color changes or it smells “off,” toss it. For longer storage, canning is definitely the safer bet, but for short-term use, the fridge is perfect!
If you’re looking for more ideas on easy breakfast routines where you can easily incorporate this spread, take a peek at my list of easy breakfast recipes!
Estimated Nutritional Data for Pear Butter
I always like to give you guys a general idea of what’s in the foods we make! Remember, since we are concentrating fruit and using brown sugar, the sugar content looks a little higher than just eating a raw pear—it’s a treat, after all! But we aren’t using any pectin, which keeps it feeling pretty wholesome and natural.
These estimates are based on making the full batch of spiced pear butter and dividing it into four half-pint jars, with a serving size being about 1/4 cup. Every recipe varies based on the ripeness of the pears and how aggressively you cook down the moisture, so think of these numbers as a guide, not a rigid guarantee!
- Serving Size: 1/4 cup
- Calories: 145
- Sugar: 35g
- Sodium: 50mg
- Fat: 0.2g
- Saturated Fat: 0g
- Unsaturated Fat: 0.1g
- Trans Fat: 0g
- Carbohydrates: 37g
- Fiber: 3g
- Protein: 0.5g
- Cholesterol: 0mg
See? Almost no fat, which is what happens when you’re working primarily with fruit! It’s a naturally healthy, sweet topping when you look at the components we used to make this batch of pear butter.
Share Your Comfort Food Creations
Well, my friend, that’s it! You now have the blueprint for some truly amazing, thick, spiced pear butter, made exactly the way you like it—whether you babysat it on the stovetop, let the slow cooker do the heavy lifting, or used the speed of your Instant Pot.
I really, truly hope this recipe brings that cozy, comforting feeling into your home that it brings into mine. Food is our language of love, and sharing these simple, deeply satisfying things is what HearthBite is all about.
When you finish your batch of pear butter, please come back here! I’d be thrilled if you left a quick rating below and let me know which path you took. Did you love the deep flavor of the slow cooker fruit butter, or were you amazed by how fast the Instant Pot version came together? Don’t be shy—drop a comment and tell me what you’re spreading your first batch on! If you ever need to reach out directly with a question about canning or substitutions, you can always find the contact form linked right here.
Happy spreading, and enjoy every last bite of your fantastic homemade pear butter!
PrintUltimate Spiced Pear Butter: Stovetop, Slow Cooker, and Instant Pot Methods

Make thick, smooth spiced pear butter using your preferred method: stovetop, slow cooker, or Instant Pot. This recipe uses ripe pears and warm spices for a perfect homemade spread.
- Prep Time: 20 min
- Cook Time: 4 hours
- Total Time: 4 hours 20 min
- Yield: About 4 half-pint jars 1x
- Category: Preserves
- Method: Simmering/Slow Cooking/Pressure Cooking
- Cuisine: American
- Diet: Vegetarian
Ingredients
- 5 lbs ripe pears (Anjou or Bartlett recommended)
- 1 cup packed brown sugar
- 1/2 cup water
- 1 teaspoon ground cinnamon
- 1/2 teaspoon ground cloves
- 1/4 teaspoon ground nutmeg
- 1/2 teaspoon vanilla extract
- 1/4 teaspoon salt
Instructions
- Prepare the Pears: Wash, core, and quarter the pears. You do not need to peel them if you plan to blend the mixture thoroughly later.
- Combine Ingredients: Place the prepared pears, brown sugar, water, cinnamon, cloves, nutmeg, and salt into your chosen cooking vessel (large pot, slow cooker insert, or Instant Pot liner).
- Cook on Stovetop: Bring the mixture to a boil over medium-high heat. Reduce heat to low, cover, and simmer for 1.5 to 2 hours, stirring occasionally, until the pears are very soft.
- Cook in Slow Cooker: Cook on low for 6 to 8 hours or on high for 3 to 4 hours, until the pears are very soft.
- Cook in Instant Pot: Secure the lid and set the valve to sealing. Cook on High Pressure for 15 minutes. Allow for a Natural Pressure Release (NPR) for 15 minutes, then manually release any remaining pressure.
- Blend: Carefully transfer the cooked pear mixture to a blender or use an immersion blender directly in the pot. Blend until completely smooth. If the mixture seems too thin, return it to the heat (stovetop or slow cooker on high) and simmer uncovered for 15 to 30 minutes, stirring often, until the butter thickens to your desired consistency.
- Finish: Stir in the vanilla extract. Taste and adjust spices or sugar if needed.
- Preserve or Store: Ladle the hot pear butter into clean jars for canning or transfer to airtight containers for refrigeration.
Notes
- For a Salted Caramel flavor, add 1/4 cup of soft caramel candies or 2 tablespoons of caramel sauce during the last 10 minutes of simmering.
- If you prefer a very smooth texture, peel the pears before cooking.
- This pear butter is excellent for canning. Process filled, sterilized jars in a boiling water bath for 10 minutes for shelf stability.
- Bartlett pears break down faster than Anjou pears; adjust cooking times based on the variety you use.
Nutrition
- Serving Size: 1/4 cup
- Calories: 145
- Sugar: 35g
- Sodium: 50mg
- Fat: 0.2g
- Saturated Fat: 0g
- Unsaturated Fat: 0.1g
- Trans Fat: 0g
- Carbohydrates: 37g
- Fiber: 3g
- Protein: 0.5g
- Cholesterol: 0mg