
Oh, I know that craving! It hits you when you’re making a sandwich or just needing something sharp and cool to snack on. Forget the mushy, overly sour jars from the shelf—we need real snap! That’s why I am so excited to share these refrigerator pickles with you. This is my go-to Quick Pickling Recipe because they are Easy Crunchy Dill Refrigerator Pickles Ready in 24 Hours, and best of all? We are skipping the whole canning rigmarole completely. Zero boiling water baths needed! Like everything we do here at HearthBite, this recipe is designed to be incredibly reliable and delicious, giving busy home cooks like you confidence to whip up something extraordinary in minutes. Trust me, once you taste these, you won’t go back!
- Why This is the Best Refrigerator Pickles Recipe You Will Make
- Gathering Ingredients for Your Homemade Refrigerator Pickles
- How to Make Refrigerator Pickles: Step-by-Step Instructions
- Tips for Perfect Crispy Pickles Recipe Success
- Variations for Your Refrigerator Pickles
- Storing Your Homemade Refrigerator Pickles
- Frequently Asked Questions About Refrigerator Pickles
- Serving Suggestions for Fresh Pickled Cucumbers
- Estimated Nutrition for Refrigerator Pickles
- Share Your Homemade Refrigerator Pickles Experience
Why This is the Best Refrigerator Pickles Recipe You Will Make
If you’re tired of waiting weeks for pickles to mature, this is your answer! These refrigerator pickles are built for speed and crunch. I promise you they deliver that satisfying snap without any fussy techniques. We want flavor fast, right?
- Ready in 24 Hours for Quick Flavorful Meals
- Guaranteed Crunchy Dill Pickles Texture
- No Fussy Canning Required—Just Grab a Jar!
Ready in 24 Hours for Quick Flavorful Meals
Traditional canning takes forever, and honestly, who waits a month for a snack? For these fridge pickles, you just wait overnight. Seriously, 24 hours is the sweet spot. That means you can whip them up in the afternoon and have them ready to jazz up your Quick Lunch Ideas the very next day. It makes packing leftovers for work so much more exciting!
Guaranteed Crunchy Dill Pickles Texture
The biggest letdown is a soft pickle. Doesn’t that just ruin your day? My tip to you, right now, is to use very firm, freshly picked cucumbers—the ones that feel heavy for their small size. Also, make sure your vinegar brine is fully boiling before you pour it over the spices and cukes. That initial heat shock helps lock in the crispness. That’s how we ensure we get those perfectly Crunchy Dill Pickles every single time.
Gathering Ingredients for Your Homemade Refrigerator Pickles
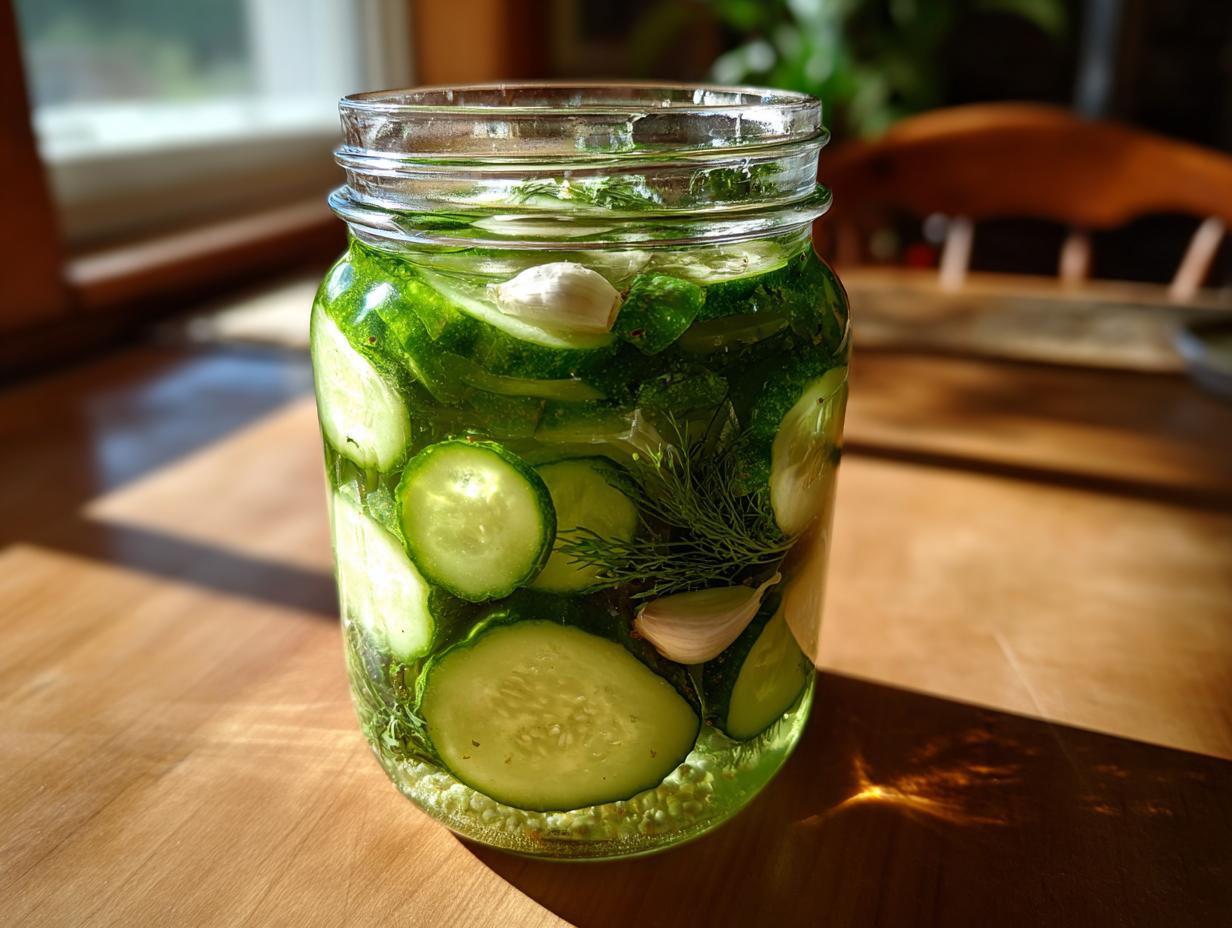
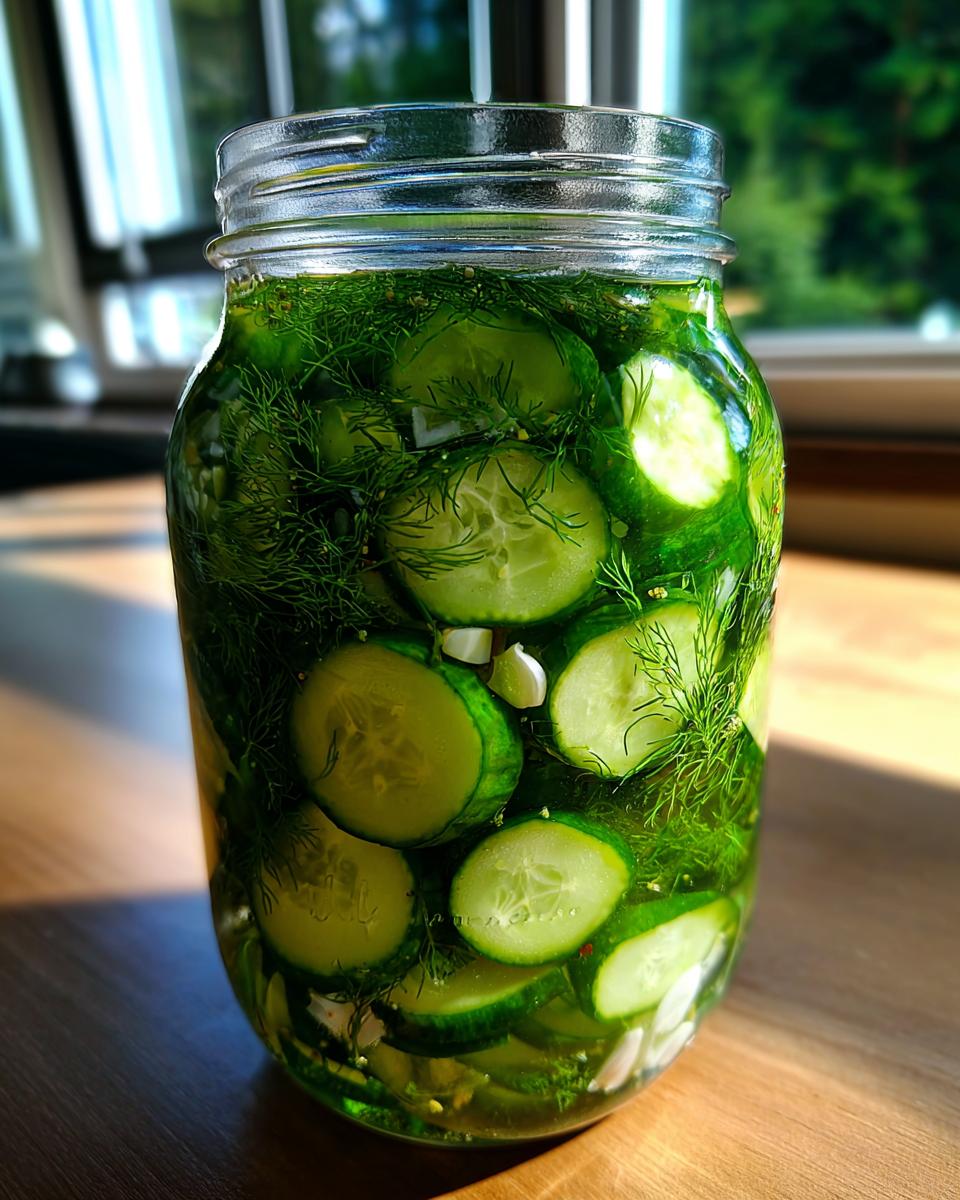
Okay, let’s talk supplies! This is where the magic starts for your Homemade Refrigerator Pickles. Because we aren’t canning, we aren’t worried about sterilization, but quality ingredients matter big time for that excellent flavor profile. You’ll need two pounds of those perfect, firm pickling cucumbers—don’t go grabbing the big slicing kind!
The brine is simple but mighty: we use 1 1/2 cups water, 1 1/2 cups vinegar (I prefer white, but ACV is great too), 2 tablespoons of salt, and a little sugar to balance it out. Then, load up on flavor with 4 smashed garlic cloves, peppercorns, and your dill. If you can find actual fresh dill heads, grab them! They are so much better than the dried flakes, though we use both here.
Ingredient Notes and Substitution Tips
Since we want this Quick Pickling Recipe to be reliable, a few notes on the essentials are important. First, please use pickling salt or kosher salt—regular iodized table salt can sometimes make your brine cloudy, and we don’t want that! If you only have apple cider vinegar, go for it; it adds a lovely fruitiness, even though the recipe calls for white vinegar.
Also, that dill? If you are using fresh heads, use them! They infuse the brine gorgeously. But if you only have dried seeds, that’s fine, just measure out the two tablespoons as listed. Sarah over at HearthBite talks about reliable, accessible food, and that’s what this formula is—it works every time you try it, especially since you can read more about our philosophy here!
How to Make Refrigerator Pickles: Step-by-Step Instructions
Okay, this is the fun part where it all comes together! Getting the steps right for your refrigerator pickles ensures that amazing crunch we talked about. Don’t rush the heating process for the brine, but once it’s made, things move pretty quickly. We are aiming for something that’s fast to assemble but still packs that homemade punch.
Preparing the Cucumbers and Brine for Simple Refrigerator Pickles
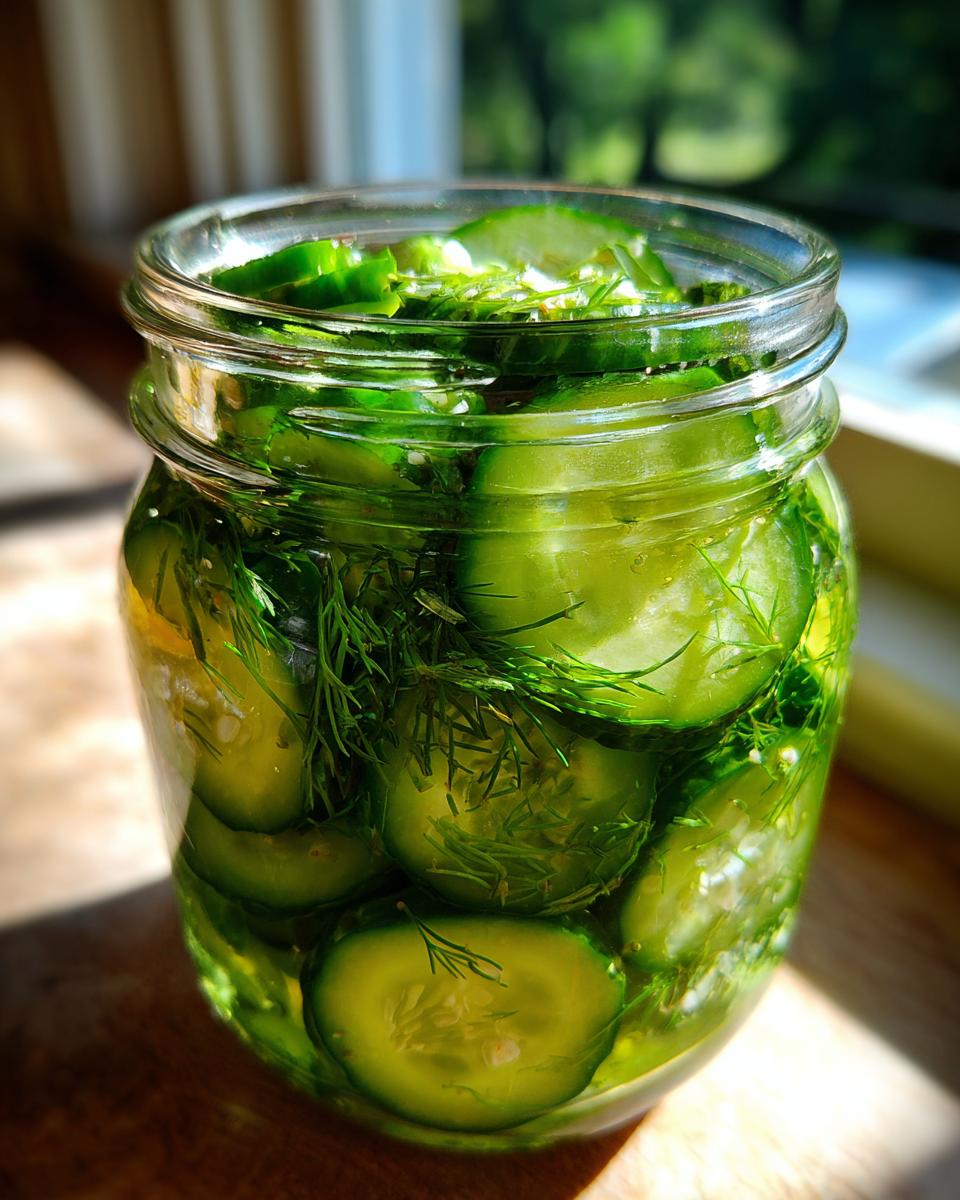
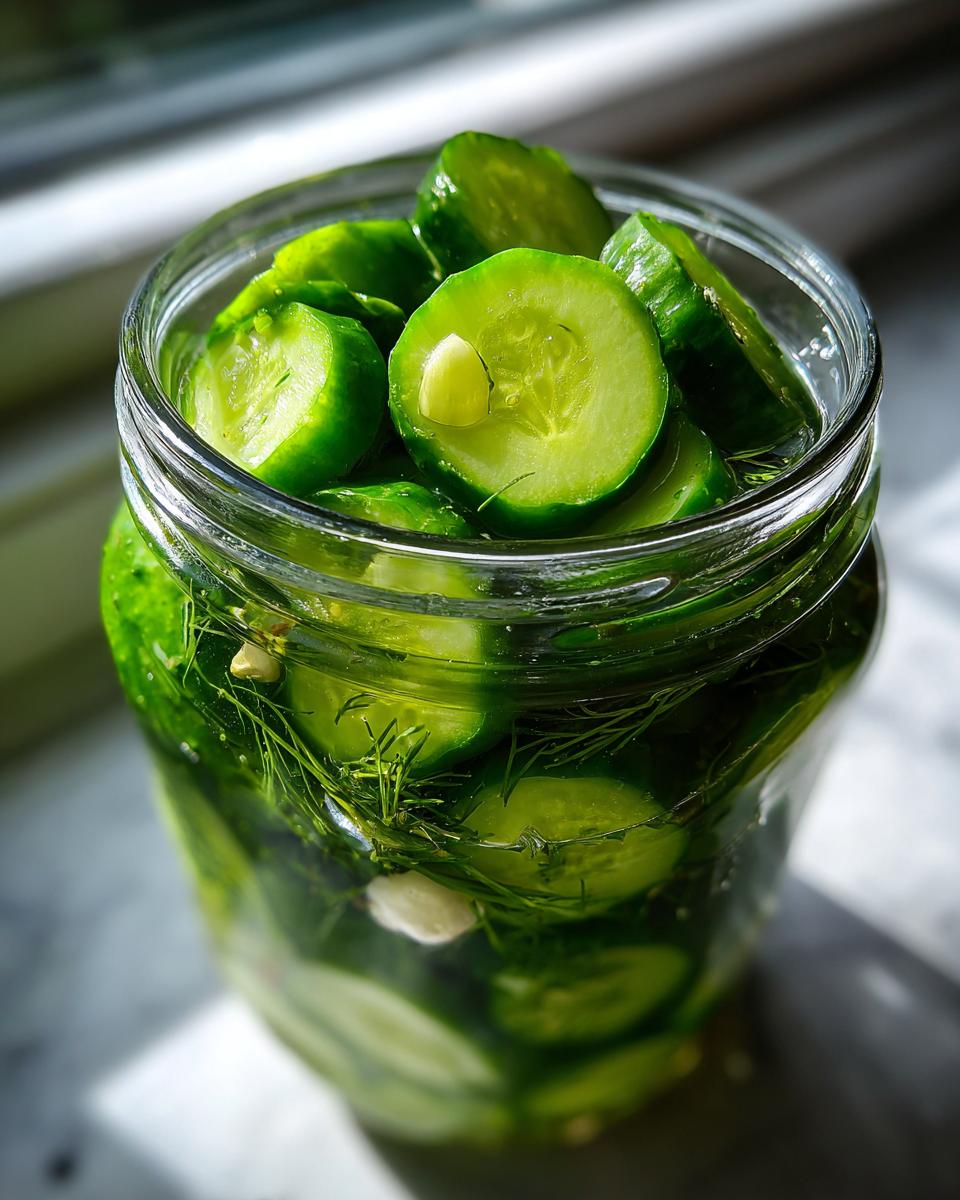
First things first: wash your cucumbers well! Then, you need to slice them uniformly into 1/4-inch rounds. Consistency here really helps them pickle evenly. Next, grab a saucepan. You’re going to combine your water, vinegar, salt, and sugar. Get this mixture over medium-high heat and stir it constantly until you see that salt and sugar completely disappear—that means it’s boiling! Once dissolved, pull it right off the stove. That hot brine is key to our Quick Pickling Recipe success.
Packing Jars and Curing Your 24 Hour Pickles
Now switch gears to your clean jars. Divide all those gorgeous flavorings—the smashed garlic, the dill, and those peppercorns—evenly into the bottom of your two pint jars. Pack those cucumber slices in tight over the top of the spices. Carefully ladle that hot brine over the top until everything is submerged, leaving about a half-inch gap at the top. Give the jars a little tap on the counter to knock out any trapped air bubbles clinging to the sides.
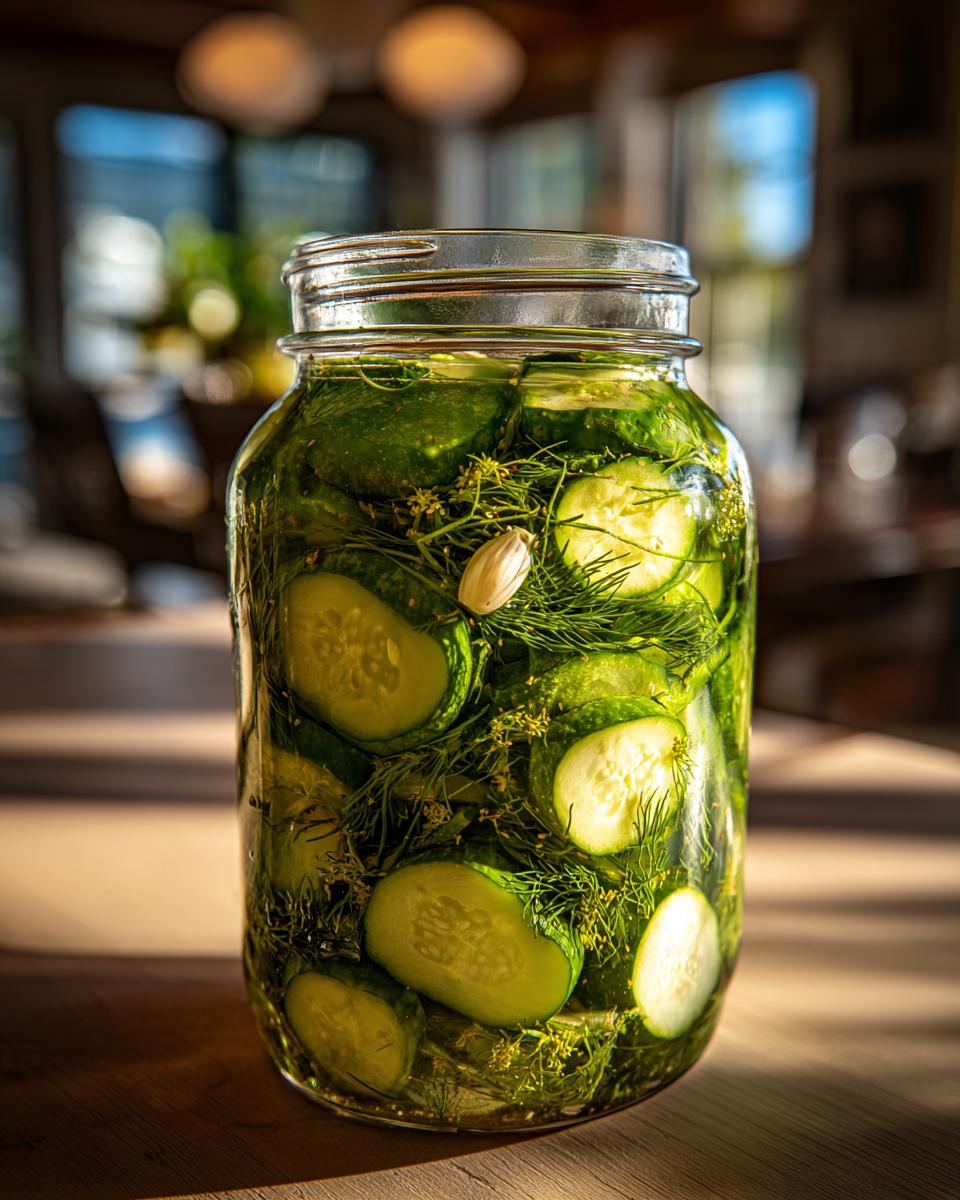
Wipe the rims clean and seal them up. Here’s a vital step: let the sealed jars rest on the counter for a full hour to cool down *before* you stash them in the fridge. That gradual cooling helps the process immensely. Remember, we need patience for the curing part—don’t sneak a taste until after those 24 Hour Pickles have fully chilled!
Tips for Perfect Crispy Pickles Recipe Success
I’ve learned a few shortcuts over the years to make sure these pickles stay perfectly snappy. Soggy pickles are a tragedy, and we are avoiding tragedy here! I always tell folks that the secret isn’t just the recipe; it’s how you handle the fresh cucumbers when you start.
If you have the option, go for those small Kirby cucumbers. They just seem to have a sturdy cellular structure that holds up better to the brine. Even if they look fine on the outside, if they feel soft when you squeeze them, they’ll be soft in the jar, so ditch those!
And remember that hot brine we made? Pouring that boiling liquid over the spices and cucumbers does something important chemically to set that crunch. But don’t leave the jars sitting out on the counter for too long after pouring—about an hour to cool down gently before they hit the cold fridge is perfect. Too long on the counter and they might start to soften up before they even get chilled!
If you want to dive even deeper into general temperature science for pickling, check out this great advice from The Kitchn on quick pickling methods. It really helps you understand why we do everything step-by-step on this recipe!
Variations for Your Refrigerator Pickles
Now, you know I love this classic dill and garlic profile, but the beauty of refrigerator pickles is how truly adaptable they are! Since this is a Tangy Pickles Recipe at its core, you can easily nudge it in different directions depending on what you’re craving or what you have on hand. It’s fun to experiment once you master that base brine.
If you’re feeling brave and want a little kick, try tossing in some red pepper flakes with your garlic and peppercorns. A little heat goes a long way, especially on a burger! Or maybe you want something softer and more aromatic? Swap out half of the fresh dill for some sprigs of fresh thyme or even a few slices of fresh ginger. Wow, ginger pickles are just amazing!
If you’re looking for something on the sweeter side, you absolutely can turn these into Sweet Refrigerator Pickles. Just swap out that single tablespoon of sugar in the brine for two full tablespoons. You get that lovely sweet-and-sour balance that is perfect for pairing with BBQ. If you want to see a wonderful example of a sweeter take that still keeps things simple, check out this sweet version recipe! Just remember, when you make variations, give them that full 24 hours to hang out in the fridge before judging the flavor!
Storing Your Homemade Refrigerator Pickles
Alright, the hard part is over! You’ve made the brine, you packed the jars, and you resisted diving in for a full 24 hours—huge congrats! Now we talk about keeping these treasures fresh. Because these are refrigerator pickles and not shelf-stable canned goods, they have different storage rules. They absolutely must stay cold, always.
The absolute longest I recommend keeping these delicious Homemade Snacks is three weeks. After about 21 days, you’ll definitely notice the texture starting to fade, and they’ll lose that fantastic, vibrant snap we worked so hard to achieve. They might still taste okay, but they won’t be the crispy delight you know and love from the day they were done curing.
Keep them tucked away on a shelf in your fridge where they won’t get jostled around too much. Make sure those lids stay tight because dry air can sneak in and dry out the top layer of cucumbers. If you see any cloudiness or anything weird happening inside the jar—though that’s rare with this simple brine—toss it, but honestly, if you keep them cold and sealed, they should last the full three weeks easily!
Frequently Asked Questions About Refrigerator Pickles
I completely get it—when you find a new favorite recipe like these refrigerator pickles, you want to know all the little details right away! It’s smart to ask questions before you start stirring up a batch of Tangy Pickles Recipe goodness. Here are the things I hear most often when folks are trying out their first batch. If you want to check out the gold standard for crispness, you can peek at this amazing recipe for the best refrigerator pickles ever!
Can I use this Quick Pickling Recipe for carrots or onions?
Yes, you absolutely can, and you should try it! This Quick Pickling Recipe works great for heartier vegetables. Carrots and onions are fantastic, but here’s the catch: denser veggies take longer to fully pickle and soften up. While cucumbers are snappy and ready in 24 hours, you might want to give carrots or thicker onion slices a solid 48 hours, or even three days, to really absorb all that great flavor!
What is the secret to making these Easy Refrigerator Pickles stay crispy?
This is the million-dollar question! If you skimmed through my main tips, here it is again: use the freshest, firmest cucumbers you can find. If they’re already a bit soft at the store, they will be mushy in the jar, no matter what. Second, make sure that brine mixture hits a full boil so the salt and sugar dissolve completely, and then pour that hot liquid over the cucumbers before they go into the fridge. Keeping those fresh ingredients cold is the essence of getting those Easy Refrigerator Pickles to hold their crunch! If you still have questions after trying this, please feel free to reach out to us!
Serving Suggestions for Fresh Pickled Cucumbers
Now that you have two jars full of vibrant, tangy, perfectly crisp cucumbers, the real fun begins: eating them! I like to think of these as a flavor booster for everything I make. They aren’t just a side item; they are an essential component of a great meal.
Honestly, my very first jar is always eaten standing right over the sink—I can’t help myself! But these shine when treated as a fantastic Pickle Side Dish. They are the perfect counterpoint to richness. Think about a heavy, creamy macaroni salad or a big platter of BBQ pulled pork. That sharp, cool burst cuts right through the fat and makes everything taste brighter!
They are also essential for upgrading any sandwich. Forget those sad, thin slices you get at the deli counter. Layer these thick rounds onto your grilled cheese, layer them generously on a classic deli turkey sandwich, or pile them up on a juicy burger. They add the crunch and tang that takes something simple and makes it feel gourmet. I’ve even chopped a few up small to mix into homemade tartar sauce. Just try them—I bet you’ll find a new favorite way to use them by the time you finish the jar!
Estimated Nutrition for Refrigerator Pickles
I always want to be upfront that since these are homemade refrigerator pickles built from scratch with fresh ingredients, the nutrition information is an estimate based on the exact amounts listed in our brine recipe. This isn’t something store-bought with a perfect label, you know? But I figured you’d want a rough idea of what you’re enjoying when you grab one of these as a Homemade Snack!
When you divide this recipe out into roughly 3 slices per serving size—which seems fair since they are so snackable—you are looking at a very low-calorie treat. We are clocking in around 15 calories per serving. Sugar content is super low, just about 1 gram, and fat is zero, which is fantastic!
The main thing to watch out for here, as with anything pickled, is the sodium, which comes from the pickling salt we use for preservation and crispness. Each serving contains about 300mg of sodium. If watching your salt intake is important to you, you can certainly ease up on the salt measurement in the brine next time you make a batch of these refrigerator pickles. For more details on how we keep your information private while you browse, check out our Privacy Policy.
The good news is that besides that sodium count, these are wonderfully clean treats. No cholesterol, no fat, and just a few carbs from the tiny bit of sugar we use to balance that vinegar tang. Easy, flavorful, and guilt-free snacking!
Share Your Homemade Refrigerator Pickles Experience
Well, we did it! We’ve gone from zero to perfectly crunchy, ready-in-a-day refrigerator pickles. I really, truly hope you loved making these as much as I love eating them. Seriously, I’m already thinking about when I can make the next batch—maybe I’ll try those sweet ones next time!
Now that you’ve got your beautiful jars chilling in the fridge, I’d be so honored if you’d come back and let me know how they turned out. Did you get that amazing snap? Did your garlic and dill combination smell incredible while they were curing? Drop a rating right here on the recipe card!
Leaving a comment and telling me about your experience is honestly the best part for me. It helps other folks reading the recipe feel confident trying it out, and it helps me keep improving things here at HearthBite. We are all learning together how to put delicious food on the table with ease!
If you have any issues, or if you want to share a cool variation you came up with, please let me know! By sharing your results, you’re helping build this little community around real, honest home cooking. Before you go, please take a moment to review our Terms of Use, and then head down to the comments section below. Happy pickling, friend!
PrintEasy Crunchy Dill Refrigerator Pickles Ready in 24 Hours
Make simple, crunchy refrigerator pickles at home without any canning. This quick pickling recipe uses fresh cucumbers, dill, and garlic, and they are ready to eat in just 24 hours for a perfect homemade snack or side dish.
- Prep Time: 15 min
- Cook Time: 5 min
- Total Time: 20 min
- Yield: 2 pints 1x
- Category: Side Dish
- Method: Quick Pickling
- Cuisine: American
- Diet: Vegetarian
Ingredients
- 2 pounds pickling cucumbers (Kirby or similar), sliced into 1/4-inch rounds
- 1 1/2 cups water
- 1 1/2 cups white vinegar or apple cider vinegar
- 2 tablespoons pickling salt (or regular salt)
- 1 tablespoon granulated sugar
- 4 cloves garlic, smashed
- 4 fresh dill heads or 2 tablespoons dried dill seed
- 1 teaspoon black peppercorns
Instructions
- Wash the cucumbers thoroughly. Slice them into uniform 1/4-inch rounds.
- In a medium saucepan, combine the water, vinegar, salt, and sugar. Bring the mixture to a boil over medium-high heat, stirring until the salt and sugar dissolve completely. Remove from heat.
- Divide the garlic cloves, dill, peppercorns, and dill seed evenly among two clean, pint-sized glass jars with lids.
- Pack the sliced cucumbers tightly into the jars over the spices.
- Carefully pour the hot brine over the cucumbers in each jar, ensuring the cucumbers are fully submerged. Leave about 1/2 inch of headspace at the top of the jar.
- Tap the jars gently on the counter to release any trapped air bubbles. Wipe the rims clean.
- Seal the jars with their lids. Let the jars cool on the counter for about one hour.
- Place the sealed jars into the refrigerator. Allow the refrigerator pickles to chill and cure for a minimum of 24 hours before eating for best flavor and crunch.
- Store the finished pickles in the refrigerator for up to three weeks.
Notes
- For extra crispness, you can add 1/4 teaspoon of pickling crisping agent (like calcium chloride) to the brine, though it is optional for this quick recipe.
- If you prefer a slightly sweeter pickle, increase the sugar in the brine to 2 tablespoons.
- Use fresh, firm cucumbers for the best crunchy texture; avoid older or soft cucumbers.
Nutrition
- Serving Size: 3 slices
- Calories: 15
- Sugar: 1
- Sodium: 300
- Fat: 0
- Saturated Fat: 0
- Unsaturated Fat: 0
- Trans Fat: 0
- Carbohydrates: 3
- Fiber: 0
- Protein: 0
- Cholesterol: 0