
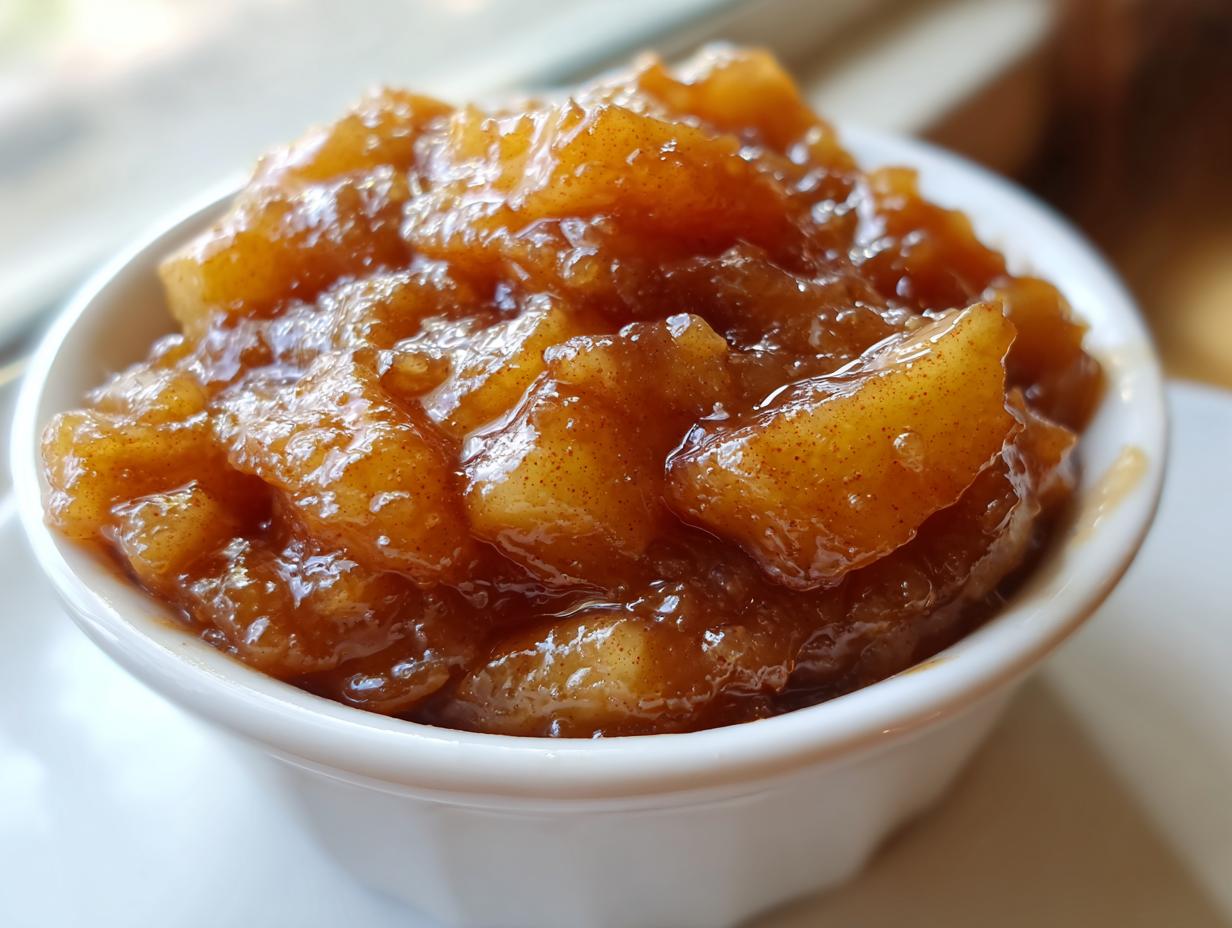
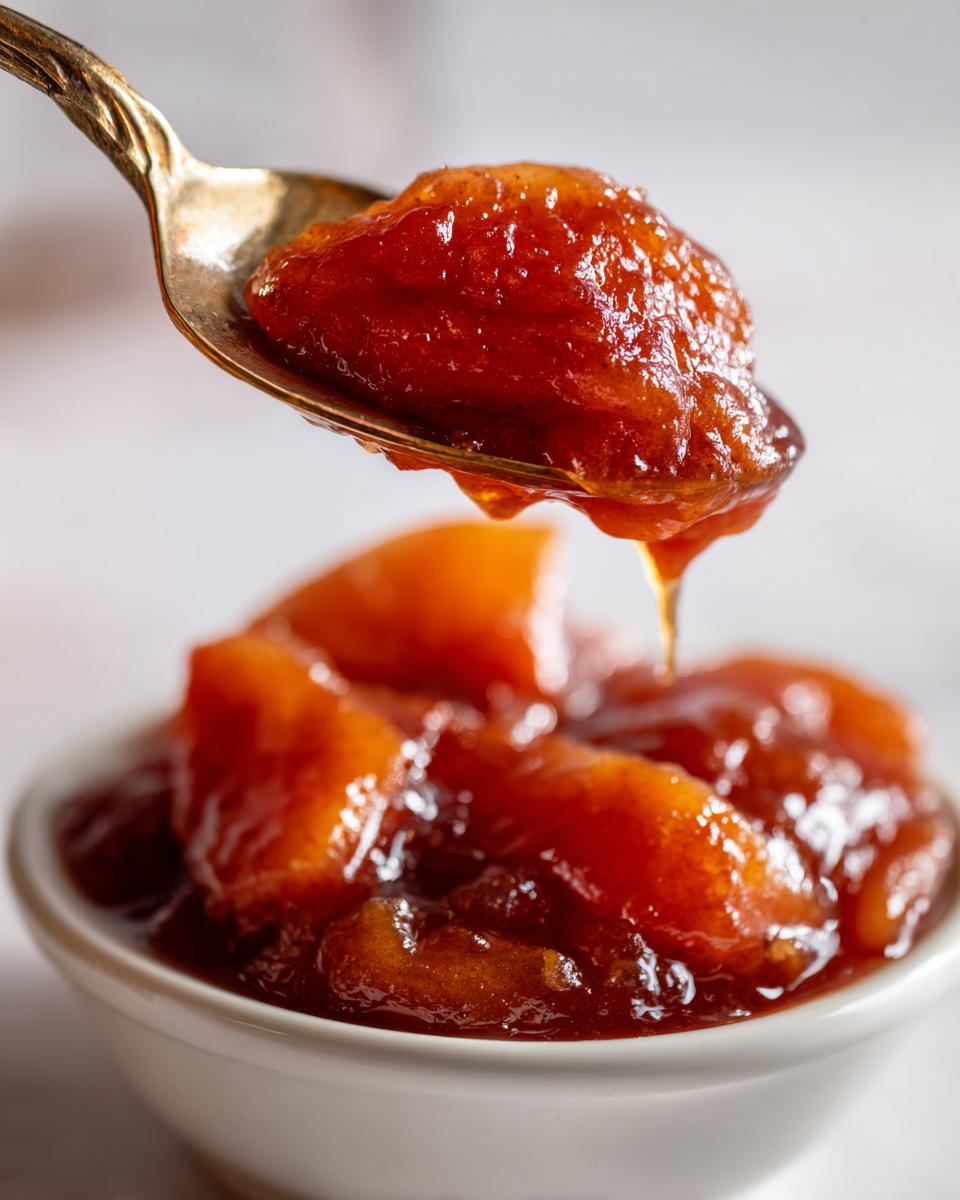
Honestly, when you’ve got that craving for apple pie, why mess around with the dreary, often watery stuff you find in a can? Trust me, nothing beats sinking your teeth into a slice made with your own apple pie filling. I remember my grandmother in Ohio always making things from scratch; that comforting, reliable approach is what we’re bringing to your stovetop today. We are not timing this all day long either! I’ve tweaked this method so you get that beautiful, thick, sweet-spiced glaze and perfectly tender slices in about 30 quick minutes. It’s truly comforting goodness, made simple.
- Why This is the Best Apple Pie Filling Recipe You Will Make
- Ingredients for Your Homemade Apple Pie Filling Recipe
- How to Make Easy Stovetop Apple Pie Filling
- Using Your Sweet Spiced Apple Filling Beyond the Pie
- Storage and Preservation for Apple Pie Filling
- Troubleshooting Common Apple Pie Filling Issues
- Estimated Nutritional Data for Apple Pie Filling
- Frequently Asked Questions About Apple Pie Filling
- Share Your Homemade Apple Pie Filling Creations
Why This is the Best Apple Pie Filling Recipe You Will Make
I promise you, once you make this on the stovetop, you probably won’t ever look at the store-bought jars again. It’s just that good! This recipe isn’t just about flavor; it’s about making you feel like a total baking rockstar without needing hours in the kitchen. It delivers exactly what you want every single time.
- It cooks up lightning fast—we are talking 30 minutes total!
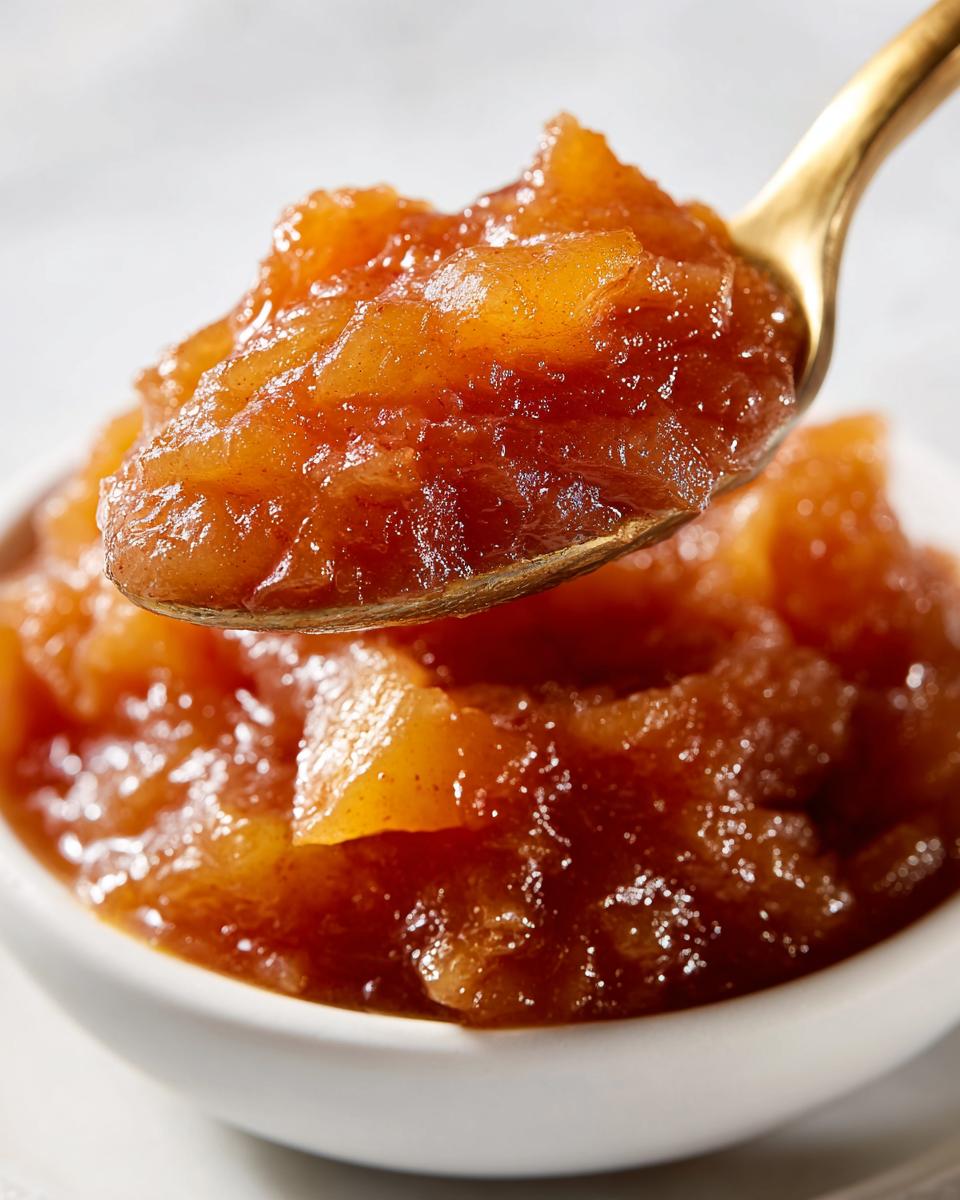
- The glaze is rich, glossy, and clings beautifully to every apple slice.
- It’s perfectly balanced between sweet brown sugar and warm spices.
Honestly, this is hands-down the best apple pie filling I’ve ever put in a crust.
Achieving That Perfect Thick Apple Pie Filling Consistency
The number one complaint I hear about homemade fillings is that they run everywhere when you slice the pie. No thanks! We avoid that disaster by using a carefully calculated amount of cornstarch right at the beginning. Because we cook this mixture right on the burner, we can control that thickening process perfectly. This ensures you get that wonderfully thick apple pie filling that holds everything together beautifully, whether it’s for a traditional double-crust pie or a quick snack.
Ingredients for Your Homemade Apple Pie Filling Recipe
Pulling this recipe together is part of the fun! It’s all about using things you probably already have, but the quality of the apples really makes a difference here. I always grab Granny Smiths because they keep their shape when they cook, but Honeycrisp is fantastic too since they offer a nice sweet-tart balance. You’ll need about six large ones for this batch, which gives you about six cups of glorious filling. I sourced some of my tips on apple pairing from great recipes like the one I found here!
- 6 large apples (Granny Smith, Honeycrisp, or a mix)
- 3/4 cup packed brown sugar (make sure it’s packed down!)
- 1/4 cup granulated sugar
- 1/4 cup cornstarch
- 1 teaspoon ground cinnamon
- 1/4 teaspoon ground nutmeg
- 1/8 teaspoon ground allspice
- 1/4 teaspoon salt
- 1 tablespoon lemon juice
- 2 tablespoons unsalted butter
Ingredient Notes and Substitutions for Apple Pie Filling
Now, a word on apples: firmness is your best friend! If you use soft apples, you’ll end up with applesauce instead of actual slices in your filling. Stick to those crisper varieties mentioned above. Also, if you find yourself out of brown sugar, you can bump up the granulated sugar to compensate, but I have to warn you—you’ll miss that deep, rich molasses flavor the brown sugar brings to the glaze. That’s what makes this apple pie filling so special!
How to Make Easy Stovetop Apple Pie Filling
Okay, here’s where the magic actually happens! Since this is the easy stovetop apple pie filling method, we skip pre-baking the apples, which saves so much time. First thing, get those apples ready! Consistency is key to making sure every single bite is perfect, not half-cooked and half-mushy.
Once your apples are perfectly sliced, you’re going to whisk all your sugars, cornstarch, and spices together in a separate bowl. Seriously, don’t skip this whisking step! Then, pour that dry mix right over your apples along with the splash of lemon juice. Use your hands—yes, hands!—to toss everything really gently. We want a full, even coating on every slice, but we absolutely do not want to bruise them, or they’ll turn to mush when cooking. Check out this useful quick guide for a little visual inspiration.
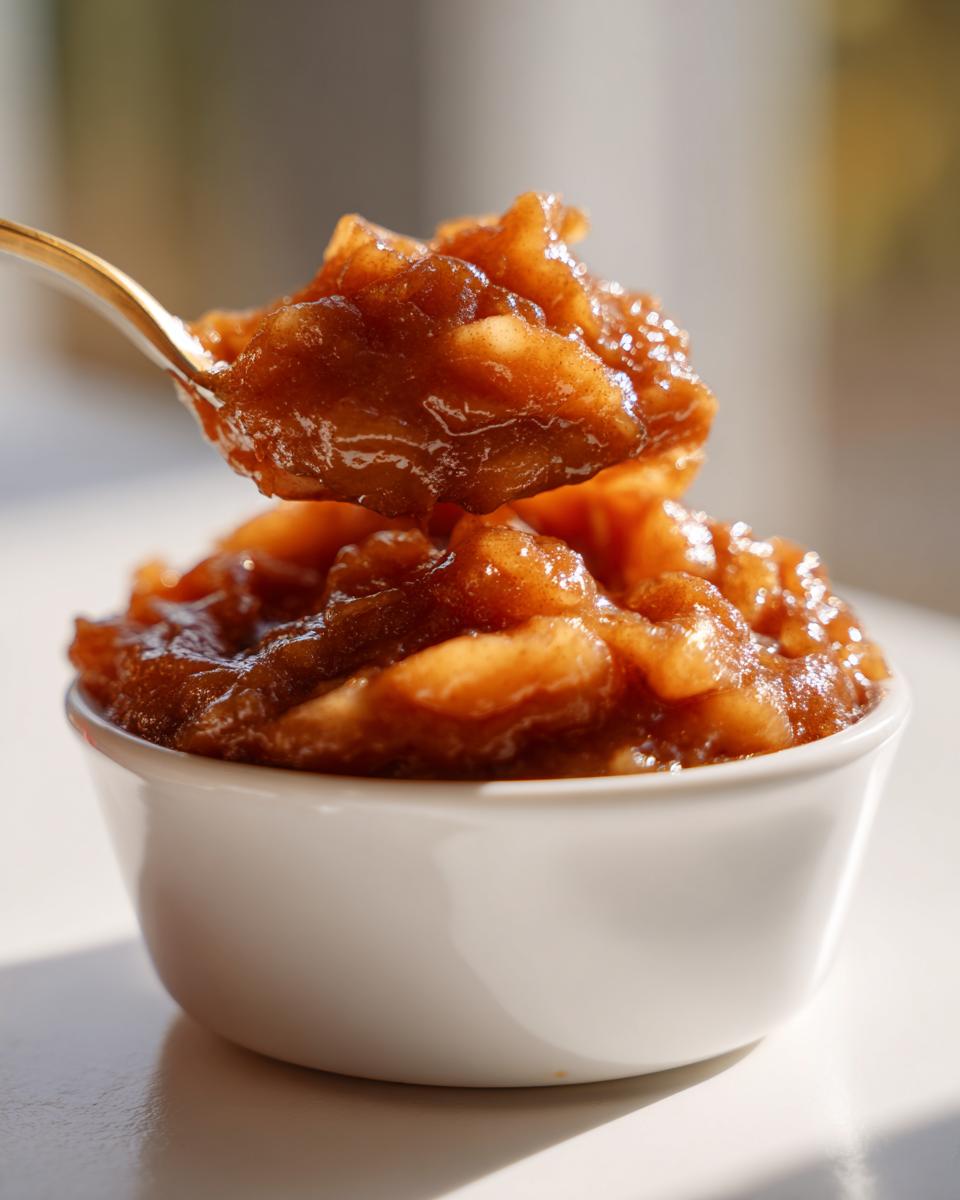
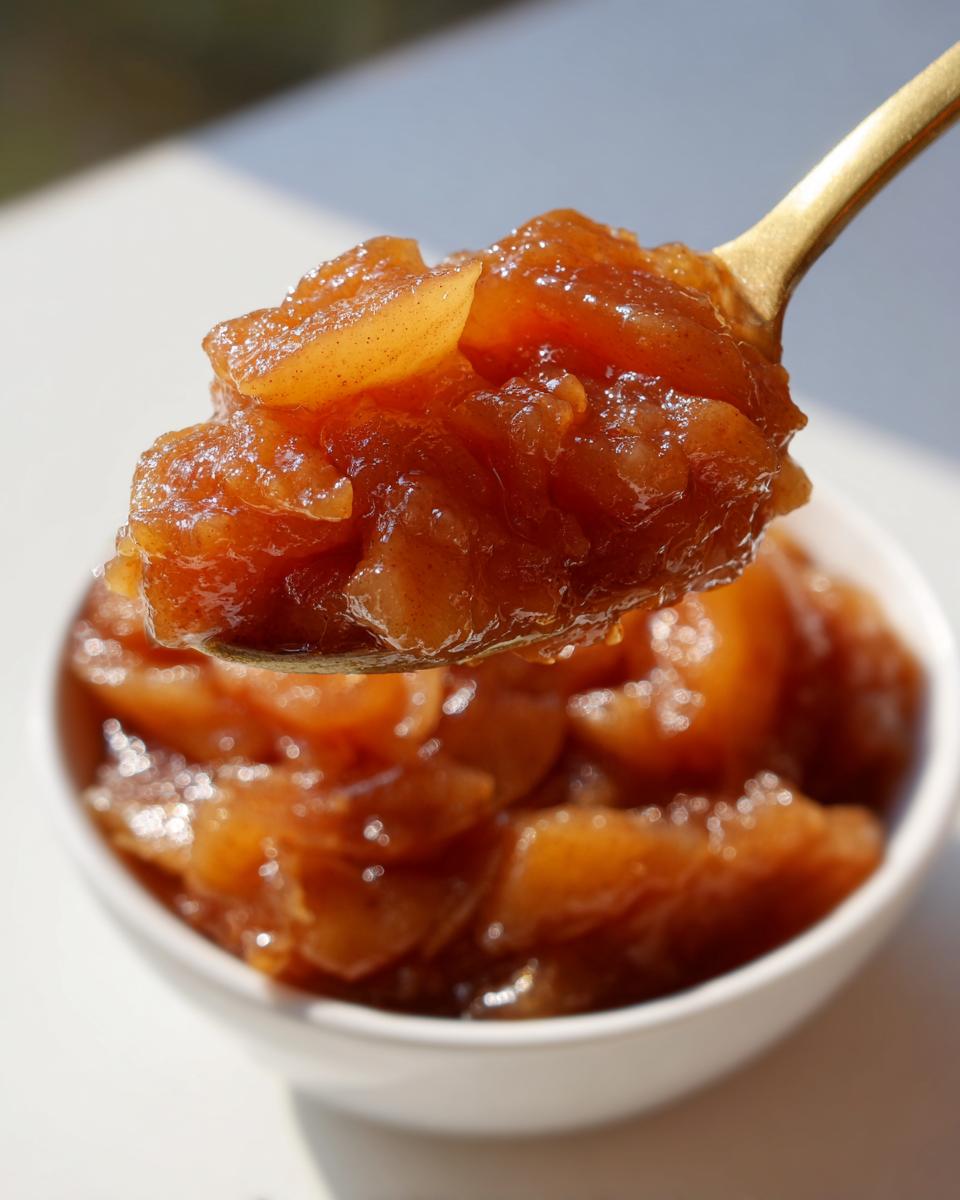
Next, everything goes into the saucepan with the butter. Cook it over medium heat, stirring often. Keep an eye on it; you’re waiting for it to start bubbling actively and thickening up. That usually takes about 8 to 12 minutes. When it’s glossy and thick enough to coat the back of your spoon? You are golden. Pull it off the heat right away so those slices stay tender but still have a little bite!
Tips for Perfect Apple Slicing and Coating for Apple Pie Filling
I learned this the hard way: if your slices aren’t uniform, you end up with sad, undercooked apples next to apple mush. Aim for a solid 1/4-inch thickness all the way around. You want them thick enough to stand up to the heat but thin enough to cook through evenly in that short time. When you are tossing the apples with that gorgeous brown sugar and spice mix, be gentle! If you toss too vigorously, you’ll break down the structure of the fruit before it even hits the heat. A slow, careful fold ensures every piece of your apple pie filling gets that sweet spiced glaze perfectly.
Using Your Sweet Spiced Apple Filling Beyond the Pie
Now, the biggest secret to making a big batch of this filling? Don’t limit it to pie! I always make a double batch just so I can use the leftover sweet spiced apple filling for other things all week long. It’s just too delicious to keep locked away under a top crust, you know?
Think of this as a versatile sweet topping when it’s warm. It’s absolutely heavenly spooned warm over a scoop of vanilla ice cream—instant dessert! If you have a bunch of oats lying around, you can easily use this as the fruity heart of an apple crisp filling. Just top it with your favorite oat crumble and bake it off.
My kids love it when I swirl a big dollop into their morning pancake batter before I flip them on the griddle. You can also pop it into little puff pastry squares to make tiny, quick tarts. Honestly, the possibilities are endless once you have that flavorful, thick filling ready to go!
Storage and Preservation for Apple Pie Filling
One of the best parts about making your apple pie filling this way is that it stores like a dream! Honestly, you won’t be able to resist eating it all right away, but if you manage to save some, it keeps super well in the fridge. Just pop any leftovers into an airtight container—a glass jar works perfectly—and it will stay fresh and delicious for about five to seven days. That means easy topping for oatmeal all week!
If you’re feeling really ambitious (or if you made a huge batch—which you should!), you can look into long-term storage. This recipe is safe for water bath canning, just make sure you follow all the proper safety steps for shelf stability. Knowing you have jars of that thick, ready-to-go filling on hand really boosts my confidence for holiday baking. True canning apple pie filling might seem intimidating, but getting a few jars sealed up is so satisfying.
Troubleshooting Common Apple Pie Filling Issues
Even with the best intentions, sometimes cooking doesn’t go exactly to plan, right? I’ve been there, staring into the saucepan wondering why my glorious apple pie filling looks more like soup than a thick glaze. Don’t panic! Most issues we run into are usually small adjustments made right on the stove, and it’s just my way of proving that this recipe is forgiving.
My Apple Pie Filling is Too Runny—What Now?
If your sauce hasn’t thickened up properly after that initial 12-minute cook time, the sauce isn’t lost! This usually means the cornstarch hasn’t had enough heat to fully activate or you need to cook off a bit more moisture. Turn the heat up just slightly—back to medium—and let it bubble gently for another few minutes. Stir constantly! I mean it, keep that spoon moving so nothing scorches on the bottom. As the liquid evaporates, that sauce will start clinging to the apples and turn glossy. It’s about patience here, letting the heat do its job.
Why Are My Apple Slices Getting Mushy?
This is the saddest thing, especially when you wanted those beautiful tender-crisp slices. Mushiness almost always comes down to one of two things: the type of apple you used or how long you cooked it down. If you went with a softer, sweeter apple that’s better for applesauce, it’s going to break down faster than a firm Granny Smith. Next time, stick to the firm ones. If you already cooked them too long, there’s no fixing the texture today. The key is to only simmer for those extra 2 minutes after the glaze thickens. Remember, the apples will soften slightly more once they cool down in their own steam!
My Filling Tastes Too Sweet or Too Tart
Flavor perception is tricky, especially when we are working with spices. If it’s too sweet, add another tiny splash of lemon juice—just half a teaspoon at a time—and stir it in. That acidity brightens everything up and cuts the sugar nicely. If it’s too tart, you can stir in another teaspoon of brown sugar while testing. It’s all about tiny adjustments at the end! That’s what makes making your own apple pie filling so much better than opening a can—you get total control over the final taste.
Estimated Nutritional Data for Apple Pie Filling
I always feel a little silly putting numbers next to something that tastes like pure autumn comfort, but I know a lot of you like to keep track! Here is the approximate nutritional breakdown for about a half-cup serving of this beautiful, glossy apple pie filling. Remember, these numbers are straight approximations based on standard measurements, so if you use a mountain more butter or a different type of sugar than I did, things might shift a bit!
- Serving Size: 1/2 cup
- Calories: 240
- Fat: 3g
- Saturated Fat: 2g
- Carbohydrates: 55g
- Fiber: 3g
- Sugar: 45g (Yep, it’s a treat!)
- Protein: 0g
- Cholesterol: 8mg
- Sodium: 150mg
Just a little friendly reminder here: Since this recipe relies heavily on lovely brown sugar and butter, the sugar content is naturally higher, which is what gives us that amazing, thick glaze! If you start adding this to a pie crust, you’ll need to factor in the nutritional info for the pastry too. Basically, this is a cozy indulgence, and just as my grandmother taught me, sometimes the best things in life are simple and sweet!
Frequently Asked Questions About Apple Pie Filling
I gathered up some of the questions I see all the time about making this filling. If you’re worried about getting that perfect glaze or maybe you’re just looking for alternative ways to use up a double batch, this section is for you!
Could I use this apple pie filling recipe to make an apple crisp?
You absolutely can! That’s one of my favorite ways to use up leftovers. You just treat this cooked filling as the base layer—no need to bake the apples first! Pour your cooled apple pie filling into a baking dish, throw on your favorite oat or streusel topping, and bake it until bubbly. It turns out great because the sauce is already perfectly thickened!
Is there a good way to adjust this recipe if I only have granulated sugar and not brown sugar?
Oh, sure, life happens! If you don’t have brown sugar, you can swap it out entirely for an equal amount of granulated sugar. But listen, it changes the flavor profile a little bit. That deep, caramelly richness comes straight from the molasses in the brown sugar. So, if you use only white sugar, you might want to sneak in an extra splash of vanilla or maybe even a tiny dash more cinnamon to try and boost that warmth back.
How long will this homemade apple pie filling last if I just put it in a jar?
When stored properly in a clean, airtight container in the fridge, this filling will keep beautifully for about a week. It really is so much better than those jarred versions, and you use it up fast as a quick apple dessert topping on yogurt or ice cream. If you need it to last longer, you’ll need to look into proper canning protocols, just like I mentioned earlier!
Can I make this apple pie filling ahead of time for Thanksgiving?
Yes, this is a huge stress-saver for me during busy holidays! You can totally prepare the entire batch of apple pie filling a few days ahead of time. Just make sure you let it cool completely after cooking and store it sealed tight in the refrigerator. When it’s time to bake your pie, just pour the chilled filling right into your bottom crust. Easy peasy!
Share Your Homemade Apple Pie Filling Creations
Now that you’ve got this incredibly easy stovetop recipe mastered, I absolutely insist you show off what you make! Seriously, seeing your results is the best part of my day. Whether you packed this apple pie filling into a gorgeous lattice pie or used it to top a stack of fluffy Sunday pancakes, I want to know!
Once you try it, please head down below and give this recipe a rating—I always keep an eye on those stars! Also, if this saved you a trip to the grocery store or helped you avoid a can of store-bought filling, leave a comment and tell me about where you decided to use it. If you snap a picture, tag us on social media! We love seeing HearthBite goodness making memories at your house. Don’t forget to check out our {site terms} as you share your baking journey with us!
PrintThe Best Homemade Apple Pie Filling: Thick, Spiced, and Ready in 30 Minutes
Make thick, delicious apple pie filling from scratch on the stovetop. This sweet-spiced glaze recipe uses brown sugar and results in tender apple slices perfect for pies, crisps, or topping pancakes.
- Prep Time: 15 min
- Cook Time: 15 min
- Total Time: 30 min
- Yield: About 6 cups 1x
- Category: Dessert Component
- Method: Stovetop
- Cuisine: American
- Diet: Vegetarian
Ingredients
- 6 large apples (Granny Smith, Honeycrisp, or a mix)
- 3/4 cup packed brown sugar
- 1/4 cup granulated sugar
- 1/4 cup cornstarch
- 1 teaspoon ground cinnamon
- 1/4 teaspoon ground nutmeg
- 1/8 teaspoon ground allspice
- 1/4 teaspoon salt
- 1 tablespoon lemon juice
- 2 tablespoons unsalted butter
Instructions
- Peel, core, and slice your apples into uniform 1/4-inch thick pieces. Place them in a large bowl.
- In a small bowl, whisk together the brown sugar, granulated sugar, cornstarch, cinnamon, nutmeg, allspice, and salt.
- Pour the sugar and spice mixture over the apple slices. Add the lemon juice. Toss gently until all the apples are evenly coated.
- Transfer the apple mixture to a large saucepan. Add the butter.
- Cook over medium heat, stirring frequently, until the mixture begins to bubble and thicken, about 8 to 12 minutes. The glaze should coat the back of a spoon.
- Reduce the heat to low and simmer for 2 more minutes, stirring constantly, until the sauce is glossy and the apples are slightly tender but still hold their shape. Do not overcook.
- Remove the pan from the heat. Let the filling cool completely before using it in a pie crust or storing it.
Notes
- For a thicker glaze, dissolve the cornstarch in 2 tablespoons of cold water before adding it to the dry ingredients.
- Use firm apples that hold their shape well during cooking, like Granny Smith or Honeycrisp.
- This filling works well as a topping for ice cream, yogurt, or baked oatmeal.
- You can can this filling for long-term storage using proper water bath canning methods.
Nutrition
- Serving Size: 1/2 cup
- Calories: 240
- Sugar: 45g
- Sodium: 150mg
- Fat: 3g
- Saturated Fat: 2g
- Unsaturated Fat: 1g
- Trans Fat: 0g
- Carbohydrates: 55g
- Fiber: 3g
- Protein: 0g
- Cholesterol: 8mg