
Oh, my goodness, have you ever had that sinking feeling? You spend hours making perfect cutout cookies, you decorate them beautifully, and then… disaster. You stack them up for gifting, or try to put them away, and everything sticks together! The counter is a sticky mess, and your gorgeous designs are ruined. Trust me, I’ve been there, and that frustration is exactly why I developed this amazing sugar cookie icing that hardens completely. This isn’t just frosting; it’s your ticket to bakery-style cookie icing that dries smooth, glossy, and completely stackable. Here at HearthBite, we focus on recipes that give you confidence, just like Sarah loves to do when she talks about her journey over at HearthBite, so you can make cookies that look professional every single time.
- Why You Need Sugar Cookie Icing That Hardens
- Ingredients for Glossy Sugar Cookie Icing That Hardens
- Step-by-Step Guide to Making Sugar Cookie Icing That Hardens
- Techniques for Applying Your Sugar Cookie Icing That Hardens
- Storage and Keeping Your Powdered Sugar Icing Hardening
- Troubleshooting Common Issues with Cookie Glaze That Dries Hard
- Frequently Asked Questions About This Sugar Cookie Icing That Hardens
- Estimated Nutritional Data for This Icing
- Share Your Perfect Batch of Sugar Cookie Icing That Hardens
Why You Need Sugar Cookie Icing That Hardens
If you’re tired of cookies that feel tacky even the next day, you absolutely need this recipe for sugar cookie icing that hardens. It’s the secret weapon for making cookies look stunning and actually stay that way! This icing dries rock solid, which means no more ruined patterns when you try to grab them.
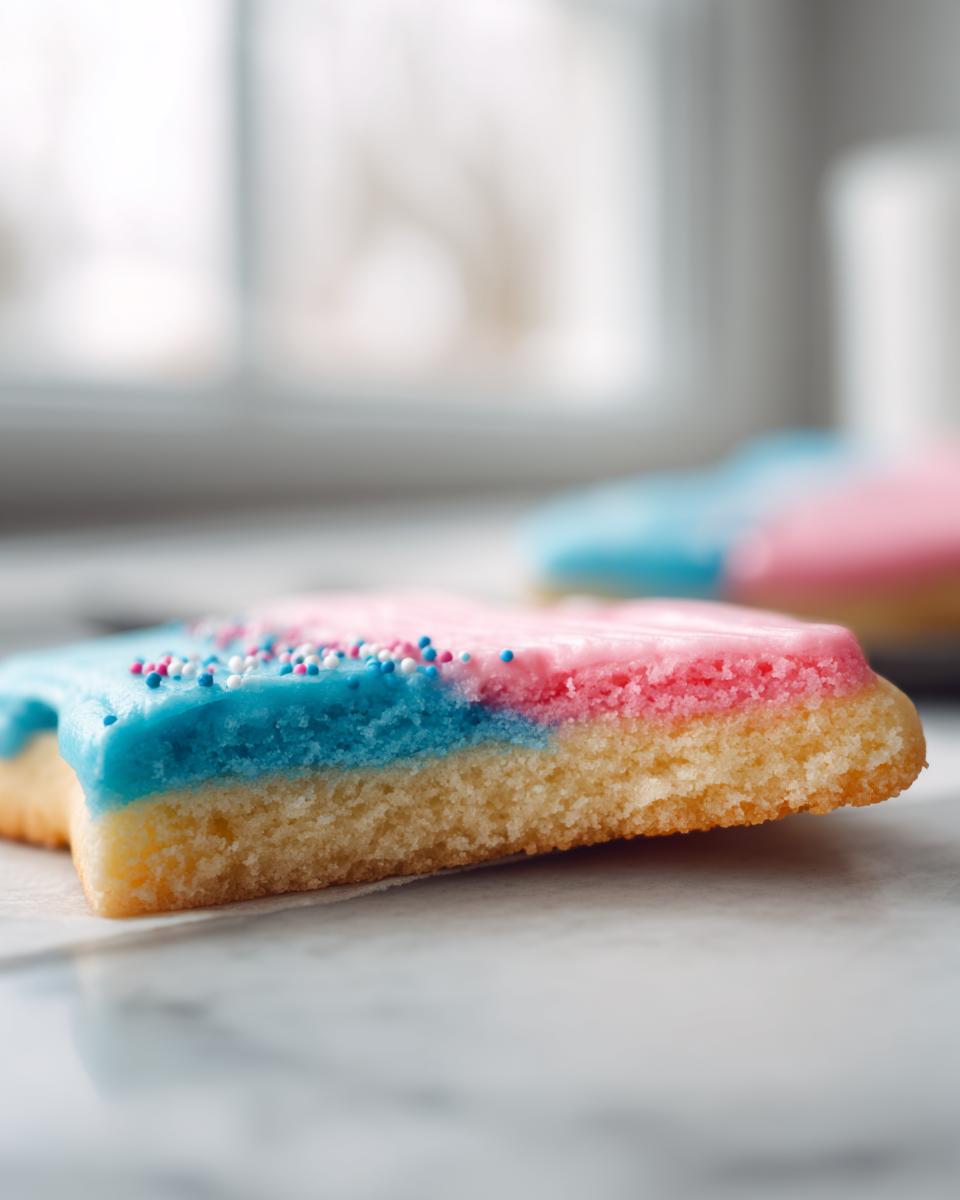
- It lets you stack cookies high for beautiful presentation.
- It’s absolutely perfect for packaging up as gifts because nothing sticks together!
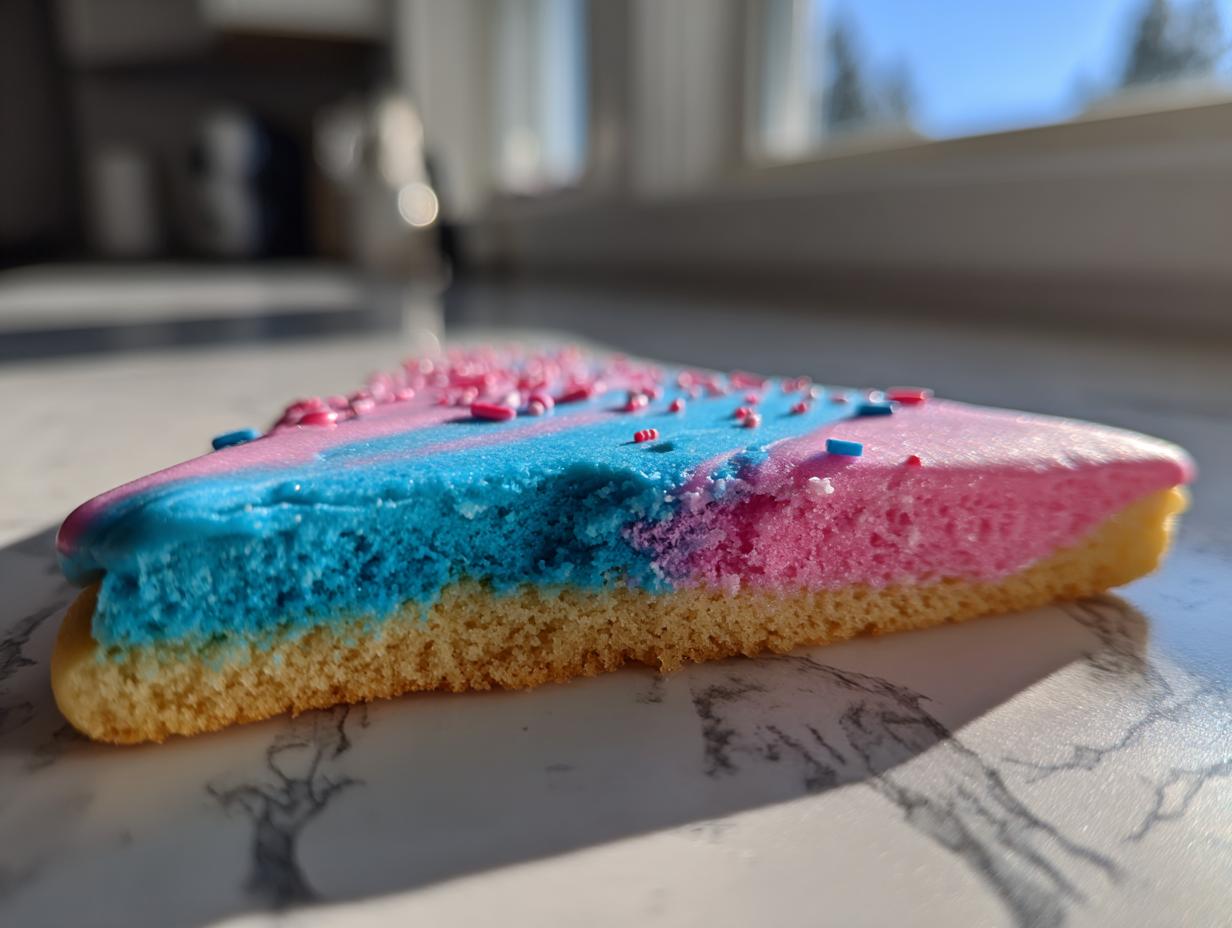
- You get that crisp, shiny, bakery style cookie icing look that makes your cuts look professional.
Achieving a Durable Sugar Cookie Decorating Base
Once this icing sets, you have a wonderful, hard shell. If you’re making cutout cookies that need to travel or get stacked up in tins, this is the only way to go. It protects all your careful piping work underneath—no smudging, no running colors! Seriously, this is definitely the best icing for cutout cookies you’ll ever use when transport is involved.
Ingredients for Glossy Sugar Cookie Icing That Hardens
Okay, gathering your supplies is crucial, and honestly, it doesn’t get much simpler than this for achieving that perfect sugar cookie icing that hardens! We need 2 cups of powdered sugar, make sure you sift it—nobody likes lumps! Then we add 3 tablespoons of milk, 1 teaspoon of vanilla, and the absolute MVP: 1 tablespoon of light corn syrup. That syrup is what gives you that beautiful, glossy cookie icing recipe that dries shiny, not dull.
Ingredient Notes and Substitutions for Hardening
You’ll notice the corn syrup is the key component here for durability. But if you’re in a total hurry and need that icing to set up super fast—like, *really* fast—I have a little trick from my own testing. Try swapping out the corn syrup for 1 teaspoon of meringue powder instead. It makes for an even firmer, fast-drying finish! Since you are building an awesome, durable sugar cookie decorating base, always remember: gel colors are your friend here; liquid colors add too much moisture.
Step-by-Step Guide to Making Sugar Cookie Icing That Hardens
Ready to mix up this glorious sugar cookie icing that hardens? It’s so fast, you’ll wonder why you ever worried about runny messes! First things first: grab that bowl and make sure your powdered sugar is fully sifted. We want smooth sailing here! Next, toss in the milk, the vanilla extract, and that important tablespoon of light corn syrup. Now, take a whisk—don’t just stir, whisk it actively—until everything looks silky smooth. Seriously, seeing it come together into that perfect, thick consistency is the best feeling before moving on to decorating.
Achieving the Perfect Consistency for Flooding
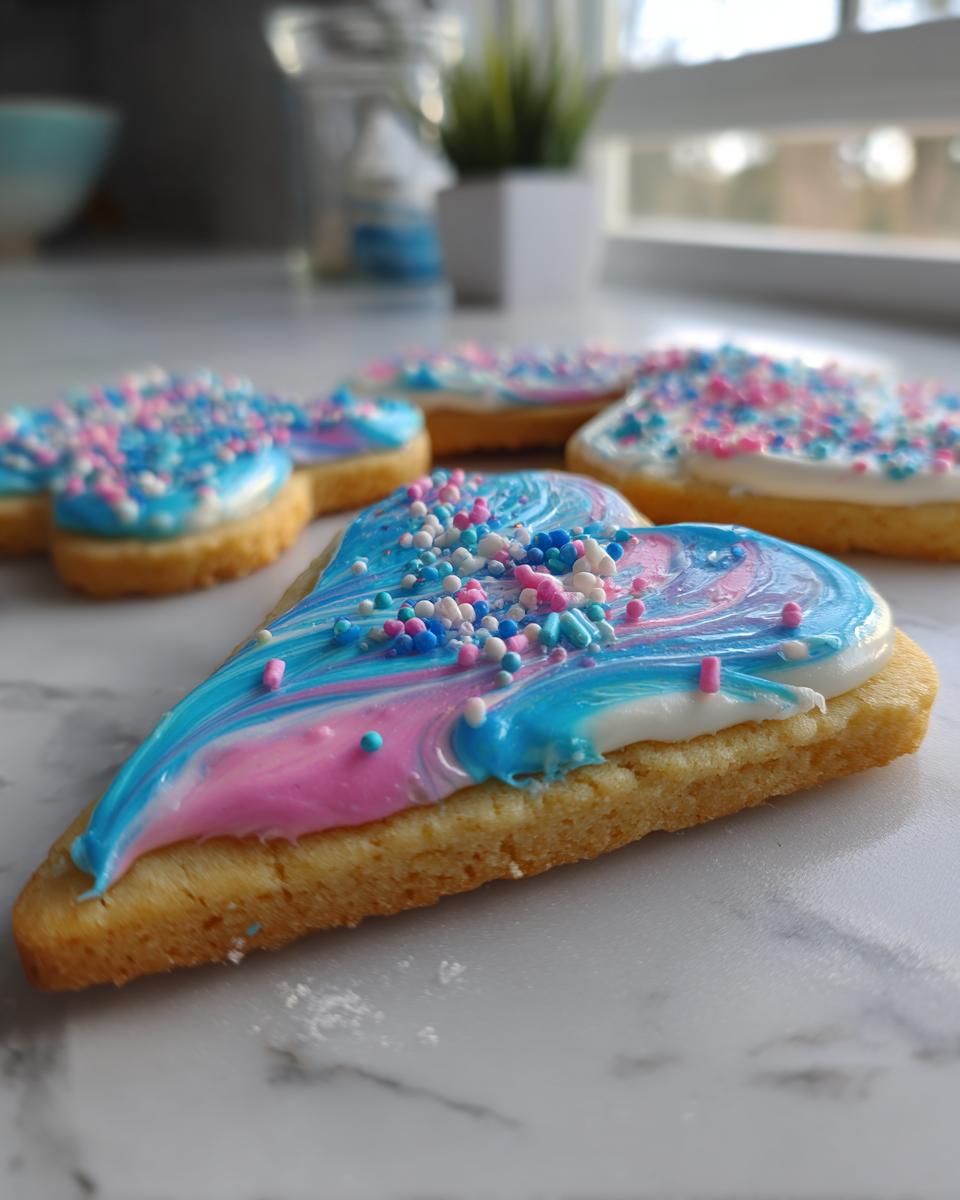
Consistency is everything when you’re planning to outline *and* flood! For outlining, you want the icing to be pretty thick—stiff enough that when you lift the whisk, the line holds its shape for a second or two. If you need to go thinner for the flooding stage, add milk *just* a half teaspoon at a time. You’re trying to reach that sweet spot where it flows easily but doesn’t run right off the edge of the cookie—that’s what creates that beautiful, smooth sugar cookie frosting finish. If you want to see some amazing piping tips to go with this, check out the guide on royal icing recipe techniques!
Techniques for Applying Your Sugar Cookie Icing That Hardens
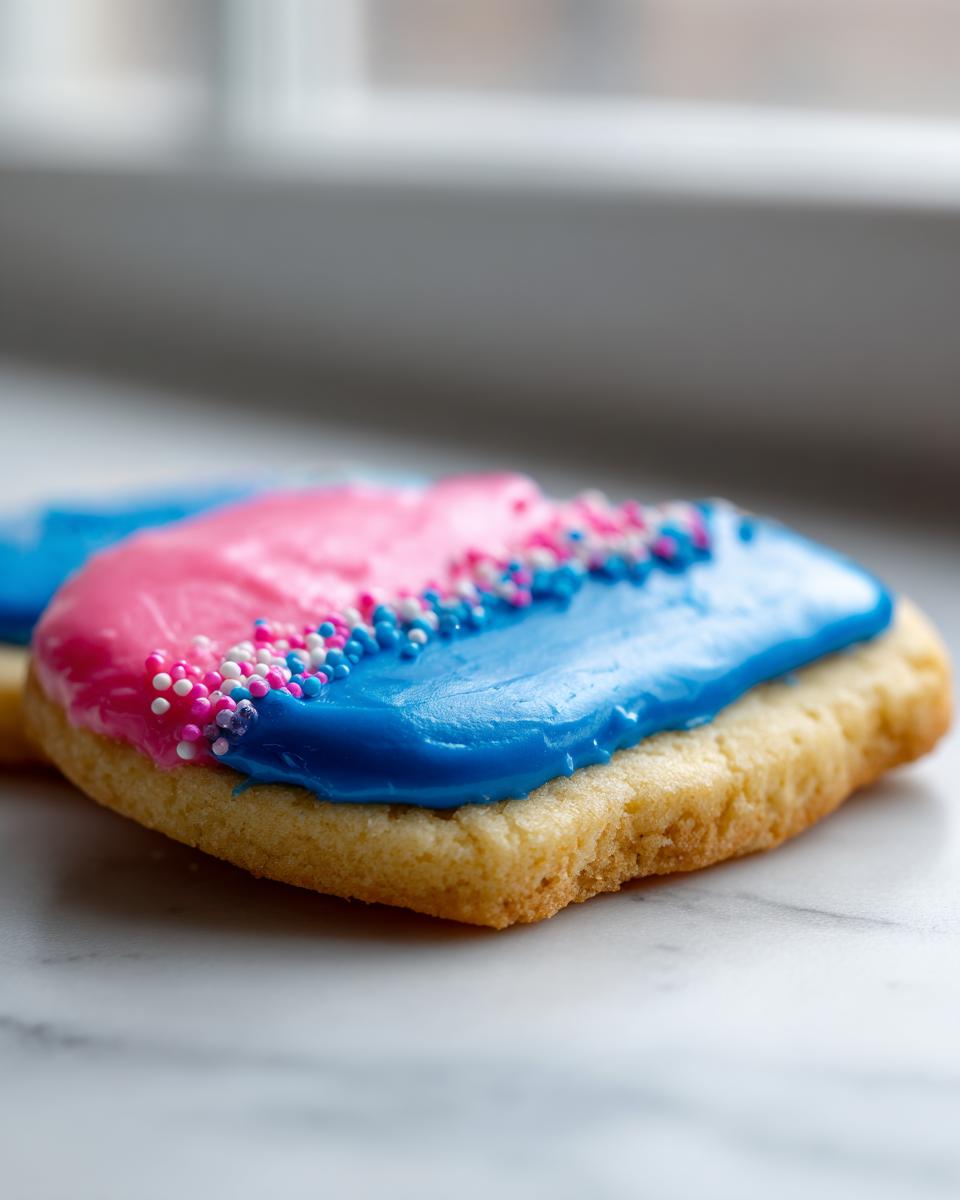
Now that we have that perfect, glossy sugar cookie icing that hardens, it’s time to get decorating! This icing is magical because it allows for two crucial steps without everything melting together—that’s real expertise in the decorating world. First, you want to outline every edge using a slightly thicker batch of this icing. Don’t move on right away! You *must* let those outlines set for about 5 to 10 minutes. This creates a little dam wall. Once that’s done, you flood the center with your slightly thinner icing. Tap your cookie gently on the counter a few times to pop any stubborn air bubbles. You can see some fantastic application tips over at this wonderful guide!
How to Make Sugar Cookie Icing Dry Quickly
If you’re working on a huge batch of cookies and time is ticking, waiting 8 hours for them to air dry might feel impossible! Don’t worry, we can absolutely speed up the setting process. Once you’ve finished flooding and tapped out those bubbles, stick the whole tray right in front of a small fan, pointed right at the cookies. It sounds so simple, but circulating air really helps draw the moisture out. This trick makes your cookie glaze that dries hard set up dramatically faster so you can move onto the next layer or get those treats stacked!
Storage and Keeping Your Powdered Sugar Icing Hardening
So you’ve made a massive batch of this fantastic sugar cookie icing that hardens, and now you have leftovers! Don’t just cover it with plastic wrap and hope for the best. If you have leftover icing in a bowl, cover it tight with plastic wrap pressed right against the surface, or use a really airtight container. It might get a tiny bit stiff, so just stir in a couple of drops of water or milk to bring it back to life before your next decorating session. Once your cookies are totally done and hard, store them in a single layer or separated by parchment paper in a cool, dry spot so that shiny finish stays put!
Troubleshooting Common Issues with Cookie Glaze That Dries Hard
Even with the best recipe, sometimes humidity or a slight mismeasurement can cause a little drama! Don’t panic if your sweet cookie glaze that dries hard decides to misbehave. It happens to everyone, even the pros. The good news is that these issues usually come down to one tiny ingredient we can easily adjust.
If your icing is cracking horribly after it dries, that’s a clear sign you might have used too much powdered sugar or not enough liquid. When it seems too stiff right out of the bowl, add liquid slowly! On the flip side, if you see the icing is weeping—meaning little beads of moisture are showing up on the surface—that typically means too much liquid was added, making the sugar structure weak. You can usually save a weeping batch by whisking in just a tablespoon of fresh sifted powdered sugar.
Another big headache is when that shiny finish just won’t set up and stays a little soft, especially on a rainy day. High humidity is the enemy here! If you’re struggling to get that hard set, try placing your decorated batch near a small fan again. For next time, remember that adding just a tiny touch more corn syrup, or swapping to meringue powder entirely, gives you insurance against sogginess. You can find some great tips on how to avoid a sticky finish over here.

Frequently Asked Questions About This Sugar Cookie Icing That Hardens
I know you probably have some thoughts swirling around now that you see how easy this is. Decorating cookies can feel intimidating, but mastering your sugar cookie icing that hardens takes all the guesswork out! Here are the questions I get asked most often about getting that perfect, durable finish.
Is this technically Royal Icing?
That’s a great question! This recipe is really a simplified, fast-working glaze that behaves a lot like royal icing because of the corn syrup holding it together. True baker’s royal icing usually relies on egg whites or meringue powder for that ultimate hardness. However, my version is incredibly reliable and gives you that satisfying, smooth sugar cookie frosting texture without needing raw egg whites, making it perfect for everyday home baking! If you want the full-on meringue version, I cover that in detail with my other recipe guides, but this one sets beautifully.
Can I use water instead of milk?
You absolutely *can* use water instead of milk if you need to, especially if you’re coloring the icing a very deep shade. Milk adds just the tiniest bit of richness and opacity, but water works perfectly fine to achieve that hard set. Just be careful—water can sometimes cause the icing to thin out faster, so use less of it than you think you need! When going for a glossy cookie icing recipe, the liquid added has to be controlled tightly.
How long does this cookie glaze that dries hard actually take to set?
The time it takes for your glaze that dries hard to fully set really depends on the humidity in your kitchen. In a dry environment, you’ll see a firm crust in about 4 hours. However, for a truly durable sugar cookie decorating base that you can stack right away without a worry, I always tell people to plan on 6 to 8 hours, or even overnight, just to be safe! That firm topping is worth waiting for!
What is the best way to store leftover icing?
If you have extra sugar cookie icing that hardens mixed up, cover the bowl tightly with plastic wrap, making sure the wrap is touching the surface of the icing. It will get stiff overnight, but don’t panic! Just stir in a few drops of water or milk the next day, and it should loosen right back up to perfectly usable consistency for a quick second batch.
Estimated Nutritional Data for This Icing
Since we know you love to keep track of everything, here is the estimated breakdown for this simple yet amazing sugar cookie icing that hardens! Now, remember, since this recipe yields enough to cover about two dozen medium cookies, these numbers are based on one standard tablespoon of the mixed icing base before you add colorings.
As with all homemade recipes, these figures are an estimate, but they give you a great idea of what you are working with. This recipe is wonderfully low in fat, which really helps keep those cookies light and delicious!
- Serving Size: 1 tablespoon icing
- Calories: 55
- Sugar: 14g
- Carbohydrates: 14g
- Fat: 0g
- Sodium: 2mg
- Protein: 0g
See? Super low fat and practically no protein! It’s just pure, delicious sweetness holding everything together, ready to dry into that perfect, stackable shell.
Share Your Perfect Batch of Sugar Cookie Icing That Hardens
Now it’s your turn! I truly hope this recipe for sugar cookie icing that hardens gives you the confidence to create the most beautiful, stackable cookies. If this shine and durability shocked you, please leave a rating below! I love hearing how you did. Pop over to our contact page if you have any questions, and definitely tag us in your photos when you show off your rock-solid, glossy designs!
PrintGlossy Sugar Cookie Icing That Hardens Completely

Make bakery-style sugar cookie icing that dries hard, smooth, and glossy. This recipe is perfect for decorated cookies that need to be stacked or gifted.
- Prep Time: 10 min
- Cook Time: 0 min
- Total Time: 10 min
- Yield: Coats approximately 2 dozen medium cookies 1x
- Category: Dessert
- Method: No-Bake
- Cuisine: American
- Diet: Vegetarian
Ingredients
- 2 cups powdered sugar, sifted
- 3 tablespoons milk (whole or plant-based)
- 1 tablespoon light corn syrup
- 1 teaspoon vanilla extract
- Gel food coloring, as needed
Instructions
- Place the sifted powdered sugar into a medium bowl.
- Add the milk, light corn syrup, and vanilla extract to the sugar.
- Whisk the ingredients together until the mixture is smooth. If the icing is too thick for flooding, add milk half a teaspoon at a time until you reach the desired consistency.
- If you plan to outline and flood, separate the icing into smaller bowls for coloring. Add gel food coloring one drop at a time, mixing until the color is uniform.
- Use the icing immediately for outlining cookies. Let the outline set for 5 to 10 minutes.
- Flood the outlined areas with the thinner icing. Gently tap the cookie on the counter to release air bubbles.
- Allow the cookies to air dry completely. This icing will harden to a firm, glossy finish, usually within 4 to 8 hours, depending on humidity.
Notes
- For a very firm, fast-drying icing, substitute 1 teaspoon of meringue powder for 1/2 teaspoon of corn syrup.
- If the icing becomes too thick while working, stir in a few drops of water or milk to thin it slightly.
- To make the icing dry faster, place the decorated cookies in front of a small fan while they set.
Nutrition
- Serving Size: 1 tablespoon icing
- Calories: 55
- Sugar: 14
- Sodium: 2
- Fat: 0
- Saturated Fat: 0
- Unsaturated Fat: 0
- Trans Fat: 0
- Carbohydrates: 14
- Fiber: 0
- Protein: 0
- Cholesterol: 0