
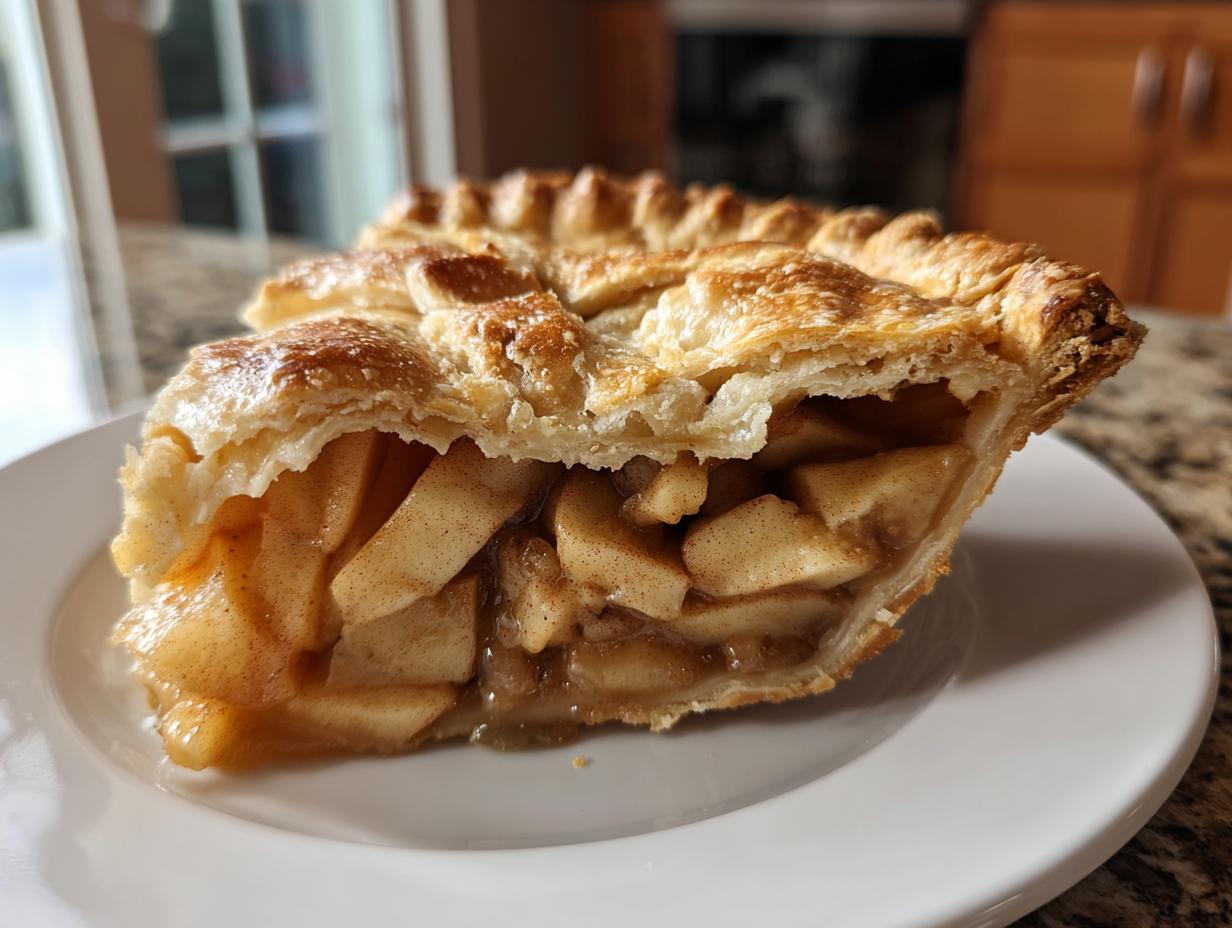
If there’s one dessert that instantly conjures up pictures of family gatherings and the cozy warmth of home, it’s pie. And nothing beats a truly perfect, Classic Homemade Apple Pie, especially as we celebrate traditions like National Apple Pie Day! My grandmother made pies that felt like a hug you could eat. I am going to show you how to achieve that technical perfection—the shatteringly flaky pie crust and that luscious filling where tart apples meet just the right amount of spice and sweetness. Baking this pie isn’t just about ingredients; it’s about creating a moment of comfort in your own kitchen, just like we aim for here at HearthBite. Trust me, once you master this double-crust version, you’ll never look back!
- Why This Classic Homemade Apple Pie Recipe Works (E-E-A-T)
- Gathering Ingredients for Your Classic Homemade Apple Pie
- Step-by-Step Instructions for the Classic Homemade Apple Pie Crust
- Creating the Ideal Apple Filling Recipe for Your Traditional Apple Pie
- Assembling and Baking Your Classic Homemade Apple Pie
- Tips for Technical Perfection in Your Classic Homemade Apple Pie
- Serving Suggestions for Your Traditional Apple Pie
- Storage and Reheating Your Classic Homemade Apple Pie
- Frequently Asked Questions About Making Apple Pie
Why This Classic Homemade Apple Pie Recipe Works (E-E-A-T)
This recipe is my secret weapon because it focuses on two things that amateur bakers often overlook: temperature and balance. We’re going for reliability, which is why I’ve perfected the technical side of things for you. The success of that gorgeous, shatteringly **flaky pie crust** hinges entirely on keeping your butter incredibly cold—I mean, freezer-seconds-ago cold!
Also, using that specific mix of apples is crucial. You need the tart backbone of Granny Smith, but the Honeycrisp brings the sweetness and structure so your thick filling doesn’t turn to mush. I know chilling dough sounds like extra work, but trust me, letting it rest for an hour is non-negotiable. It lets the gluten relax, which is how you get that perfect, tender bite every single time.
Gathering Ingredients for Your Classic Homemade Apple Pie
Every great pie starts with gathering your tools and ingredients. For me, this is almost as therapeutic as the actual baking! The truth is, if you start with sub-par stuff, your pie will taste sub-par, even with my instructions. Temperature is going to be your best friend here, especially when we get to that crust!
I measured everything out twice before I even started messing with the flour. Precision matters when you are aiming for that quintessential American apple pie. Don’t skip checking your measurements against the list below; it really cuts down on mid-mixing panic!
For the Perfect Flaky Pie Crust
This is where we build the foundation, so pay close attention to the butter situation. For that wonderful **flaky pie crust**, your butter needs to be practically frozen. I cube mine straight from the fridge, maybe run it under the cold tap if I’m feeling aggressive. Remember: cold in, flaky out!
- 2 1/2 cups all-purpose flour
- 1 teaspoon salt
- 1 cup (2 sticks) unsalted butter, very cold and cubed
- 1/2 cup ice water, plus more if needed
Assembling the Apple Filling Recipe
Next up is the heart of the pie—that beautiful, spiced **apple filling recipe**. We need contrast here! That little bit of lemon juice isn’t just decoration; it keeps the apples bright and stops them from turning murky brown while they wait for the oven.
- 6 medium apples (a mix of Granny Smith and Honeycrisp recommended)
- 3/4 cup granulated sugar
- 1/4 cup packed light brown sugar
- 2 tablespoons all-purpose flour
- 1 teaspoon ground cinnamon
- 1/4 teaspoon ground nutmeg
- 1 tablespoon lemon juice
- 1 large egg, beaten (for egg wash)
- 1 tablespoon milk or cream (for egg wash)
Step-by-Step Instructions for the Classic Homemade Apple Pie Crust
Alright, grab your pastry blender or just use your hands—I prefer my hands because I can feel what’s happening! We are aiming for texture here in this **flaky pie crust**. Remember my rule from before? Everything needs to stay cold. Seriously, if you feel the butter starting to get soft, stop immediately and stick the whole bowl in the fridge for ten minutes. I’ve ruined batches by getting impatient!
Start by whisking that flour and salt together until they are well introduced. Then, it’s time for the butter. You’re cutting it into the flour mix. You want the butter to break down, but not disappear! We need those bits of cold fat to melt in the oven later, creating steam, which makes the layers separate. This is what gives you that beautiful lift.
Keep going until you have coarse crumbs, kind of like cornmeal, but with some actual chunky, pea-sized pieces of butter still visible. Those little chunks are the magic right there. Now, add the ice water slowly, just a tablespoon at a time. You mix until the dough *just* holds together when you squeeze a handful. If you add too much water—oops—you end up with tough, biscuit-like pastry, not flaky layers. Don’t worry if it looks a little shaggy!
Divide that shaggy dough right down the middle, form two flat disks, wrap them up tight, and they have to go straight into the refrigerator. At least one hour, friends. This chilling time lets the fat solidify again and relaxes everything. I usually make my dough the day before, because that makes morning baking so much calmer. If you want to check out some other dough tips, this guide on making crusty bread dough has some great cooling principles, too!
Creating the Ideal Apple Filling Recipe for Your Traditional Apple Pie
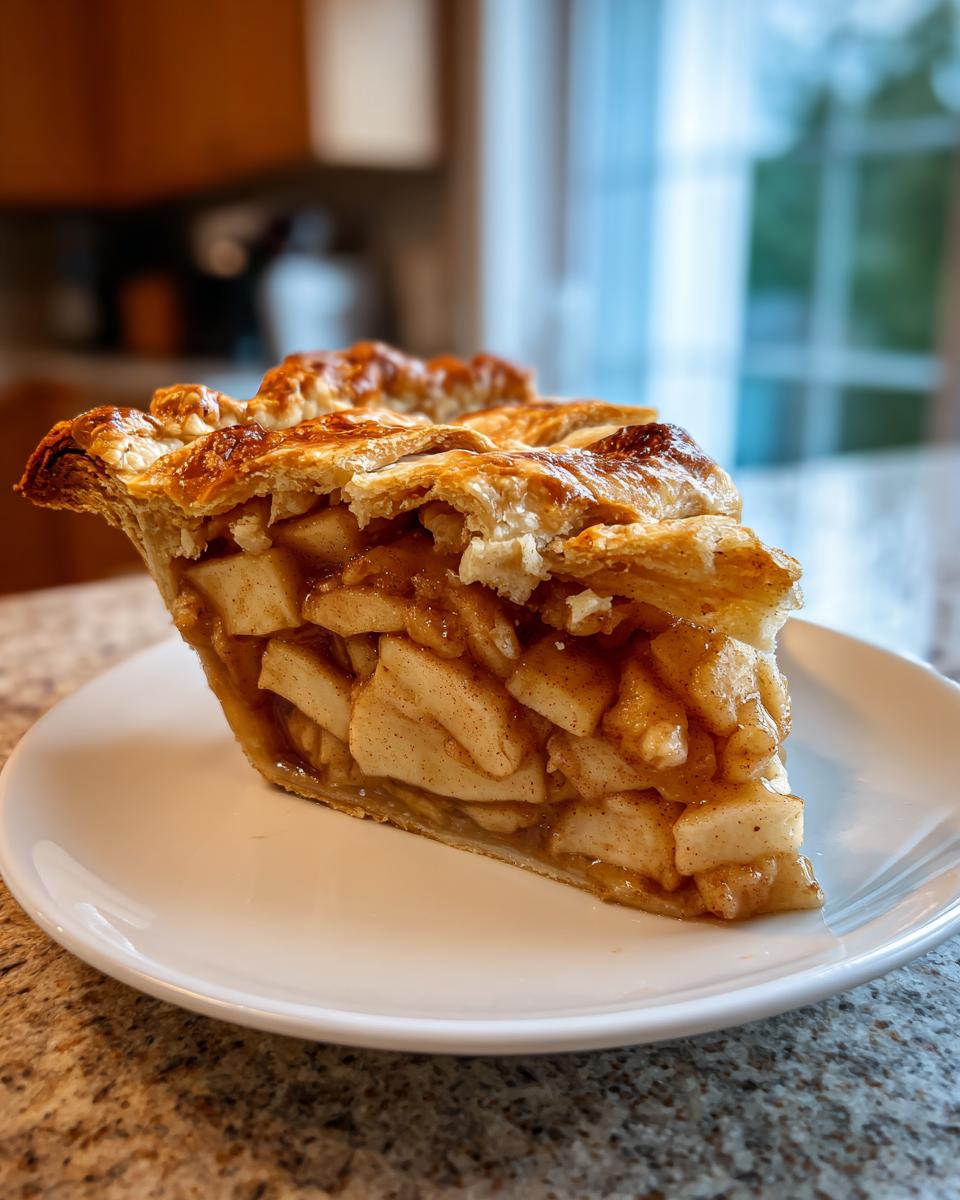
Okay, now that the dough is chilling nicely—don’t peek at it!—we move onto the star: the **apple filling recipe**. This is where we balance that necessary tartness with deep, comforting sweetness. You need to peel, core, and slice those apples about a quarter of an inch thick. If you cut them too thin, they’ll disappear into applesauce while baking, and we want a nice bite left!
Toss those slices in a big bowl. I mean, really toss them, but gently! You don’t want to bruise the apples because that releases too much liquid too early. We want the liquid to come out slowly in the oven, thickened by our flour.
The sugars (white and brown) go in, along with the spices—cinnamon and nutmeg are the classics that make this taste like a **traditional apple pie**. Don’t skimp on the cinnamon; it’s the soul of the filling! That little splash of lemon juice brightens everything up, cutting through the richness of the butter in the crust we already made.
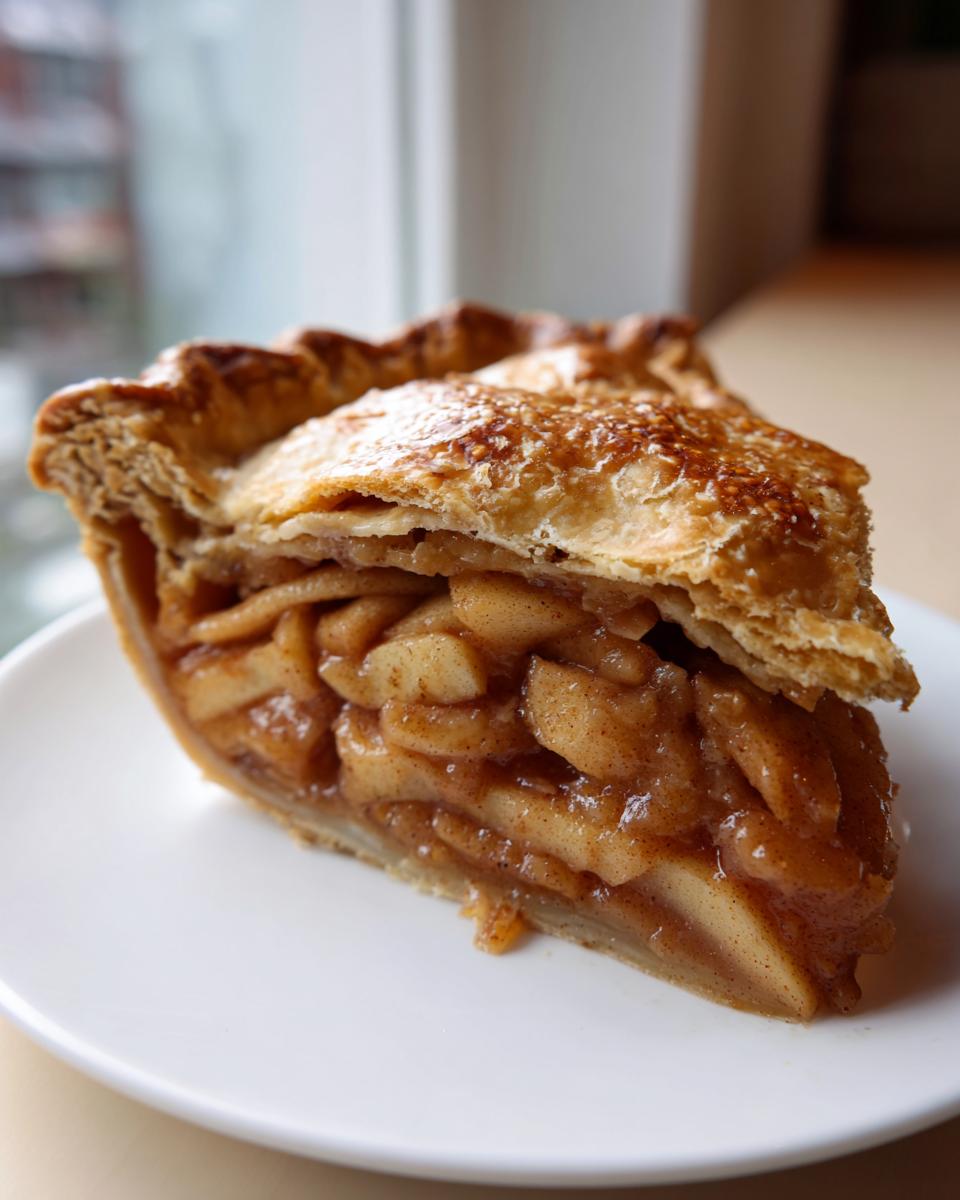
The two tablespoons of flour act as our binder. It takes all those juices released while baking and turns them into a thick, glossy sauce instead of soup running all over your oven floor. Make sure everything is evenly coated, then just set the bowl aside while you roll out that first crust disk. If you want to see how I make a glorious, thick filling without any sad, watery spots, check out my tips for a dedicated apple pie filling recipe, too!
Assembling and Baking Your Classic Homemade Apple Pie
Now the fun part begins—putting the actual pie together! Take that beautiful, rested dough out of the fridge. The dough for the bottom crust needs to be rolled out gently on a lightly floured surface into about a 12-inch circle. Handle it quickly; remember, we want that butter to stay cold!
Carefully drape that dough into your 9-inch pie plate. Let it settle in gently—don’t stretch it! Trim the edges so you have about an inch hanging over the rim. Now, pour in all your perfectly spiced apple filling. Mound those apples up high in the middle! They cook down quite a bit, so don’t be shy about piling them up.
Grab that second disk of dough for the top crust. Roll it out and place it right over the apples. Match the overhang and then use your fingers or a fork to crimp the edges firmly together. This sealing is important! You need to cut several slits into the top crust—this is how the steam escapes so your pie doesn’t explode, or worse, get a soggy top. This is technical perfection 101!
Ready for the golden glow? Whisk that egg and milk together—that’s your egg wash. Brush it lightly over the top and sprinkle on a touch more granulated sugar if you’re feeling fancy. It makes the crust glisten beautifully. Now for the bake! Preheat your oven to 425 degrees F first. Bake it hard for 15 minutes at that hot temperature. This sets the crust quickly.
Then, quickly but carefully, drop the temperature down to 375 degrees F and let it bake for another 40 to 50 minutes. Keep an eye on those edges, though. If they start getting too brown before the filling is bubbling thick, I usually grab a strip of aluminum foil and loosely cover just the crust edges. I can’t stress this enough: wait until you see those juices bubbling up through the vents before you pull it out. They need to look thick and glossy, not watery. If you need a distraction while you wait, check out my recipe for the ultimate moist chocolate cake until you pull that pie out!
Tips for Technical Perfection in Your Classic Homemade Apple Pie
If you want this to be the best pie you’ve ever made—the kind that makes people close their eyes in delight—we need to talk about the science for just a minute. It’s all about those little secrets you only learn after making 50 slightly-too-soggy pies!
First, let’s nail down the **best apples for pie**. I always use a 60/40 split. You need that intense, mouth-puckering tartness from Granny Smiths—they provide the necessary structure—but you need some sweet apples, like Honeycrisp or Fuji, to balance the flavor. If you only use sweet apples, it tastes flat. If you only use tart, your guests will pucker! A mix is just essential.
Next up is dough handling, which is the biggest hurdle for most people. My cardinal rule for that **flaky pie crust** is simple: less contact, colder temperature. If you’re kneading or rolling and your hands start warming up the dough, stop! Put the whole thing back in the fridge for 15 minutes. Think of the butter as the tiny ice cubes trapped in your pastry layers; if they melt before they hit the oven, you get tough, pale dough instead of flaky gold.
Also, remember that tip about grating those apples? If you’re getting ready to make a whole batch of your favorite comfort food recipes, prepping apples in bulk is smart, but for this single pie, grate a few—don’t shred them finely—to release just the right amount of juice without making the whole filling watery. Focus on those details, and you’ve nailed the technical side of things!
Serving Suggestions for Your Traditional Apple Pie
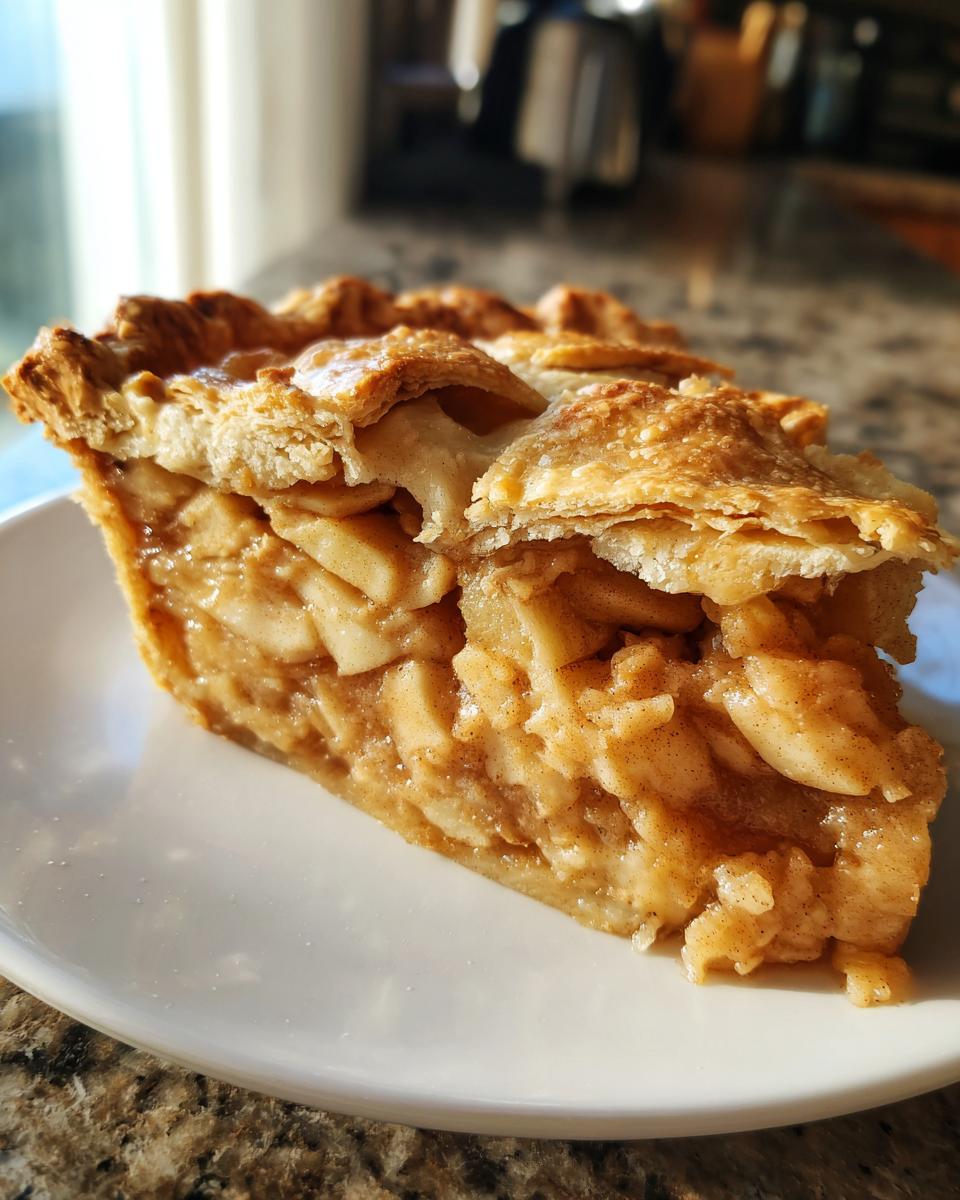
The pie is out of the oven, it smells incredible, and the hardest part is over—but don’t you dare slice into it yet! Remember, it needs that two-hour rest so the filling can set up perfectly. If you cut it hot, it’s going to run everywhere, and that’s a shame for such a beautiful **traditional apple pie** structure.
When you finally do serve it, you have to decide how you want to dress it up, and honestly, you can’t go wrong. For me, nothing beats a slice of warm pie with a big scoop of really good vanilla bean ice cream melting slowly right over the top. That temperature contrast—hot filling and cold cream—is just heaven.
But here’s a tip my neighbor taught me that I absolutely adore: a thin slice of sharp, slightly aged cheddar cheese melted right on top! It sounds weird if you haven’t tried it, but the saltiness and tang of the cheese cut through the sweetness of the apples and the richness of the crust so perfectly. It wakes up all those cinnamon and nutmeg notes!
If you’re looking for other comforting desserts to serve at your next gathering, I’ve shared my go-to recipe for old-fashioned banana pudding, but for an apple pie celebration, stick to ice cream or cheese—you deserve this classic combination!
Storage and Reheating Your Classic Homemade Apple Pie
Phew, you baked a masterpiece! Now, the critical question: how do we keep that gorgeous **traditional apple pie** looking and tasting amazing for days? Since this pie relies on those buttery layers and cooked fruit, storage requires a little care to maintain that technical perfection we worked so hard for.
First off, resist the urge to cover it right away while it’s still warm from cooling. Let it sit on the rack until it’s completely cool to the touch—that takes a good while, sometimes longer than you think!
Once cool, you have options. If you plan on devouring it within about 12 hours, leaving it out on the counter, loosely covered with a cake dome or tea towel, is usually fine. But honestly, because of the moisture from the apple filling, I rarely leave mine out longer than that. If you want it to last more than a day, wrap those slices tightly in plastic wrap, or better yet, place the whole cooled pie in an airtight container in the refrigerator. It holds up really well for about three or four days in the fridge.
Now, for reheating a leftover slice—this is key to bringing back the crust’s freshness! Do NOT microwave it unless you like warm, chewy pastry. Nope. You want heat that can re-crisp the bottom crust. Pop your slice onto a baking sheet and bake it in a 350-degree oven for about 10 minutes. That gentle heat warms the apples back up and crisps the bottom crust beautifully so it tastes almost freshly baked. That way, every slice is just as good as the first!
Frequently Asked Questions About Making Apple Pie
I know you are probably buzzing to get into the kitchen now, but just in case a few little worries are popping up—especially since we are aiming for technical perfection here—let’s answer a few common questions I get asked all the time about making a truly unforgettable apple pie. If you’ve got your mixer ready, these quick tips will smooth out any last-minute nerves!
What is the best way to prevent a soggy bottom crust?
Oh, the eternal struggle! A soggy bottom can ruin everything. For this recipe, you need two things: proper sealing and a hot start. Make sure you really crimp those edges tight when you seal the top and bottom crusts together—this pushes the moisture up and out through the slits in the top, not down into the bottom layer. Also, make sure you bake that pie on the lowest rack of your oven during that initial 15 minutes at 425°F. That blast of direct heat helps set the bottom crust before we lower the temp. And of course, don’t skip that 2 tablespoons of flour mixed right into the apples! That’s your insurance policy against watery filling.
Can I make the pie dough ahead of time for National Apple Pie Day?
Absolutely! If you want to make this super easy on **National Apple Pie Day** morning, go right ahead and make the dough two days in advance. After you wrap those two disks and chill them for that required hour, you can just leave them wrapped tightly in the fridge for up to three days. If you need longer, freeze them! Wrap them in plastic and then foil, and they are good for up to three months. Just remember to let them thaw slowly in the fridge overnight before you plan on rolling them out. Cold dough is happy dough!
If you’re looking for some **quick, easy dinner recipes** inspiration for the weeknights when you aren’t baking pie masterpieces, I’ve got dozens ready for you over here at quick, easy dinner recipes. But for now, go get that pie in the oven—you earned it!
PrintClassic Homemade Apple Pie with Flaky Crust

Follow this reliable recipe for a traditional double-crust apple pie featuring the perfect balance of tart and sweet apples for a quintessential American dessert.
- Prep Time: 45 min
- Cook Time: 65 min
- Total Time: 110 min
- Yield: 8 servings 1x
- Category: Dessert
- Method: Baking
- Cuisine: American
- Diet: Vegetarian
Ingredients
- 2 1/2 cups all-purpose flour
- 1 teaspoon salt
- 1 cup (2 sticks) unsalted butter, very cold and cubed
- 1/2 cup ice water, plus more if needed
- 6 medium apples (a mix of Granny Smith and Honeycrisp recommended)
- 3/4 cup granulated sugar
- 1/4 cup packed light brown sugar
- 2 tablespoons all-purpose flour
- 1 teaspoon ground cinnamon
- 1/4 teaspoon ground nutmeg
- 1 tablespoon lemon juice
- 1 large egg, beaten (for egg wash)
- 1 tablespoon milk or cream (for egg wash)
Instructions
- Prepare the pie crust: In a large bowl, whisk together the flour and salt. Cut in the cold butter using a pastry blender or your fingers until the mixture resembles coarse crumbs with some pea-sized pieces of butter remaining.
- Gradually add the ice water, one tablespoon at a time, mixing until the dough just comes together. Do not overmix. Divide the dough in half, form each half into a disk, wrap in plastic, and chill for at least 1 hour.
- Prepare the apple filling: Peel, core, and slice the apples about 1/4 inch thick. In a large bowl, gently toss the apple slices with the granulated sugar, brown sugar, 2 tablespoons of flour, cinnamon, nutmeg, and lemon juice until evenly coated.
- Preheat your oven to 425 degrees Fahrenheit.
- On a lightly floured surface, roll out one disk of dough into a 12-inch circle. Carefully transfer the dough to a 9-inch pie plate. Trim the edges, leaving a 1-inch overhang.
- Pour the apple filling into the bottom crust, mounding the apples slightly in the center.
- Roll out the second disk of dough for the top crust. Place it over the filling. Trim the top crust overhang to match the bottom. Crimp the edges to seal the top and bottom crusts together. Cut several slits in the top crust to allow steam to escape.
- In a small bowl, whisk the egg and milk together to create an egg wash. Brush the top crust lightly with the wash and sprinkle with a little extra granulated sugar, if desired.
- Bake for 15 minutes at 425 degrees Fahrenheit. Then, reduce the oven temperature to 375 degrees Fahrenheit and continue baking for another 40 to 50 minutes, or until the crust is golden brown and the filling is bubbling. If the edges brown too quickly, cover them loosely with aluminum foil.
- Let the pie cool on a wire rack for at least 2 hours before slicing and serving.
Notes
- For the flakiest pie crust, keep all ingredients, especially the butter and water, as cold as possible during mixing.
- Use a mix of apples; Granny Smith provides necessary tartness, while Honeycrisp or Fuji offer sweetness and hold their shape well during baking.
- If you prefer a lattice top instead of a full top crust, cut the second dough disk into strips and weave them over the filling.
Nutrition
- Serving Size: 1 slice
- Calories: 410
- Sugar: 35g
- Sodium: 250mg
- Fat: 24g
- Saturated Fat: 15g
- Unsaturated Fat: 9g
- Trans Fat: 0g
- Carbohydrates: 50g
- Fiber: 3g
- Protein: 4g
- Cholesterol: 60mg