
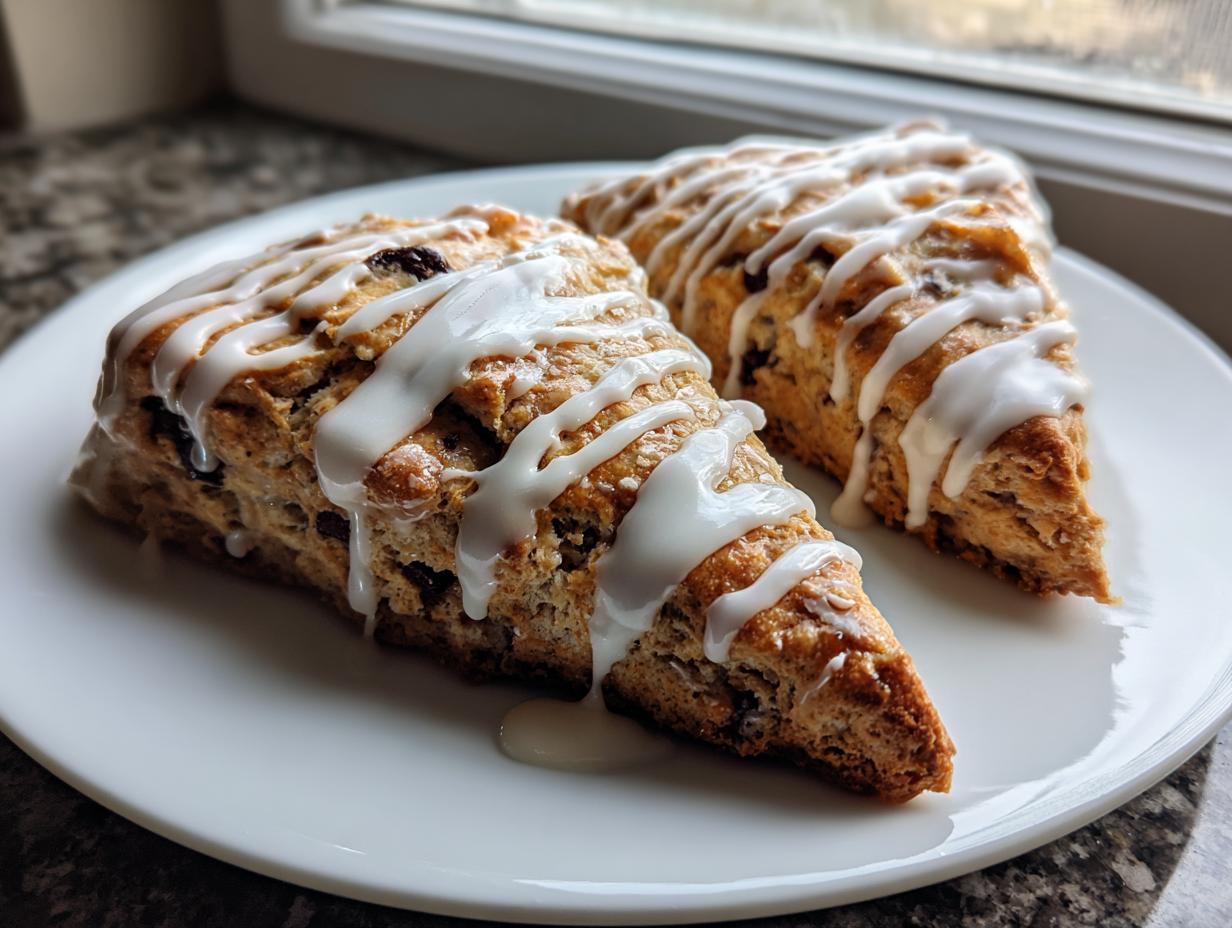
If you’ve ever stood in line at your favorite coffee shop, just dreaming of biting into one of those tall, tender, impossibly flaky pastries, I have something wonderful to share with you today. Forget waiting in line! Making these Bakery-Style Flaky Chocolate Chip Scones with Vanilla Glaze right in your own kitchen is easier and faster than you think—we’re talking ready to bake in under 20 minutes! Here at HearthBite, my goal is always reliability, and with this recipe for chocolate chip scones, I’ve cracked the code on getting that perfect buttery texture every single time. Baking these scones always takes me back to that feeling of quiet accomplishment when I first realized how close I could get to true bakery-style perfection without any fuss. I know you’ll love them!
This recipe is designed for real life, giving you that delicious reward without requiring hours of complicated folding or special equipment. We keep things straightforward so you can enjoy these amazing chocolate chip scones for a quick breakfast or a lovely weekend brunch. If you’re looking for more ways to master this delicate pastry, make sure you check out my guide on mastering the ultimate fluffy scone—it dives even deeper into the physics of flakiness!
- Why These Are the Best Chocolate Chip Scones Recipe You Will Make
- Ingredients for Perfect Chocolate Chip Scones
- Mastering Flaky Scones Recipe: Step-by-Step Instructions
- Tips for Homemade Chocolate Chip Scones Success
- Serving Suggestions for Your Chocolate Chip Scones
- Storage and Make‑Ahead Options
- Frequently Asked Questions About Scones
- Share Your HearthBite Creations
Why These Are the Best Chocolate Chip Scones Recipe You Will Make
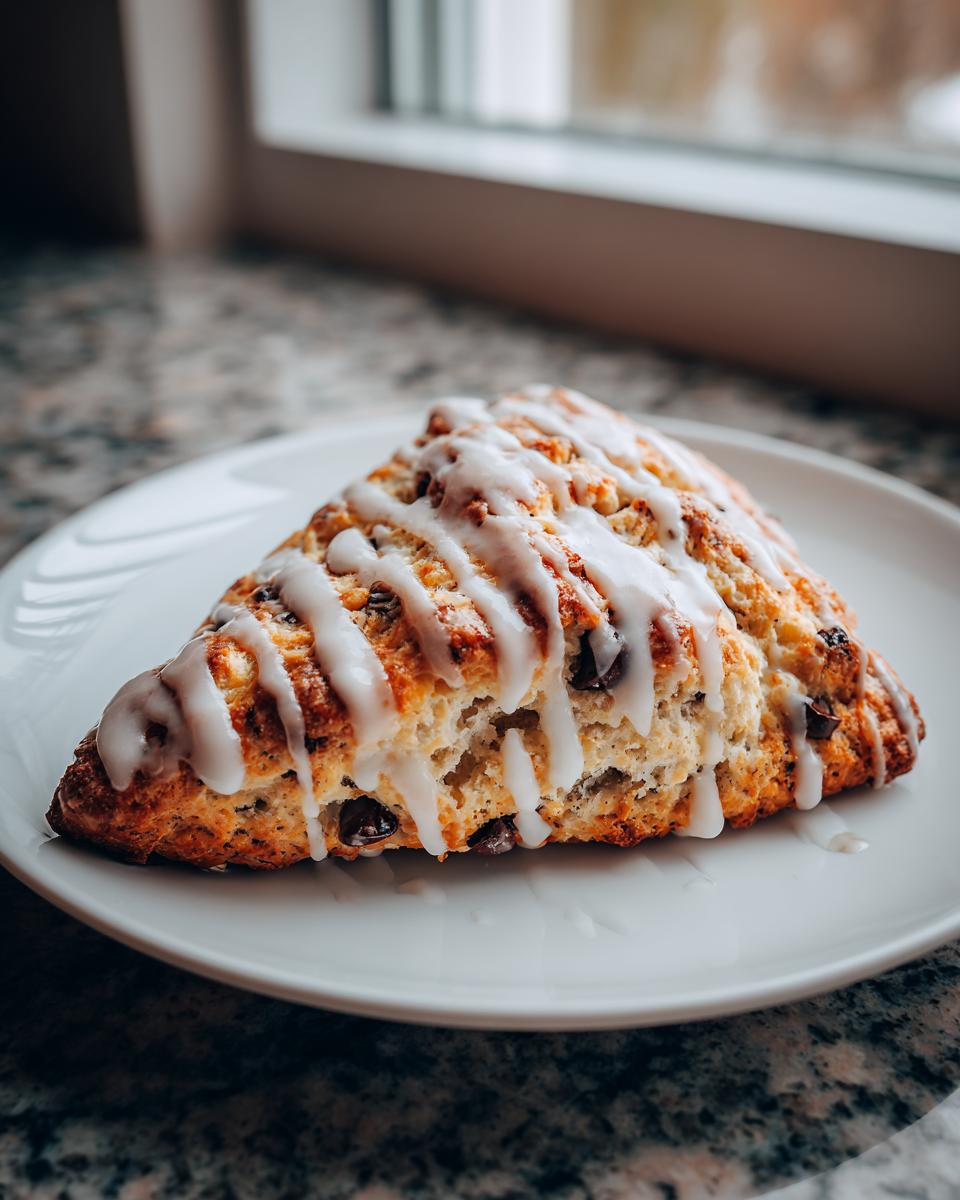
What makes these my go-to chocolate chip scones? Honestly, it comes down to texture and timing. So many recipes promise flaky results but end up delivering something closer to a dense cookie, and that’s just heartbreaking when you’re staring at a brunch spread! These deliver that coveted, slightly craggy, golden-brown exterior giving way to the softest, melt-in-your-mouth interior consistently. If you want to dive even deeper into the science behind great texture, check out my ultimate guide on fluffy bakery-style scones.
I remember the first time I nailed these—it was a snowy Saturday, and I wanted something special but needed it fast. I used butter straight from the fridge, refusing to cheat by letting it warm up, and suddenly, those layers appeared! That’s the magic that creates truly buttery scones that aren’t greasy, but rich and flaky. They bake up so fast, too; it’s truly a quick scone recipe that feels fancy.
Achieving True Bakery Style Scones
To get those gorgeous bakery style scones, you can’t mess around with warm ingredients. Everything—and I mean everything—needs to stay icy. The cold butter holds its shape until it hits that hot oven, and that’s what creates steam pockets. Those steam pockets are your tickets to layers! If your butter melts before it bakes, you just end up with tougher, tender scones that disappoint. It’s a non-negotiable step for me when I’m aiming for that perfect lift.
Ingredients for Perfect Chocolate Chip Scones
Listen, I know looking at any ingredient list can feel like homework, but trust me on this one; these elements are what make a truly spectacular scone! For these chocolate chip scones, the temperature of your dairy is the most important thing—it has to be freezer-cold. That’s our ticket to flavor and texture!
If you’ve mastered making homemade caramels, you already know that high-quality ingredients sing! Here is exactly what you need below:
For the Flaky Chocolate Chip Scones
- 2 1/2 cups all-purpose flour
- 1/2 cup granulated sugar
- 1 tablespoon baking powder
- 1/2 teaspoon salt
- 1/2 cup (1 stick) cold unsalted butter, cut into small cubes
- 1 cup semi-sweet chocolate chips
- 3/4 cup cold heavy cream, plus more for brushing
- 1 large egg
- 1 teaspoon vanilla extract
For the Sweet Vanilla Glaze
- 1 cup powdered sugar (and please, measure this accurately!)
- 2 tablespoons milk
- 1/2 teaspoon vanilla extract
Mastering Flaky Scones Recipe: Step-by-Step Instructions
This is where the magic happens, and honestly, it’s why this whole recipe feels like a wonderful secret! Because we are using such famously cold ingredients, the prep time for these wonderful chocolate chip scones flies by. You can easily be sliding these into the oven in about 15 minutes flat, which is why I love calling this my go-to quick scone recipe when I need a slightly fancy treat fast. If you’re still wrestling with thick doughs, remember that mastering flaky scones is all in the chill!
Remember what I said about the butter? It stays hard, and that’s key to those flaky layers we are chasing down. Don’t worry if the dough looks a little messy or shaggy when you first combine everything—that’s exactly what we want!
Preparing the Dough for Your Chocolate Chip Scones
First things first, get that oven preheated to 400°F (200°C) and line a baking sheet. In your biggest bowl, give the flour, sugar, baking powder, and salt a good whisk to make sure we start off even. Now, toss in those cubes of ice-cold butter. You have to be quick here! Use a pastry blender or just your fingertips—I prefer my fingers because I can feel the texture better—and work the butter into the flour until it looks like coarse crumbs. I’m looking for pieces about the size of small peas; they need to stay distinct! Once that’s done, fold in your semi-sweet chocolate chips.
In a separate little cup, quickly whisk the cold heavy cream, egg, and vanilla until they just barely combine. Pour this wet mix into the dry stuff and use a fork to mix it together. Stop as soon as you see no more stray flour. That’s it for mixing chocolate chip scones dough!
Shaping and Baking Tender Scones
Turn that shaggy mass out onto a surface lightly dusted with flour. This is super important: work gently! Knead it maybe three or four times, tops, just until it holds together loosely. Pat the whole lovely pile into a 3/4-inch thick circle or a rough rectangle. I usually cut mine into 8 wedges, just like a pie. Tuck them onto your prepared sheet, leaving a little elbow room between your tender scones.
Give the tops a quick brush with a tiny bit more heavy cream—this helps them brown up beautifully! Pop them into that hot oven for about 15 to 18 minutes. You’ll know they are done when they are beautifully golden brown and smell absolutely incredible. Let them sit on that baking sheet for just five minutes before you transfer them to a wire rack to cool down a bit.
Finishing with the Vanilla Glaze
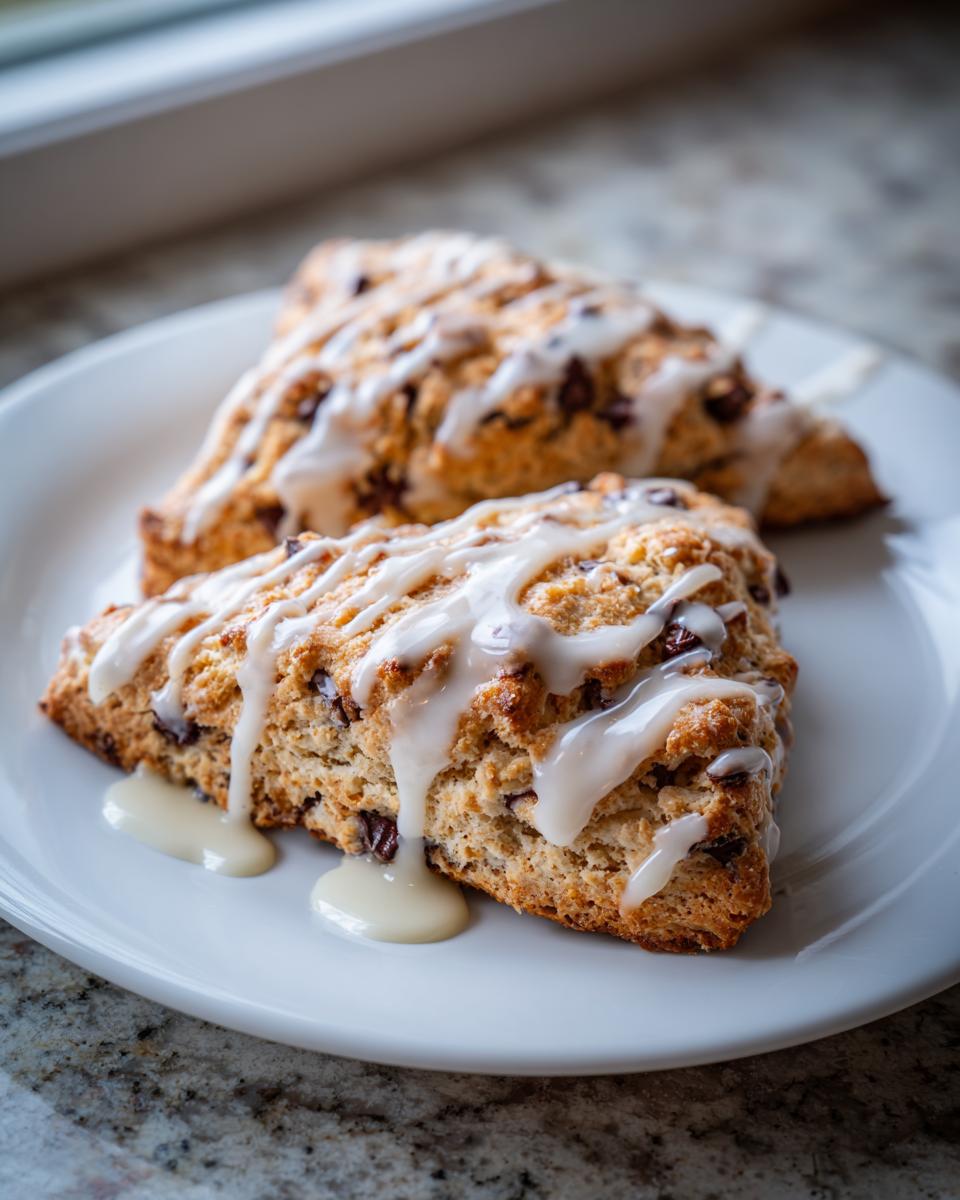
Wait until those beauties are actually cool before you glaze them, or you’ll just have melted chocolate soup, and that’s not the look we’re going for! For the glaze, just whip together the powdered sugar, milk, and vanilla essence in a small bowl. If it looks like thick paste, add milk by the half-teaspoon until it’s thin enough to drizzle but thick enough to still look opaque. Drizzle it all over your cooled scones and let it set up for about ten minutes. Now go admire your hard work! If you want some extra tips for making sure your next batch of bakery style scones is perfect, check out my comprehensive guide here: mastering flaky scones.
Tips for Homemade Chocolate Chip Scones Success
Baking is fun, but baking scones needs just a little bit of kitchen smarts to go from good to absolutely incredible! We want those light, airy textures, not dense hockey pucks, right? I’ve learned a few tricks over the years to ensure that when you make these chocolate chip scones, you’re completely crushing it. These aren’t professional secrets, just the things that really matter when you are aiming for that high-end bakery payoff at home.
When you stick to these guidelines, you’re well on your way to mastering flaky scones. Nothing makes me happier than hearing that someone achieved the perfect texture on their very first try because they paid attention to the temperature. If you loved my tips here, you can find even more deep dives into dough work in my piece on making perfect caramels, because technique matters everywhere!
The Role of Scones Using Cold Butter
I just can’t say it enough: cold butter is your best friend here. When you cut the cold butter into the dry flour mixture, you are essentially creating tiny, solid pieces of fat throughout the dough. When your scone dough hits the hot oven air, those little pieces of butter melt fast. As they melt, they release steam, and guess what that steam does? It pushes the layers of dough apart!
That puff of steam is literally what creates those flaky laminations you see in the best bakery style scones. If your butter gets soft or oily while you’re mixing, those pockets seal up before they can steam, leaving you with a flatter, tougher scone. Keep your butter near freezing—maybe even toss it in the freezer for ten minutes before you start cutting it in. This simple trick is the core of mastering flaky scones, and it turns an okay scone into a stunning one.
Serving Suggestions for Your Chocolate Chip Scones
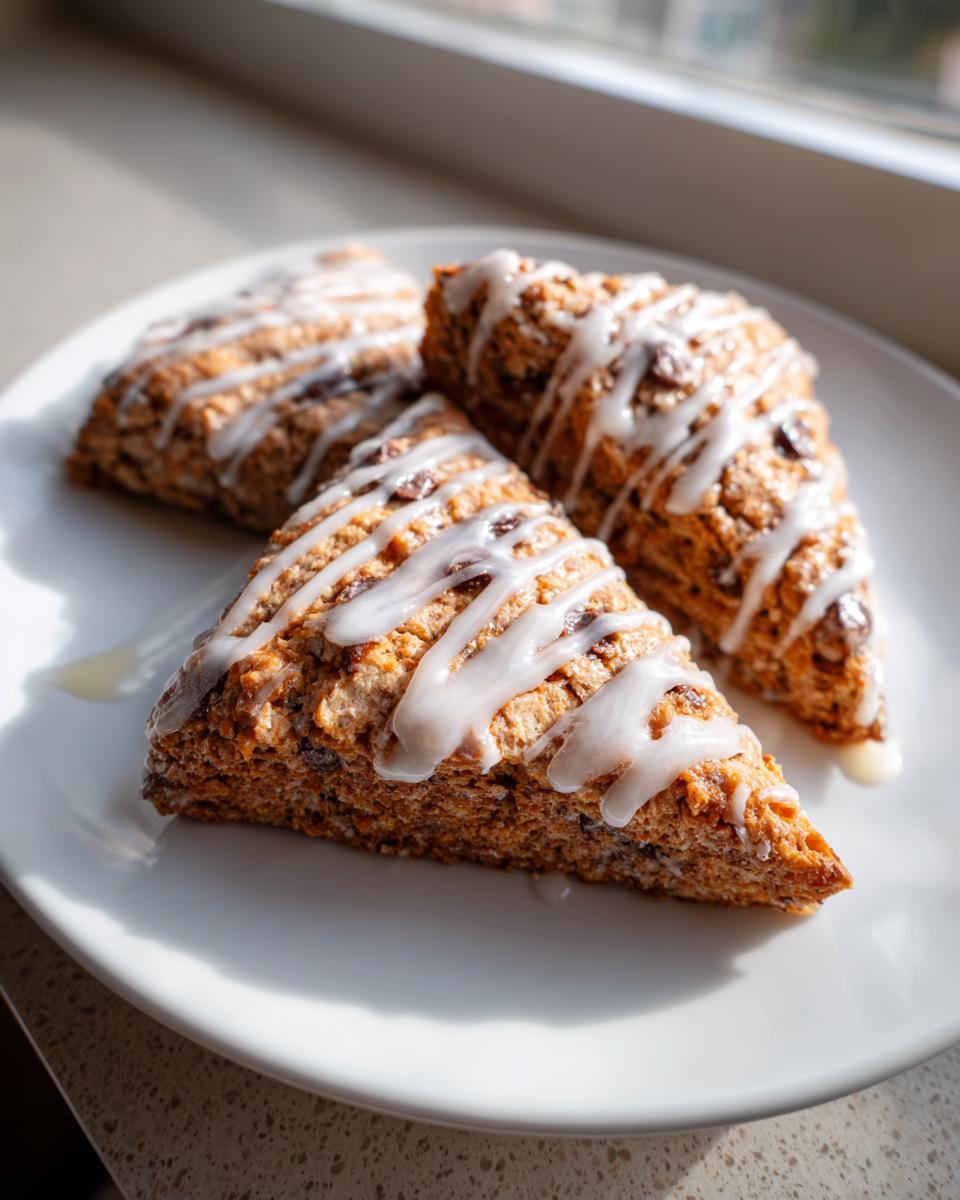
You’ve done the work, made the best chocolate chip scones, and now it’s time to enjoy them! While they are honestly perfect just as they are, especially with that sweet vanilla glaze set on top, serving them warm elevates them right to that coffee shop level. If you can manage to wait for them to cool slightly (but still be warm inside), you’ll get that wonderful contrast between the warm, soft interior and the slightly crisp, cooled glaze.
For breakfast, they are heavenly paired with a strong cup of coffee or a creamy latte. If you’re setting up a big brunch spread, a side of fresh berries or a small bowl of slightly sweetened whipped cream really makes them feel celebratory. And for dessert? Don’t forget a scoop of vanilla ice cream! Seriously, it turns these from a simple pastry into an indulgent chocolate chip dessert that no one can resist. If you love rich, comforting desserts, you might also want to check out my recipe for classic Southern banana pudding; it’s pure comfort food!
Storage and Make‑Ahead Options
I love that you’re planning ahead! Making these chocolate chip scones the day before means you can just pop them in the oven when everyone wakes up, and the fresh-baked smell just fills the house. It’s the best feeling, right? Whether you want to bake immediately or save the dough for later, we’ve got you covered here. The secret to convenience without sacrificing that flaky texture is keeping things cold, cold, cold!
For an extra moist, make-ahead option that rivals my date nut bread for ease, try freezing the shaped dough! Don’t glaze them before freezing, of course. Just place the cut wedges on a parchment-lined tray and freeze them solid. Once they’re rock-hard, transfer them to a freezer-safe bag. When you’re ready to bake, just pull out what you need and pop them right into the preheated oven—you might need to add an extra minute or two to the baking time, but the result is still amazing.
If you’ve already baked your beautiful buttery scones, storage is simple. Keep them airtight at room temperature for up to two days. They actually hold their moisture really well, especially under that sweet vanilla glaze we added! Unless you’re planning on eating them all tomorrow, I actually recommend wrapping them tightly and popping them in the freezer, glaze and all! When you want one, just let it thaw on the counter for about an hour or microwave it for just 10 or 15 seconds. They taste almost as good as fresh!
Frequently Asked Questions About Scones
I know baking sometimes comes with a few little head-scratchers, especially when we are trying to recreate those perfect bakery style scones at home. Don’t stress! Most issues just come down to temperature control or mixing just a touch too much. Here are a few things I hear often from folks just getting started with this recipe. If you need more troubleshooting ideas for your baking adventures, check out some of my other tips on quick and easy dinner recipes—though hopefully, these tips will keep your savory cooking stress-free!
Can I substitute buttermilk for heavy cream in these chocolate chip scones?
That is a great question! In this specific recipe, we rely on the high fat content of the heavy cream to keep our buttery scones perfectly rich and tender. While some recipes call for buttermilk, if you swap it here, you will absolutely change the texture. Buttermilk has less fat, so your tender scones might end up a little less luscious.
If you absolutely must substitute and don’t have heavy cream, you can use a mix of whole milk and a teaspoon of lemon juice or vinegar to mimic the tang. However, whatever you use, it *must* be ice cold! Remember, the chill factor is what guarantees those flaky layers we talked about earlier, no matter the exact liquid.
How do I prevent my homemade chocolate chip scones from being dry?
Oh, dryness is the enemy of a good scone, isn’t it? This is where we reinforce those core tenets of mastering flaky scones. There are three big culprits for dry scones, and we need to avoid them all:
- Overmixing: That’s number one! Mix the dough only until the dry streaks disappear. The second you start really smoothing it out, you’re developing gluten, and that leads to tough, dry treats. Stop when it looks shaggy!
- Warm Ingredients: If your butter melts, you lose the steam pockets. Keep everything frigid!
- Flour Measurement: Don’t scoop the flour directly from a bag with your measuring cup; you’ll pack in way too much! Spoon the flour lightly into your cup and level it off. Too much flour sucks up all the moisture.
Focus on those three things, and I promise your next batch of chocolate chip scones will be wonderfully moist!

Share Your HearthBite Creations
Now that you’ve spent just 30-something minutes creating these divine, bakery-worthy chocolate chip scones, I truly want to know everything! Did you use milk chocolate or semi-sweet? Did the vanilla glaze drip perfectly over those flaky tops? This community, this HearthBite kitchen we share, thrives on your successes and your stories.
When you make this favorite breakfast pastry, please come back here and leave a rating. Five stars are always lovely, but telling me *why* you loved them—or even what you might tweak next time—is even better! I, Sarah Miller, read every single comment because knowing you’ve brought a little bit of HearthBite warmth into your own home is what this whole journey is about.
Don’t forget to snap a picture of your finished batch, maybe alongside your morning coffee, and share it! Seeing your treats reminds me why I work so hard to make sure every single recipe here, like these incredible buttery scones, is guaranteed to work for you. Happy baking, and enjoy that delicious, tender bite!
Need more easy-to-master goodies for your breakfast table? Don’t forget to browse my full collection of easy breakfast recipes for more morning inspiration!
PrintBakery-Style Flaky Chocolate Chip Scones with Vanilla Glaze

Make tender, buttery chocolate chip scones that taste like they came from a favorite bakery. This easy recipe uses cold butter to create flaky layers, and the sweet vanilla glaze finishes them perfectly for breakfast or brunch.
- Prep Time: 15 min
- Cook Time: 18 min
- Total Time: 33 min
- Yield: 8 servings 1x
- Category: Breakfast
- Method: Baking
- Cuisine: American
- Diet: Vegetarian
Ingredients
- 2 1/2 cups all-purpose flour
- 1/2 cup granulated sugar
- 1 tablespoon baking powder
- 1/2 teaspoon salt
- 1/2 cup (1 stick) cold unsalted butter, cut into small cubes
- 1 cup semi-sweet chocolate chips
- 3/4 cup cold heavy cream, plus more for brushing
- 1 large egg
- 1 teaspoon vanilla extract
- For the Glaze: 1 cup powdered sugar
- 2 tablespoons milk
- 1/2 teaspoon vanilla extract
Instructions
- Preheat your oven to 400°F (200°C). Line a baking sheet with parchment paper.
- In a large bowl, whisk together the flour, granulated sugar, baking powder, and salt.
- Add the cold, cubed butter to the dry ingredients. Use a pastry blender or your fingertips to cut the butter into the flour until the mixture resembles coarse crumbs with some pea-sized pieces of butter remaining.
- Stir in the chocolate chips.
- In a separate small bowl, whisk together the cold heavy cream, egg, and vanilla extract.
- Pour the wet mixture into the dry ingredients. Use a fork to mix until just combined. Do not overmix; the dough will be shaggy.
- Turn the dough out onto a lightly floured surface. Gently knead it 3 or 4 times until it just comes together. Pat the dough into a 3/4-inch thick circle or rectangle.
- Cut the dough into 8 equal wedges or use a round cutter. Place the scones onto the prepared baking sheet, leaving about 1 inch between them.
- Brush the tops lightly with a little extra heavy cream.
- Bake for 15 to 18 minutes, or until the tops are golden brown. Let the scones cool on the baking sheet for 5 minutes before moving them to a wire rack to cool completely.
- While the scones cool, prepare the glaze: Whisk together the powdered sugar, milk, and vanilla extract until smooth. Add more milk, a half teaspoon at a time, if the glaze is too thick.
- Drizzle the vanilla glaze over the cooled scones. Let the glaze set before serving.
Notes
- For the flakiest scones, make sure your butter and heavy cream are very cold.
- Do not overwork the dough; minimal handling keeps the scones tender.
- You can prepare the dough ahead of time, wrap it tightly, and chill it for up to 24 hours before baking.
Nutrition
- Serving Size: 1 scone
- Calories: 380
- Sugar: 25g
- Sodium: 250mg
- Fat: 20g
- Saturated Fat: 12g
- Unsaturated Fat: 8g
- Trans Fat: 0.5g
- Carbohydrates: 45g
- Fiber: 2g
- Protein: 5g
- Cholesterol: 70mg