
When that sweet craving hits, either for a quick weeknight treat or when you suddenly realize you need a showstopper dessert for unexpected company, you need something reliable. Something that tastes like pure comfort but doesn’t require you to turn on the oven when it’s already hot outside. That is exactly why I hold this oreo pie recipe so close to my heart here at HearthBite. It is one of those recipes that just works, every single time, giving you that unmistakable cookies-and-cream magic without the fuss. If you love the kind of warmth that comes from simple, honest food, you’ll find loads more reliable classics over in our comfort food recipes collection.
Creating comforting food is the foundation of HearthBite, just as it was for me growing up watching my mother cook. This particular oreo pie recipe brings that same simple, indulgent satisfaction. You get that beautiful contrast between the crunchy chocolate crust and the light, decadent filling. Trust me, if you’re looking for the ultimate, can’t-miss No Bake Oreo Pie that everyone will rave about, you’ve found it right here. Let’s get started creating something truly delicious!
- Why This No Bake Oreo Pie is Your New Favorite
- Gathering Ingredients for Your Oreo Pie
- Step-by-Step Instructions for Easy Oreo Pie
- Tips for the Perfect Homemade Oreo Pie
- Serving Suggestions for this oreo pie
- Storage and Reheating Instructions
- Frequently Asked Questions About oreo pie Recipes
- Estimated Nutrition for This Simple Pie Recipes
- Share Your Homemade Oreo Pie Creations
Why This No Bake Oreo Pie is Your New Favorite
I am so excited for you to try this, because when it comes to satisfying a serious dessert craving fast, this recipe just can’t be beat. It’s one of those No Bake Desserts that truly delivers without needing your oven to warm up the whole house! People ask me all the time for incredibly Simple Pie Recipes that always impress, and this is always my first suggestion.
- It requires only 20 minutes of active prep time. No baking, no waiting, just mixing and chilling!
- The texture is pure heaven—truly the best Creamy Oreo Pie you’ll ever have outside of a dedicated dessert shop.

Simple Pie Recipes for Busy Days
I know life gets hectic, that’s why I focus on recipes that are reliable and quick. We aren’t turning on the stove or waiting an hour and a half for this pie to bake. Once you press the crust, the only thing you need to do is start the chilling process. It’s perfect for those last-minute party needs or when you just need a genuine treat after a long Monday.
The Ultimate Cookies and Cream Pie Texture
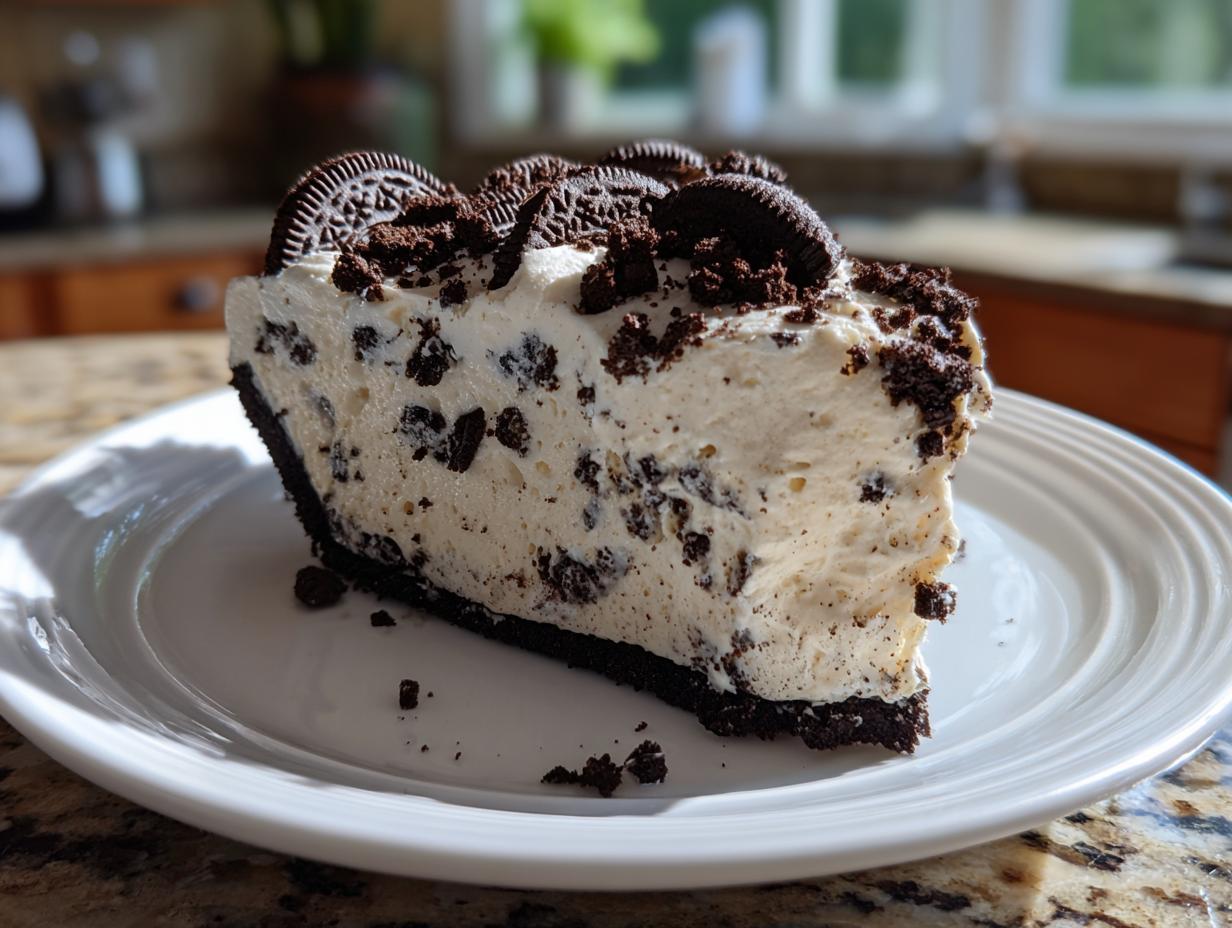
The magic here is the contrast, folks. You have that deep, almost salty crunch from the buttery Oreo crust, and then you hit that filling. Oh, that filling! It’s incredibly light and airy thanks to the whipped topping and pudding, but it’s anchored by the richness of the cream cheese. It’s a truly magnificent Cookies and Cream Pie experience in every single bite. You can find a few other great, easy textures in my guide to easy creamy mini cheesecake bites!
Gathering Ingredients for Your Oreo Pie
Alright, let’s talk ingredients! This is why this oreo pie is so forgiving—the list is short, and you likely have half of it in your pantry already. Remember, at HearthBite, clarity builds trust, so make sure you grab these exactly as listed. We want that perfect, rich texture that only comes from using ingredients at the right stage, like having your cream cheese nice and soft!
If you’re looking for other no-fuss, fantastic desserts, check out my guide on an easy no-bake Oreo cheesecake too!
Crust Components for the Chocolate Cookie Pie
For our essential, crunchy base, you’ll need just two things. Make sure you’re buying the full sandwich cookie package, because we use the whole thing, creams and all!
- 1 package (14.3 ounces) Oreo cookies, divided
- 6 tablespoons unsalted butter, melted
Creating the Creamy Filling Pies Base
This is where the dream happens. Getting these creamy elements right ensures you have that luscious, light texture that defines our Creamy Filling Pies.
- 1 package (8 ounces) cream cheese, softened
- 1 cup powdered sugar
- 1 teaspoon vanilla extract
- 1 container (8 ounces) frozen whipped topping, thawed (I always use the store-bought kind here, it’s easier!)
- 1 cup cold milk
- 1 package (3.4 ounces) instant chocolate pudding mix
Step-by-Step Instructions for Easy Oreo Pie
Okay, friend, this is the fun part where we turn simple ingredients into something spectacular! Since this is a No Bake Oreo Pie, we are focusing on mixing and chilling, not standing over a hot stove. Since we aren’t baking it, timing the chilling steps is crucial so you get that perfect, sliceable texture. Remember that for more reliable, quick dishes, you can always check out my tips in the quick dessert recipes section!
Preparing the Oreo Crust and Freezing
First, you need to crush those cookies. I usually use a food processor because it gets them nice and fine quickly, but if you don’t have one, pop them into a sturdy zip-top bag and flatten them with a rolling pin or the bottom of a heavy glass. You want fine crumbs! Mix those crumbs well with the melted butter. Now, press that chocolate mixture firmly into the bottom and all the way up the sides of your 9-inch pie dish. You want a nice, tight seal! Once it’s packed down, tuck that crust into the freezer. It needs to chill while we make the filling, so don’t skip that step!
Mixing the Cream Cheese and Pudding Layers
While the crust firms up, grab a big bowl. Beat your softened cream cheese until it’s completely smooth—no lumps allowed! Slowly beat in the powdered sugar and vanilla until everything looks uniform. Now, stop and grab a separate bowl. Whisk together your cold milk and the instant chocolate pudding mix for about two full minutes. Make sure you see it starting to get thick! Then, gently fold that pudding mixture into your cream cheese base until it’s perfectly smooth. Finally, and this is important for that airy finish, gently fold in the thawed whipped topping until you don’t see any white streaks anymore. We want light and fluffy!
Assembling and Chilling Your oreo pie
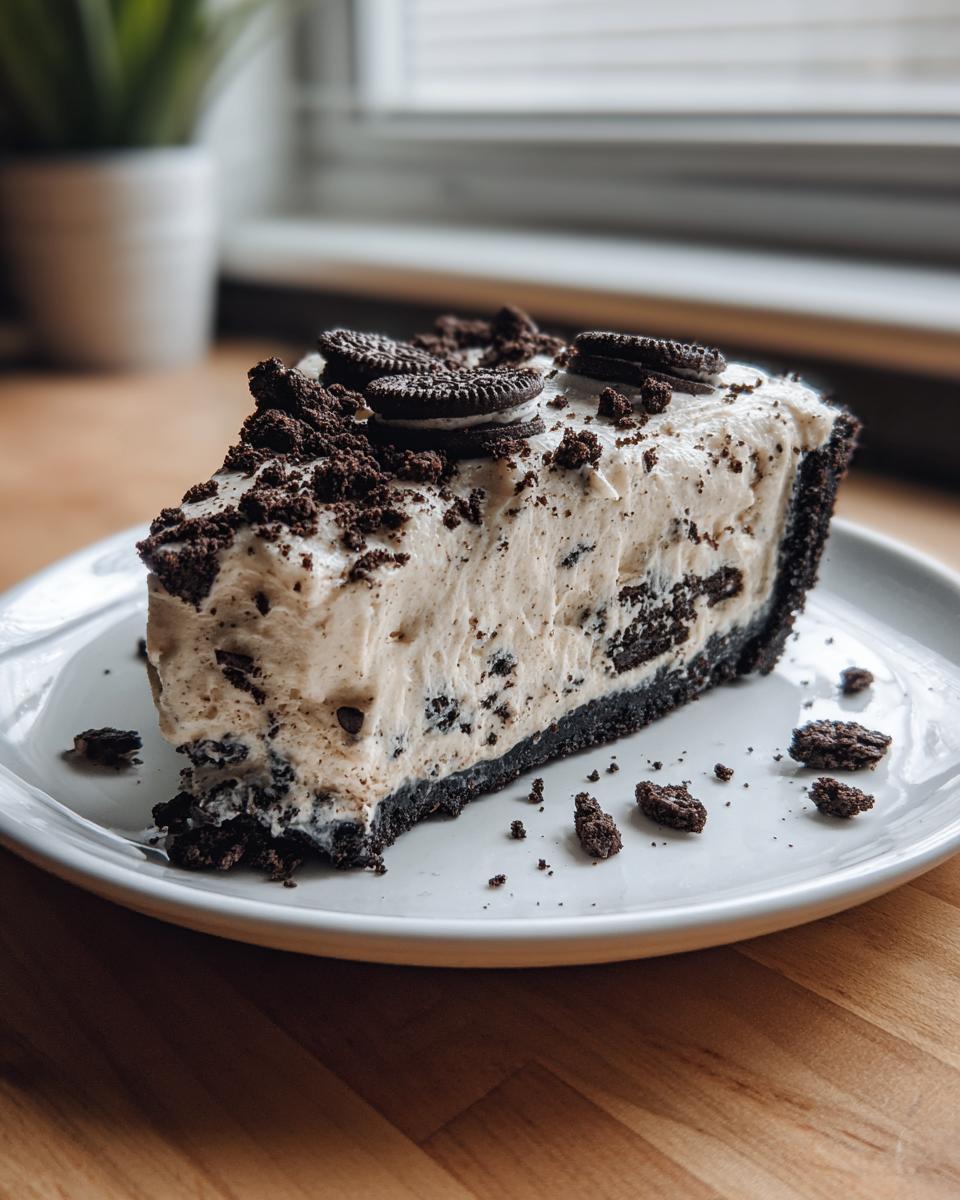
Time to assemble! Take that chilled crust out of the freezer and pour all that luscious filling right into it. Use a spatula to smooth the top nicely. Then, take the small amount of reserved crushed Oreos—that little sprinkle makes a huge difference visually—and dot them all over the top. Pop the whole oreo pie into the refrigerator. You must let it chill for a minimum of four hours. Honestly, overnight is even better because it firms up beautifully, making those smooth slices so easy to achieve.
Tips for the Perfect Homemade Oreo Pie
You’ve got the basic steps down, but I want to share a couple of little tweaks that make this oreo pie truly exceptional and ensure perfect texture every single time. Since this is a Homemade Oreo Pie, a little personalization goes a long way in making it *yours*!
Ingredient Adjustments for Texture
If you find your crust could use a little more punch, don’t be shy—go ahead and use 8 tablespoons of butter instead of the 6 listed. It makes the crust richer and holds those crumbs together even better. Now, about that filling firmness: if you like your pie super thick, almost like a true mousse, just use that larger size of instant chocolate pudding mix (the 5.1-ounce size). Trust me on this one; it sets up even firmer, which is great if you’re making it ahead of time.
Alternative Filling Ideas
Sometimes I want something a bit airier than a pudding base, especially on a really hot summer evening. In those cases, you can skip the pudding entirely! Instead, grab that heavy whipping cream—about a cup’s worth—and whip it up with a quarter cup of sugar until stiff peaks form. Fold that whipped cream right into your cream cheese mixture instead of the milk/pudding combo. It gives you a lighter, fluffier finish, and you can find more tips on perfecting fluffy textures in my easy homemade soft chewy sea salt caramels guide.
Serving Suggestions for this oreo pie
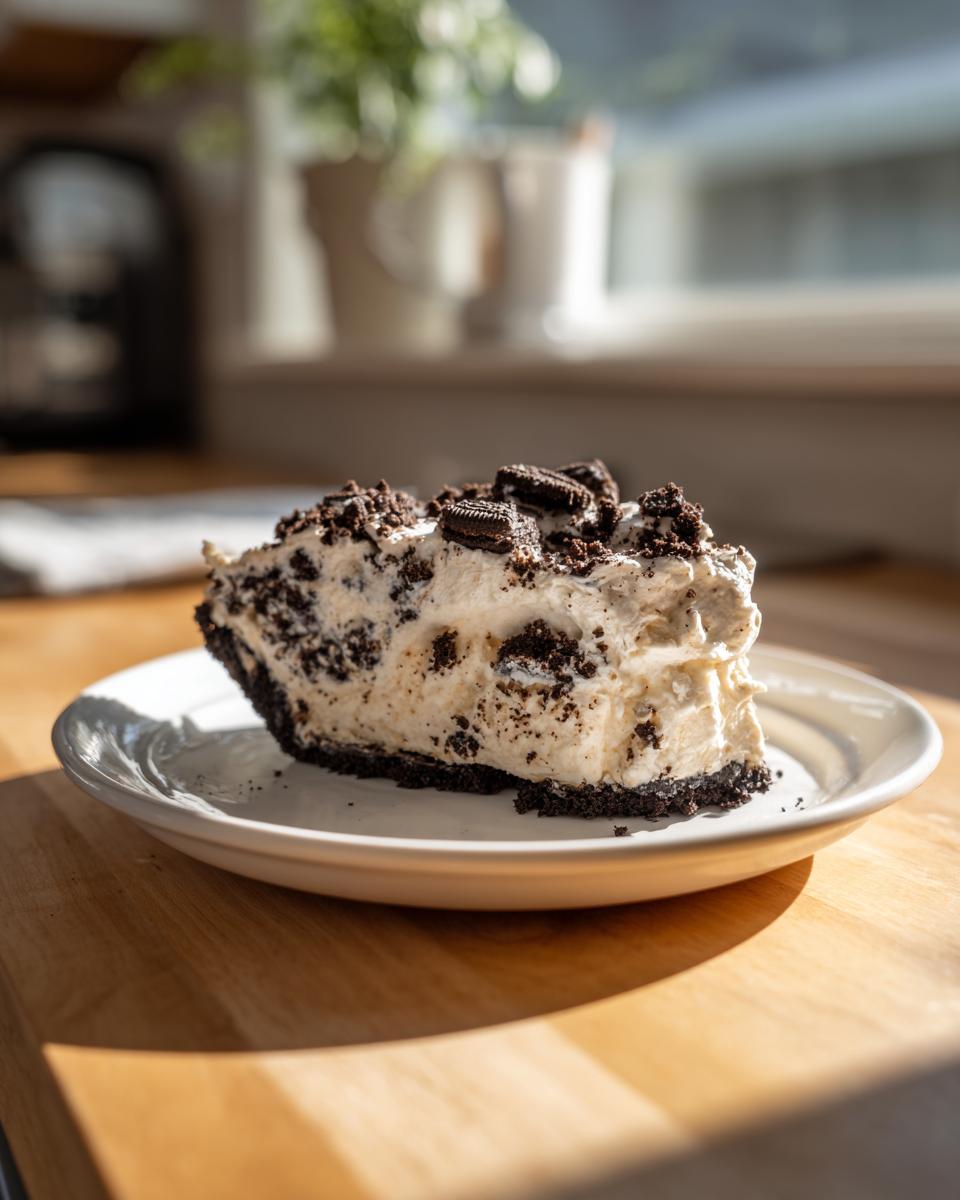
This decadent oreo pie is a star all by itself, but oh my goodness, we can dress it up! Since it’s such a fantastic and easy option, it works perfectly as one of your favorite Party Desserts. For slicing, use a sharp knife dipped in hot water, wiping it clean between each cut—this keeps those creamy layers looking pristine!
If you’re serving this up during the summer, a few perfectly ripe raspberries or a small dollop of extra whipped cream on the side always looks gorgeous against the dark chocolate. For a richer experience that screams indulgence, a drizzle of caramel sauce is divine. Need more ideas for those warm weather favorites? Check out my mixed berry cobbler recipe as another winner for Summer Pies!
Storage and Reheating Instructions
Since this pie relies on that lovely chilled structure from the cream cheese and pudding, we have to treat it right in the fridge! Always cover your finished No Bake Oreo Pie tightly with plastic wrap before putting it away. This stops it from soaking up any weird smells from the fridge and keeps that beautiful top layer from drying out. You can keep leftovers safely in the refrigerator for about three to four days. Trust me, though, this Simple Pie Recipe rarely lasts that long in my house! We never reheat this one; it’s truly best enjoyed cold and firm, straight from the chill.
For long-term storage, you *can* technically freeze it, but the texture of the whipped topping can change a bit when thawed. If you want to explore freezing things successfully, check out how I handle stuff like freezer jam for best results!
Frequently Asked Questions About oreo pie Recipes
I always get questions about making this the *best* oreo pie, so I figured I’d compile the most common things people ask when they are trying this recipe out for the first time. Remember, these Quick Dessert Recipes are designed to be sturdy, but a few tweaks make all the difference!
Can I substitute the instant pudding in this oreo pie?
Absolutely! If you’re out of instant pudding or just prefer something cleaner, you can definitely use an alternative. As I mentioned in the tips, you can substitute that pudding and milk requirement by whipping one cup of heavy cream with about a quarter cup of sugar until stiff peaks form, and then folding that right into the cream cheese base. It results in a slightly lighter, mousse-like texture that is divine.
What is the best way to crush Oreos for the crust?
My absolute favorite way for the perfect fine crumb is using a food processor. It takes literally 10 seconds, and they come out perfectly uniform. If you don’t have one, don’t worry! Just put all those delicious cookies in a heavy-duty gallon zip-top bag, push out as much air as you can, seal it, and then just go to town with a rolling pin or the bottom of a heavy saucepan. It’s great for venting any stress, too!
We want these Simple Pie Recipes to be easy at every stage! If you need other ideas for quick flavor fixes, check out my guide on easy, no-cook pizza sauce—it’s just as fast!
Estimated Nutrition for This Simple Pie Recipes
Now, I always preach about making food with love, not worrying about the numbers, but since so many of you ask for it, here are the general estimates for one slice of this heavenly oreo pie. Remember, these numbers are just guides! They will change depending on what brand of Oreos you snag or if you decide to use that extra bit of butter I mentioned. These estimates are based on 8 generous slices.
Since this is a rich dessert, here’s what you can generally expect per slice:
- Calories: Around 410
- Total Fat: About 25 grams
- Carbohydrates: Roughly 45 grams
- Protein: We are clocking in around 4 grams
For a lighter alternative next time, remember you can always swap out some of the filling components. If you’re looking for other satisfying yet lighter meals, my creamy pumpkin soup recipe is a wonderful, comforting transition!
Share Your Homemade Oreo Pie Creations
Well, that’s it! You’ve made the ultimate oreo pie. I truly hope this recipe brings as much simple, satisfying joy to your home as it does to mine. Cooking is all about sharing, and I absolutely love hearing from you when you’ve successfully whipped up one of the family favorites!
Once you’ve let it set up and sliced into that creamy, crunchy perfection, I would be so grateful if you’d come back here and leave a rating. Five stars means the world to me and helps other busy home cooks decide to give this fantastic dessert a try. If you tried out that heavier pudding option or even swapped in the whipped cream filling, let me know how it turned out in the comments below!
If you snap a picture of your finished masterpiece, tag us on social media! I love seeing how my HearthBite recipes look in your real, beautiful kitchens. And if you want to read a little more about why we keep everything simple here, our About Us page tells our full story. Also, if you liked this simple treat, you should definitely check out this ultimate dessert recipe!
PrintEasy No Bake Oreo Cream Pie

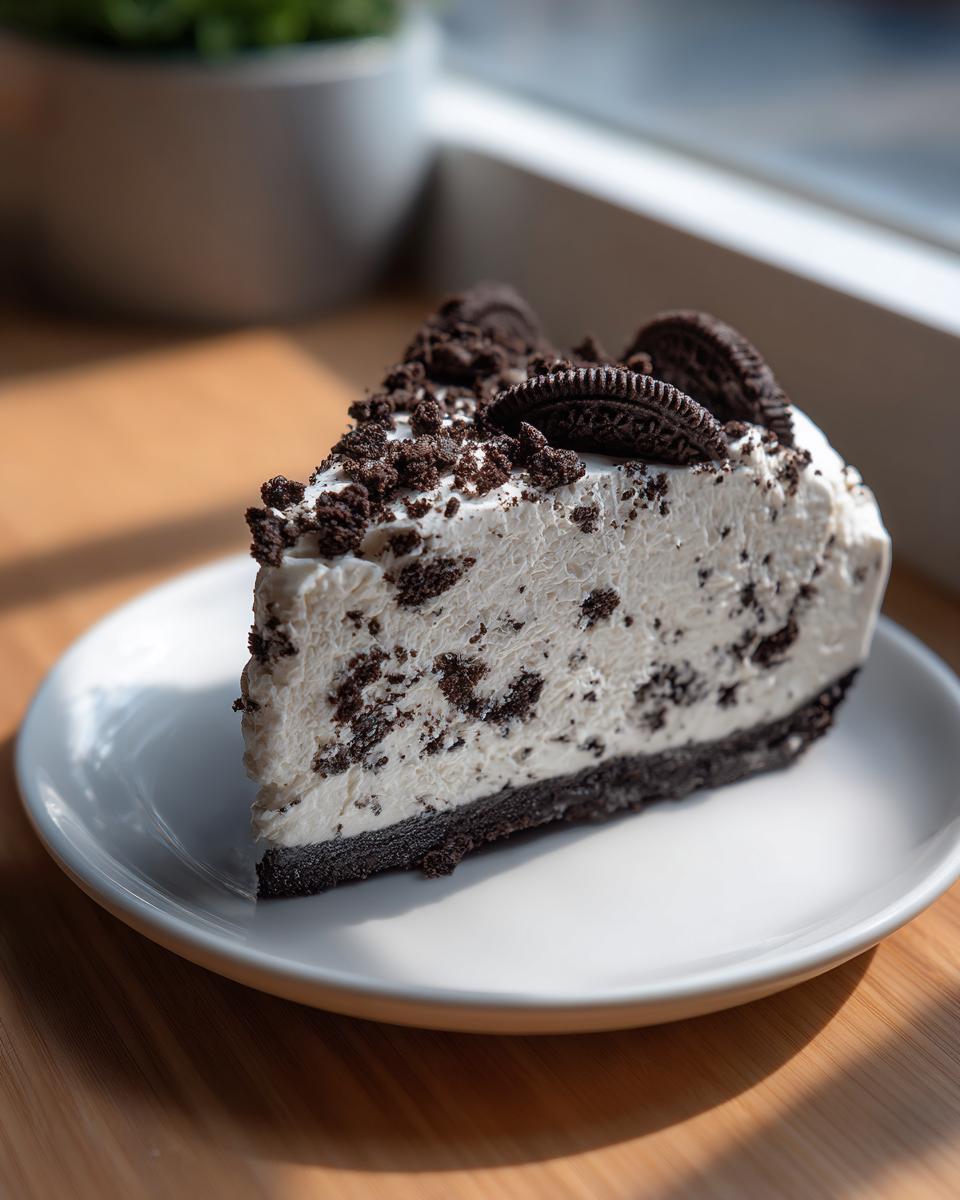
Make this simple, creamy No Bake Oreo Pie. It features a crunchy chocolate cookie crust and a light, fluffy filling loaded with crushed Oreos. This dessert is quick to assemble and perfect for any gathering.
- Prep Time: 20 min
- Cook Time: 0 min
- Total Time: 4 hr 20 min
- Yield: 8 servings 1x
- Category: Dessert
- Method: No Bake
- Cuisine: American
- Diet: Vegetarian
Ingredients
- 1 package (14.3 ounces) Oreo cookies, divided
- 6 tablespoons unsalted butter, melted
- 1 package (8 ounces) cream cheese, softened
- 1 cup powdered sugar
- 1 teaspoon vanilla extract
- 1 container (8 ounces) frozen whipped topping, thawed (or homemade whipped cream)
- 1 cup cold milk
- 1 package (3.4 ounces) instant chocolate pudding mix
Instructions
- Crush 24 Oreo cookies in a food processor until fine crumbs form. Set aside about 1/4 cup of crumbs for topping.
- Mix the remaining Oreo crumbs with the melted butter. Press this mixture firmly into the bottom and up the sides of a 9-inch pie dish. Place the crust in the freezer while you prepare the filling.
- In a large bowl, beat the softened cream cheese until smooth. Gradually beat in the powdered sugar and vanilla extract until fully combined.
- In a separate medium bowl, whisk together the cold milk and instant chocolate pudding mix for two minutes until it begins to thicken.
- Gently fold the thickened pudding mixture into the cream cheese mixture until smooth.
- Fold in the thawed whipped topping until no streaks remain, creating a light, creamy filling.
- Pour the filling into the chilled Oreo crust. Smooth the top with a spatula.
- Sprinkle the reserved 1/4 cup of crushed Oreos over the top of the pie.
- Chill the pie in the refrigerator for at least 4 hours, or until firm. Slice and serve cold.
Notes
- For a richer crust flavor, use 8 tablespoons of butter instead of 6.
- If you prefer a thicker, mousse-like texture, use a full 5.1-ounce package of instant chocolate pudding mix.
- You can substitute the instant pudding with 1 cup of chilled heavy cream whipped with 1/4 cup of sugar for a lighter filling.
Nutrition
- Serving Size: 1 slice
- Calories: 410
- Sugar: 35
- Sodium: 310
- Fat: 25
- Saturated Fat: 13
- Unsaturated Fat: 12
- Trans Fat: 0.5
- Carbohydrates: 45
- Fiber: 1
- Protein: 4
- Cholesterol: 45