
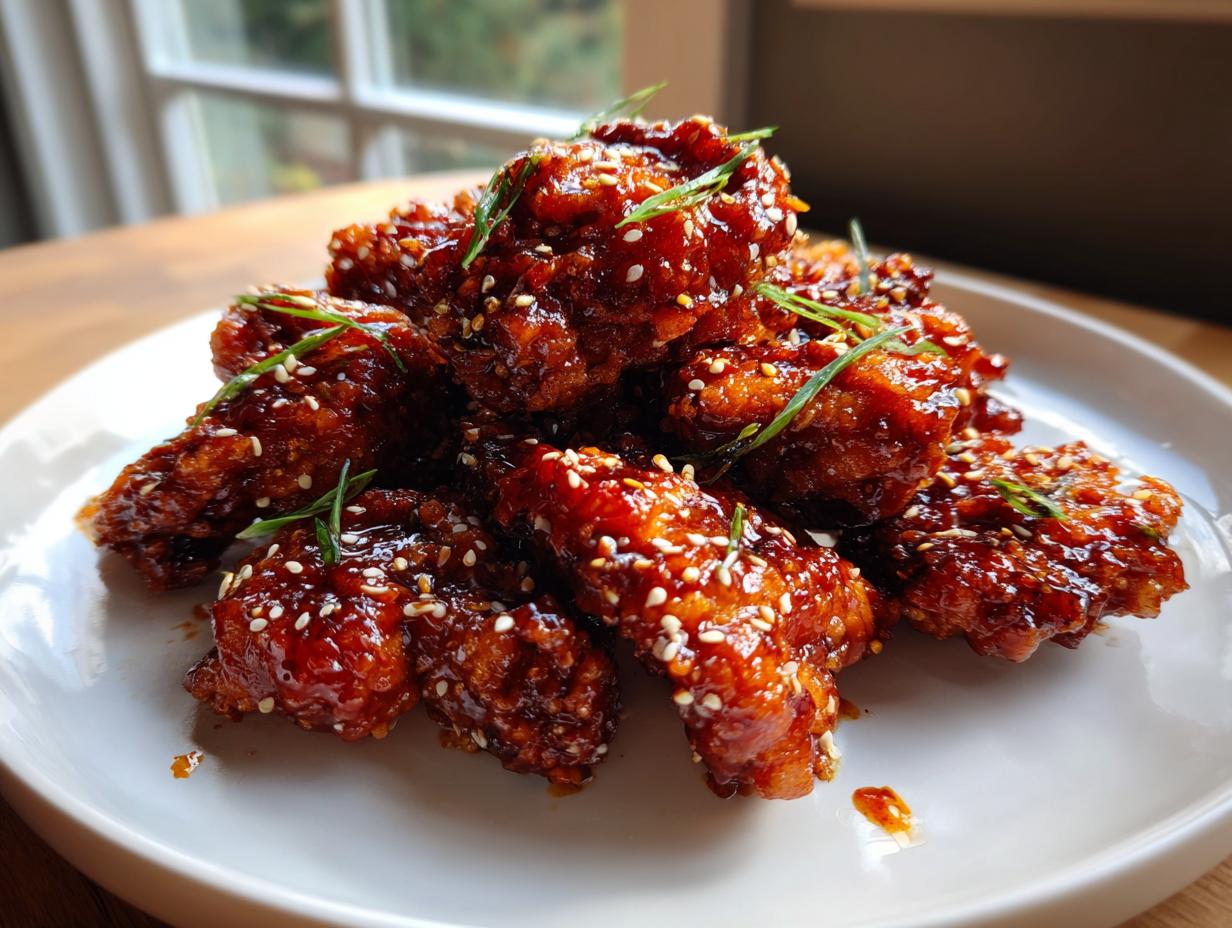
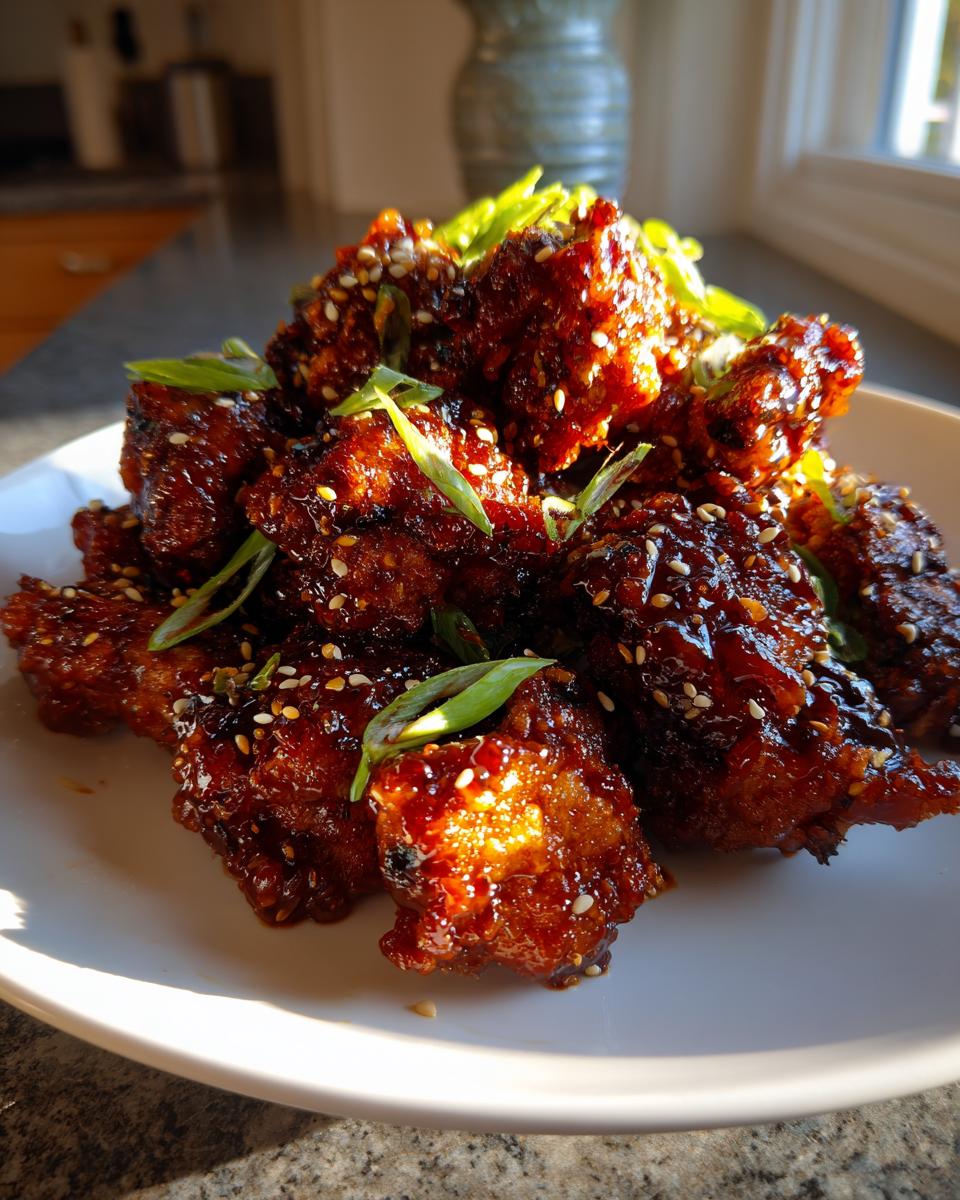
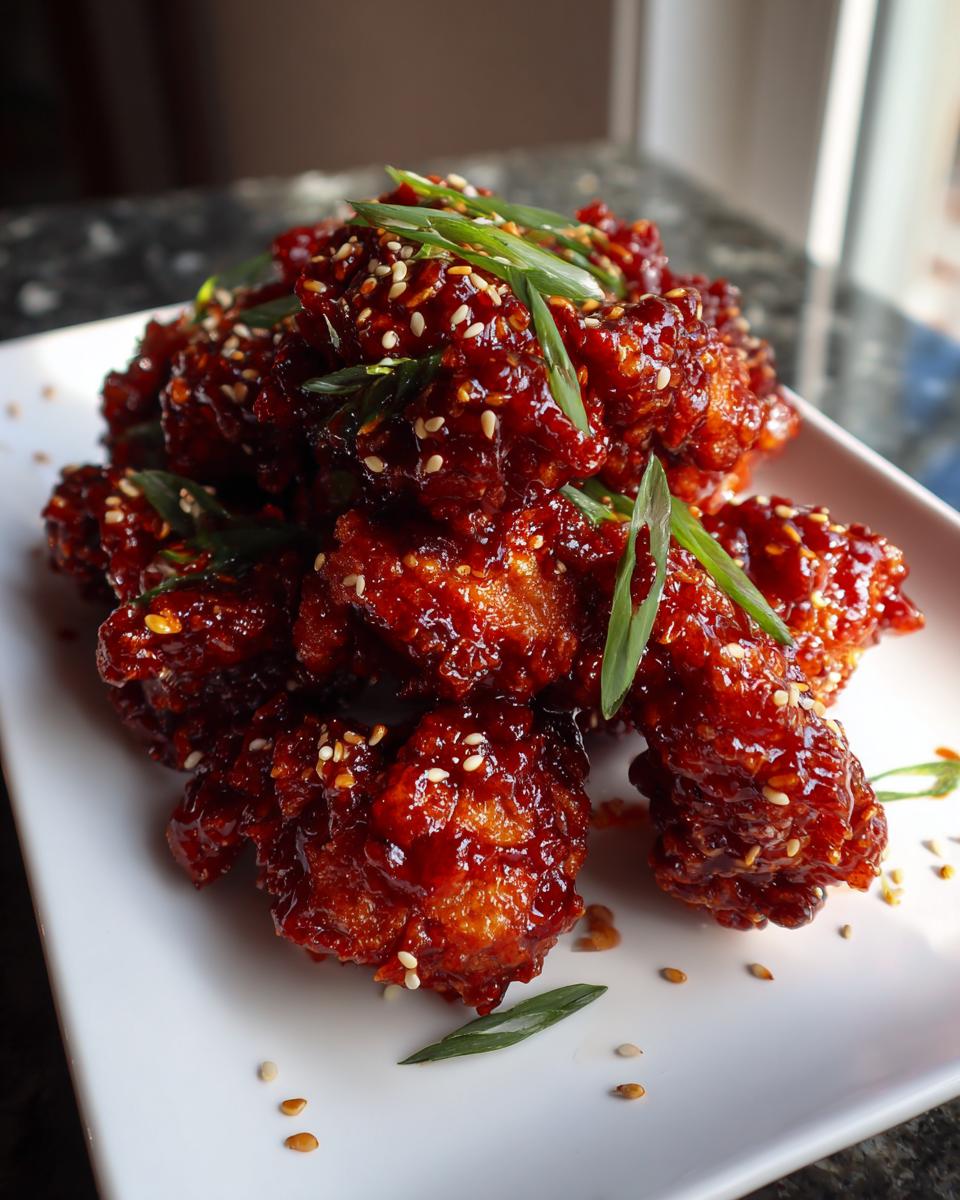
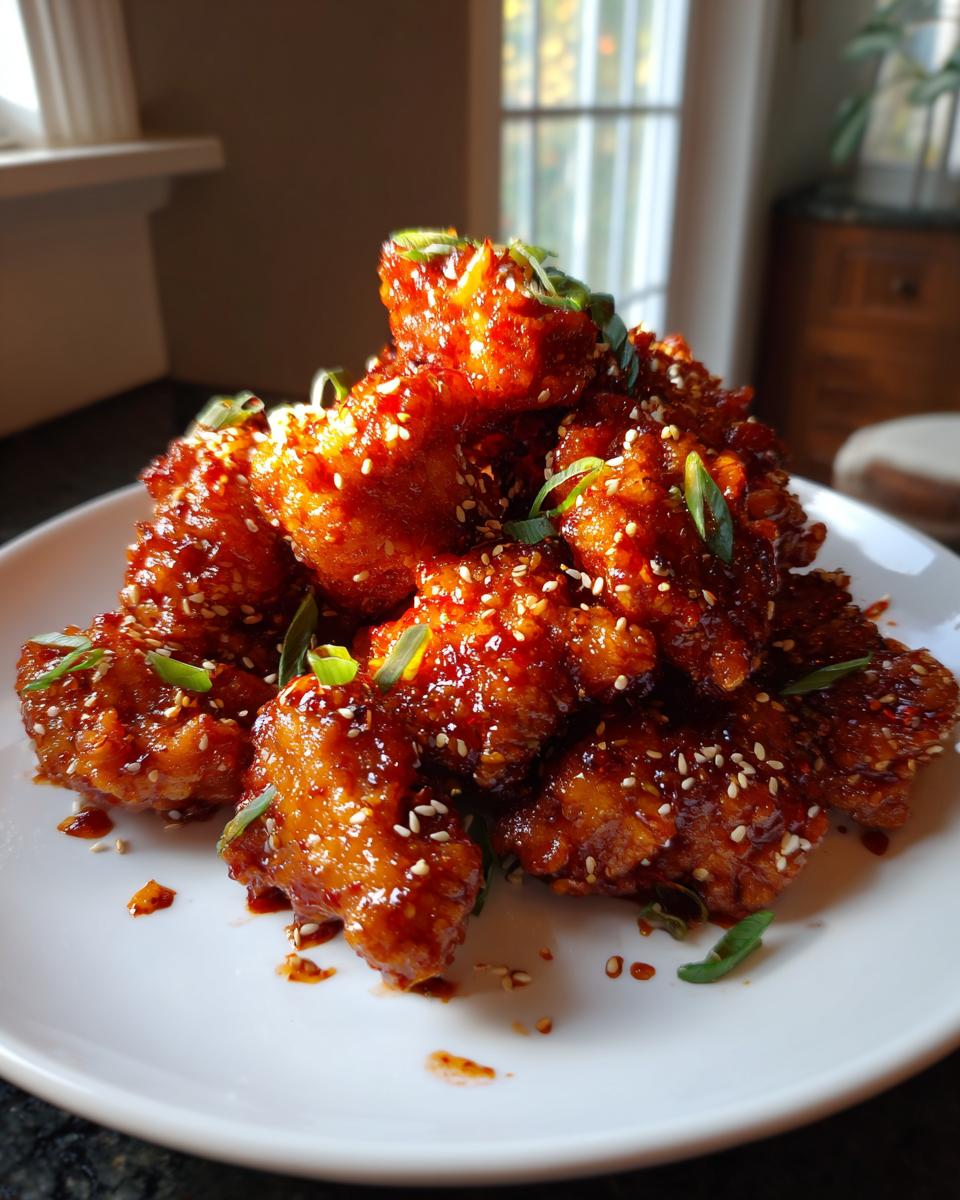
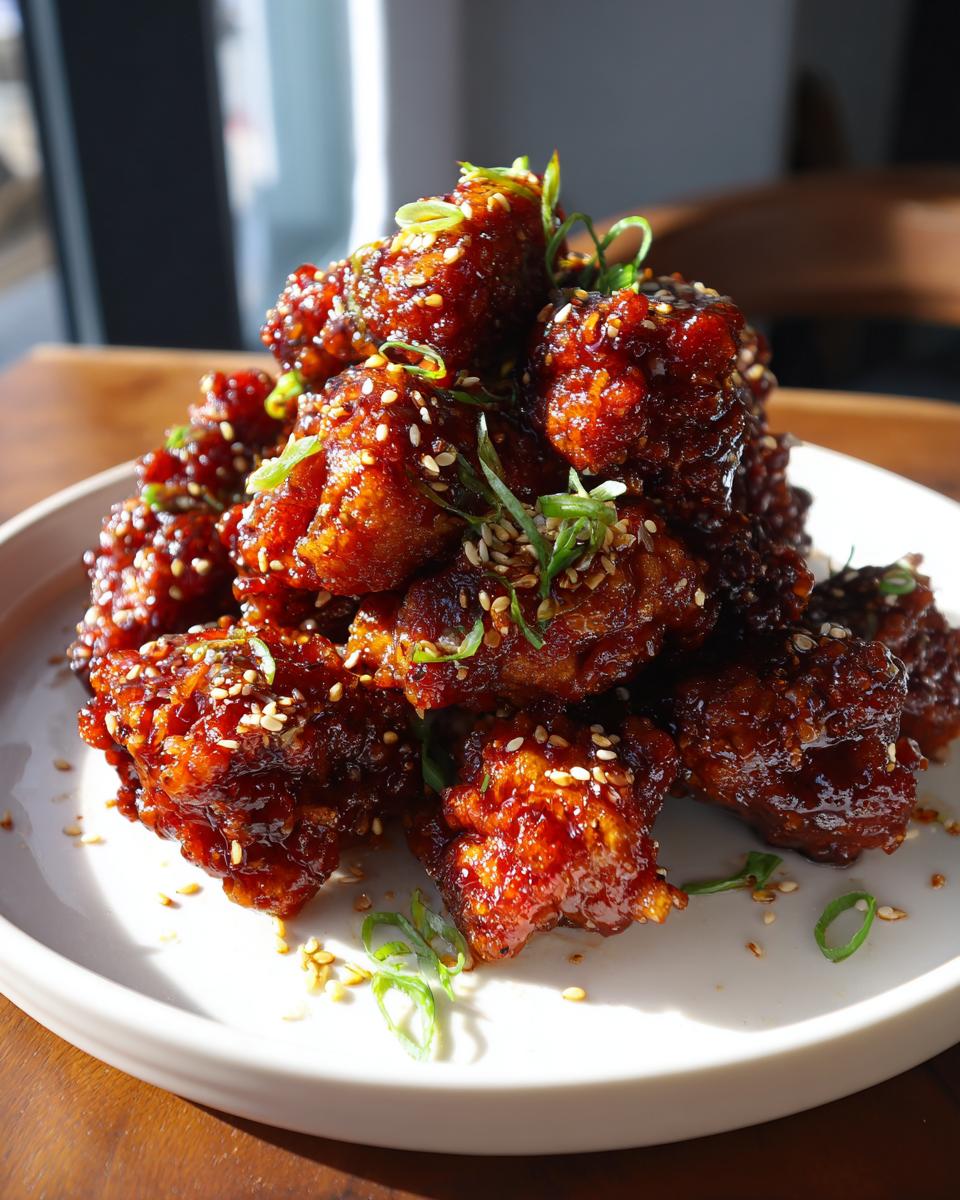
If you’ve ever been to a fantastic Korean restaurant and tried their impossibly crispy chicken, you know the craving! It feels like that shatteringly crisp texture is impossible to replicate in a home kitchen, right? Wrong! I’m here to tell you that achieving that ultimate, crackly crust for the best korean fried chicken happens with one magic technique: the double fry. This recipe is all about bringing that impressive, restaurant-style experience right to our own tables here in Ohio, just like Sarah always wanted when she started HearthBite—food that connects us.
We aren’t messing around with soggy coatings here. This method guarantees a juicy inside crispy outside chicken every single time. And once you have that perfect texture locked in? We smother it in the signature sweet and spicy Gochujang glaze chicken flavor that just sticks beautifully. Get ready, because this crispy, sticky goodness, perfect for a big family gathering or just a really great Tuesday night dinner, is simpler than you think. Don’t forget to check out some of our other favorite comfort food recipes while you’re here!
- Why This Double-Fried Korean Fried Chicken Recipe Works
- Gathering Ingredients for Authentic Korean Fried Chicken
- Step-by-Step Instructions for KFC Recipe Homemade
- Tips for Making Restaurant Style Fried Chicken at Home
- Flavor Variations: Beyond the Gochujang Glaze Chicken
- Serving Suggestions for Your Easy Korean Chicken Dinner
- Storage and Reheating Korean Fried Chicken Leftovers
- Frequently Asked Questions About Making Best Crispy Chicken Recipe
- Nutritional Estimates for Korean Fried Chicken
- Share Your Korean Fried Chicken Success
Why This Double-Fried Korean Fried Chicken Recipe Works
Look, when you’re making korean fried chicken, you have to commit to the crisp! If you just fry it once like we used to do for standard Southern-style chicken, the moisture from the meat steams the outside coating, and you end up with a chewy crust. Nobody wants that, right? This method guarantees that beautifully juicy inside crispy outside chicken we all dream about.
That iconic, shatteringly crisp coating only happens when you respect the process. It sounds fussy—”two fries?”—but trust me, it’s the absolute secret weapon here, making this better than most takeout places.
Achieving the Signature Crunch: The Double Fry Technique
The science is actually pretty neat. The first time we toss the chicken in that thin batter and fry it low and slow—that’s when we cook the meat all the way through gently. Then we pull it out. That rest period is crucial; it lets steam escape the coating. Once rested, we crank the heat way up for the second fry. This high heat just flash-dehydrates the crust, making it light, blistered, and unbelievably crisp. Seriously, if you ignore everything else, please stick to the temperatures. They are non-negotiable for truly great korean fried chicken!
Gathering Ingredients for Authentic Korean Fried Chicken
Okay, gathering the supplies is half the fun! Getting the right components, especially for the coating, is what separates awesome korean fried chicken from just okay fried chicken. Don’t dive into the frying oil until you have these things measured out. Remember, we are making the signature sweet and spicy chicken glaze, so you absolutely must have that Gochujang paste—it brings the real warmth and depth of flavor!
I always get my chicken bone-dry first. I mean bone-dry, pat pat pat with paper towels. Seriously, the drier the chicken, the better the crust holds up during that double fry. If you have questions about sourcing ingredients or anything else, please feel free to reach out through our contact page!
For the Crispy Korean Fried Chicken Batter
For the actual coating, you need a mix of flour and starch. That starch is our secret insurance policy for maximum crunch!
- 3 pounds of chicken pieces—wings, thighs, whatever you love!
- One cup of all-purpose flour.
- Half a cup of potato starch or cornstarch—don’t skip this!
- A little salt, pepper, and garlic powder for seasoning the dry mix.
- And finally, the liquid magic: one whole cup of really cold water whisked in.
For the Sweet and Spicy Chicken Gochujang Glaze
This glaze is where the sticky, tangy punch comes from. It’s simple but packs a massive flavor punch.
- The star: a quarter cup of Gochujang (that bright red Korean chili paste).
- Soy sauce, rice vinegar, and brown sugar for balance.
- Honey or corn syrup—we need something super sticky here!
- A nice dose of fresh minced garlic and ginger; they really wake up the sauce.
- And don’t forget the garnish! I always have to have toasted sesame seeds and plenty of sliced green onions ready to go.
Step-by-Step Instructions for KFC Recipe Homemade
Alright, this long-awaited part! This is where we take those amazing ingredients and turn them into something truly spectacular. Remember, we need two different oil temperatures, so keep a good thermometer handy—it’s worth the small extra step. If you follow these steps closely, you’ll have the most amazing KFC Recipe Homemade that tastes like you picked it up from your favorite spot downtown. You can find more tips for making my quick and easy dinner recipes on the blog too!
Mixing the Thin Batter and Coating the Chicken
First thing: the batter has to be super thin. I mean, crepe-thin! Whisk your flour, starch, and seasonings together really well. Slow and steady is the key when you add that cold water—keep whisking until it’s completely smooth. If it’s thick like pancake batter, it’s too heavy. When you dip your pre-dried chicken pieces in, you want the coating to look almost transparent, letting most of that batter run right back into the bowl before you set them down to fry. Don’t rush this drip time!
The Crucial First Fry and Rest Period
Time to heat the oil up to 325°F (160°C). This is our gentle cook phase. Fry the chicken in batches—and I mean small batches—for about 8 to 10 minutes. You don’t want them golden yet, just cooked through and lightly pale. Pull them out and put them on a wire rack. Now, here is the non-negotiable part for that fantastic texture: you must let them rest for at least 15 minutes while the glaze simmers. This rest lets internal moisture escape, setting up that incredible crust for the next step of your korean fried chicken journey.
Second Fry and Glazing for Spicy Sticky Chicken
While that chicken is resting, get your glaze simmering until it thickens just a little bit. Then, we turn up the heat! We need the oil scorching hot this time—push it to 375°F (190°C). Drop the mostly-cooked chicken back in for only 2 to 3 minutes. They will change color fast, going deep golden brown and getting that signature crunch. Drain them quickly, then immediately toss them in that warm glaze. Work fast to get every piece coated in that spicy sticky chicken sauce before you serve it up with those fresh green onions!
Tips for Making Restaurant Style Fried Chicken at Home
Getting that amazing crunch every single time is totally possible at home, you just need to respect the coating ingredients. Sarah always said that if you want to bring restaurant quality food to your family table, you can’t skimp or guess on a couple of things. The batter is one! Also, make sure you manage your oil temperature correctly during both frying stages—it makes a massive difference in the final product.
We’re aiming for that light, airy coating that shatters when you bite into it. If you want to dip these beauties into some delicious homemade garlic aioli later, that’s great too, but the chicken itself has to be perfect first!
Ingredient Spotlight: The Role of Potato Starch in Korean Fried Chicken
If you look at the batter recipe, I insisted on including potato starch or cornstarch right alongside the flour. This is vital for turning out restaurant style fried chicken that holds up to the glaze. Plain flour tends to absorb more oil and can get heavy or doughy when it cools down.
But the starch? It absorbs just the right amount of moisture and creates a lighter structure within the crust. When you do that second, hotter fry, the starch helps dehydrate the exterior perfectly, resulting in that signature, lighter-than-air crispness that makes proper korean fried chicken so addictive.
Flavor Variations: Beyond the Gochujang Glaze Chicken
While that sweet and spicy Gochujang sauce is my absolute favorite—it’s just so bold and exciting—I know sometimes you want something a little less fiery, or maybe you just want to make two kinds for Game Day! It’s so fun to switch things up, and honestly, this super-crispy coating works like a dream with other sauces too. Don’t be afraid to experiment once you’ve mastered the frying technique. If you love that salty, savory profile, you definitely need to try the Soy Garlic version. Check out my recipe for great Orange Chicken if you want another alternative glaze idea!
Making Soy Garlic Chicken Wings
If you skip the Gochujang glaze, making the Soy Garlic flavor is super quick! Just reheat your fried chicken right out of that second fry, and toss it in a mixture of soy sauce, honey, a little more garlic than you think you need, and a splash of tasty sesame oil. It becomes that perfectly savory, salty, and subtly sweet Soy Garlic Chicken that disappears way too fast.
Serving Suggestions for Your Easy Korean Chicken Dinner
Now that you’ve mastered the double fry and you have this incredible, sticky-sweet chicken, you can’t just eat it standing over the counter—though I totally have done that! This korean fried chicken is rich, savory, and intensely flavored, so you need things on the side that are bright and acidic to cut through all that deliciousness. It’s all about balance, folks!
When I whip up a batch, I always aim to recreate that full Korean dining experience at home. You want things that offer crunch and cool relief right next to that spicy glaze. If you are planning this for a big event, I highly recommend making a batch of my super easy refrigerator pickles. They are the perfect crunchy, tangy counterpoint!
Here are my favorite ways to turn this batch of spicy sticky chicken into a full, amazing meal, perfect for an easy korean chicken dinner:
- Steamed White Rice: Gotta have it! A big bowl of fluffy white rice is the best canvas for soaking up any extra Gochujang glaze that drips off.
- Quick Pickles: Seriously, this is essential. Thinly sliced cucumbers or radishes pickled quickly in vinegar and sugar cleanse the palate after every spicy, savory bite.
- Fresh Kimchi: If you have it, serve it! The fermented tang is incredible with fried food.
- Simple Slaw: Skip the heavy mayo dressing. A light slaw made with shredded cabbage, maybe some carrots, dressed only with a tiny bit of rice vinegar and sesame oil adds a necessary cool crunch.
Serve everything family-style on big platters, making sure those toasted sesame seeds and green onions are really visible. It looks restaurant quality before anyone even takes their first bite!
Storage and Reheating Korean Fried Chicken Leftovers
Oh, leftovers! They happen, even when the korean fried chicken is this good. The biggest challenge with fried food, especially glazed chicken, is sogginess creeping in overnight. My number one rule is to keep the glaze and the chicken separate initially if you think you’ll have leftovers the next day, but if it’s already glazed, we have a recovery plan!
Never, ever reach for the microwave first. That’s the fast track to sad, rubbery chicken. Instead, we want to re-crisp that glorious coating. The best way to do this is actually using the air fryer—it mimics that second, hot fry perfectly! If you don’t have an air fryer, just use a regular oven set to about 400°F (200°C) and give them about 8 to 10 minutes until they are hot and crunchy again. You can find some other great air fryer recipes on the blog to inspire you!
Frequently Asked Questions About Making Best Crispy Chicken Recipe
I always get questions when people try this for the first time, and that’s wonderful! It means you’re paying attention to the technique, which is half the battle when aiming for that super crispy coating. It’s easy to tweak things, but I have a couple of hard-and-fast rules for keeping this the best crispy chicken recipe you’ve ever made at home.
Can I adapt this Korean Fried Chicken for the Air Fryer?
Oh, I get asked this all the time! Yes, you certainly *can* make an Air Fryer Korean Fried Chicken version if you are looking to cut back on oil, but I have to be honest: you won’t get that true, shattering-crisp texture that comes from the true double-fry method. The air fryer is great for cooking things through, but it dehydrates the coating a bit differently. If you try it, cook the chicken after the first fry in the air fryer until it’s cooked through, then try to brush it with a little oil and air fry again at a high temp to finish the crisping. It’s a good substitute, but the dual oil bath can’t be perfectly matched!
What is the best way to make this a Game Day Chicken favorite?
For Game Day Chicken, timing is everything because you want it hot and utterly crisp when everyone gathers around the TV. My secret involves splitting the work. You can absolutely complete the entire first fry hours ahead of time and keep the chicken pieces on a wire rack at room temperature—they stay surprisingly good! Then, right before the game starts, crank that oil up to 375°F and do your quick second fry. While it’s draining, warm up that Gochujang glaze chicken sauce. Tossing the just-fried chicken into that warm sauce right before the kickoff means maximum crispness and flavor payoff exactly when you need it!
If you’re looking for some other great, shareable food ideas that everyone devours fast, you should swing by my post on easy baked teriyaki salmon. Sometimes you need a break from frying!
Nutritional Estimates for Korean Fried Chicken
Okay, let’s talk turkey—or, well, chicken! Since this is deep-fried, glazed, and totally delicious, it’s definitely not the lightest meal on the weeknight rotation. But hey, we cook to connect and enjoy life, not just to count every single calorie! Sarah always tracked these things loosely, but she never let nutrition get in the way of a good celebration. What matters here is the flavor payoff!
The numbers below are my best estimate for a standard serving size based on the recipe above. Remember, since we are using a heavy batter and deep-frying oil, this isn’t going to be the same as eating grilled chicken. This is honest-to-goodness, restaurant-style korean fried chicken, so keep that in the back of your mind. Everything can vary depending on how thickly you coat those pieces and how much glaze you generously ladle on top!
It’s an estimate, so take it with a grain of salt (and maybe a bit of extra sesame seed garnish!).
- Serving Size: 4 pieces
- Calories: Roughly 550
- Protein: A solid 38g—we are getting our chicken in!
- Fat: Around 30g total fat.
- Carbohydrates: About 35g, mostly from the starches in the batter and the sugar in the glaze.
- Sugar: Expect around 22g from that lovely, sticky gochujang glaze chicken sauce.
- Sodium: This runs a bit high, around 750mg, because of the soy sauce and seasoning in the batter.
Just a quick note: If you were going to try the Air Fryer Korean Fried Chicken method, those fat and calorie counts would drop quite a bit, which is nice for a mid-week treat! But for the ultimate crisp texture we are aiming for here, the deep fry is really the path we have to take.
Share Your Korean Fried Chicken Success
Well, friends, we did it! We conquered the terrifying world of deep-frying and came out with true, shatteringly crisp, deeply flavorful korean fried chicken right in our own kitchens. I hope this recipe brings as much joy and connection to your table as it does to mine here in Ohio. Sarah always says that sharing the finished product is the best part of cooking!
Now that you’ve mastered the double fry technique and perfected that sticky-sweet glaze, I genuinely want to hear about it! Don’t just disappear with all that deliciousness!
Did you stick with the sweet and spicy gochujang, or did you try mixing in some different flavors? Did the kids leave any leftovers for the next day?
- Please, please rate this recipe either right here on the page (if you can!) or just let me know in the comments below how many stars you’d give this KFC Recipe Homemade.
- Drop me a line! If you have any questions about the oil temperature or the rest period, send them over via the contact page—I love helping fellow home cooks nail these techniques.
- If you snapped a picture of your beautiful, golden, glazed chicken, I would absolutely love to see it! Tag us on social media; seeing your triumphant crispy piles makes my whole week!
Thank you so much for cooking with me today. I hope this restaurant style fried chicken becomes a cherished part of your family’s cooking memories, just like it is for mine.
PrintAuthentic Double-Fried Korean Fried Chicken with Sweet and Spicy Gochujang Glaze
Make restaurant-style Korean Fried Chicken at home. This recipe uses a double-fry technique for an ultra-crispy crust, coated in a sticky, sweet, and spicy Gochujang glaze.
- Prep Time: 20 min
- Cook Time: 25 min
- Total Time: 45 min
- Yield: 4 servings 1x
- Category: Dinner
- Method: Deep Frying
- Cuisine: Korean
- Diet: Low Lactose
Ingredients
- 3 lbs chicken pieces (wings, drumettes, or thighs)
- 1 cup all-purpose flour
- 1/2 cup potato starch or cornstarch
- 1 teaspoon salt
- 1/2 teaspoon black pepper
- 1/2 teaspoon garlic powder
- 1 cup cold water
- Vegetable oil, for deep frying
- For the Glaze:
- 1/4 cup Gochujang (Korean chili paste)
- 3 tablespoons soy sauce
- 3 tablespoons honey or corn syrup
- 2 tablespoons rice vinegar
- 2 tablespoons brown sugar
- 1 tablespoon minced garlic
- 1 teaspoon grated fresh ginger
- Garnish: Toasted sesame seeds, sliced green onions
Instructions
- Prepare the Chicken Batter: In a large bowl, whisk together the flour, potato starch, salt, pepper, and garlic powder. Slowly whisk in the cold water until you have a thin, smooth batter, similar to crepe batter.
- Coat the Chicken: Pat the chicken pieces very dry with paper towels. Dip each piece into the batter, allowing excess to drip off.
- First Fry: Heat about 3 inches of vegetable oil in a deep pot or Dutch oven to 325°F (160°C). Fry the chicken in batches for 8 to 10 minutes until lightly golden and cooked through. Do not overcrowd the pot. Remove chicken and drain on a wire rack. Let the chicken rest for at least 15 minutes.
- Prepare the Glaze: While the chicken rests, combine all glaze ingredients (Gochujang, soy sauce, honey, vinegar, sugar, garlic, ginger) in a small saucepan. Bring to a simmer over medium heat, stirring until the sugar dissolves and the sauce thickens slightly, about 3 minutes. Remove from heat.
- Second Fry (For Crispiness): Increase the oil temperature to 375°F (190°C). Return the rested chicken to the hot oil in batches. Fry for an additional 2 to 3 minutes until the crust is deep golden brown and extra crispy. Drain well on a clean wire rack.
- Glaze and Serve: Place the hot, crispy chicken in a large bowl. Pour the warm glaze over the chicken and toss quickly to coat every piece evenly.
- Garnish immediately with toasted sesame seeds and sliced green onions. Serve hot.
Notes
- For the crispiest result, ensure your oil temperature is accurate for both frying stages.
- If you prefer a Soy Garlic flavor, substitute the Gochujang glaze ingredients with 1/2 cup soy sauce, 1/4 cup honey, 2 tablespoons minced garlic, and 1 tablespoon sesame oil.
- Resting the chicken between fries allows moisture to escape, resulting in a superior crunch.
Nutrition
- Serving Size: 4 pieces
- Calories: 550
- Sugar: 22
- Sodium: 750
- Fat: 30
- Saturated Fat: 7
- Unsaturated Fat: 23
- Trans Fat: 0
- Carbohydrates: 35
- Fiber: 1
- Protein: 38
- Cholesterol: 110