
Oh, I know that feeling! You see those incredible, high-rise loaves of bread online—the ones that look like actual white clouds—and you think, “There’s no way I can get that bakery-soft bread at home.” Well, I’m Sarah Miller, and at HearthBite, we believe baking should always be about joy, not stress. That’s why I spent ages perfecting this method for creating reliable, comforting recipes. Today, we are cracking the code to the softest japanese milk bread (Shokupan) you’ve ever touched, and we’re using the magic of the Tangzhong method to make it happen. If you love this kind of cozy bake, you should check out all our comfort food recipes! Trust me, this recipe is going to become your new comfort-baking obsession.
- Why This Tangzhong japanese Milk Bread Recipe Guarantees Softness
- Gathering Ingredients for Your japanese Milk Bread Loaf
- Step-by-Step **Shokupan Tutorial** Instructions
- Hokkaido Milk Bread Secrets for Texture and Longevity
- Storage and Reheating Instructions for **japanese Milk Bread**
- Shokupan Variations and Serving Suggestions
- Frequently Asked Questions About Making Japanese Milk Bread
- Nutritional Estimates for Your Japanese Milk Bread Slice
- Share Your Japanese Milk Bread Success
- Nutritional Estimates for Your Japanese Milk Bread Slice
- Share Your Japanese Milk Bread Success
Why This Tangzhong japanese Milk Bread Recipe Guarantees Softness
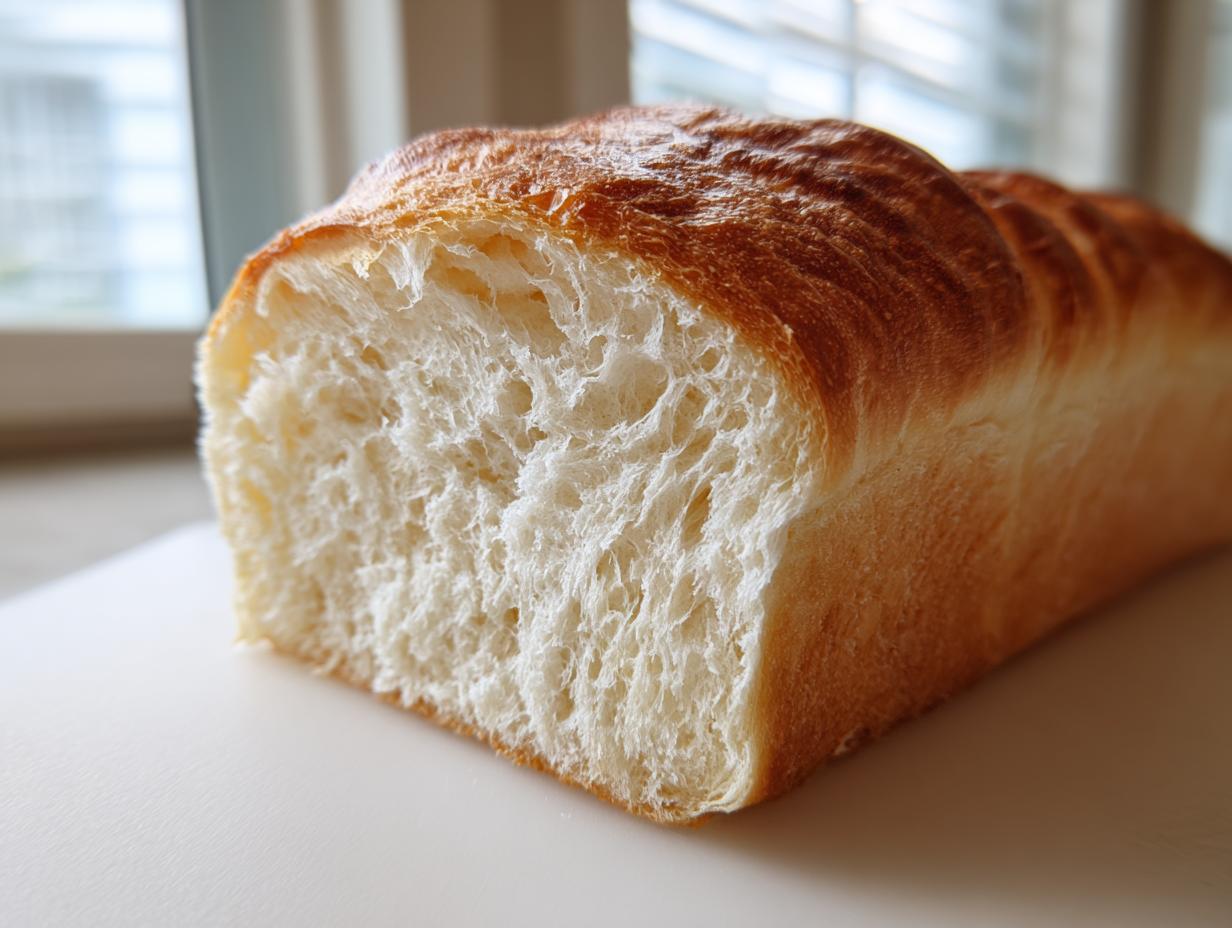
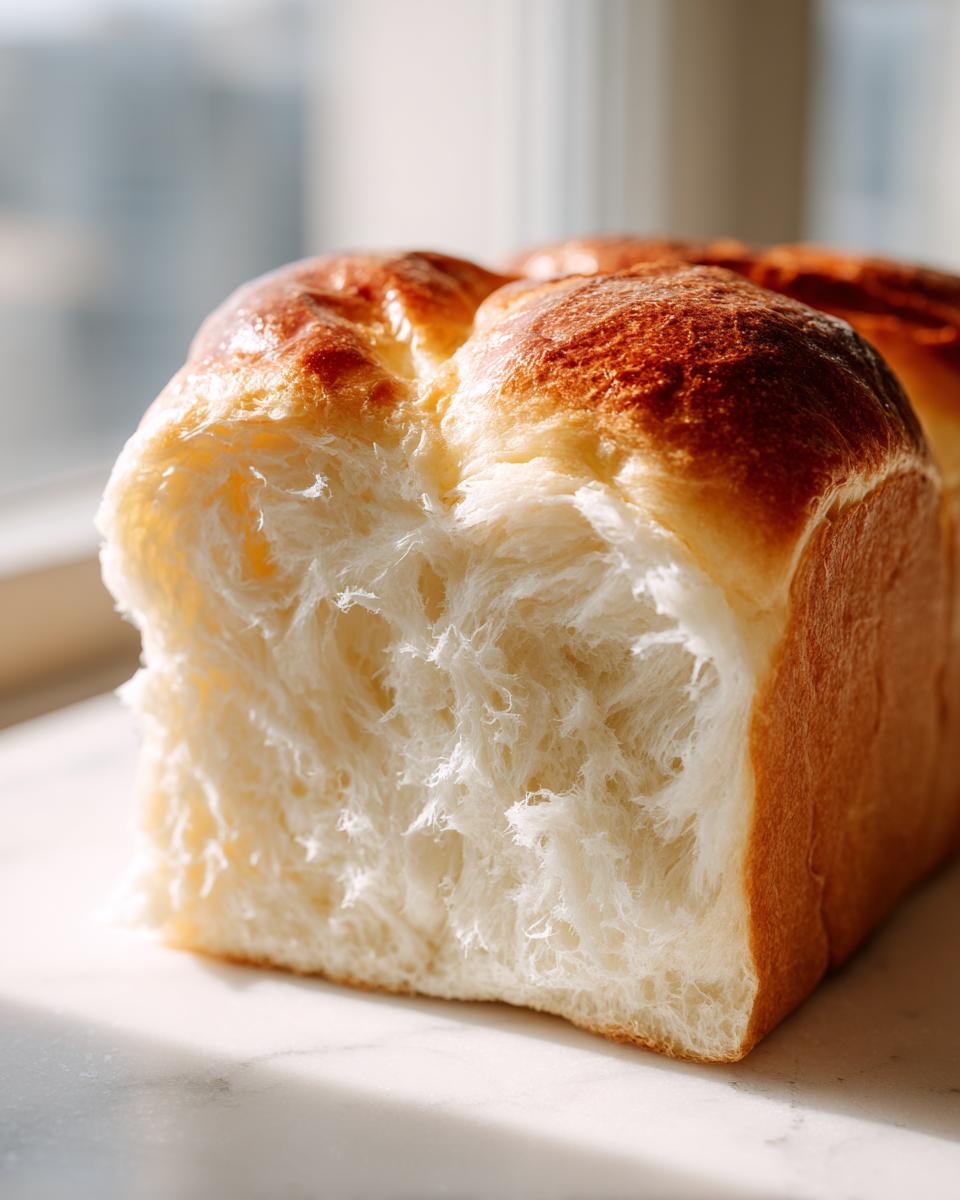
If you’ve ever wondered how they get that signature, dreamlike texture in actual Japanese bakeries, this is it: the Tangzhong method. It sounds fancy, I know, but it’s actually super straightforward. We create a little cooked paste—a water roux—right on the stovetop before we even start mixing the main dough. This tiny bit of pre-work is what separates this from just any other soft loaf; it’s the secret weapon for true bread that stays soft for days.
This recipe is all about reliability. I promise you won’t be disappointed when you pull out a loaf that feels like a pillow. This is how we achieve that famous squishy, almost unbelievably tender bite we all chase.
The Science Behind the **fluffy Japanese bread recipe**
So, what’s the big deal about cooking a little flour and water first? Simply put, cooking those starches changes the structure. When you just dump all your wet ingredients in, they hydrate the flour, but not completely efficiently. By cooking a small portion of the flour with liquid first, we gelatinize the starches. This means they can hold onto way more water than they normally could in a cold mix.
When that super-hydrated Tangzhong gets mixed into your main dough, it acts like a moisture sponge! It locks that water in there, leading directly to that incredible, melt-in-your-mouth, mochi texture bread. It keeps the crumb incredibly soft, even after a full day sitting on the counter. That’s pure expertise translated into fluffiness!
Gathering Ingredients for Your japanese Milk Bread Loaf
Alright, let’s talk ingredients! Getting the right stuff is half the battle when you’re aiming for something this spectacular. This bread, Shokupan, relies on a few key players to get that signature richness and structure. You might notice we use milk a few times—that’s part of what keeps this loaf so wonderfully tender and buttery, making it the best bread for sandwiches later on. If you’re looking for other soft recipes to try after this, I highly recommend my soft and chewy sea salt caramels!
Now, here’s my big tip—and this is critical for that towering, fluffy structure: you absolutely must use Bread Flour. It has the higher protein content we need to develop the strong gluten network that holds all that moisture in. Don’t try to sneak in all-purpose flour here; you’ll end up fighting the dough later!
Ingredients for the Tangzhong (Water Roux)
- 1/4 cup (60ml) Whole Milk
- 2 tablespoons (16g) Bread Flour
- 1 tablespoon (15g) Granulated Sugar
- 1 teaspoon Active Dry Yeast
Ingredients for the Main milk Bread Loaf Baking Dough
- 1/4 cup (60ml) Whole Milk, lukewarm
- 1 large Egg, lightly beaten
- 3 cups (360g) Bread Flour
- 1/4 cup (50g) Granulated Sugar
- 1 teaspoon Salt
- 1/4 cup (60ml) Whole Milk, lukewarm
- 4 tablespoons (56g) Unsalted Butter, softened
Step-by-Step **Shokupan Tutorial** Instructions
Okay, deep breath! While this japanese milk bread recipe involves a couple of steps, it’s all about being methodical. This isn’t the kind of bake where you rush; it’s about creating that incredible texture beautifully. If you’re looking for quick and easy dinner recipes for another night, we’ve got you covered, but for this Shokupan, let’s follow the steps exactly.
Making the Tangzhong Paste and Activating Yeast
First things first: the Tangzhong. You’ll gently cook that small portion of milk, flour, and sugar until it looks like a super thick pudding paste. This takes maybe five minutes over low heat, but seriously, don’t walk away! Once it’s done, you must cover it with plastic wrap touching the surface. I mean it, touch the paste! This stops that awful skin from forming, and trust me, you don’t want that skin mixing into your beautiful dough.
While that cools down—and it has to be completely cool, or you’ll kill your yeast!—get your yeast proofing in lukewarm milk. It should look foamy and happy, ready to go to work.
Mixing and Kneading the **japanese Milk Bread** Dough
Now we bring everything together in the mixer bowl—the cooled Tangzhong, the yeast mix, the dry ingredients, and the egg. Mix it low until it looks shaggy. Then comes the kneading part, which builds that strength. Once the dough starts coming together, add that softened butter, one piece at a time. Don’t rush this! The butter needs to fully incorporate before you add more.
You’ve got to knead this for a good 10 to 15 minutes after the butter. I know, it feels long! But this is where we develop the gluten that traps all that air. The absolute sign of success here is the windowpane test. If you can stretch a small piece of dough thin enough to see light through it without tearing, you are done! That means we have that strong structure necessary for the pillowy white bread texture.
Proofing and Shaping Your **Pillowy White Bread**
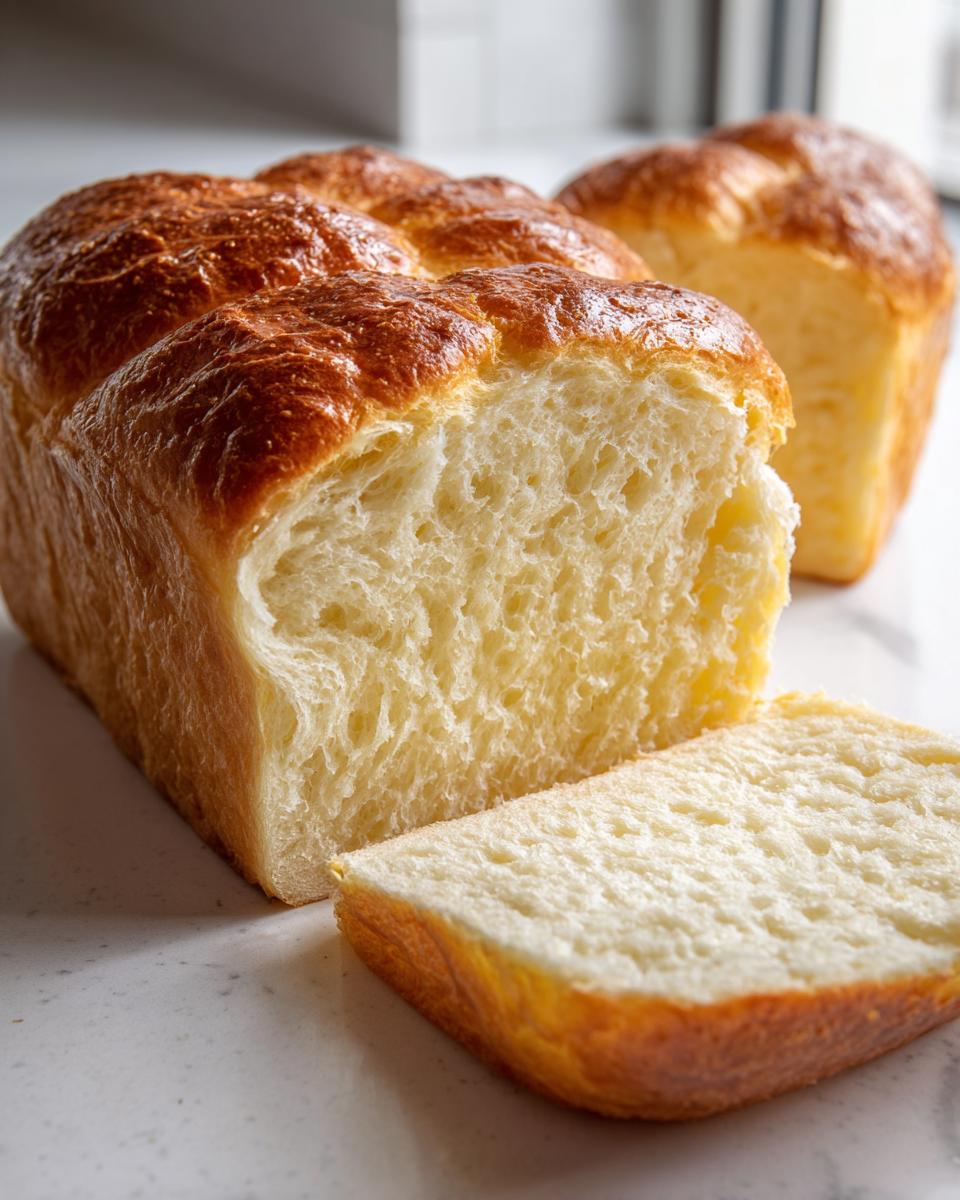
Once kneaded, the dough goes into an oiled bowl for its first big rest. Let it double, usually about an hour and a half in a warm spot. When it looks puffy and full, gently punch it down—be gentle, we don’t want to knock all that lovely air out! Divide it into three equal parts. Roll each piece into a tight little ball, like you’re tucking them in, and place them snugly side-by-side in your greased loaf pan.
The second rise is key for the height. Keep it warm and covered until the dough crowns about an inch over the rim of the pan. It should look puffy and delicate, ready for the oven!
Baking and Cooling the Perfect **japanese Milk Bread**
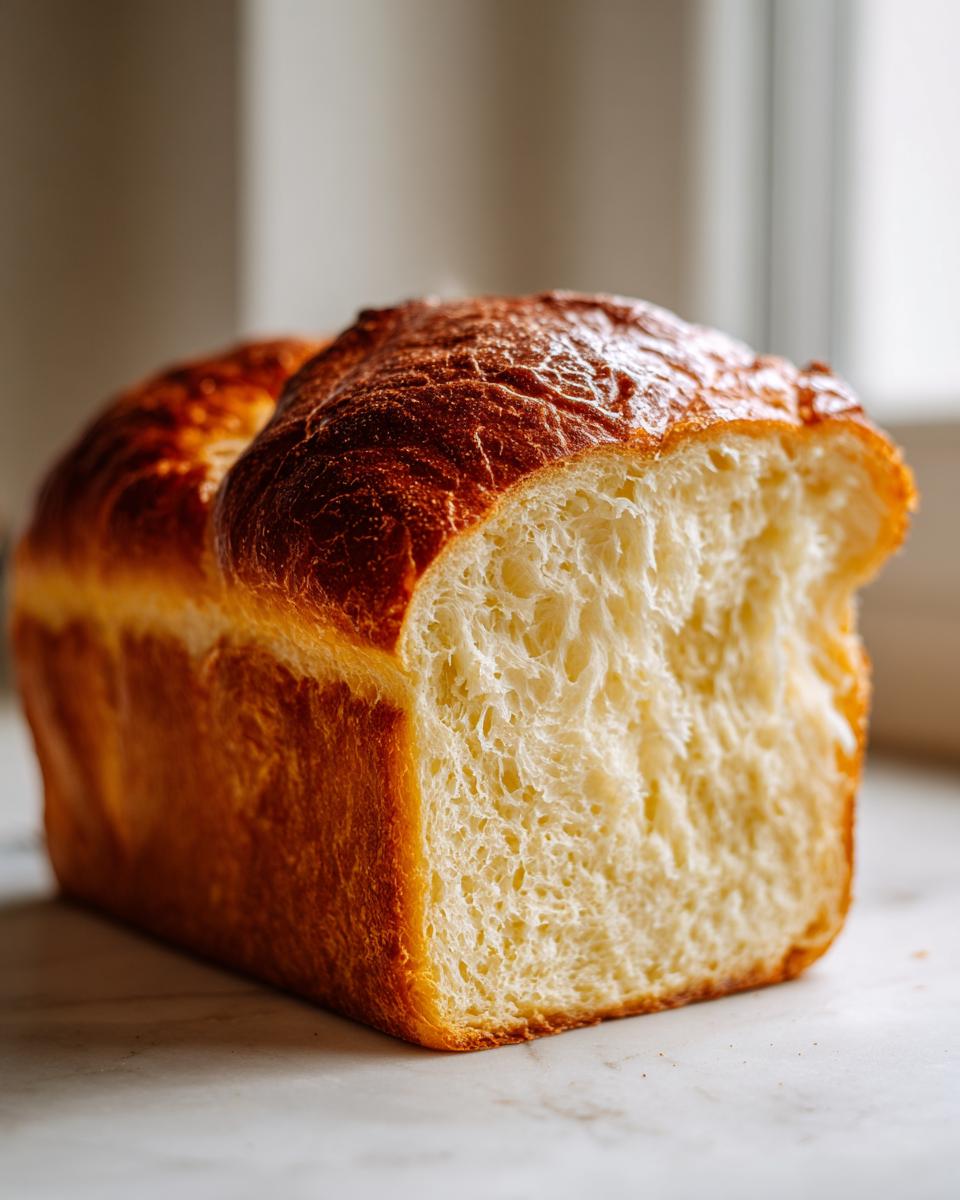
Preheat your oven to 350°F (175°C). Before it goes in, give the top a gentle milk wash; that gives us that gorgeous deep golden crust that looks so professional. Bake it for about 30 to 35 minutes. If you have a thermometer, aim for an internal temperature of 200°F (93°C) for amazing results.
The *second* most important step after Tangzhong is cooling! As soon as that beautiful bakery soft bread recipe comes out, you must turn it out onto a wire rack immediately. If you leave it in the pan, the trapped steam turns the bottom soggy, and we absolutely cannot tolerate a soggy bottom on our Shokupan!
Hokkaido Milk Bread Secrets for Texture and Longevity
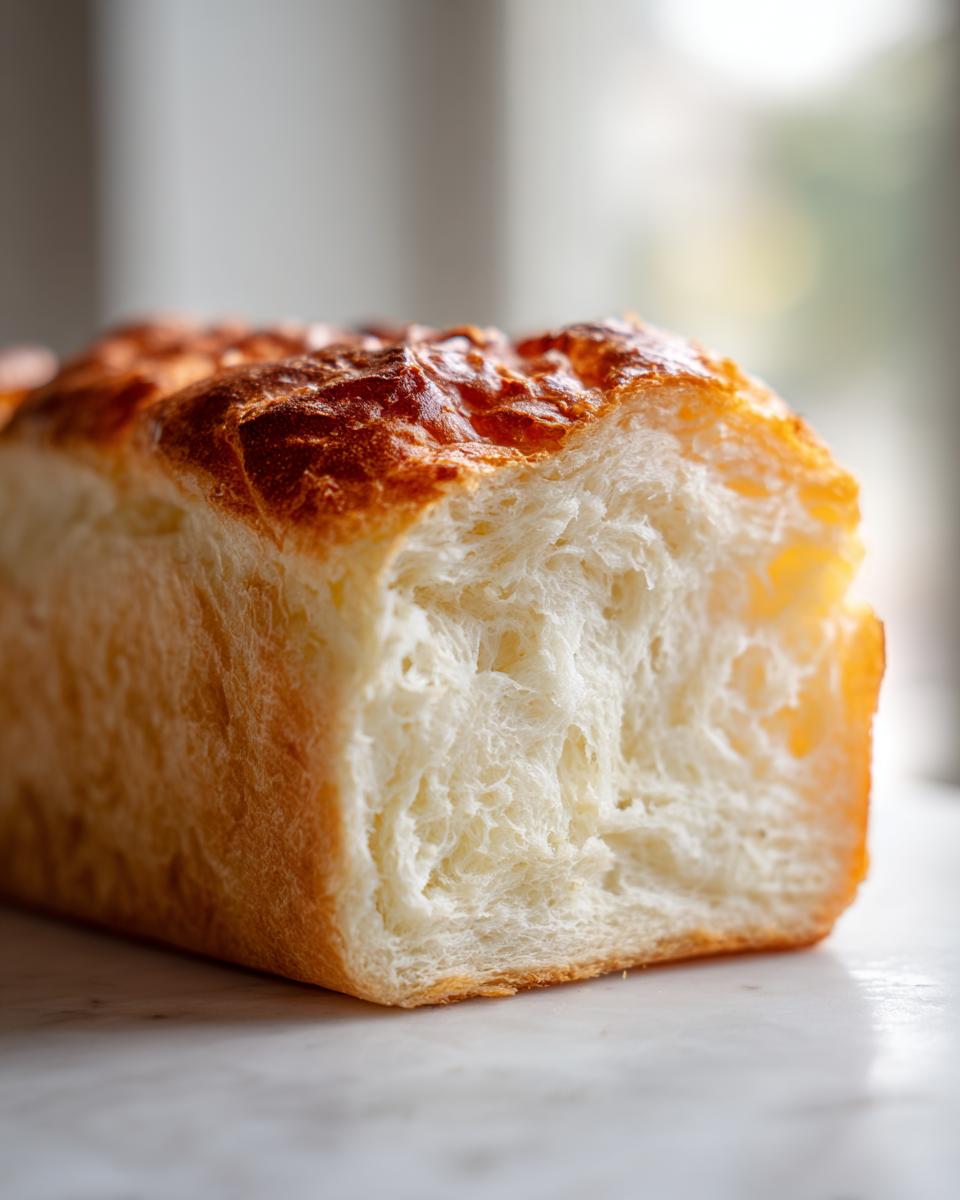
You’ve baked the loaf, and it’s out of the oven—now let’s talk about keeping that incredible fluffiness around! We want this bread to taste like it just came from the Japanese bakery style bread shop, even days later. The Tangzhong is doing most of the heavy lifting here, obviously, but how you handle the dough before and after baking makes a huge difference in achieving that soft, ethereal texture we’re famous for at HearthBite.
These little tips are what turn a good loaf into the best homemade bread you’ve ever made. Think of these as the professional touches that Sarah learned right here in Ohio!
Expert Tips for Achieving **Mochi Texture Bread**
When you punch down the dough after that first rise, remember: be gentle! We want to release only the largest gas pockets, not deflate all the tiny ones we worked hard to create. Treat it like a kitten, not a punching bag!
Also, don’t skimp on the butter and milk in the main mixture. The high fat content helps tenderize the crumb structure, making it richer while the milk protein aids in browning and that subtle sweetness. If you’re looking for another rich, comforting recipe to try your hand at next, this homemade lasagna recipe is always a winner in my house.
And hey, if you want to see how others tackle this, you might find a few more nuggets of wisdom soaking up the tips from other bakers! Check out this guide here.
Storage and Reheating Instructions for **japanese Milk Bread**
The great thing about using Tangzhong is that your japanese milk bread is naturally designed to stay soft! Seriously, this loaf is a champion at keeping its moisture locked in for a couple of days. My number one rule, and this is hard for some folks, is to avoid the refrigerator at all costs. Cold temps actually make bread go stale faster, which is the opposite of what we want for our pillowy white bread.
Keep it wrapped tightly at room temperature. If you want to revive that just-baked warmth, just slice off what you need and pop it in a 300°F oven for five minutes. It’s like magic! If you need more tips on keeping baked goods moist, check out my thoughts over on the date nut bread post!
Shokupan Variations and Serving Suggestions
One of the best parts about mastering the japanese milk bread technique is realizing how versatile this dough is! It’s rich, slightly sweet, and sturdy all at once. Sure, it makes the most incredible loaf—hands down the best bread for sandwiches you will ever slice—but don’t stop there. This pillowy dough begs to be used for all sorts of treats. You can easily halve the recipe to make sweet buns, or even turn it into fluffy treats for breakfast. It’s all about how you handle that beautiful dough after the first rise.
If you’re looking for something warm and savory to serve alongside future bakes like this, I have a great recipe for quick creamy black bean soup that pairs nicely with rich bread!
Ideas for **Milk Bread Dinner Rolls Recipe** Conversion
If you want to skip the loaf tin and make individual rolls—perfect for holiday tables or brunch—it’s super simple! After the first rise (Step 1 in the instructions), instead of arranging three balls in a loaf pan, you’ll divide the dough into 9 or 12 smaller, equal pieces. Roll each piece tight and place them close together in a greased square or round baking dish. Since they are smaller, they will bake faster, usually needing only about 20 to 25 minutes at 350°F. Keep an eye on them, though! You want that golden top without drying out the inside.
For more inspiration on using this dough in different ways, check out some other fantastic ideas over here!
Frequently Asked Questions About Making Japanese Milk Bread
When you’re diving into a technique like this, questions pop up! That’s totally normal, and honestly, that’s how we learn the best cooking secrets. I want you to feel totally confident tackling this dough. If you’ve already got the mixing bowl out, maybe you can bake some of my easy cool whip cookies later this week!
Can I use the **Yudane method bread guide** instead of Tangzhong?
That’s a great question! Yes, you absolutely *can* use the Yudane method, which is another fantastic Japanese technique where you mix boiling or very hot water directly into the flour to create a paste. It also yields incredibly soft bread that stays fresh for days. However, I stuck with the cooked Tangzhong paste for this specific recipe because, for me, it consistently delivers that *extra* bit of pillowy softness—that pure cloud quality that defines perfect Shokupan. Both methods are wonderful, though!
Is this the **softest homemade bread** I can make?
In my humble opinion, yes! Because of the high hydration locked in by the Tangzhong starter, this japanese milk bread is incredibly competitive in the soft bread arena. Nothing beats the combination of milk, fat, and that gelatinized starch paste. If maximum softness is your goal, this is your ticket. I haven’t found a western loaf that competes with the texture of a well-made Shokupan!
Can I make **japanese milk bread** without a stand mixer?
Please don’t let mixer-envy stop you! You can totally make this by hand. Remember when I talked about kneading for 15 minutes after the butter is added? That time stays the same, but you’ll be doing the work! It takes patience, elbow grease, and maybe a little bit of singing along to a good playlist, but you will get there. Just be sure to fully incorporate that butter before you stop kneading, even if your arms are tired. For great troubleshooting tips, check out this excellent guide here!
Nutritional Estimates for Your Japanese Milk Bread Slice
Now, I always want to give you a heads-up that because we use real butter and a bit of sugar to get that beautiful flavor and color, this bread is definitely rich! These numbers are just an estimate based on dividing the whole loaf into 12 slices, so please remember that the exact nutrition can change based on the brands of milk or butter you choose.
- Serving Size: 1 slice
- Calories: 180
- Protein: 5g
- Fat: 5g
- Saturated Fat: 3g
- Carbohydrates: 28g
- Sugar: 6g
- Sodium: 150mg
If you are tracking closely, remember these rich flavors come from that high-quality butter and milk; it’s what makes it so delicious and why it’s the best for those savory sandwiches!
Share Your Japanese Milk Bread Success
Honestly, the best part of sharing these tried-and-true recipes here at HearthBite is seeing what you all create in your own kitchens. When you pull that perfect, golden, pillowy loaf out of the oven, I want to see the shine! Please tag us on your social media when you bake this Shokupan tutorial loaf. I love seeing the community come together over good food.
If you gave this recipe five stars, or if you learned a new baking trick, please let me know in the comments below! We are always looking for new ways to simplify favorites, and your feedback helps me decide what to test next. Feel free to reach out with any specific questions through our contact page!
Nutritional Estimates for Your Japanese Milk Bread Slice
Now, I always want to give you a heads-up that because we use real butter and a bit of sugar to get that beautiful flavor and color, this bread is definitely rich! These numbers are just an estimate based on dividing the whole loaf into 12 slices, so please remember that the exact nutrition can change based on the brands of milk or butter you choose.
- Serving Size: 1 slice
- Calories: 180
- Protein: 5g
- Fat: 5g
- Saturated Fat: 3g
- Carbohydrates: 28g
- Sugar: 6g
- Sodium: 150mg
If you are tracking closely, remember these rich flavors come from that high-quality butter and milk; it’s what makes it so delicious and why it’s the best for those savory sandwiches! If you’re looking for some great ways to use this rich loaf for a meal, check out our ideas for healthy lunch recipes!
Share Your Japanese Milk Bread Success
Honestly, the best part of sharing these tried-and-true recipes here at HearthBite is seeing what you all create in your own kitchens. When you pull that perfect, golden, pillowy loaf out of the oven, I want to see the shine! Please tag us on your social media when you bake this Shokupan tutorial loaf. I love seeing the community come together over good food.
If you gave this recipe five stars, or if you learned a new baking trick, please let me know in the comments below! We are always looking for new ways to simplify favorites, and your feedback helps me decide what to test next. Feel free to reach out with any specific questions through our contact page!
PrintThe Softest Japanese Milk Bread (Shokupan) Using the Tangzhong Method
Bake the softest, fluffiest homemade bread you have ever tried. This Japanese Milk Bread, or Shokupan, uses the Tangzhong method to create a cloud-like, pillowy texture that stays moist for days. This recipe is your guide to bakery-style perfection.
- Prep Time: 45 min
- Cook Time: 35 min
- Total Time: 3 hours 0 minutes
- Yield: 1 loaf 1x
- Category: Baking
- Method: Tangzhong (Water Roux)
- Cuisine: Japanese
- Diet: Vegetarian
Ingredients
- 1/4 cup (60ml) Whole Milk
- 2 tablespoons (16g) Bread Flour
- 1 tablespoon (15g) Granulated Sugar
- 1 teaspoon Active Dry Yeast
- 1/4 cup (60ml) Whole Milk, lukewarm
- 1 large Egg, lightly beaten
- 3 cups (360g) Bread Flour
- 1/4 cup (50g) Granulated Sugar
- 1 teaspoon Salt
- 1/4 cup (60ml) Whole Milk, lukewarm
- 4 tablespoons (56g) Unsalted Butter, softened
Instructions
- Prepare the Tangzhong: In a small saucepan, whisk together the 1/4 cup milk, 2 tablespoons bread flour, and 1 tablespoon sugar. Cook over low heat, stirring constantly, until the mixture thickens into a paste, about 5-7 minutes. Do not boil. Remove from heat, cover the surface with plastic wrap to prevent a skin from forming, and let it cool completely.
- Activate the Yeast: In a small bowl, combine the lukewarm milk (1/4 cup) and 1 teaspoon of yeast. Let it sit for 5-10 minutes until foamy.
- Mix the Dough: In a large bowl or the bowl of a stand mixer, combine the 3 cups bread flour, 1/4 cup sugar, and salt. Add the cooled Tangzhong, the yeast mixture, and the beaten egg. Mix on low speed until a shaggy dough forms.
- Knead: Increase the mixer speed to medium-low and knead for 5 minutes. Add the softened butter, one tablespoon at a time, allowing each piece to incorporate before adding the next. Continue kneading for another 10-15 minutes until the dough is smooth, elastic, and passes the windowpane test.
- First Rise: Place the dough in a lightly oiled bowl, turning to coat. Cover the bowl and let it rise in a warm place until doubled in size, about 1 to 1.5 hours.
- Shape the Loaf: Gently punch down the dough. Divide it into three equal pieces. Roll each piece into a tight ball. Place the three balls side-by-side in a greased 9×5 inch loaf pan.
- Second Rise: Cover the pan loosely and let the dough rise again in a warm spot until it has nearly doubled and crests about 1 inch over the rim of the pan, about 45-60 minutes.
- Bake: Preheat your oven to 350°F (175°C). Brush the top of the dough lightly with milk for a golden crust. Bake for 30-35 minutes, or until the top is deep golden brown and the internal temperature reaches 200°F (93°C).
- Cool: Immediately remove the bread from the pan and cool completely on a wire rack before slicing. This bread is best enjoyed the day it is baked for maximum fluffiness.
Notes
- Using bread flour is key for achieving the strong gluten structure needed for this pillowy texture.
- If you do not have a stand mixer, you can knead this dough by hand, but expect to work it for 15-20 minutes after the butter is added.
- This bread stays soft for days, making it the best bread for sandwiches.
Nutrition
- Serving Size: 1 slice
- Calories: 180
- Sugar: 6
- Sodium: 150
- Fat: 5
- Saturated Fat: 3
- Unsaturated Fat: 2
- Trans Fat: 0
- Carbohydrates: 28
- Fiber: 1
- Protein: 5
- Cholesterol: 25