
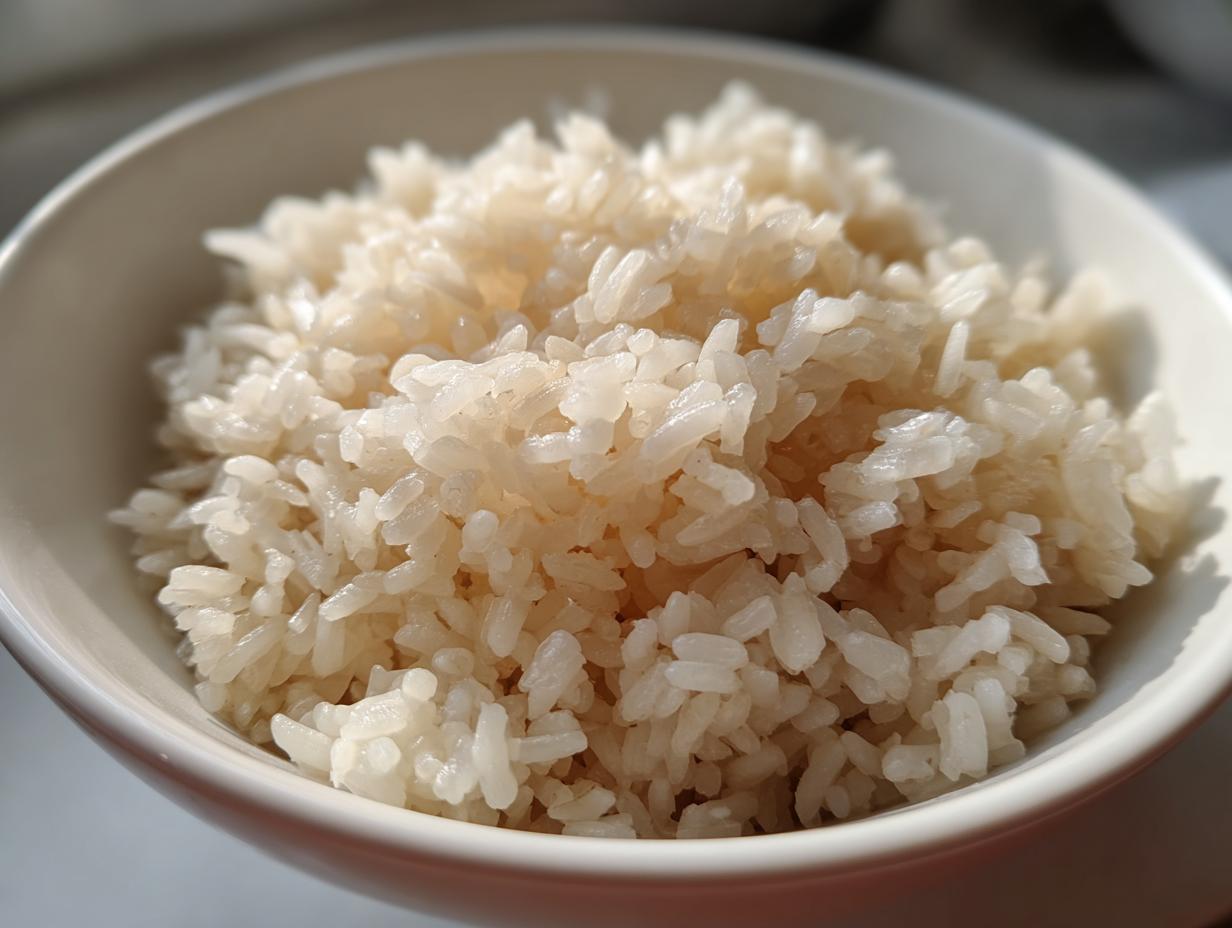
When you sit down to eat real, beautiful sushi, what’s the first thing you notice? It’s not the fish, honestly—it’s the rice! I’m Sarah, and in my kitchen, we believe that great meals connect us, and when it comes to Japanese cooking, the texture of the rice is everything. It has to be bouncy, perfectly seasoned, and just sticky enough to hold together without being gluey. I spent ages messing this up until I finally cracked the code. So, forget the takeout containers; this is the foolproof guide to making absolutely perfect sushi rice at home. I promise you, once you master this, you’ll never look back. We are aiming for that fluffy, never-mushy result!
- Why This Homemade Sushi Rice Recipe Works
- Gathering Your Ingredients for Authentic Sushi Rice
- Essential Preparation: How to Wash Sushi Rice Properly
- Step-by-Step: Stovetop Sushi Rice Guide
- Alternative Method: Sushi Rice Instant Pot Recipe
- Seasoning and Cooling for Fluffy Rice Recipe
- Serving Suggestions for Your Perfect Sushi Rice
- Frequently Asked Questions About Making Sushi Rice
- Nutritional Estimates for This Rice Base
- Share Your Home Cooking Success
- Nutritional Estimates for This Rice Base
- Share Your Home Cooking Success
Why This Homemade Sushi Rice Recipe Works
The reason this recipe keeps coming up again and again among my friends is simple: we focus on the two things that always trip people up—texture and seasoning. It’s not just about cooking grains in water; it’s about technique! If you’re looking for no mushy sushi rice tips, this is where we start. Getting this foundation right means everything else, from rolling maki to piling on a poke bowl, becomes ten times easier. If you want more deep-dive proof on that first crucial step, check out this great guide on why washing is so important.
The Secret to Perfect Sushi Rice Texture
You absolutely need that Japanese short-grain rice. Don’t try to substitute with long-grain like Jasmine; it just won’t behave! The magic starts with the washing. We need to scrub off almost all that surface starch. If you skip this, you end up with a gummy mess instead of that beautiful, separate, yet sticky structure required to learn how to make sticky rice for sushi successfully. Trust me, reading about washing rice is one thing, but watching the water go from milky white to clear is a moment of clarity!
Mastering the Perfect Sushi Rice Seasoning
The flavor profile—that slight sweet-sour tang—is achieved by pre-mixing the vinegar, sugar, and salt before adding it to the hot rice. This isn’t intuitive for most people, but it’s essential for authentic results. That balanced attack of flavors is what we call the perfect sushi rice seasoning. It infuses every grain evenly, which is so much better than just dumping cold vinegar over the top after it’s already cooled down a bit.
Gathering Your Ingredients for Authentic Sushi Rice
Okay, so you’ve decided to make your own homemade sushi rice recipe! That’s the best first step. You can’t just grab any bag of rice from the shelf; we need specific building blocks to ensure that texture is just right. I’ve listed exactly what you need for about four generous servings below. Keep everything measured out before you start the cooking process because once the rice is done, things move fast!
- 2 cups short-grain Japanese rice (this is non-negotiable for true quality!)
- 2 cups cold water—straight from the tap is fine for cooking
- 1/2 cup rice vinegar (don’t think about swapping this for white vinegar, please!)
- 2 tablespoons granulated sugar
- 1 teaspoon salt
Ingredient Notes and Substitutions
If you can find rice labeled only as “sushi rice,” grab it. If not, look for Japanese short-grain rice, sometimes called *Koshihikari*. This specific grain size has the right starch content to become that beautiful, slightly chewy, sticky grain. You need that stickiness so your maki rolls hold together!
Now, let’s talk about the seasoning. That 1/2 cup of rice vinegar, sugar, and salt blend is what makes authentic sushi rice taste like it came from your favorite spot downtown. Don’t try to change the amounts too wildly, especially at first. That precise balance creates the perfect tang for the sushi rice vinegar mixture. It’s scientifically balanced—or maybe Grandma just tested it a million times—but it works!
Essential Preparation: How to Wash Sushi Rice Properly
Okay, deep breath time. Before we even think about putting the rice near heat, we have to talk about washing. This is where I see so many people fail when they try to make their own sushi rice cooking techniques work at home! If you skip washing, your rice will be gummy and gluey because you’ve left too much starch on the outside of the grain.
I use a big fine-mesh sieve, but if you don’t have one, just use a big bowl. Put the two cups of dry rice in, cover it with cold tap water, and swirl it around gently with your hand. Don’t crush the grains, just slosh them around so the loose, dusty starch washes off.
Drain that milky water out immediately—and trust me, it will look gross! Then, you repeat this process. Once, twice, maybe three times. You stop when the water you drain off is nearly clear. It shouldn’t be crystal clear by any means; that’s a myth, but it shouldn’t look like a bowl of cloudy paint water anymore!
Freshly washed rice needs a break, though. You have to drain it completely. I transfer mine to the sieve and let it sit on the counter for a good 30 minutes. This resting time allows the grains to hydrate somewhat before cooking. Seriously, don’t grab it right after you wash it; give it that 30 minutes to soak up a little ambient moisture. This small step dramatically helps you achieve that fluffy rice recipe goodness later.
Step-by-Step: Stovetop Sushi Rice Guide
If you don’t have a fancy rice cooker or an Instant Pot, don’t worry for a second! Grandma always used the stovetop, and honestly, it’s my preferred way to make this sushi rice because I feel more connected to the process. We’ve washed and drained our rice (remember that 30-minute rest!), so now it’s time to cook it.
Grab a pot with a decent, heavy bottom—you don’t want scorching on the bottom grains! Add your drained rice and the 2 cups of cold water right into the pot. Put the lid on tight! That tight fit is vital whether you’re using grandma’s old Dutch oven or something new. Turn the heat up to medium-high and bring that water to a rolling boil. You’ll hear it bubbling away nicely. Seriously, don’t peek!
The moment that water starts boiling aggressively, you decrease the heat immediately. I mean turn it right down to the absolute lowest simmer setting your stove offers. Cover it again, and now you just have to wait 15 minutes. It’s a small test of patience, but I promise you, do not lift the lid during this time. Letting the steam escape ruins the pressure we’re building inside, and that’s what cooks the rice perfectly fluffy.
When those 15 minutes are up, you turn the heat off completely. And here’s the second essential waiting game: let the rice stand right there, on the burner, with the lid still locked down, for another 10 full minutes. This resting period is where the rice finishes steaming and absorbs any lingering moisture, giving us that dreamy texture. This little trick is the heart of any good easy sushi rice tutorial and prevents that scary ‘too wet’ situation from happening!
While that’s resting, go make your seasoning mixture! If you need a refresher on the seasoning ratios, I detail that step by step in the ingredients section. Once the resting time is up, you can lift the lid and get ready for the magic seasoning stage. If you’ve already looked at how to cook rice in that amazing Instant Pot, you can jump over to this link for pressure cooker notes, but the stovetop yields seriously lovely results.
To help you keep track of all these steps, I’ve put together a simple link for my no-cook pizza sauce recipe I’ve been using lately, which reminds me of how important timing is in the kitchen!
Alternative Method: Sushi Rice Instant Pot Recipe
I know, I know—the stovetop is classic, but sometimes you just don’t have the patience to stand there watching the pot! Or maybe you’re just obsessed with your Instant Pot like I am. You can absolutely get incredible **sushi rice** using the pressure cooker, and honestly, it’s nearly foolproof once you know the water ratio, which is slightly different.
Grab your liner! You’ll combine your drained, washed rice—yes, you still have to wash it, please don’t skip that part!—with slightly less water this time around. For two cups of rice, we’re only using 1 1/2 cups of cold water in the Instant Pot. That extra bit of liquid on the stovetop helps compensate for evaporation, but the Instant Pot traps everything.
Seal up the lid, make sure that valve is set to sealing, and then bring the pressure up on High Pressure for exactly 10 minutes. Once that timer dings, you need to be patient again—this is crucial for not getting crunchy spots! You let the pressure come down naturally for 10 minutes before you go over there and carefully quick release any hissing bits left over.
When you open it up, the rice will look perfect, but you still need that final rest! Leave the lid off this time, but let it sit untouched for 10 minutes so it can just settle. It’s the secret to that fluffy finish! After that second rest, you can go ahead and transfer it to your seasoning bowl, just like we do with the stovetop method. If you’re looking for other great timesavers using this magic machine, my white chicken chili is a huge hit in the winter!
If you want to see how someone else nails this method, my friend at Umami Girl has a great walkthrough you can check out for extra ideas on the sushi rice Instant Pot method. It really makes dinner prep simple!
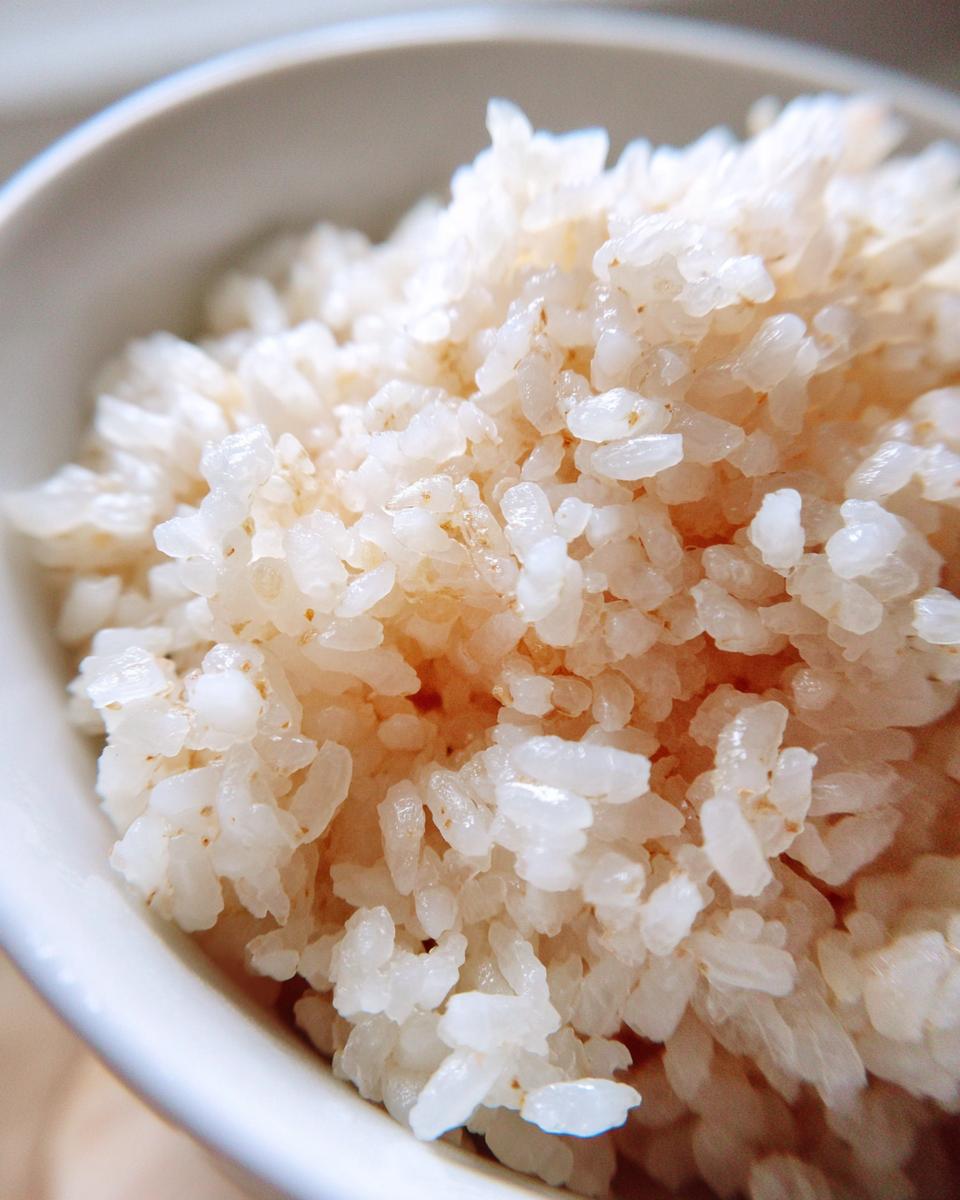
Seasoning and Cooling for Fluffy Rice Recipe
This is the moment of maximum drama, folks! The rice has rested, and now we introduce the flavor. You want this seasoning mixture—that beautiful blend of rice vinegar, sugar, and salt—to be slightly warm, but absolutely nowhere near boiling when it hits the rice. Boiling will essentially start cooking the outside of the grains again, leading straight to mush territory, and we absolutely cannot have that!
I gently warm my mixture on the stove, just until I can see the salt and sugar crystals disappear totally. Don’t walk away! It heats up fast. Once it’s dissolved, take it off the heat right away. Now, have your cooked rice sitting in that big wooden bowl, ready to go because once the seasoning is ready, the rice waits for no one if you want that perfect outcome.

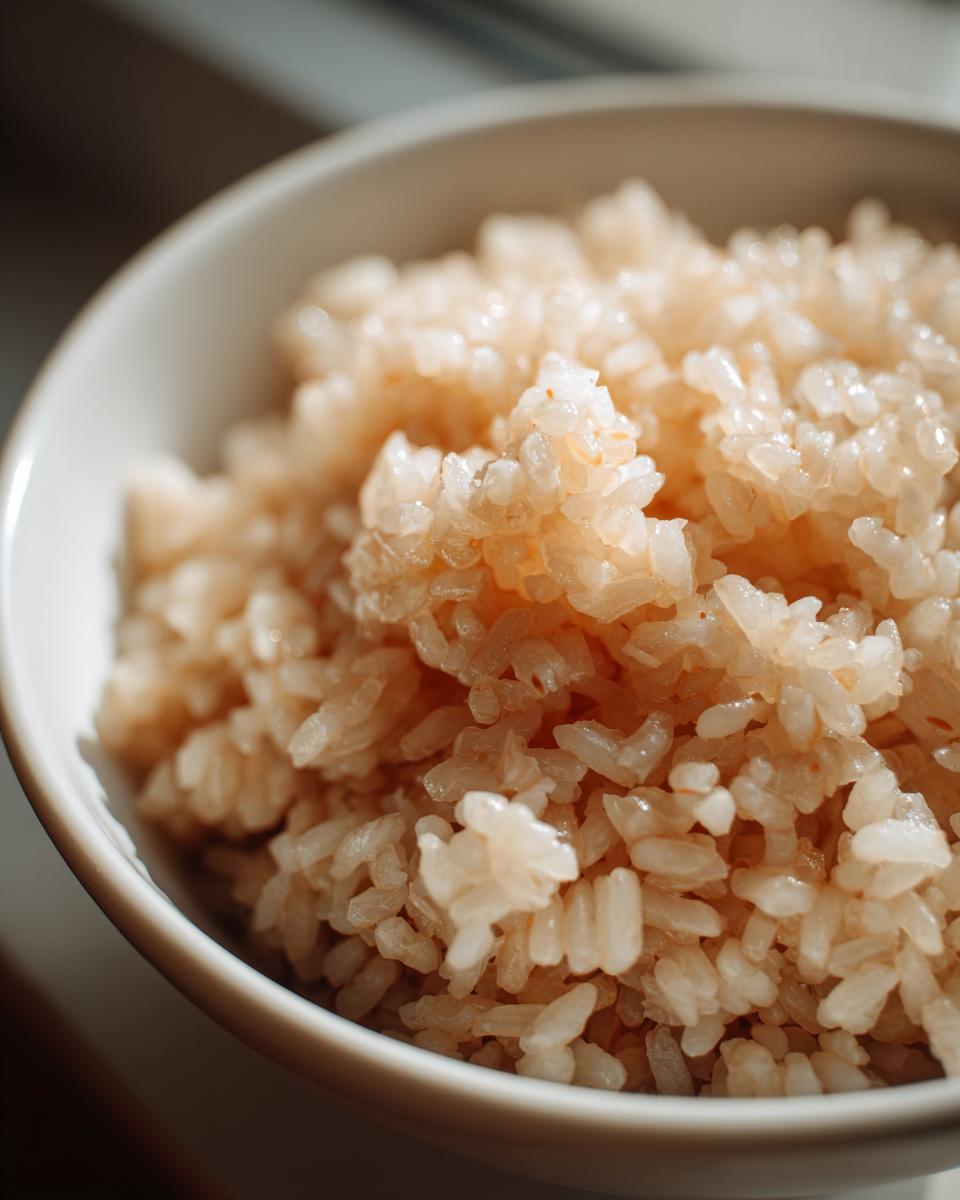
We gently drizzle that tangy liquid all over the hot rice. Now, this next part is everything. This folding process guarantees you get that incredible texture that makes this a truly fluffy rice recipe instead of a flop. We are building credibility here—this isn’t just guessing; this is technique!
The Folding Technique: Slice, Don’t Stir
Please, for the love of all things delicious, do not stir this rice like you’re making oatmeal! Stirring breaks the grains apart, releasing even more starch, which means you end up with that gummy mess we’ve been fighting against this whole time. We need to use a slicing or patting motion. You use your spatula and cut down through the middle of the rice, pull the bottom portion up over the top, and turn the bowl a quarter turn. Slice, fold, turn. Slice, fold, turn.
This gentle folding incorporates the seasoning evenly while keeping the integrity of each beautiful grain intact. While you are doing the slicing, I like to use a handheld fan—yes, a fan! You can just wave it frantically over the bowl, or, if you have one, point a small desk fan toward it. Cooling the rice quickly as you fold it achieves two things: it helps the rice absorb the vinegar perfectly without getting soggy, and it brings the temperature down quickly so you can handle it before it gets cold!

If you need inspiration for flavor pairings while you’re fanning that rice, I recently made some wonderful sea salt caramels, and the balance of sweet and salty in that recipe reminds me of how important these ratios are!
Serving Suggestions for Your Perfect Sushi Rice
Now that you’ve mastered the washing, the cooking, and that critical folding technique, you have this gorgeous, fragrant, perfectly seasoned base ready to go. What do you do with it? Honestly, anything you want! This isn’t just rice for your fancy homemade sushi rolls; it’s an upgrade for so many Weeknight dinners in our house. The rich, tangy flavor profile of this sushi rice for maki rolls works wonderfully in so many ways.
If you’re making rolls tonight, try to use it right away while it’s still slightly warm—that’s when it’s most pliable. Cut your nori sheets and start assembling, remembering to use just the right amount of filling so you don’t explode your carefully crafted rice.
But don’t stop there! This is my absolute favorite base for a hearty sushi bowl rice base during the week. Just layer it in the bottom of a bowl, top it with some leftover grilled salmon or maybe some crispy tofu, toss on some avocado and cucumber, and you have a complete meal in minutes. It’s so much better than plain, unseasoned rice.
If you’re making a big batch and aren’t using it all right away, listen to this trick: don’t just stick it in the fridge uncovered! The seasoned rice will dry out so fast. Instead, transfer the portion you need to a container, lay a slightly damp, clean kitchen towel (not soaking wet, just damp!) right over the top of the rice, and then put the lid on the container. That little bit of trapped moisture keeps the grains tender until you are ready to use them later. This technique saves me so much headache when I meal prep!
If I’m serving this rice alongside something saucy, like my garlic parmesan chicken scampi, I like to use slightly less vinegar in the seasoning mix so the flavor doesn’t compete too much with the main dish. Enjoy seeing what delicious things you create with your perfect grain foundation!
Frequently Asked Questions About Making Sushi Rice
It’s funny how making something as simple as rice can bring up so many questions! Don’t feel silly if you’re wondering about storage or ingredients. I compiled the top things my friends always ask me when they’re trying this out for the first time. Getting these little details right is what separates good home cooking from truly great home cooking, which is what we are always aiming for here at HearthBite.
What is the best rice to use for this recipe?
Oh, this is the most important question, hands down! You really need to look for short-grain Japanese rice. Sometimes it’s labeled specifically as “sushi rice,” which is easiest, but if you can’t find that, look for varieties like *Koshihikari* or *Calrose* rice—both are great substitutes because they have that higher starch content we talked about. That starch is what gives the rice that satisfying, gentle stickiness we need for rolling and piling. Please stick to short grain; the long-grain stuff just doesn’t hold the seasoning or the shape!
Can I make the vinegar seasoning ahead of time?
Yes, you absolutely can! This is one of those great make-ahead tips that saves time on busy sushi nights. You can prepare the entire sushi rice vinegar mixture—the vinegar, sugar, and salt—and heat it until the solids dissolve, just as directed. Once it cools down, seal it tightly in a glass jar. It keeps beautifully in the pantry for several weeks, or you can keep it in the fridge for months.
When you go to use it later, just pour out the amount you need and gently warm it up again until it’s tepid or lukewarm. Don’t boil it—we just want to make sure it’s not ice-cold when you pour it over your hot rice, or it won’t absorb properly into the grains. A little warm seasoning really does the trick!
How long can I keep the cooked rice before it gets hard?
That’s the million-dollar question for anyone making big batches! Honestly, the absolute best texture is achieved within about 4 to 5 hours of making it, especially if you’ve been fanning it correctly. Now, if you have leftovers, you’ve got to treat them gently. Never put seasoned rice that you plan to use for sushi straight into the refrigerator uncovered. Refrigeration cools the rice too quickly and causes the starches to harden, making it rock-solid and unusable for rolls the next day.
If you must store it overnight, put it in an airtight container and place that damp cloth over the rice before sealing the lid, just like I mentioned before! This traps the moisture. When you pull it out the next day, try to use it for a side dish or a simple warm bowl first. If you absolutely must reuse it for rolls, microwave it in very short bursts (10 to 15 seconds) with a tiny splash of water sprinkled on top until it softens back up a bit. Better yet, make just what you need!
If you want to learn more about my kitchen philosophy and why these details matter so much to me, you can always check out my About Page!
Nutritional Estimates for This Rice Base
Since this recipe forms the base for so many dishes, I wanted to give you a quick snapshot of the nutritional details. Please remember these are just estimates; they change based on the exact brand of rice and how much seasoning you manage to incorporate by the end! This information is just to help you fit this recipe into whatever meal planning you’re doing!
- Serving Size: 1 cup cooked
- Calories: 205
- Sugar: 5g
- Sodium: 250mg
- Fat: 0.5g
- Protein: 4g
- Carbohydrates: 45g
It stacks up nicely as a complex carbohydrate base for your dinner!
Share Your Home Cooking Success
I truly hope this guide takes the mystery out of making phenomenal sushi rice for you. There is nothing better than hearing that one of my family-tested recipes has made it onto your dinner table and created a little moment of joy in your own kitchen. If you whip this up, please come back and leave a star rating right below the recipe card—it helps other home cooks like you find reliable recipes.
And if you have a question that didn’t get covered here, don’t hesitate to reach out through my Contact Page! We’re all learning together here at HearthBite.
PrintFoolproof Sushi Rice: Perfect Texture on Stovetop or Instant Pot
Learn how to make authentic, perfectly seasoned sushi rice at home. This guide gives you the exact steps for fluffy, sticky rice that is never mushy, suitable for maki rolls or sushi bowls.
- Prep Time: 30 min (includes draining)
- Cook Time: 25 min
- Total Time: 55 min
- Yield: 4 servings 1x
- Category: Side Dish
- Method: Stovetop or Pressure Cooking
- Cuisine: Japanese
- Diet: Vegetarian
Ingredients
- 2 cups short-grain Japanese rice (sushi rice)
- 2 cups cold water (for cooking)
- 1/2 cup rice vinegar
- 2 tablespoons granulated sugar
- 1 teaspoon salt
Instructions
- Wash the rice: Place the rice in a fine-mesh sieve or bowl. Rinse under cold running water, gently stirring with your hand until the water runs nearly clear. This removes excess starch. Drain the rice completely for 30 minutes.
- Cook the rice (Stovetop Method): Combine the drained rice and 2 cups of cold water in a heavy-bottomed pot with a tight-fitting lid. Bring the water to a boil over medium-high heat. Once boiling, immediately reduce the heat to the lowest setting, cover, and simmer for 15 minutes. Do not lift the lid.
- Cook the rice (Instant Pot Method): Combine the drained rice and 1 1/2 cups of cold water in the Instant Pot liner. Secure the lid and set the vent to sealing. Cook on High Pressure for 10 minutes. Allow the pressure to release naturally for 10 minutes, then quick release any remaining pressure.
- Rest the rice: After cooking (stovetop or Instant Pot), let the rice stand, covered, for 10 minutes. Do not remove the lid during this time.
- Prepare the seasoning: While the rice rests, combine the rice vinegar, sugar, and salt in a small saucepan. Heat gently over low heat, stirring until the sugar and salt completely dissolve. Do not boil the mixture. Remove from heat and let it cool slightly.
- Season the rice: Transfer the hot, cooked rice to a large, non-metallic bowl (wood or glass is best). Pour the vinegar mixture evenly over the rice.
- Fold and cool: Using a rice paddle or wooden spoon, gently slice and fold the seasoning into the rice. Do not stir or mash the grains, as this will break them and make the rice mushy. Fan the rice while folding to help it cool quickly to body temperature. This process creates the perfect sticky texture.
- Use immediately for sushi rolls or cover with a damp cloth until ready to use.
Notes
- Use short-grain rice labeled specifically for sushi to achieve the best sticky texture.
- Do not skip the washing step; removing surface starch prevents gummy rice.
- The seasoning proportions (vinegar, sugar, salt) are critical for authentic flavor; adjust slightly to your taste after the first batch.
- Cooling the rice quickly with fanning helps the grains absorb the seasoning without becoming overly soft.
Nutrition
- Serving Size: 1 cup cooked
- Calories: 205
- Sugar: 5
- Sodium: 250
- Fat: 0.5
- Saturated Fat: 0.1
- Unsaturated Fat: 0.4
- Trans Fat: 0
- Carbohydrates: 45
- Fiber: 0.5
- Protein: 4
- Cholesterol: 0