
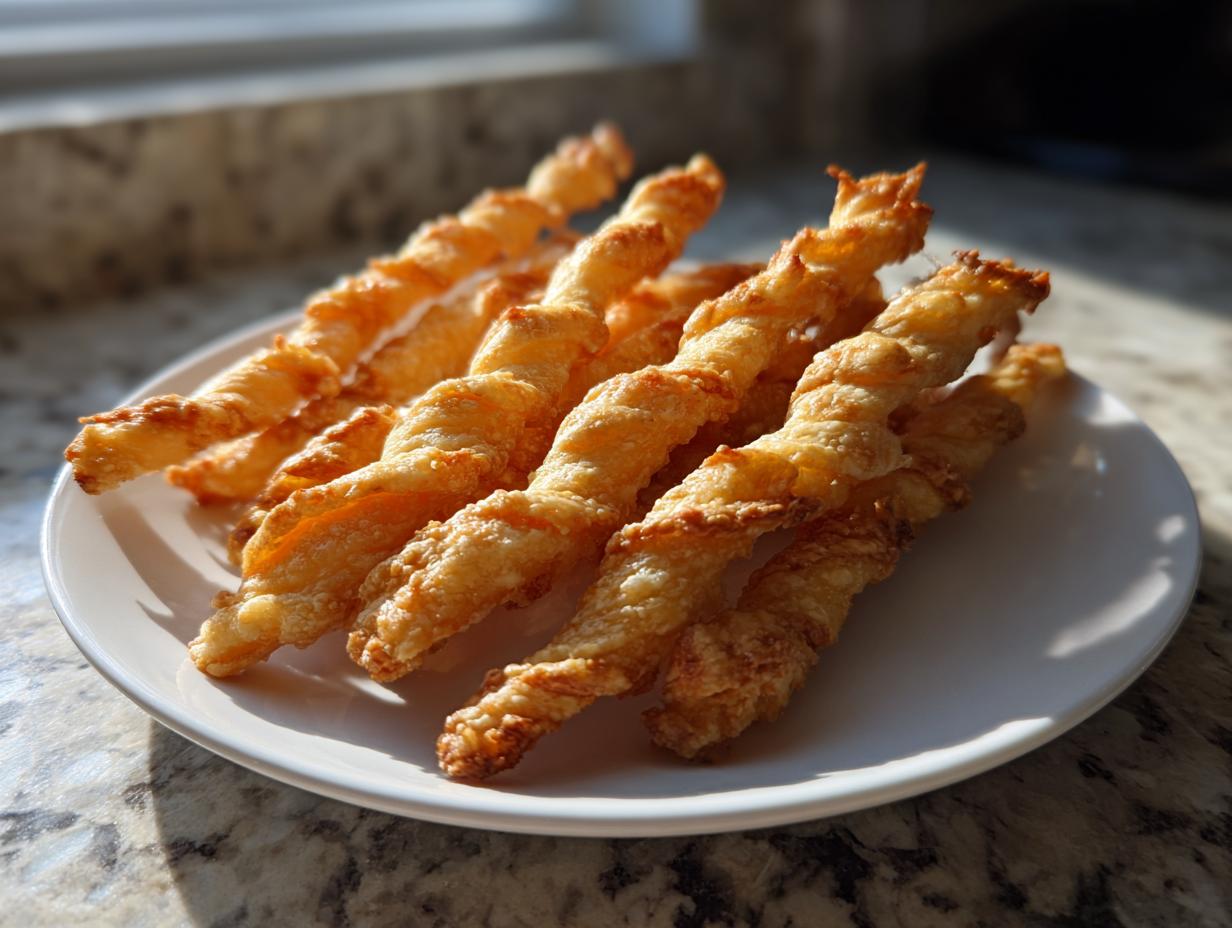
If you’re anything like me, planning for a gathering means making sure the savory appetizers disappear first! Nothing says ‘welcome’ quite like buttery, flaky, salty snacks, and that’s why I have brought this classic, crispy Southern cheese straws recipe to the HearthBite table. This isn’t just another recipe; this is one of my most reliable family favorites, perfect for everything from football Sundays to holiday open houses. Forget those sad, soft crackers you sometimes get—we are aiming for genuine, craveable crunch here. Once you master this simple baking technique, you’ll see why these cheesy finger foods consistently vanish. To learn more about why we focus on reliable comfort food here at HearthBite, check out our About Page.
- Why This Classic Cheese Straws Recipe Works for Entertaining
- Gathering Ingredients for Your Cheese Straws Recipe
- Mastering the Dough for Homemade Cheese Straws
- Step-by-Step Baking Instructions for Crispy Cheese Straws
- Flavor Variations for Your Cheddar Cheese Straws Recipe
- Storage and Make-Ahead Tips for This Cheese Straws Recipe
- Serving Suggestions for Savory Appetizers
- Frequently Asked Questions About Our Cheese Straws Recipe
- Sharing Your Best Cheese Straw Recipe Experience
Why This Classic Cheese Straws Recipe Works for Entertaining
When you’re hosting, you need savory appetizers that don’t stress you out, and that’s what these Southern cheese straws deliver. They have that unmistakable, satisfying crunch that makes them irresistible. Guests always ask if I bought them from a fancy bakery, but trust me, these are purely homemade cheese straws! The beauty of this recipe is that it leans into that classic Southern tradition where simple quality ingredients shine during any party snack recipes you might be serving.
We follow simple techniques here at HearthBite to ensure you get the best result every single time. We want these to be flaky and buttery, not limp! For more recipes that bring that special comfort feel to your table, take a peek at our collection of Comfort Food Recipes.
Achieving the Perfect Crispy Cheese Straws Texture
Crispness isn’t an accident; it’s all in the thinness! We roll this dough out super thin—about 1/8 of an inch. That thin layer allows the butter and cheese to bake right through without steaming the inside, which is what causes softness. Plus, that quick 10-to-12-minute bake in a hot oven just seals the deal. When they come out slightly golden, you’ve hit legendary status!
Gathering Ingredients for Your Cheese Straws Recipe
Okay, let’s talk about what you need to pull off this incredible cheese straws recipe. Remember how I stressed the Southern tradition? That means we can’t skimp on the quality here. The success of these buttery savory bites totally hinges on using good, sharp cheese. If you’re aiming for those deep, cheesy snack flavors, you absolutely have to grate your cheddar fresh. For more appetizer inspiration, I just made a killer Cranberry Pecan Cheese Ball Recipe that would be great alongside these!
Ingredient Clarity and Preparation Notes
Keep your measuring cups ready, because precision makes these crispy cheese straws perfect. Here’s exactly what we need on hand before we start creaming things up:
- 1 cup unsalted butter, softened (This needs to be soft, but not sloppy!)
- 2 cups sharp cheddar cheese, freshly grated (No bags, please!)
- 2 cups all-purpose flour
- 1/2 teaspoon salt
- 1/4 teaspoon cayenne pepper (Just a little kick, promise!)
- 1/4 teaspoon paprika
- 1 large egg, lightly beaten
Make sure that butter and egg are sitting out for a bit so they aren’t ice cold. Cold ingredients don’t mix well, and we need smooth mixing for the best texture.
Mastering the Dough for Homemade Cheese Straws
Now for the real magic—turning those lovely ingredients into a pastry dough that promises the best homemade cheese straws ever. This part is simple, but don’t rush the creaming! We are building the structure here.
First, you need to cream that softened butter with the mountain of freshly grated cheddar cheese. I mean really cream them together until the mixture looks light, almost pale yellow, and fluffy. This isn’t just about mixing; it’s about whipping air into the fat, which gives our straws that slightly delicate, flaky interior, even though they end up incredibly crispy on the outside.
Next, we add the dry ingredients—that flour, salt, paprika, and cayenne blend—gradually. I always mix this on the lowest setting on my stand mixer or use a wooden spoon very gently if I’m doing it by hand. You just want it to come together. And here’s the secret weapon that guarantees everything binds beautifully:
Expert Tip: Why Freshly Grated Cheese Matters in This Cheese Straws Recipe
I can’t stress this enough if you want truly crispy cheese straws: don’t cheat on the cheese grating! Pre-shredded cheddar is coated with stuff like cellulose or starches to keep the shreds from sticking in the bag. Now, that sounds helpful, right? Wrong! Those anti-caking agents act like tiny waterproof barriers in your dough. When baked, they actively prevent that beautiful fat/flour matrix from binding properly, which stops your straws from getting that authentic snap we’re looking for.
Freshly grated cheese melts cleanly because it’s pure fat and dairy solids, giving you a seamless texture and allowing the dough to hold its shape when you twist it. Trust me, a few extra minutes with the box grater is the difference between a decent snack and the best cheesy finger food you’ve ever made!
Step-by-Step Baking Instructions for Crispy Cheese Straws
Alright, we have our stiff, gorgeous dough ready, and now it’s time to turn this lovely mass into the perfect party snack recipe. This is where technique really matters if you want the best homemade cheese straws. We are aiming for that super thin layer because that’s the whole secret to the snap! It’s easy once you get the hang of it.
Pop your oven on to 400 degrees Fahrenheit. Seriously, get that preheating going! Line a couple of baking sheets with parchment paper—this is non-negotiable for easy cleanup later. Now, take your dough and place it between two sheets of parchment paper. You aren’t kneading it again; you are rolling it out gently until it’s about 1/8-inch thick. If you have a guide handy, that really helps keep the thickness even!
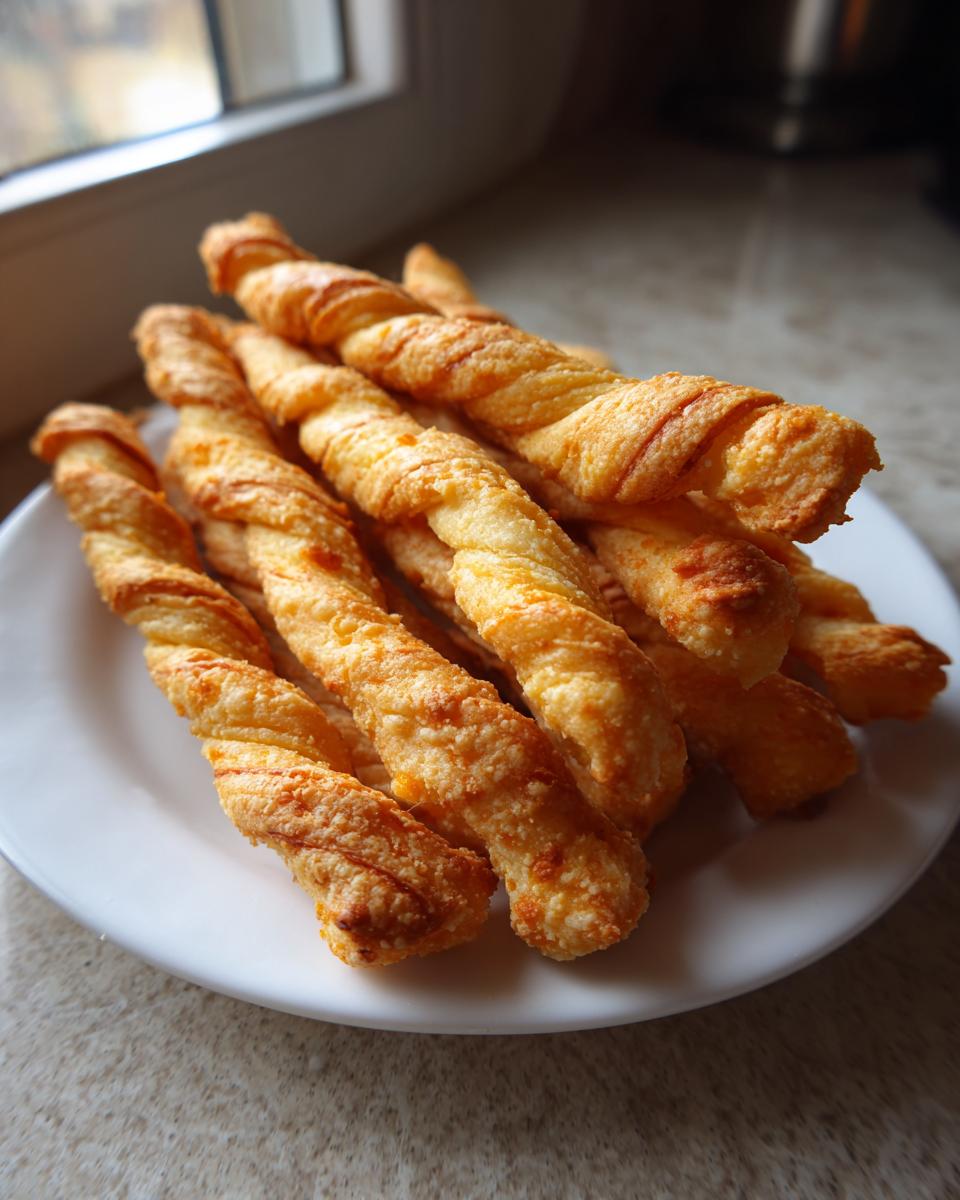
Once it’s rolled thin, peel off the top piece of paper. Using a pizza cutter or a knife, slice the dough into strips that are about 1/2-inch wide and a good 4 or 5 inches long. This is the fun part: pick up one strip, place it on the sheet, and give it a little twist—one simple turn is all you need for that classic look. Lay them out with a little space, and get ready for baking!
Baking Time and Cooling for Maximum Crunch
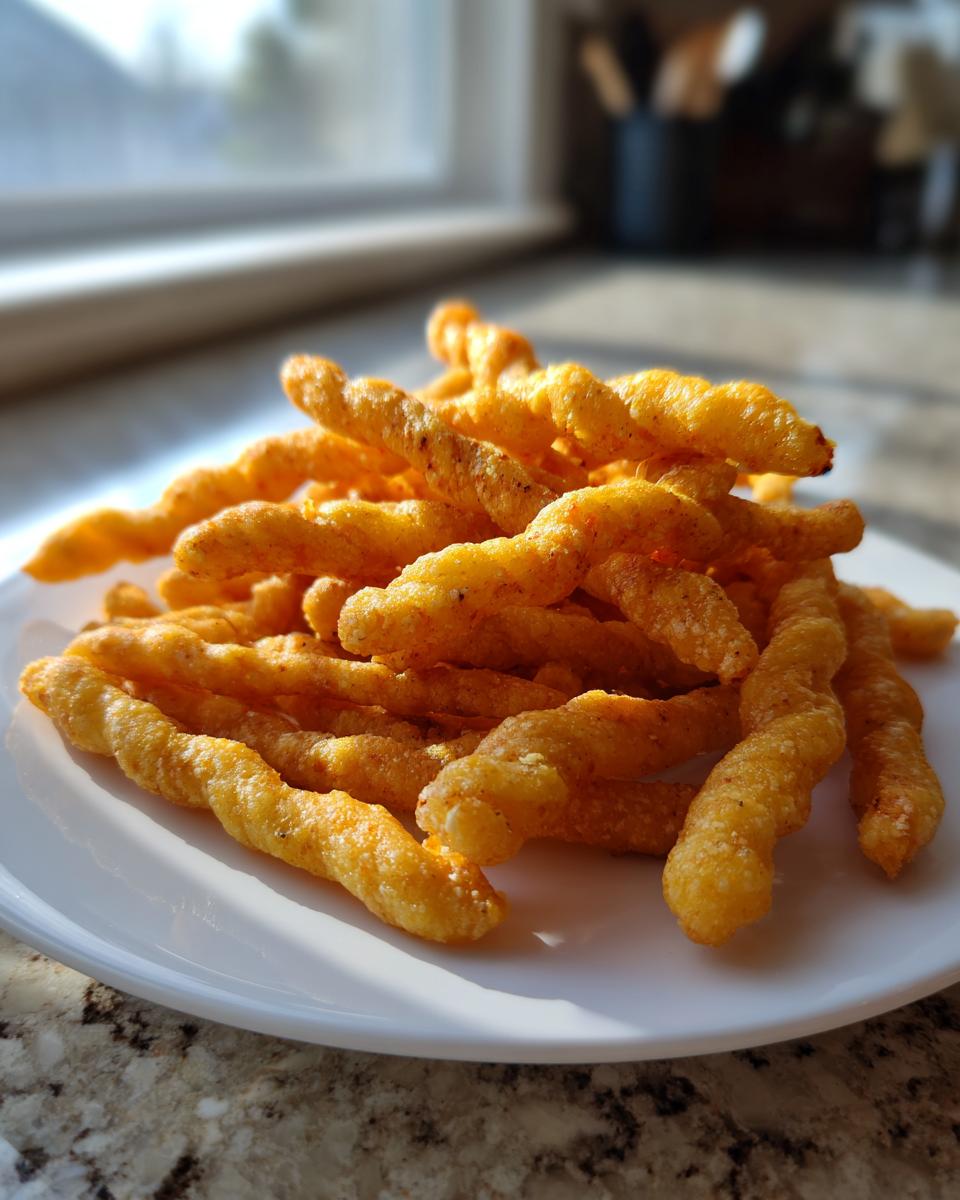
Into that 400-degree oven they go for just about 10 to 12 minutes. You are looking for the edges to just turn that perfect golden brown. Don’t walk away! Since they are so thin, they can go from perfectly baked to slightly burnt awfully fast. Now, pay close attention here: they will feel slightly soft when you first pull them out of the oven. Don’t panic if they don’t snap immediately!
The final secret for achieving ultimate snap in these savory appetizers is cooling. Let them sit right there on that hot baking sheet for about five minutes. They keep cooking just a touch while they firm up. Then, transfer them carefully over to a wire rack. They will crisp up completely as they cool down. Honestly, the smell while they cool is half the reward!
If you’re looking for slightly sweeter, yet still savory companion recipes, you can always check out my notes on my Easy Creamy Mini Cheesecake Bites Recipe—a great contrast for your cheese straws!
Flavor Variations for Your Cheddar Cheese Straws Recipe
While this classic sharp cheddar version is absolutely divine, sometimes you just need to jazz things up a bit, right? That’s the beauty of a dough this simple—it takes seasoning changes so well. You can easily pivot this into completely different flavorful cheese snacks based on what you have in the pantry.
If you want a sharper, nuttier taste, definitely try making Parmesan cheese straws! Just substitute half of the sharp cheddar with finely grated real Parmesan—it adds this wonderful texture and depth. Or, perhaps you’re feeling a little adventurous? We can kick up the heat easily.
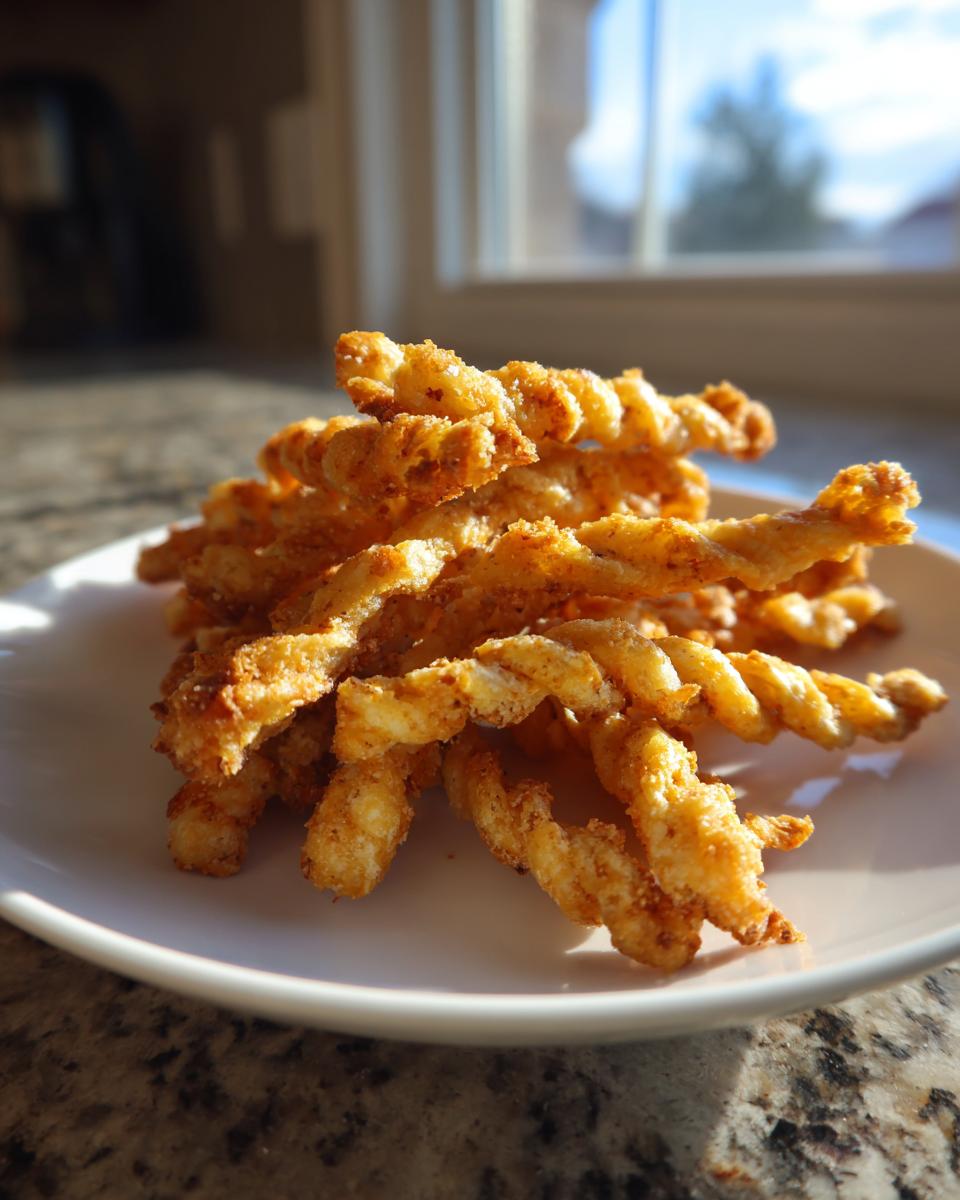
For a spicy version, keep the cheddar but boost that cayenne to 1/2 teaspoon total, or throw in a pinch of finely minced jalapeño (just make sure you dab any excess moisture off first!). My favorite simple swap, especially for holiday appetizers, is adding dried herbs. Mix in about 1 teaspoon of dried thyme and rosemary along with the flour for an herby, savory punch. For pairing, these straws are incredible dipped in my quick Easy 15-Minute Beer Cheese Dip when you want something extra decadent!
Storage and Make-Ahead Tips for This Cheese Straws Recipe
Because these buttery savory bites are the absolute star of any party spread, you’ll definitely want to know how to prep ahead! I never want to be rolling dough right before guests arrive, so I rely on making these over a few days.
The dough itself is your best friend here. Once it forms that stiff dough, wrap it tightly—I mean really tight so no air gets in—in plastic wrap. You can chill it in the fridge for up to three days. Seriously! When you’re ready to bake, just cut off what you need, let it sit on the counter for about 15 minutes to soften just slightly so you can roll it, and go for it.
Once they are baked and completely cool, store them in an airtight container at room temperature. If you keep them dry, they stay perfectly crispy for almost a week. I wouldn’t risk freezing the baked straws, though; the texture can get a little sad when they thaw out. Dough ahead? Yes! Baked straws waiting around? Maybe two days max before they start losing that snap.
Serving Suggestions for Savory Appetizers
These buttery, flavorful cheese straws aren’t just delicious; they’re the perfect supporting actor for any spread of cheesy finger foods. Because they are so salty and savory, they pair beautifully with just about anything on your entertaining spread!
I love serving them standing up alongside a good crisp glass of Sauvignon Blanc or a frosty gin and tonic. If you want a dip pairing that makes people go absolutely wild, you have to try them with a rich, warm dip. I always set out a bowl of my Chili Cheese Dip for dipping competition. They’re also fantastic crumbled right over a bowl of tomato soup if you’re having a cozy evening!
Frequently Asked Questions About Our Cheese Straws Recipe
I’ve gotten so many great notes from folks who have tried this recipe, and usually, the questions boil down to texture and ingredients! It’s totally normal to have a few questions when aiming for that perfect snap. We want these savory appetizers to be flawless every time you make them. If you ever have a specific question that isn’t covered here, please feel free to reach out on the Contact Page!
Can I use a different type of cheese in this cheese straws recipe?
You sure can experiment, but for that quintessential Southern flavor, sharp cheddar is king! It has the right fat content and sharpness that blends perfectly with the butter and spices. If you want to vary it up, try replacing half the cheddar with a good quality Parmesan when you’re making your Parmesan cheese straws. That adds a lovely, salty bite that’s fantastic. Just be careful skipping the cheddar entirely, because some softer cheeses don’t handle the rolling and twisting as gracefully.
How do I prevent my homemade cheese straws from being soft?
This is the number one concern, and it always comes down to two things: rolling thin and cooling correctly. You must roll that dough to 1/8-inch thickness—no thicker! If it’s too chunky, the inside steams. Secondly, bake them until those edges are definitely golden brown, not just pale yellow. The most important part is the cooling: you have to let them sit on the hot baking sheet for five minutes, then move them to a wire rack until they are *totally* cool to the touch. That’s when the crunch sets in for these buttery savory bites.
What is the difference between a cheese straw and a cheese stick?
That’s a fun one! Honestly, for this style of recipe, the terms are often used interchangeably, especially since we are making homemade cheese straws here. Traditionally, the ‘straw’ implies that nice little twist you give in the middle—that elegant shape makes them perfect cheesy finger foods for a party. A ‘stick’ is usually just a straight cut strip. Either way, as long as you use this recipe and get them nice and crispy, nobody’s going to complain!
Sharing Your Best Cheese Straw Recipe Experience
Now that you’ve got the secret to these perfectly crispy, salty, and utterly addictive cheesy finger foods, I would absolutely love to hear how they turned out for you! Baking is all about sharing, and I feel like I know you just a little bit better when I hear which gathering these savory appetizers graced.
Did you stick to the classic sharp cheddar, or did you sneak some Parmesan in there? Did your batch actually last longer than an hour, or did they vanish the second they hit the coffee table? Please take a moment to leave a rating right down below this post—it helps me know which HearthBite recipes to feature next! If you snapped a picture of your beautifully twisted, golden straws, tag us on social media so I can swoon over your baking success!
I’m constantly working on new keepers from my kitchen to yours, and your feedback really helps guide what we bake next. Head back to the main page at HearthBite Home to see what else is cooking up on the stove today!
PrintClassic Crispy Southern Cheddar Cheese Straws Recipe

Make these classic Southern Cheese Straws for a perfectly crispy, savory, and cheesy snack. This easy recipe delivers buttery, flavorful bites ideal for parties or game days.
- Prep Time: 20 min
- Cook Time: 12 min
- Total Time: 32 min
- Yield: About 3 dozen 1x
- Category: Appetizer
- Method: Baking
- Cuisine: American
- Diet: Vegetarian
Ingredients
- 1 cup unsalted butter, softened
- 2 cups sharp cheddar cheese, freshly grated
- 2 cups all-purpose flour
- 1/2 teaspoon salt
- 1/4 teaspoon cayenne pepper
- 1/4 teaspoon paprika
- 1 large egg, lightly beaten
Instructions
- Preheat your oven to 400 degrees Fahrenheit. Line two baking sheets with parchment paper.
- In a large bowl, cream together the softened butter and grated cheddar cheese until the mixture is light and fluffy.
- In a separate bowl, whisk together the flour, salt, cayenne pepper, and paprika.
- Gradually add the dry ingredients to the butter and cheese mixture, mixing on low speed until just combined.
- Add the beaten egg and mix until a stiff dough forms. Do not overmix.
- Place the dough between two sheets of parchment paper. Roll the dough out to about 1/8-inch thickness.
- Remove the top sheet of parchment paper. Cut the dough into strips about 1/2-inch wide and 4 to 5 inches long.
- Twist each strip once or twice to form a straw shape. Place the twisted straws onto the prepared baking sheets, leaving a small space between them.
- Bake for 10 to 12 minutes, or until the edges are golden brown and the straws are crisp.
- Let the cheese straws cool on the baking sheet for 5 minutes before transferring them to a wire rack to cool completely. They will crisp up as they cool.
Notes
- Use freshly grated sharp cheddar cheese for the best flavor and texture. Pre-shredded cheese contains additives that can affect crispness.
- You can make this dough ahead of time; wrap it tightly and chill it for up to 3 days before rolling and baking.
- For a variation, substitute half the cheddar with grated Parmesan cheese for a sharper taste.
Nutrition
- Serving Size: 3 straws
- Calories: 110
- Sugar: 0.1
- Sodium: 120
- Fat: 9
- Saturated Fat: 5
- Unsaturated Fat: 4
- Trans Fat: 0.2
- Carbohydrates: 4
- Fiber: 0.2
- Protein: 3
- Cholesterol: 25