
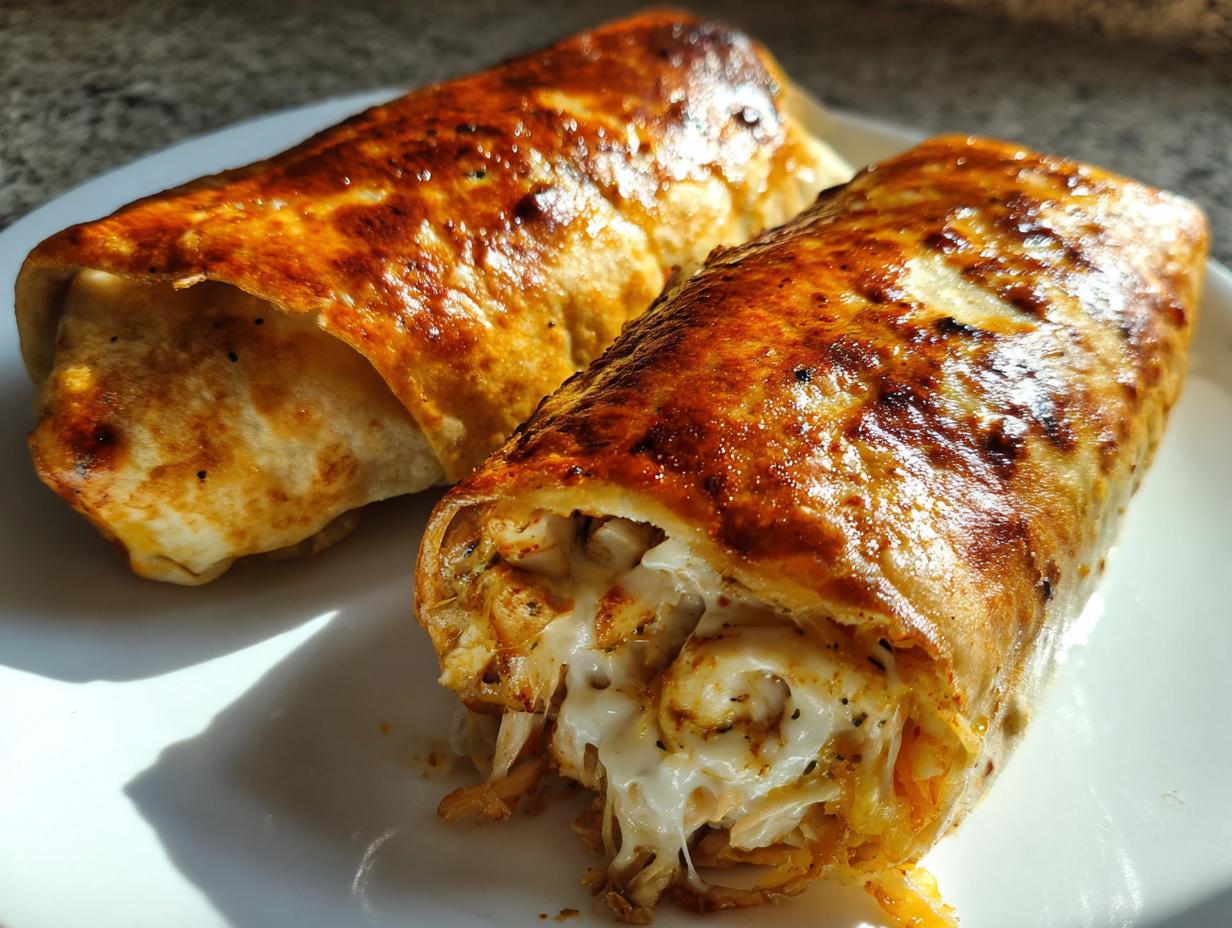
You know those cravings, right? That deep, undeniable pull for authentic Tex-Mex flavor, but you just can’t face the mess or the guilt of deep frying? I totally get it. When my family asks for chimichangas, I want that satisfying crunch, but I also want a recipe that fits right into the schedule of a busy weeknight. That’s why I spent ages tinkering in my Ohio kitchen to nail down the ultimate Baked Chicken Chimichangas. Forget soggy tortillas! My secret is all about technique—using the oven to create a shell that’s genuinely crispy and golden brown, all while keeping the filling juicy and packed with flavor. And if you’re looking for more quick family meals like this, you should check out my collection of quick and easy dinner recipes. This feels like restaurant style, but it’s truly approachable comfort food that brings everyone to the table.
- Why These Are the Best Baked Chicken Chimichangas You Will Make
- Ingredients for Restaurant Style Baked Chicken Chimichangas
- Step-by-Step Instructions for Crispy Baked Chimichangas Recipe
- Tips for Perfect Oven Fried Chimichangas
- Make Ahead Chicken Chimichangas and Storage Instructions
- Serving Suggestions for Your Weeknight Mexican Dinner
- Variations for Baked Chicken Chimichangas
- Frequently Asked Questions About Baked Chicken Chimichangas
- Estimated Nutritional Data for Baked Chicken Chimichangas
Why These Are the Best Baked Chicken Chimichangas You Will Make
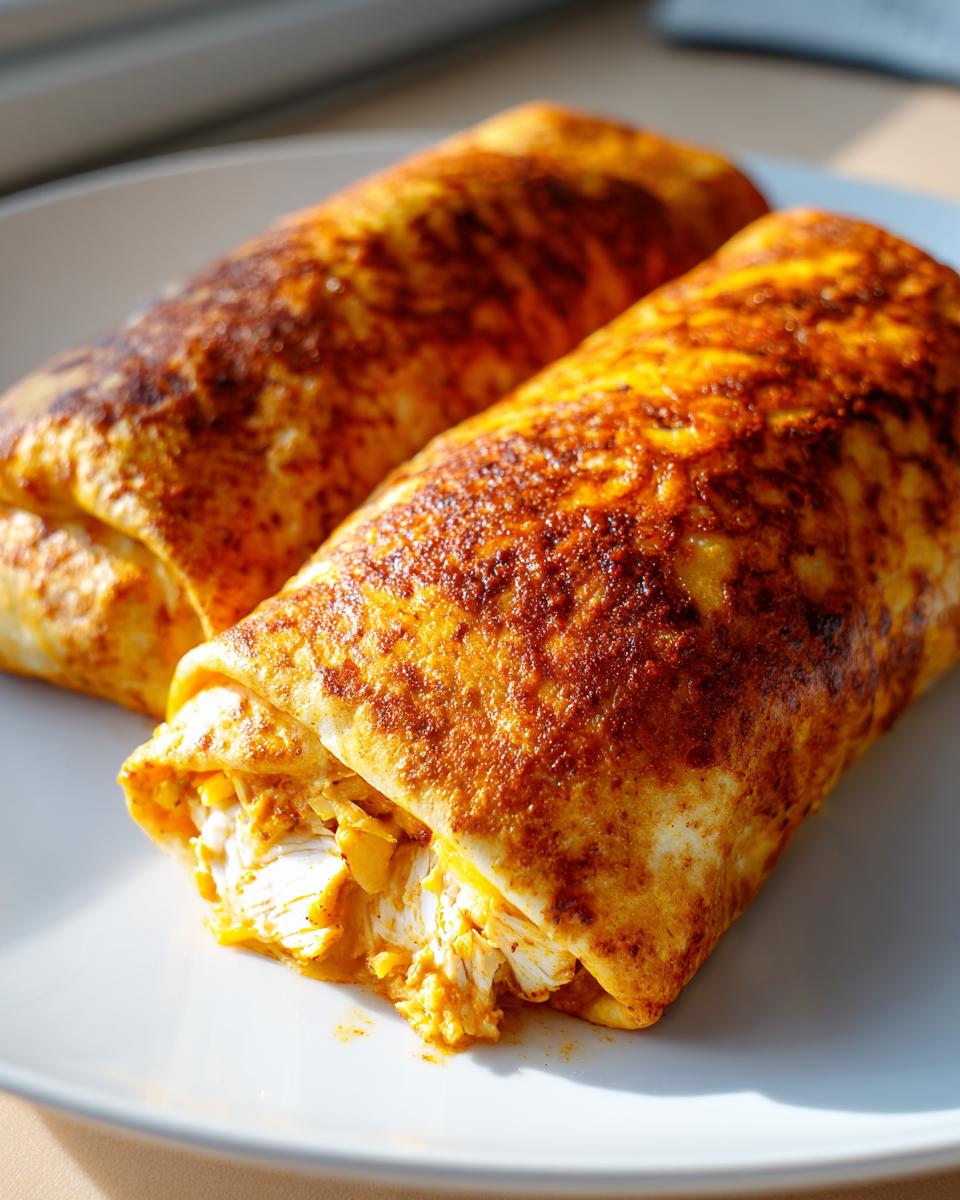
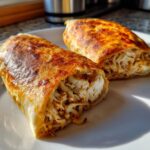
I know what you’re thinking: baked has to mean soft, right? Wrong! I promise you, this Crispy Baked Chimichangas Recipe is miles better than sinking your dinner in oil. We are aiming for textures that are truly better than fried chimichangas, just using the power of a hot oven. This method gives you that satisfying crunch you crave, and honestly, it’s less stressful for weeknights. This is the kind of dependable recipe you’ll find yourself returning to time and again when you want comforting, crowd-pleasing food, just like the best comfort food recipes.
Achieving Golden Brown Baked Tortillas Texture
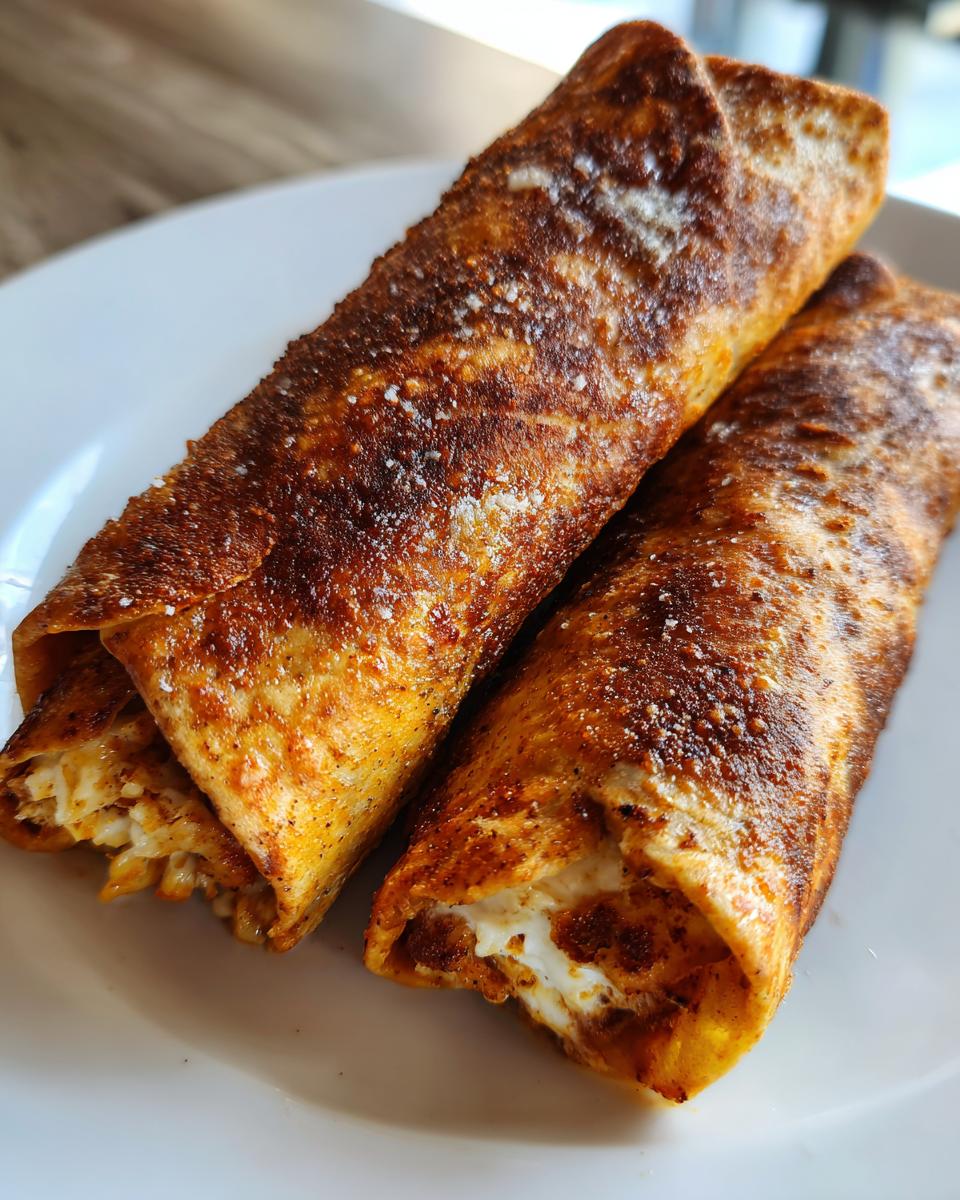
The biggest secret to getting that glorious, shatteringly crisp shell is heat and fat—even when we aren’t frying! First, make sure your oven is screaming hot at 400°F. Never put them in a cold oven; they’ll just steam! Second, don’t be shy with the cooking spray. You need to coat those tortillas generously on all sides. Finally, the flip halfway through is non-negotiable. This ensures both sides get equal time to turn that perfect golden brown.
Flavorful Filling for Easy Baked Chicken Chimichangas
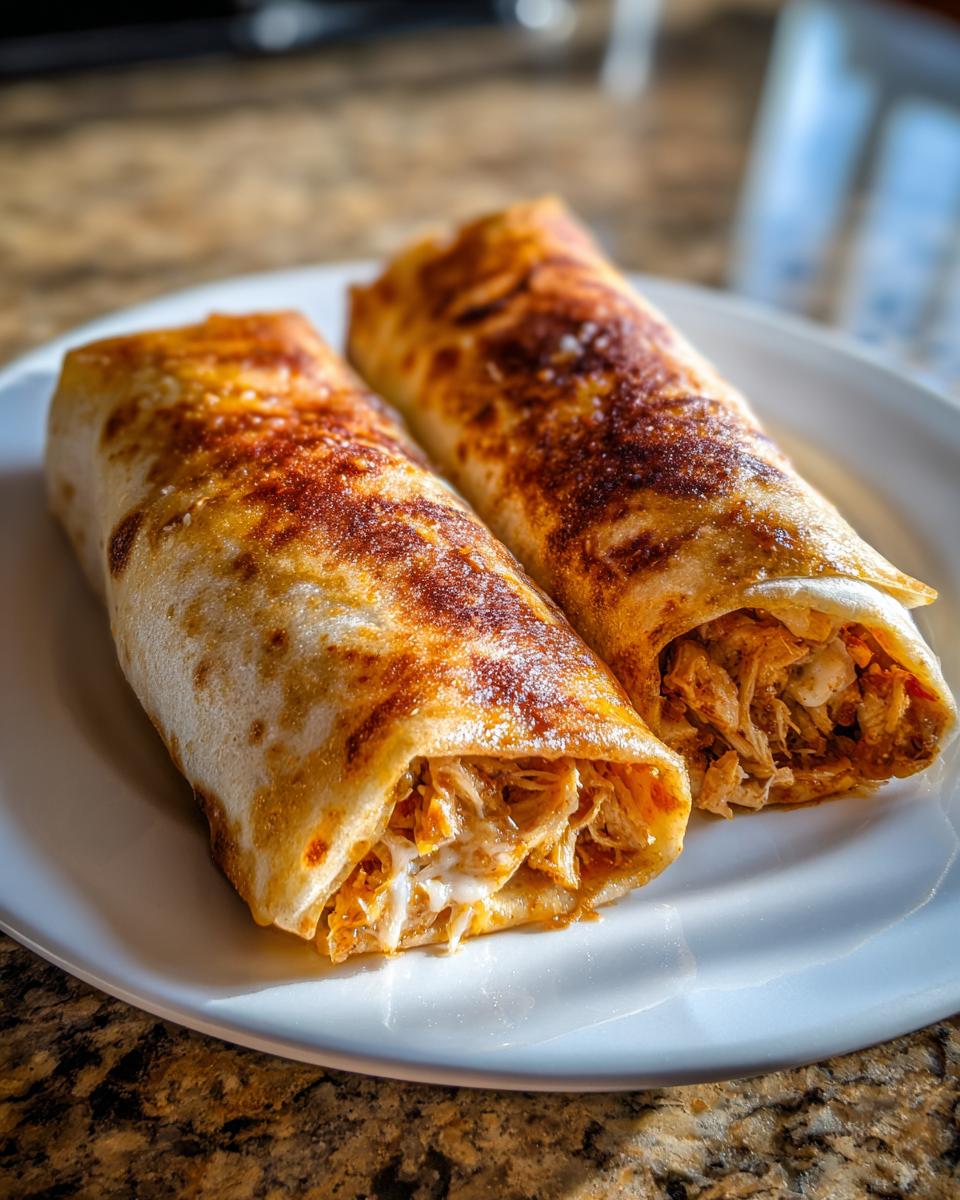
The key to keeping the wrapper crisp is making sure your filling isn’t runny. If the chicken mixture is too wet, it steams the tortilla from the inside out. We add just enough broth to keep the shredded chicken tender and flavorful, binding the spice blend perfectly. This is why these Easy Baked Chicken Chimichangas hold their shape beautifully and don’t spill out when you bite into them!
Ingredients for Restaurant Style Baked Chicken Chimichangas
Gathering your ingredients is always my favorite, most organized part of Mexican night! When I plan ahead for these Baked Chicken Chimichangas, I lay everything out on the counter. Having high-quality ingredients makes a huge difference, even when we’re aiming for a lighter, oven-baked alternative. These proportions are perfect for four hungry people, so plan on doubling up if your crew is bigger!
You’ll need the following to make the filling and the wrap:
- 2 cups cooked, shredded chicken breast – Make sure it’s fully cooked and pulled apart nicely.
- 1 teaspoon chili powder
- 1 teaspoon ground cumin
- 1/2 teaspoon dried oregano
- 1/2 teaspoon garlic powder
- 1/4 teaspoon onion powder
- 1/4 teaspoon salt
- 1/4 teaspoon black pepper
- 1/2 cup chicken broth – Just enough to keep it juicy!
- 1 cup shredded Monterey Jack cheese – Melts like a dream.
- 1 cup shredded cheddar cheese – For that sharp flavor boost.
- 8 large (10-inch) flour tortillas – You need the big ones to wrap tightly!
- Cooking spray (or light olive oil) – This is crucial for getting that golden crust, so spray liberally!
If you’re looking for ways to use those leftover spices or need ideas for quick side dishes, take a peek at my guide to healthy lunch recipes. It’s all about maximizing flavor in every meal!
Step-by-Step Instructions for Crispy Baked Chimichangas Recipe
Alright, let’s get rolling! This is where the magic happens for our Crispy Baked Chimichangas Recipe. Since everything is prepped, the assembly goes so fast. Remember, speed is key when working with the tortillas so they don’t stiffen up on you. I’ve found that if you’re working slow, just grab a slightly damp paper towel and cover the stack of tortillas while you work on the filling—it keeps them beautifully pliable.
- First things first, get that oven hot! Preheat your oven to 400°F (200°C). Don’t rush this; a properly hot oven is what guarantees crispiness later on. Lightly grease a baking sheet, or if you’re feeling smart, line it with parchment paper so cleanup is a breeze.
- Next comes the mixing bowl. Combine your shredded chicken with all those wonderful spices: chili powder, cumin, oregano, garlic powder, onion powder, salt, and pepper. Make sure every piece of chicken is coated. Smell that? That’s the flavor building!
- Now for the crucial moisture step. Add in the chicken broth and stir gently. You want the chicken mixture to be moist enough to hold together, but seriously, stop adding liquid once it seems damp. Too much broth equals sogginess!
- Time to soften those wraps. Warm your eight large tortillas briefly in the microwave—I do mine for about 15 seconds. This is a little trick I learned the hard way! If you try to roll cold tortillas, they crack right down the middle, and nobody wants to stop the assembly line to fix a broken wrap.
- Assemble each one: Place about 1/3 cup of that seasoned chicken mix and a generous 1/4 cup of your mixed cheese right down the center of each warm tortilla.
- Time to seal the deal! Fold the two long sides of the tortilla inward over the filling first. Then, fold the bottom edge up snugly over the edges you just folded, and roll it tightly upwards towards the top seam, just like you’re wrapping a present. Use a toothpick to secure the seam if you need to hold it tight.
- Place the rolled chimichangas seam-side down onto your prepared baking sheet.
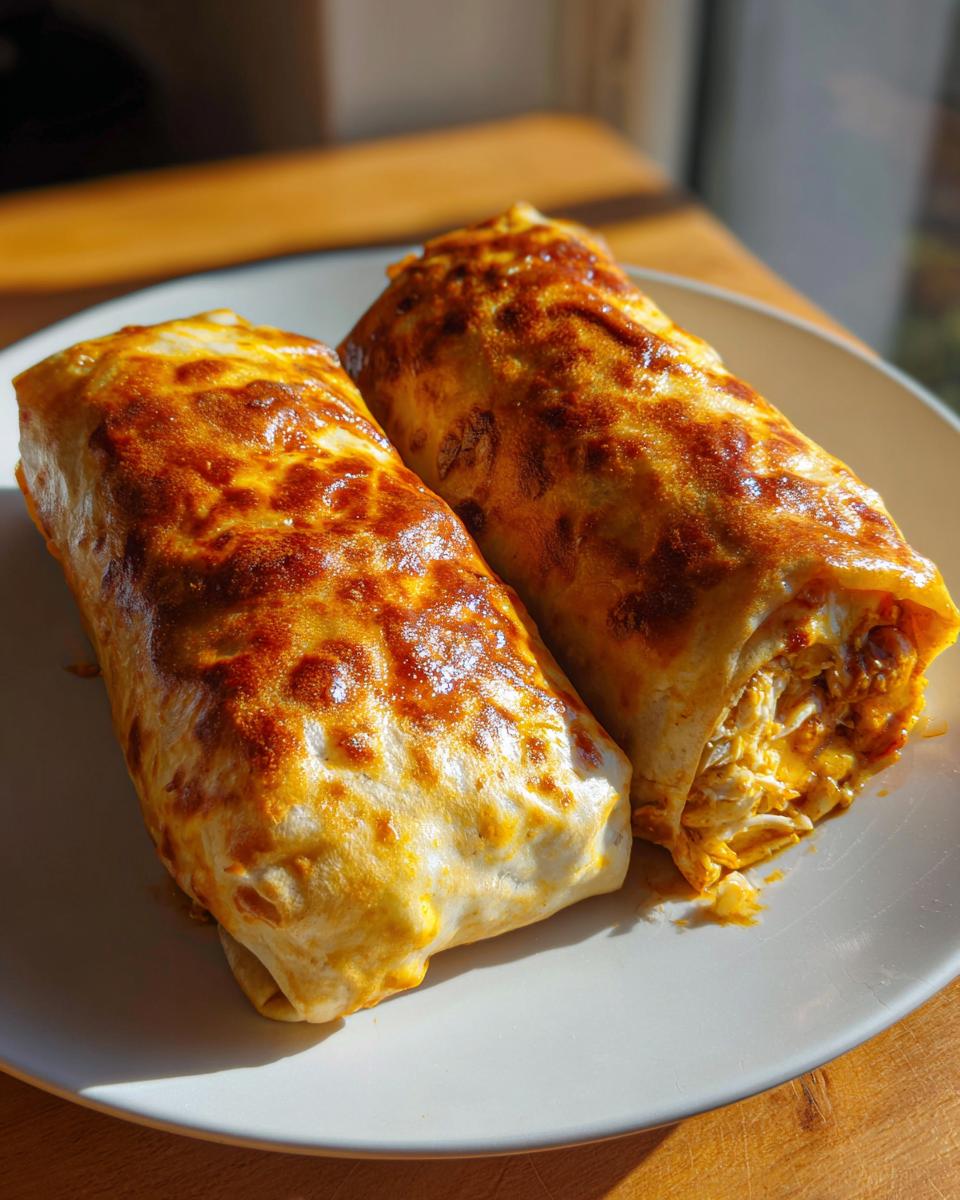
- Here’s the next biggest secret to texture: Spray the tops and sides of every single rolled chimichanga generously with cooking spray. Seriously, coat it well! This acts just like the oil in a fryer, browning the outside beautifully.
- Bake for 15 to 20 minutes total. Make sure you flip them halfway through your baking time. You are looking for that perfect, gorgeous golden brown color all over.
- Once they come out, remember to pull those little toothpicks out before they hit the table! Serve them piping hot with whatever toppings make your heart happy.
If you need some ideas for a fast breakfast while these are baking, I have a few wonderful easy breakfast recipes that might pique your interest for tomorrow morning!
Preparing the Best Chimichanga Filling Recipe
The flavor is all in the blend here! Don’t skimp on rubbing those spices into the shredded chicken. I always use the back of a spoon in the bowl to gently press the broth into the meat so I don’t over-saturate it. If you follow the broth measurement exactly, you’ll achieve the Best Chimichanga Filling Recipe—it’s seasoned perfectly and just moist enough to keep the meat tender inside your **Baked Chicken Chimichangas**.
Rolling and Preparing Baked Chicken Chimichangas for the Oven
When you roll them, compactness is everything! Think tight, like a snugly wrapped sleeping bag. A loose roll lets steam escape improperly and can lead to uneven crisping. Once they are rolled and secured with that toothpick, give them an extra heavy spray with the cooking oil—I truly mean heavy! That coating is what transforms these into Golden Brown Baked Tortillas that taste almost fried.
Tips for Perfect Oven Fried Chimichangas
We all want the crunch without the commitment of deep frying, right? That’s why mastering these Oven Fried Chimichangas is so important! Even though this is a healthier twist, we still need to treat the tortilla wrapper with respect so it crisps up beautifully. These straightforward tips ensure that your Healthy Chicken Chimichangas come out golden and satisfying every single time. If you are looking for other ways to lighten up family favorites, I have tons of ideas in my gluten-free recipes section that keep things light!
Troubleshooting Common Issues with Baked Chicken Chimichangas
The number one issue I hear about is sogginess, and usually, it comes down to two culprits. First, check your filling moisture again. If you thought the filling looked a little dry, you might have added extra broth—don’t! Stick to that half cup. If the filling seems fine but the bottom gets soft, that’s the second problem: heat circulation. Make sure you aren’t crowding the pan, and I often suggest moving the rack up one notch so the bottom of the chimichanga gets more direct heat exposure. A little extra spray right on the underside before flipping makes a huge difference!
Make Ahead Chicken Chimichangas and Storage Instructions
I totally understand that sometimes you can’t get dinner on the table in 35 minutes, even with these quick recipes! That’s why learning how to make these ahead of time is such a game-changer for busy weeks. The good news is that these are fantastic candidates for making ahead. You can assemble these Make Ahead Chicken Chimichangas nearly completely before you need them, which is perfect for those mornings when you know you’ll be racing home tired after work.
When assembling them early, you just follow the rolling instructions exactly as written, but stop right before that final, generous spray of cooking oil. Lay them seam-side down on a parchment-lined baking sheet, cover the whole thing tightly with plastic wrap, and tuck them into the fridge. They are good like this for about 24 hours before baking.
When it’s dinner time, pull them out of the fridge, let them sit on the counter while the oven preheats, give them that generous spritz of cooking spray right before they go in, and bake them! You might need to add about 5 to 8 extra minutes to the baking time since they start colder, but the texture is still amazing. And if you love making things ahead, you have to try my easy homemade soft, chewy sea salt caramels—they are shockingly simple to prep in advance!
As for leftovers? Oh, they are great the next day, but you definitely want to reheat them right. Don’t reach for the microwave, please! If you use the microwave, they instantly turn soft. Instead, reheat your leftover Baked Chicken Chimichangas in a toaster oven or a single layer on a baking sheet in a 350°F oven until the outside feels crisp again. That keeps that lovely golden brown crunch intact!
Serving Suggestions for Your Weeknight Mexican Dinner
A fantastic chimichanga deserves fantastic toppings! These flavor bombs are satisfying all on their own, but serving them up right is what takes them from being a good meal to a truly memorable **Weeknight Mexican Dinner**. When I make these, I always try to have a little colorful spread ready for scooping and dipping. It just makes the whole experience feel more festive, even if the dishes are getting washed right after!
Since the chimichanga filling is savory and cheesy, you want toppings that bring brightness, acidity, and coolness to balance that richness. I always make sure I have lettuce shredded thinly and maybe a homemade quick salsa just to cut through the crunch. If you want a fantastic side that complements all that Tex-Mex flavor, you absolutely must try my skillet cornbread recipe with cast iron crispy edge—it’s incredible alongside these!
Here are the classic accompaniments that I always rely on for my family:
- Cooling Agents: Don’t skip sour cream or plain Greek yogurt for a little cool tang, and of course, fresh guacamole or sliced avocado.
- Bright & Zesty: Homemade Pico de Gallo is unbeatable, but if you’re short on time, store-bought salsa verde adds a wonderful, sharp kick. Remember to add cilantro and fresh lime wedges right to the table!
- The Crunch Factor: A little scattered shredded lettuce or even some pickled jalapeños on top adds another layer of texture we crave in Tex-Mex food.
Honestly, the best part about these Baked Chicken Chimichangas is that they are so hearty, you don’t need much else! But a side of black beans or maybe some Spanish rice makes this a full, comforting family spread.
Variations for Baked Chicken Chimichangas
Just because we are sticking close to the core recipe doesn’t mean we can’t have a little fun with variations! I love tailoring meals to what we have on hand or what mood strikes on a particular night. These simple tweaks keep our go-to Baked Chicken Chimichangas feeling fresh, even when it’s a Tuesday staple. Plus, if you’ve got one of those trendy countertop gadgets, you’re in luck!
For instance, if you want a super-fast, super-crispy version, you can totally adapt this using an air fryer. If you’re looking into that, you might also enjoy my recipe for quick creamy black bean soup which pairs perfectly! Before we jump into the air fryer method, check out this resource for other baked options: easy baked chicken chimichangas.
Quick Add-Ins for an Even Better Filling
While our base filling is simple and delicious, sometimes you want more texture or depth. Never be afraid to experiment with spices or mix-ins! If you swap out some of the cheese for a can of rinsed and drained black beans, it stretches the meal and adds great fiber. Or, if you like a little more heat, try adding smoked paprika or a dash of cayenne pepper to the spice blend. You can also fold in some chopped green chiles right along with the broth for an extra layer of flavor that really pops!
The Secret to Air Fryer Chicken Chimichangas
I’ve played around with my air fryer quite a bit, and it actually works beautifully for these. The process is almost identical, but speed is increased significantly. For Baked Chicken Chimichangas made in the air fryer, I use the same filling and roll them the same way, securing them with toothpicks (definitely use toothpicks here!). Set your air fryer to 375°F (190°C).
Give them a heavy spray coat of cooking oil, just like in the oven method. Air fry in batches so you don’t overcrowd the basket—crowding is the enemy of crispiness! They usually take about 8 to 10 minutes total, flipping halfway through when they look nicely golden on the first side. They get incredibly crunchy this way; sometimes I think they even beat the oven version for pure crisp factor!
Making Cheesy Chicken Chimichangas Even Better
If you’ve got picky eaters or you just want that extreme cheese pull moment, feel free to amp up the cheese! I like to reserve about half a cup of the cheese mixture and sprinkle it right over the top of the rolled chimichangas before that final spray of oil goes on. When it bakes, it melts over the edges and fries up a little bit around the base, creating those little delicious, crispy cheese bits that everyone fights over. Trust me, these Cheesy Chicken Chimichangas are worth the extra sprinkle!
Frequently Asked Questions About Baked Chicken Chimichangas
It’s common to have questions when you switch cooking methods, especially when you’re trying to get that perfect crunch without frying. I’ve answered the biggest things folks ask me when they’re new to making these at home. If you’re looking for more fast solutions for your daily meals, hop over to my quick and easy dinner recipes page—I always have something new developing there!
How do I make my Baked Chicken Chimichangas crispy like fried ones?
This is the million-dollar question! Honestly, it all comes down to two things we discussed, but I’ll say them again because they are that important for achieving those beautiful Golden Brown Baked Tortillas. First, you must preheat your oven to 400°F—no exceptions. Second, you absolutely HAVE to be generous with the cooking spray. You’re creating a protective, fatty layer that mimics oil immersion in the oven. Spray them completely, flip them over, and spray the other side right before they go in. That thorough coating is what delivers the crispness!
Can I use ground chicken instead of shredded chicken for these chimichangas?
You certainly can, but you have to cook the ground chicken first! If you use raw ground chicken, you’ll need to brown it in a skillet completely before adding your spices and broth. The most important part? You must drain off every bit of excess fat after it cooks. Ground meat releases a lot of liquid, and if you don’t drain it all, your filling will become wet, and that will absolutely make your chimichangas soggy, even when baked. Shredded chicken is easier because we start pre-cooked, but ground works fine if you drain well.
Are these considered Healthy Chicken Chimichangas?
Compared to the traditional deep-fried version? Absolutely! Any time you remove submerging something in hot oil, you drastically cut down on saturated fat and calories, making these genuinely Healthy Chicken Chimichangas. We use lean shredded chicken breast and rely on the spices for flavor rather than relying on fat for texture or taste. They offer a wonderful, substantial meal that fits that ‘guilt-free’ feeling we’re always aiming for in the kitchen without sacrificing that savory, cheesy reward!
Estimated Nutritional Data for Baked Chicken Chimichangas
Now, let’s talk numbers. I always aim to give you a clear picture, especially since a big reason we love this recipe is that it’s a lighter way to enjoy our Tex-Mex favorites. As a home cook, I rely on general databases for these figures, but remember, the final count really depends on how much cheese you stack in there and exactly what kind of tortillas you use! If you are looking for more ways to make family favorites lighter, you might enjoy trying out my creamy roasted cauliflower soup recipe next.
These estimates are based on two chimichangas serving size:
- Serving Size: 2 chimichangas
- Calories: 450
- Fat: 18g (This is where we save over frying!)
- Saturated Fat: 9g
- Protein: 30g (That chicken really pulls through!)
- Carbohydrates: 45g
- Fiber: 3g
- Sugar: 3g
- Sodium: 550mg
It’s important to keep in mind that these numbers are just estimates you can start with. If you swap out full-fat cheddar for a reduced-fat version, or use smaller tortillas, those numbers will shift! But overall, this recipe provides a fantastic balance of satisfying protein and carbohydrates for a truly hearty yet approachable dinner.
PrintUltimate Crispy Baked Chicken Chimichangas (Restaurant Style)
Make restaurant-style chicken chimichangas at home without deep frying. This recipe delivers a genuinely crispy, golden shell and a flavorful, seasoned shredded chicken filling, perfect for a healthy weeknight Tex-Mex dinner.
- Prep Time: 15 min
- Cook Time: 20 min
- Total Time: 35 min
- Yield: 4 servings 1x
- Category: Dinner
- Method: Baking
- Cuisine: Tex-Mex
- Diet: Vegetarian
Ingredients
- 2 cups cooked, shredded chicken breast
- 1 teaspoon chili powder
- 1 teaspoon ground cumin
- 1/2 teaspoon dried oregano
- 1/2 teaspoon garlic powder
- 1/4 teaspoon onion powder
- 1/4 teaspoon salt
- 1/4 teaspoon black pepper
- 1/2 cup chicken broth
- 1 cup shredded Monterey Jack cheese
- 1 cup shredded cheddar cheese
- 8 large (10-inch) flour tortillas
- Cooking spray (or light olive oil)
Instructions
- Preheat your oven to 400°F (200°C). Lightly grease a baking sheet or line it with parchment paper.
- In a medium bowl, combine the shredded chicken, chili powder, cumin, oregano, garlic powder, onion powder, salt, and pepper. Mix well to coat the chicken evenly.
- Add the chicken broth to the chicken mixture and stir until the mixture is moist but not wet. This keeps the filling juicy.
- Warm the tortillas briefly in the microwave (about 15 seconds) to make them pliable and prevent tearing.
- Place about 1/3 cup of the seasoned chicken mixture and 1/4 cup of the mixed cheese down the center of each tortilla.
- Fold the sides of the tortilla inward over the filling, then tightly roll the tortilla from the bottom up, creating a compact burrito shape. Secure with a toothpick if necessary.
- Place the rolled chimichangas seam-side down on the prepared baking sheet.
- Generously spray the tops and sides of the chimichangas with cooking spray. This step is key for achieving a golden brown, crispy texture.
- Bake for 15 to 20 minutes, flipping halfway through, until the tortillas are golden brown and crisp.
- Remove toothpicks before serving hot with your favorite toppings like salsa, sour cream, or guacamole.
Notes
- For the crispiest baked chicken chimichangas, ensure you spray the tortillas thoroughly with cooking spray before baking. This mimics the effect of frying oil.
- You can prepare the filling ahead of time and store it in the refrigerator for up to two days.
- If you have leftover cooked chicken, this recipe comes together very quickly for a weeknight Mexican dinner.
Nutrition
- Serving Size: 2 chimichangas
- Calories: 450
- Sugar: 3
- Sodium: 550
- Fat: 18
- Saturated Fat: 9
- Unsaturated Fat: 9
- Trans Fat: 0
- Carbohydrates: 45
- Fiber: 3
- Protein: 30
- Cholesterol: 85