
Oh, I know that feeling! You walk into an Italian bakery, the air smells sweet and rich, and you spy those gorgeous, perfectly piped cookies behind the glass. You buy a dozen, hoping they taste like heaven, but sometimes they end up a little dry or crumbly, right? Well, stop dreaming of the bakery case because I’ve finally nailed the recipe for that tender, melt-in-your-mouth magic right here in my own kitchen. These authentic **italian butter cookies** are unbelievably delicate. For me, these cookies bring back the absolute best kind of quiet comfort, like your favorite worn blanket, which is why I always turn to my collection of comfort food recipes when I need a guaranteed win. They are proof that simple ingredients, treated right, can give you something truly extraordinary and totally timeless. Get ready to make the softest cookies you’ve ever imagined!
- Why This is the Best Bakery Style Italian Cookies Recipe
- Essential Ingredients for Authentic Italian Butter Cookies
- How to Make Italian Butter Cookies: Step-by-Step Guide
- Decorating Your Homemade Italian Bakery Cookies
- Tips for Success with Your Vanilla Butter Cookies Recipe
- Storage & Reheating Instructions for Classic Italian Pastry Cookies
- Frequently Asked Questions About Italian Butter Cookies
- Estimated Nutritional Information for Italian Butter Cookies
- Share Your Homemade Italian Butter Cookies Experience
Why This is the Best Bakery Style Italian Cookies Recipe
Listen, if you want that Bakery Style Italian Cookies experience, you need a recipe that commits to tenderness. Too many recipes give you something closer to a shortbread, but not these! They practically disappear the second they hit your taste buds. Trust me, these are worth it.
- Authentic, rich buttery flavor that tastes like the holidays.
- Super easy—no chilling required before piping! Check out how to make other easy cookies too.
- The texture is pure silk: truly melt-in-your-mouth.
Achieving Melt In Your Mouth Cookies Texture
The secret to those melt in your mouth cookies is twofold: we use only powdered sugar, not granulated, because it dissolves much cleaner. Also, those two egg yolks? They add just enough fat and richness without making the dough too wet. That combination is what lets these italian butter cookies absolutely dissolve on your tongue.
Essential Ingredients for Authentic Italian Butter Cookies
The beauty of these italian butter cookies recipe is that they don’t need a million things floating around in the bowl—it’s all about quality and proportion. When you’re aiming for that intense buttery taste, you really can’t cheat on the core components. Here’s exactly what you’ll need gathered before you start creaming everything together:
- 1 cup unsalted butter, softened (Must be properly softened, friends!)
- 1 cup powdered sugar
- 2 large egg yolks (Just the yolks—this is important!)
- 1 teaspoon vanilla extract
- 1/2 teaspoon almond extract
- 2 1/2 cups all-purpose flour
- 1/4 teaspoon salt
- For decoration (optional): 4 ounces semi-sweet chocolate, melted, or raspberry jam
I also have a little guide on super simple 3-ingredient cookies if you ever need a quick fix, but for these, grab everything on this list!
Ingredient Notes and Substitutions for Soft Italian Cookies
You noticed I said unsalted butter, right? That’s because we control the salt level ourselves with that tiny bit of added salt! Using all salt (like a stick of salted butter) throws off the balance. For the flavor extracts, the combination of vanilla and almond is what gives you that true classic Italian pastry cookies taste. Now, if you really, really despise almond extract, you can use the full two teaspoons of vanilla extract instead. However, skipping the almond means you lose a little bit of that specific bakery depth in your italian butter cookies.
How to Make Italian Butter Cookies: Step-by-Step Guide
Okay, now for the fun part! Making these italian butter cookies is super straightforward, but timing is everything, especially when we are going for that perfect piped shape. Remember, we want soft cookies, but we aren’t whipping up a cloud here; we are building structure with that fat and sugar working together first.
The first step is creaming that soft butter with the powdered sugar until it’s visibly lighter—I mean, really cream it! Then you add the yolks and extracts. Don’t rush this part at all; it sets the stage for the whole cookie. Once you add the flour and salt, you need to switch your mindset immediately.
Mixing the Dough for Perfect Piped Butter Cookies
When that flour goes in, you have to be gentle! I mix mine on the absolute lowest speed until it *just* comes together. Seriously, stop the moment you see no more dry streaks of flour. Overmixing at this stage develops gluten, and that’s how you turn these delicate dreams into tough little hockey pucks. We are aiming for soft, buttery texture, not chewiness, so stop when it barely forms a soft dough. If you want to see how I handle other soft doughs, check out my tips for soft peanut butter cookies—the concept of not overworking the flour is the same!
The Importance of Chilling Your Italian Butter Cookies Dough
This step is non-negotiable if you want those beautiful, professional-looking swirls! After you get the soft dough into your piping bag, you must chill it. I put the entire sheet pan right into the fridge for at least 30 minutes. Why? Because when the dough is cold, the butter firms up again. When the firm dough hits the hot oven, it won’t immediately spread outward into flat puddles. Chilling ensures your piped rosettes or swirls keep that lovely height and definition—that’s the secret to making homemade italian bakery cookies!
Decorating Your Homemade Italian Bakery Cookies
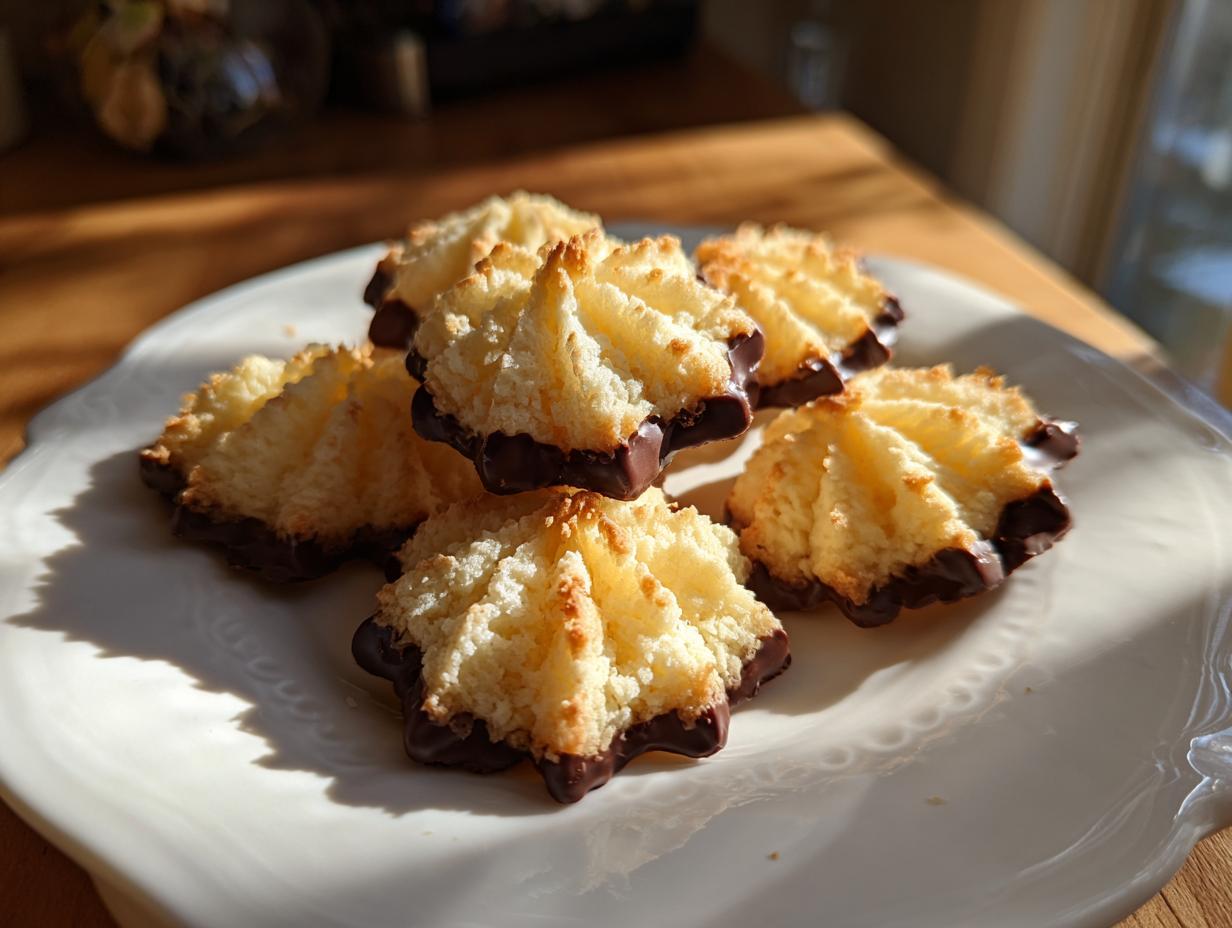
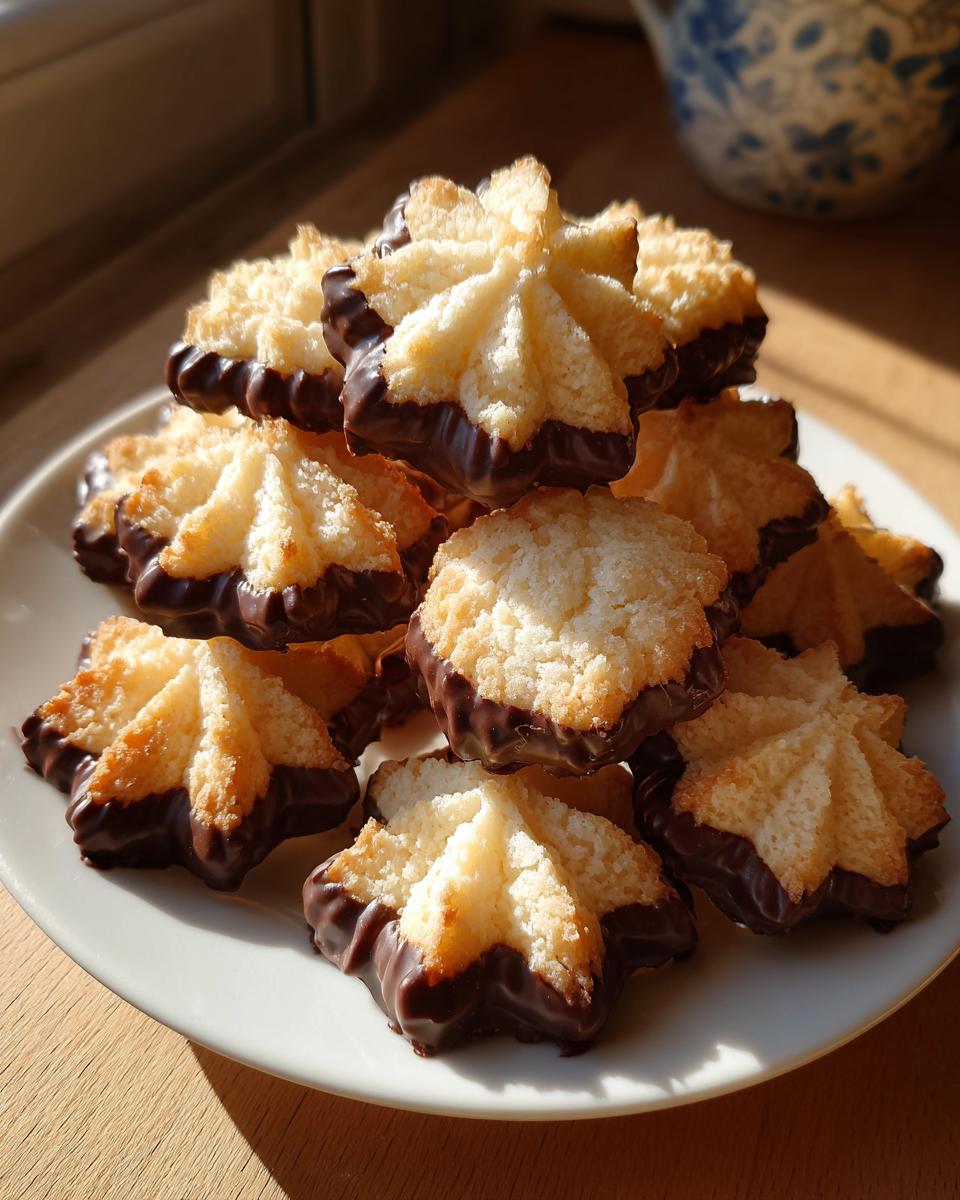
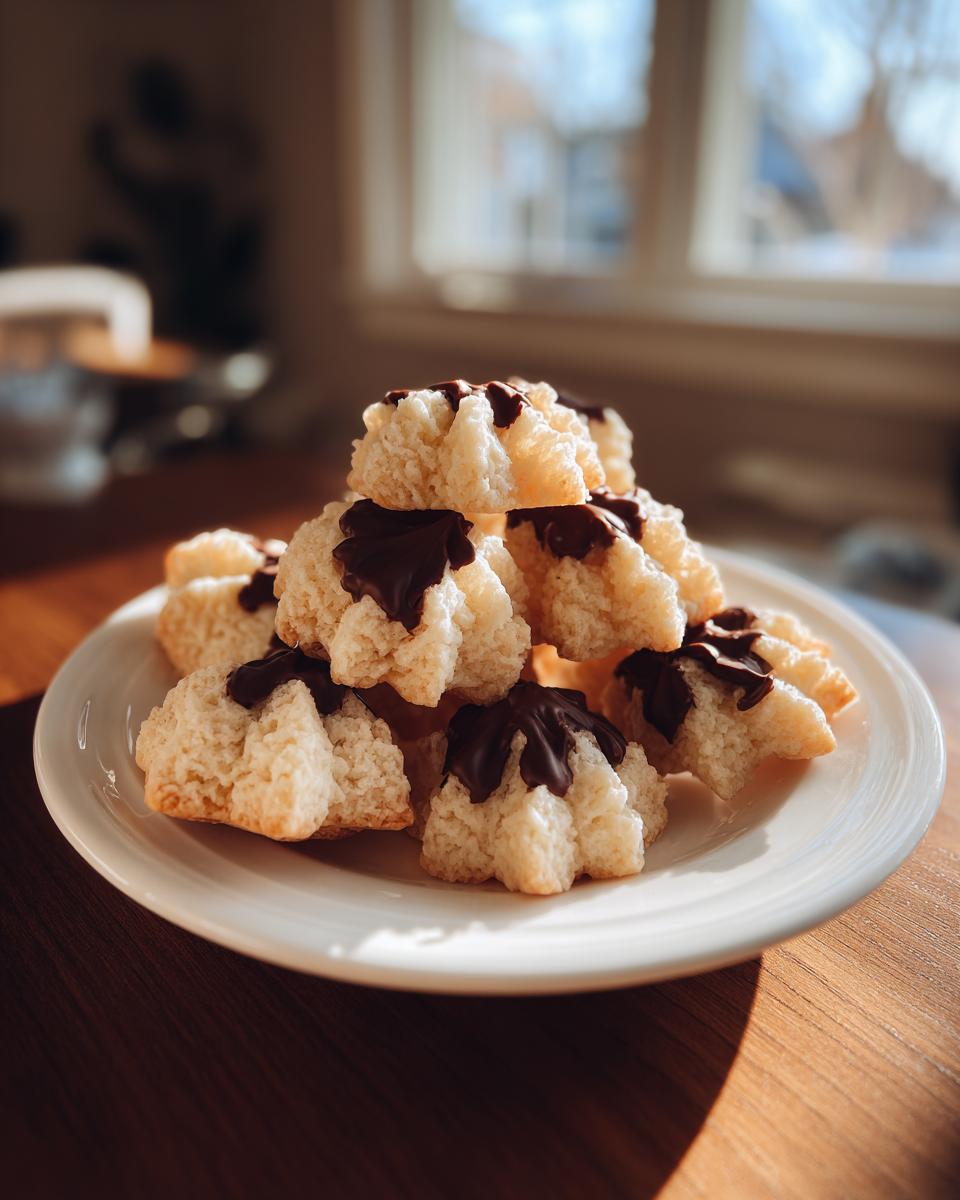
Once those gorgeous italian butter cookies are fully cooled, it’s time to make them look truly authentic. If you want that classic look, you have two amazing options. First, you can sandwich two cookies together with a nice, bright dollop of raspberry jam—it’s a classic for a reason!
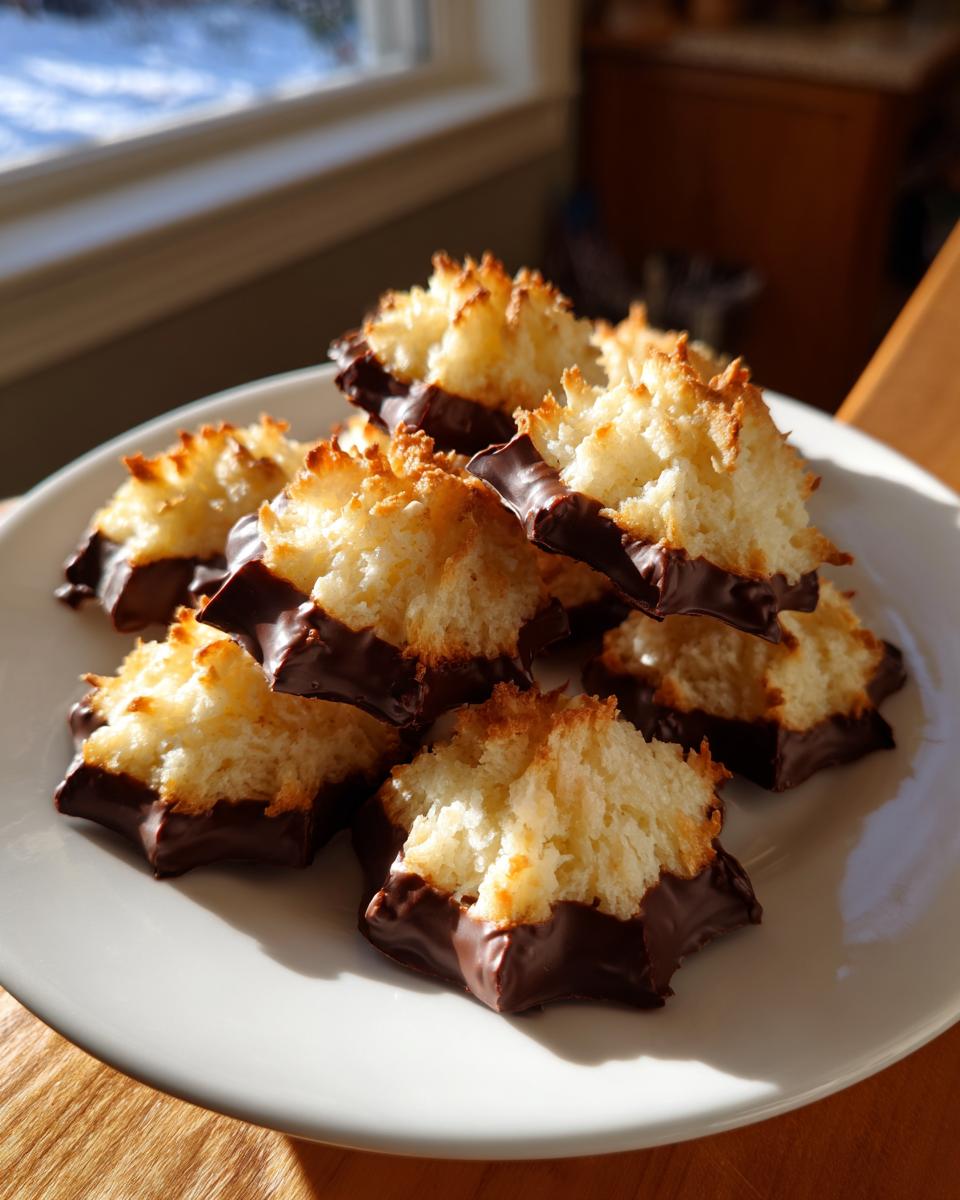
If you’re aiming for the chocolate-dipped look, which honestly just screams celebration, here’s my no-fuss tip: Don’t even mess with melting chocolate bars if you’re new to this. Grab some good quality semi-sweet melting wafers or candy melts. They stay smooth much longer, which means you get a cleaner dip! Just melt them gently, dip one end of the cool cookie, let the excess drip off, and set them on wax paper to dry. You can see some fantastic examples of these gorgeous variations over at Hearts Content Farmhouse, which always inspires my holiday trays!
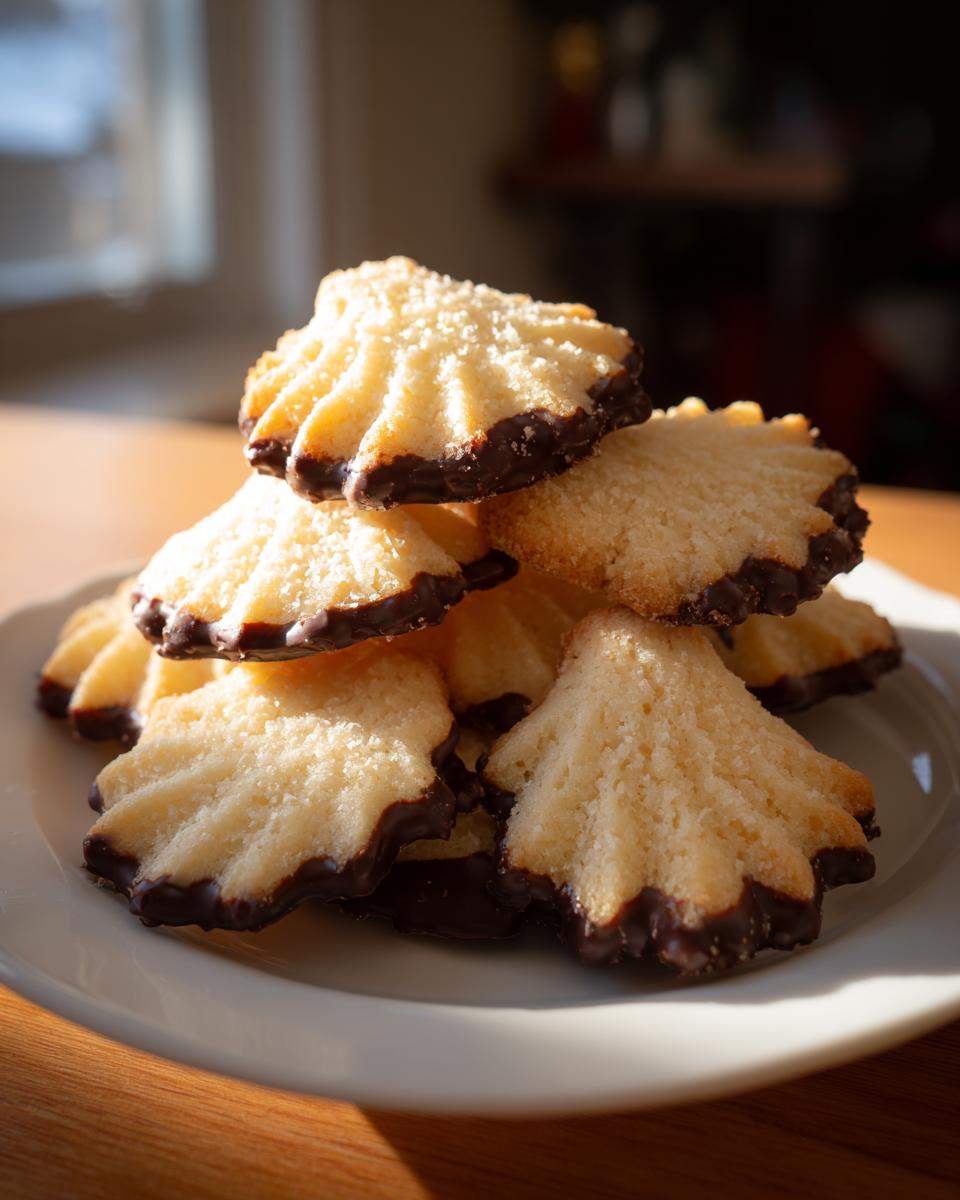
If all that sounds like too much fuss, you can always just dust them lightly with powdered sugar after they cool. They are perfect either way, but those dipped or filled ones always feel extra special. If you want to practice your dipping skills on something else first, check out my guide for fudgy red velvet brownies—it takes some finesse!
Tips for Success with Your Vanilla Butter Cookies Recipe
Even though this is an Easy Italian Cookie Recipe, a few little secrets will guarantee you get those incredibly consistent, perfect results every single time. Think of these as the little nudges I give you from my own kitchen to make sure your buttery italian shortbread turns out just right.
First, let’s talk temperature. The main rule for these vanilla butter cookies recipe is that the butter needs to be perfectly softened—I mean, you push your finger in and it leaves a slight indent, but it shouldn’t feel greasy or warm. If your butter is too soft, guess what happens? Spreading! And we absolutely cannot have our pretty swirls turning into flat puddles when we’re aiming for that homemade italian bakery cookies look.
Now, what if your hand is cramping doing all that piping, or maybe you just don’t have a bag and tip handy? Don’t freak out! You don’t need a piping bag if you don’t want to use one. A cookie press works like a charm for these italian butter cookies. You just press the dough out onto the parchment paper in whatever fun shape you like, chill it well, and bake. Easy peasy!
Also, I know some of you bakers like to get ahead of the game, so here’s a great trick from the back of my recipe card: these can be frozen before you bake them! Just pipe them as normal onto the sheet pan, cover that securely, and pop it in the freezer. When you decide you need cookies—BAM!—you bake them straight from frozen, just add about two or three extra minutes to the baking time. It’s a lifesaver for holiday baking, or just when you want fresh cookies without all the prep work later. For another reliably tender recipe, you should peek at my guide for fluffy bakery-style scones; the technique for keeping things cold matters there, too.
Finally, if you want to experiment a bit before you start dipping them in chocolate, you can divide the batch of base dough and add a tiny bit of food coloring to make pretty pastel swirls. That’s a trick I saw over at Carla’s Kitchen, and it adds such a festive look to the tray!
Storage & Reheating Instructions for Classic Italian Pastry Cookies
Since these classic Italian pastry cookies are so rich in butter, the way you store them really makes a difference in keeping that melt-in-your-mouth quality alive. Once they are totally cool—and I mean *totally* cool—I always pop mine into an airtight container. They do really well just sitting on the counter at room temperature for about five days. If you put them in the fridge, though, they might get a little firmer than I like!
But here is my biggest secret for never running out: you can freeze these beauties before you bake them! The recipe notes mentioned this, and honestly, it’s a lifesaver. Just pipe your swirls onto a baking sheet, cover the whole thing tightly with plastic wrap, and stick it in the freezer. When you suddenly need italian butter cookies, bake them straight from frozen, just remember to add about two or three extra minutes to your time. It’s my favorite shortcut for making homemade caramels when I crave something sweet fast!
Frequently Asked Questions About Italian Butter Cookies
I totally get it—when you’re looking for the perfect Italian Butter Cookies Recipe, you’ve got questions! It’s all about getting that bakery quality in your own oven, and a few small decisions can make a big difference in your final result. I’ve rounded up the things folks ask me most often about achieving those soft, perfect italian butter cookies.
Can I skip chilling the dough for these Italian Butter Cookies Recipe?
Honestly? Please don’t! If you are aiming for those beautiful, tall swirls that define the Bakery Style Italian Cookies look, chilling isn’t optional, it’s essential. If you pipe the dough when it’s too warm, that high butter content melts instantly in the heat, and your cookies turn into flat, sad little pancakes. Chilling firms up that butter just enough so the piped shape holds its structure while it bakes. That chilling time is crucial padding for your baking success!
How do I make these into Jam Filled Butter Cookies?
Oh, making the Jam Filled Butter Cookies gives them such a festive pop of color! The easiest way, especially since this dough is so soft, is to bake all your cookies as simple, flat rosettes first according to the instructions. Once they are completely cool, you simply take two matching cookies and sandwich them together using a little dollop of your favorite raspberry jam in between. If you want the thumbprint look, use a piping tip or your greased thumb to make a dent in the center *before* you chill them, and then fill that dent with jam right before baking!
If you are looking for other fun baking adventures, you should totally check out my guide on making fluffy homemade marshmallows—they are so much easier than you think!
Estimated Nutritional Information for Italian Butter Cookies
I always tell people that baking is a labor of love, not calorie counting, but I know sometimes you want the overview! Based on the recipe provided, here are the estimated nutritional details for one cookie. Again, this is just an estimate, so your actual numbers will vary depending on what brand of butter or sugar you use. You can get my recipe for a super quick black bean soup if you need something savory later!
- Serving Size: 1 cookie
- Calories: 120
- Sugar: 8g
- Sodium: 35mg
- Fat: 8g (5g Saturated)
- Carbohydrates: 11g
- Protein: 1g
Think of these as a treat meant to be savored, not stuffed! They are pure, elegant butter joy.
Share Your Homemade Italian Butter Cookies Experience
Whew! Now that you’ve got the technique down for making the most incredibly tender, melt-in-your-mouth italian butter cookies, I really, really want to hear how they turned out for you! Baking is all about sharing, isn’t it? Whether you kept them plain, went wild with jam filling, or dipped every single one in glossy chocolate, I want to see your creations!
Please leave a rating below—five stars if they disappeared as fast as mine do! And seriously, jump down into the comments and tell me what you thought. Did that brief chilling time keep your swirls perfect? Did the almond extract give you that authentic flavor kick?
If you took a picture of your beautiful tray of homemade italian bakery cookies, I encourage you to share it! If you have any lingering questions about technique or substitutions that I might not have covered, please send them my way via my contact page. I love seeing this classic recipe bring a bit of Italian bakery magic into your home. Happy baking, friends!
PrintBakery-Style Melt-In-Your-Mouth Italian Butter Cookies

Make authentic Italian butter cookies at home that achieve that tender, melt-in-your-mouth texture found in the best Italian bakeries. This easy recipe yields buttery, delicate cookies perfect for any occasion.
- Prep Time: 25 min
- Cook Time: 12 min
- Total Time: 67 min
- Yield: About 3 dozen 1x
- Category: Dessert
- Method: Piping/Baking
- Cuisine: Italian
- Diet: Vegetarian
Ingredients
- 1 cup unsalted butter, softened
- 1 cup powdered sugar
- 2 large egg yolks
- 1 teaspoon vanilla extract
- 1/2 teaspoon almond extract
- 2 1/2 cups all-purpose flour
- 1/4 teaspoon salt
- For decoration (optional): 4 ounces semi-sweet chocolate, melted, or raspberry jam
Instructions
- In a large bowl, cream the softened butter and powdered sugar together until the mixture is light and fluffy. This step is key for a tender cookie.
- Beat in the egg yolks, vanilla extract, and almond extract until fully combined. Scrape down the sides of the bowl as needed.
- In a separate bowl, whisk together the flour and salt. Gradually add the dry ingredients to the wet ingredients, mixing on low speed until just combined into a soft dough. Do not overmix.
- Transfer the dough to a large piping bag fitted with a large star tip (like a Wilton 1M).
- Pipe the dough onto baking sheets lined with parchment paper into desired shapes, such as swirls or rosettes.
- Chill the piped cookies on the baking sheets in the refrigerator for at least 30 minutes. This prevents spreading during baking.
- Preheat your oven to 350°F (175°C).
- Bake the chilled cookies for 10 to 12 minutes, or until the edges are set and very lightly golden. They should remain pale in the center for a soft texture.
- Let the cookies cool on the baking sheet for 5 minutes before carefully transferring them to a wire rack to cool completely.
- If decorating, dip half of each cooled cookie into melted chocolate or sandwich two cookies together with a small amount of raspberry jam. Allow chocolate to set before serving.
Notes
- For the best melt-in-your-mouth texture, ensure your butter is properly softened but not melted.
- If you do not have a piping bag, you can press the dough through a cookie press or chill the dough thoroughly and cut out shapes using cookie cutters.
- For a bakery-style finish, you can add a few drops of food coloring to a portion of the dough for variety before piping.
- These cookies freeze well before baking; place frozen cookies directly onto the baking sheet and add 2-3 minutes to the baking time.
Nutrition
- Serving Size: 1 cookie
- Calories: 120
- Sugar: 8g
- Sodium: 35mg
- Fat: 8g
- Saturated Fat: 5g
- Unsaturated Fat: 3g
- Trans Fat: 0g
- Carbohydrates: 11g
- Fiber: 0g
- Protein: 1g
- Cholesterol: 30mg