
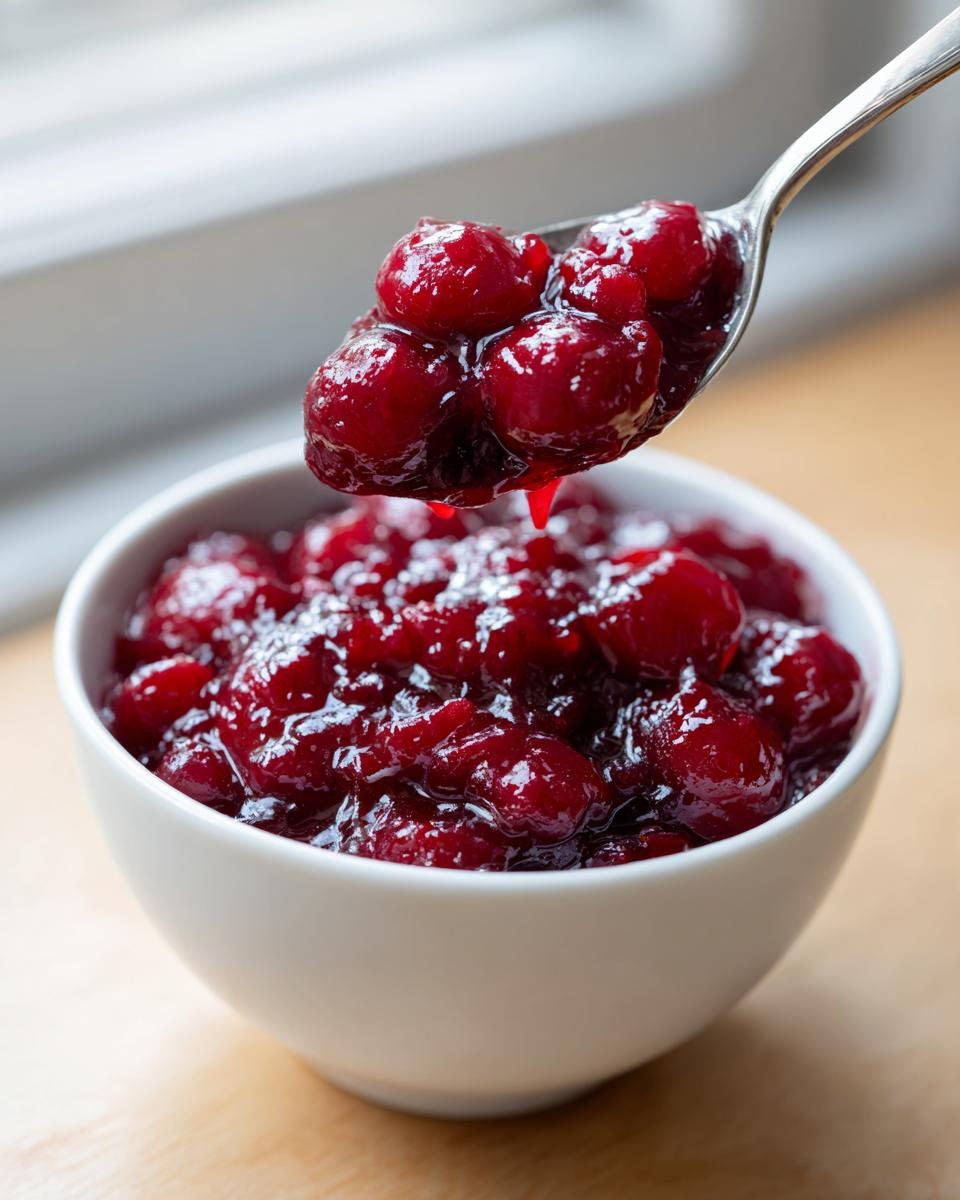
Okay, let’s talk honesty for a second. If you’re still reaching for that can of gummy, overly sweetened stuff when you need cherry pie filling, you are missing out on pure joy! I’m Sarah, and here at HearthBite, we believe that anything worth eating is worth making from scratch. This recipe isn’t just another version; it’s the absolute best, thick, and juicy homemade cherry pie filling from scratch you’ll ever need. It’s deeply comforting, just like those old family recipes I grew up with, but it’s ready in under 30 minutes! The smell alone when this sweet-tart filling simmers is enough to bring everyone running to the kitchen.
- Why This Homemade Cherry Pie Filling Recipe Stands Out
- Gathering Ingredients for Your Easy Cherry Pie Filling
- How To Make Cherry Pie Filling: Step-by-Step Instructions
- Tips for Success When Making Cherry Filling With Frozen Cherries
- Versatile Uses for Your Quick Cherry Filling
- Storage and Make-Ahead Tips for Homemade Dessert Toppings
- Frequently Asked Questions About Making Cherry Pie Filling
- Estimated Nutritional Breakdown for Cherry Filling From Scratch
- Share Your Best Cherry Pie Filling Creations
Why This Homemade Cherry Pie Filling Recipe Stands Out
We are ditching the runny messes and the overly sweet canned versions for good. This recipe is my answer to anyone who thinks making pie filling is hard. Trust me, it’s fast, and the results are miles beyond anything you buy in a jar. Here’s why I think this is the Best Cherry Pie Filling for Pies:
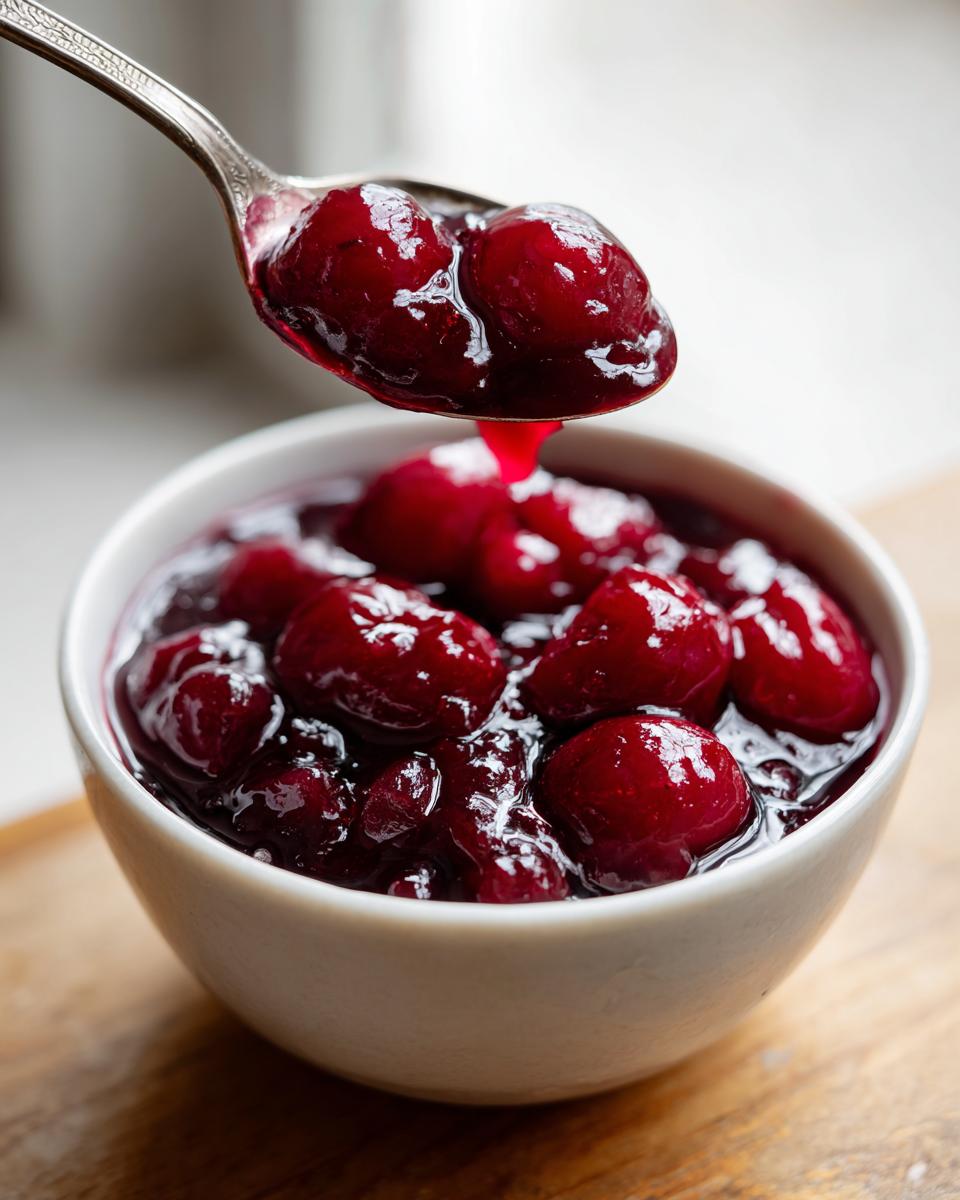
- It delivers unbelievably Juicy Cherry Filling From Scratch without any soupiness.
- It hits that perfect sweet-tart note that makes the cherries sing.
- It comes together faster than you can preheat your oven properly!
Achieving Bakery Style Cherry Pie Filling Texture
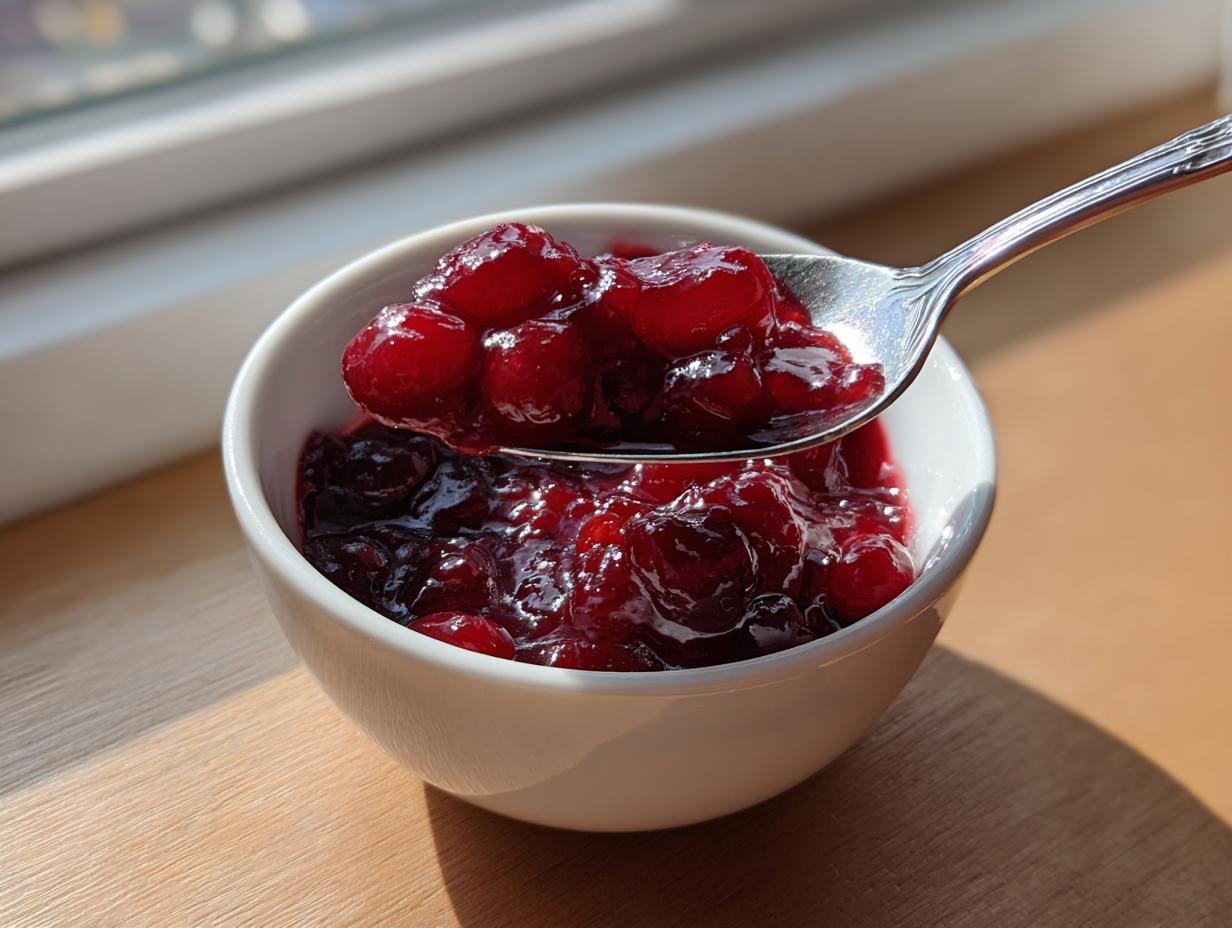
The secret to that gorgeous, sliceable texture—the one you see in those fancy bakery display cases—is honestly just the right amount of cornstarch mixed with cold water. We create a slurry that activates perfectly when it hits the simmering cherries. Testing for doneness is easy: when it starts bubbling slowly and coats the back of a spoon thickly, you know you’ve nailed that Thick Cherry Pie Filling consistency. No more runny puddles, I promise!
Sweet Tart Cherry Filling Flavor Profile
I’m not a fan of desserts that hit you with pure sugar right up front. This Sweet Tart Cherry Filling balances beautifully. We use just enough sugar to tame the tartness of the cherries, but the real star that elevates it? Almond extract! It deepens the cherry flavor in a way vanilla just can’t touch. It’s subtle, but it makes all the difference for a bakery-style result.
Gathering Ingredients for Your Easy Cherry Pie Filling
When you’re making cherry pie filling from scratch, having everything ready to go makes this process so speedy! Because this cooks up fast, you really want your ingredients measured out beforehand. The list looks straightforward, but those few additions are what make this topping so incredible. We’re splitting the sugar, which I know looks odd, but trust me, this method works perfectly for dissolving everything correctly.
Here’s what you’ll need for about four cups of filling:
- 4 cups fresh or frozen sweet cherries, and please make sure they are pitted!
- 1 cup granulated sugar (this helps draw the initial juice out)
- 1/2 cup granulated sugar
- 1/4 cup cornstarch (our secret weapon for texture!)
- 1 tablespoon lemon juice
- 1/2 teaspoon almond extract
- 1/4 teaspoon salt
- 2 tablespoons cold water
Ingredient Notes and Substitutions for Cherry Filling From Scratch
This recipe happily accepts either fresh or frozen cherries; just don’t thaw the frozen ones first—toss them right in! If you can find sour cherries when they are in season, swap half of the sweet cherries for that extra tang. The cornstarch is essential for creating that thick, glossy coating we love in a Thick Cherry Pie Filling. My tip? If you’re lucky enough to be near a local orchard, get those fresh cherries direct from the source; the flavor difference is unreal!
How To Make Cherry Pie Filling: Step-by-Step Instructions
Getting this cherry pie filling right is all about timing and knowing when to use the whisk! Once you see those juices start bubbling, it moves fast, so having your cornstarch ready is key. Don’t worry if you’ve never made a slurry before; it’s the easiest way to guarantee a lump-free, thick texture that holds up perfectly beneath that flaky crust.
Cooking Down the Cherries and Sugar
First thing’s first: grab a medium saucepan. You can use your frozen cherries straight from the freezer—no thawing needed! Toss them in with the first measurement of sugar (that one cup). Set your stove to medium heat. You want to cook this mixture, stirring now and then, until you see the cherries have completely softened and released all their beautiful juice, usually about 5 to 8 minutes.
Creating the Thickening Slurry for Juicy Cherry Filling
While the cherries are doing their thing, we prepare our magic potion. In a completely separate, small bowl, grab the *rest* of your sugar, the cornstarch, and that tiny pinch of salt. Whisk these dry ingredients together until there are absolutely no white lumps left. Then, drizzle in the two tablespoons of cold water and whisk again until you have a smooth, thin liquid—that’s your slurry for that Juicy Cherry Filling From Scratch.
Thickening and Finishing Your Homemade Cherry Pie Filling
This is where the action happens! Slowly pour that smooth slurry into the simmering cherry mixture while you whisk constantly. Keep whisking! After just 2 to 4 minutes, you’ll see things change dramatically; it will start bubbling thickly. This is your sign to immediately pull the pan off the heat. Stir in the lemon juice and that splash of almond extract. That’s it! Don’t forget to check out the process for apple pie filling for a lovely autumn variation!
Tips for Success When Making Cherry Filling With Frozen Cherries
I get asked all the time if you can really make amazing cherry pie filling with frozen cherries, and the answer is a resounding yes! The key detail, which I stressed in the instructions, is *not* thawing them first. Cooking them straight from the freezer ensures they hold their shape better during that initial cook-down. We want juicy but intact cherries, not mush! If you are ever looking for more quick dessert ideas, I always see great ones over at this resource.
This recipe is designed for reliability, whether you’re using what’s fresh right now or something you pulled from the freezer stash last winter. It’s the perfect ‘quick cherry filling’ for those times when inspiration strikes!
Cooling and Resting the Cherry Pie Filling
This final step is utterly non-negotiable if you want that bakery-style texture. Once the filling is thick, you need to transfer it to a bowl and press plastic wrap right onto the surface. This stops that weird skin from forming! Then, you must chill it completely, at least two hours. That resting time allows the cornstarch structure to fully set up, ensuring your pie isn’t watery.
Versatile Uses for Your Quick Cherry Filling
Seriously, once you have this incredible, thick cherry pie filling made, you are going to realize you can’t just save it for pies! That’s the beauty of making it from scratch—it’s too good to keep locked away in just one dessert. I always make a double batch just so I have some in the fridge ready to go for spontaneous topping needs. It’s so much better than any bottled sauce you can buy.
Here are some of my favorite ways to use this super simple, thick filling:
- Spoon it generously over vanilla ice cream or yogurt!
- Drizzle it straight onto fluffy pancakes or waffles for an amazing breakfast treat.
- Use it as the star layer in a creamy no-bake cheesecake—you can check out the recipe for mini cheesecake bites here!
- Top squares of pound cake or French toast with a spoonful.
- Layer it in a trifle with whipped cream and ladyfingers.
It’s truly the ultimate Homemade Dessert Topping, ready in minutes!
Storage and Make-Ahead Tips for Homemade Dessert Toppings
Because this recipe is so fast, I love taking advantage of the make-ahead option! This is one of my favorite Homemade Dessert Toppings because you can whip it up on a Sunday and have it ready for dessert emergencies all week long. Store your completely cooled filling in an airtight container in the refrigerator, and it stays fantastic for a full week.
If you need to freeze it—yes, you absolutely can! Pop it into a freezer-safe container or heavy-duty zip-top bag, leaving a little headspace for expansion, and it’s good for about three months. When you pull it out, don’t panic if it seems overly stiff or gelatinous; that means the cornstarch is doing its job!
Just let it thaw in the fridge overnight, and before you use it, give it a really hearty whisk right in the bowl. Sometimes I add just a tiny splash of water or cherry juice while whisking to revive that beautiful, glossy texture. If you’re looking for other great make-ahead items, my recipes for homemade protein bars are perfect freezer snacks, too!
Frequently Asked Questions About Making Cherry Pie Filling
I know when you’re diving into a new recipe, you always have a few little lingering questions that pop up right before you start grabbing bowls! I’ve tried to cover all the basics here so you feel super confident making what I promise is the Best Cherry Pie Filling, whether this is your first time or your fiftieth. If you’re curious about how this compares to pear butter, they both rely on careful thickening, but cherries need a bit more structure!
Can I make this cherry pie filling recipe without cornstarch?
Oh, I really wouldn’t! You could technically try arrowroot powder, but for this specific recipe, cornstarch is non-negotiable if you want that beautiful, bakery-style result. If you skip it, you end up with a thin, watery glaze rather than that luscious, thick coating we’re aiming for with the Thick Cherry Pie Filling. It’s the ingredient that guarantees you get that sliceable texture every single time.
What about using canned cherries instead of fresh or frozen?
You definitely can cheat and use canned, sweet cherries if you’re in a pinch! Just drain them really, really well, and reduce the amount of added granulated sugar by about one-third because canned cherries are usually much sweeter. If you use canned filling right out of the can, you’ll skip most of the steps, but you won’t get the quality of this From Scratch Pie Filling, sadly.
How do I make the filling more tart?
It’s simple: rely on sour cherries! If you can find frozen sour cherries (often labeled Morello cherries), substitute half of your sweet cherries with them. You might need to add an extra tablespoon of sugar to balance it, but that tart kick makes the flavor really pop!
How long does this easy cherry filling last once made?
Stored properly in an airtight container in the fridge, this filling is fantastic for about 7 to 10 days. It keeps its texture really well, much better than any store-bought jar, making it the perfect make-ahead option.
Estimated Nutritional Breakdown for Cherry Filling From Scratch
Now, listen, this is homemade, so the nutrition is going to vary depending on how sweet your cherries were naturally, but this gives you a good idea of what you’re dealing with! This breakdown is based on the recipe yielding about four cups, serving size being a half cup. It’s a decadent topping, but honestly, totally worth it for the fresh flavor we get in this Cherry Filling From Scratch. Just remember these are estimates, okay?
- Serving Size: 1/2 cup
- Calories: 210
- Sugar: 35g
- Sodium: 5mg
- Fat: 0.2g
- Carbohydrates: 54g
- Protein: 0.5g
See? Not bad for something this tasty! It’s mostly fruit sugar and the structure from the cornstarch. Enjoy that slice of pie guilt-free!
Share Your Best Cherry Pie Filling Creations
Honestly, my favorite part of sharing these recipes is hearing from you all! When you make this Best Cherry Pie Filling, please let me know how it turned out! Drop a rating below, or better yet, send me an email through the contact page with pictures of your gorgeous pie or cheesecake topped with your fresh filling. I love seeing the HearthBite community baking together!
PrintThe Ultimate Thick & Juicy Homemade Cherry Pie Filling From Scratch
Make the best bakery-style cherry pie filling using fresh or frozen cherries. This easy recipe creates a thick, non-runny, sweet-tart filling perfect for pies, cheesecakes, and dessert toppings.
- Prep Time: 10 min
- Cook Time: 15 min
- Total Time: 25 min
- Yield: About 4 cups filling (enough for one 9-inch pie) 1x
- Category: Dessert Filling
- Method: Stovetop Cooking
- Cuisine: American
- Diet: Vegetarian
Ingredients
- 4 cups fresh or frozen sweet cherries, pitted
- 1 cup granulated sugar
- 1/2 cup granulated sugar
- 1/4 cup cornstarch
- 1 tablespoon lemon juice
- 1/2 teaspoon almond extract
- 1/4 teaspoon salt
- 2 tablespoons cold water
Instructions
- If using frozen cherries, do not thaw them first. Place the cherries and 1 cup of granulated sugar into a medium saucepan.
- Cook over medium heat, stirring occasionally, until the cherries release their juices and the mixture begins to simmer. This takes about 5 to 8 minutes.
- In a separate small bowl, whisk together the remaining 1/2 cup of sugar, cornstarch, and salt until fully combined.
- Pour the cold water into the sugar and cornstarch mixture and whisk until you have a smooth slurry with no lumps.
- Slowly pour the cornstarch slurry into the simmering cherry mixture while whisking constantly.
- Continue to cook over medium heat, stirring constantly, until the filling thickens significantly, about 2 to 4 minutes. It should bubble thickly.
- Remove the saucepan from the heat. Stir in the lemon juice and almond extract.
- Transfer the homemade cherry pie filling to a heatproof bowl. Cover the surface directly with plastic wrap to prevent a skin from forming.
- Cool the filling completely at room temperature, then chill in the refrigerator for at least 2 hours before using it in your pie crust or desserts.
Notes
- For a deeper color and flavor, add 1 teaspoon of vanilla extract along with the almond extract.
- If you prefer a more tart filling, substitute half of the sweet cherries with sour cherries.
- This thick cherry filling works well as a topping for waffles or ice cream.
Nutrition
- Serving Size: 1/2 cup
- Calories: 210
- Sugar: 35
- Sodium: 5
- Fat: 0.2
- Saturated Fat: 0
- Unsaturated Fat: 0.2
- Trans Fat: 0
- Carbohydrates: 54
- Fiber: 2
- Protein: 0.5
- Cholesterol: 0