
You know those desserts that stop you in your tracks at a party? The ones that look like they took three days to assemble but taste like pure magic? Well, pull up a chair, because I’m sharing my absolute favorite showstopper: the Layered red velvet cheesecake. Seriously, I live for that moment when I bring this out for Valentine’s Day or a big birthday bash. It’s the ultimate Cake and Cheesecake Hybrid—you get the deep, gorgeous red velvet color, the intense chocolate base notes, and then BAM! You hit that perfectly smooth, creamy cheesecake center. It’s rich, it’s stunning to look at, and honestly, it’s way easier to put together than you’d think. I’ve been tweaking this one forever because I wanted something truly decadent that still felt achievable on a busy weekend. As we talk about making memories in the kitchen, remember that’s exactly what HearthBite is all about—creating those moments of connection over amazing food, which you can read a bit more about over on our About Page.
- Why This Layered red velvet cheesecake is Your New Showstopper Dessert
- Gathering Ingredients for Your red velvet cheesecake
- Step-by-Step Instructions for the Layered red velvet cheesecake
- Tips for the Best red velvet cheesecake Texture
- Making This red velvet cheesecake a True Cake and Cheesecake Hybrid
- Storage and Serving Suggestions for Your Decadent Sweet Treats
- Frequently Asked Questions About red velvet cheesecake
- Estimated Nutrition for this red velvet cheesecake
- Share Your Culinary Creations
Why This Layered red velvet cheesecake is Your New Showstopper Dessert
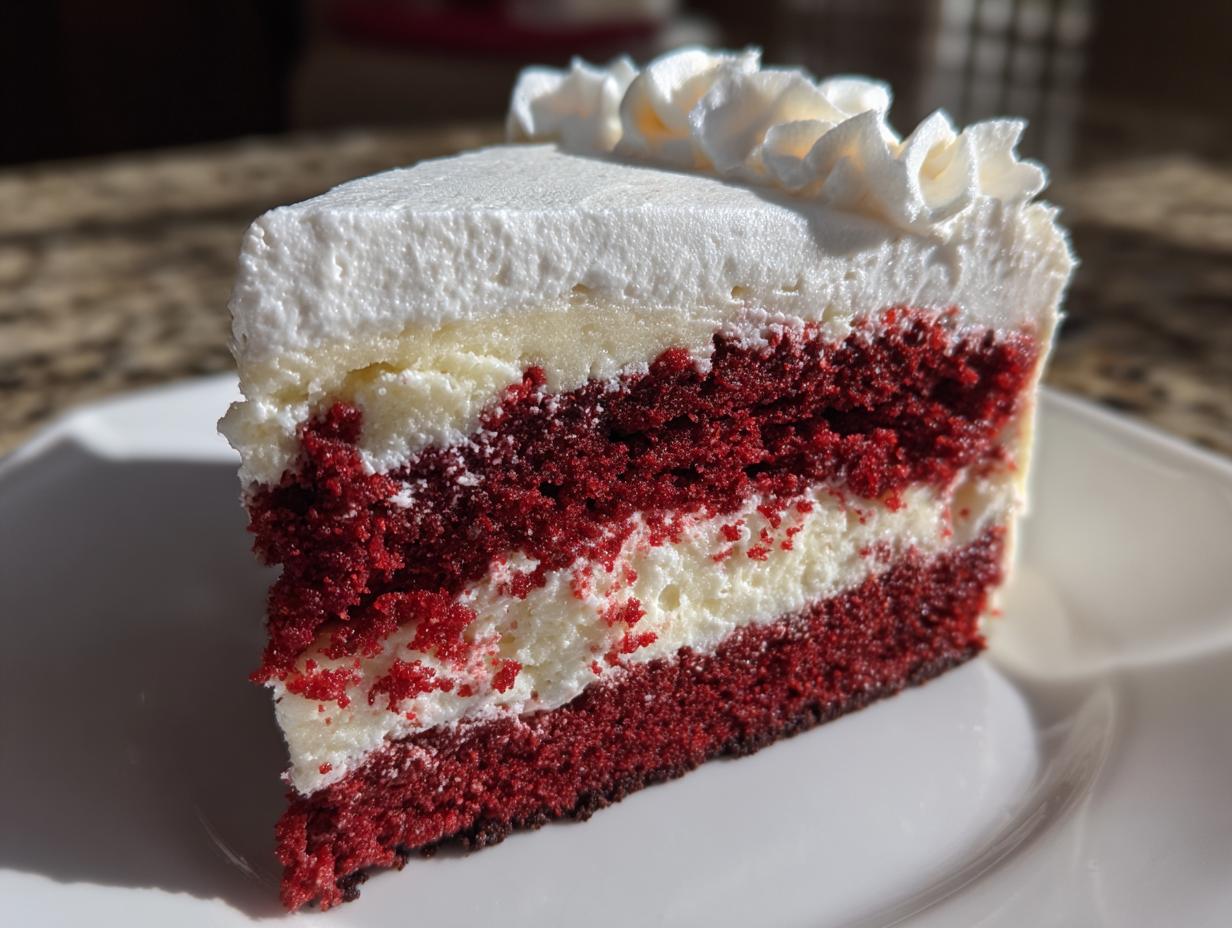
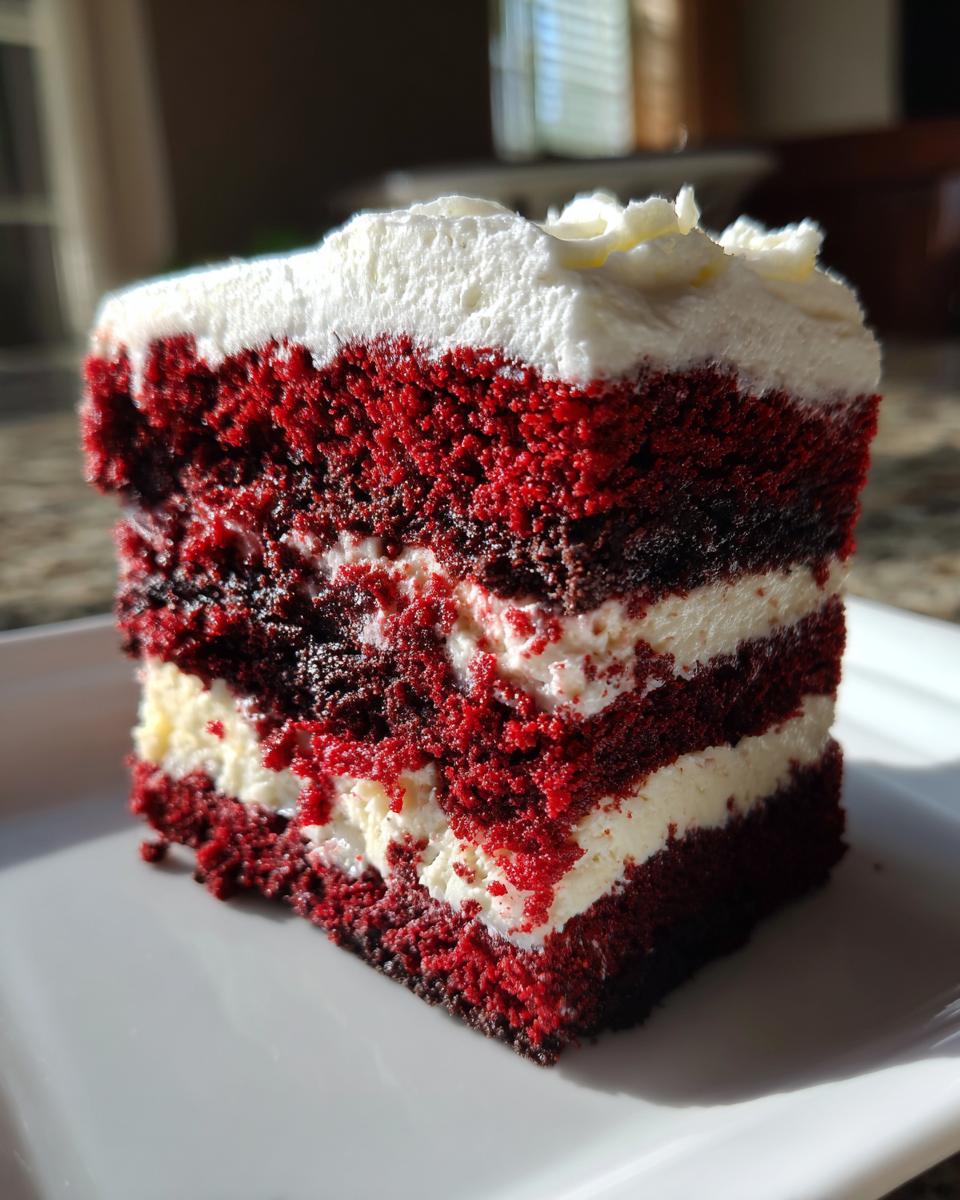
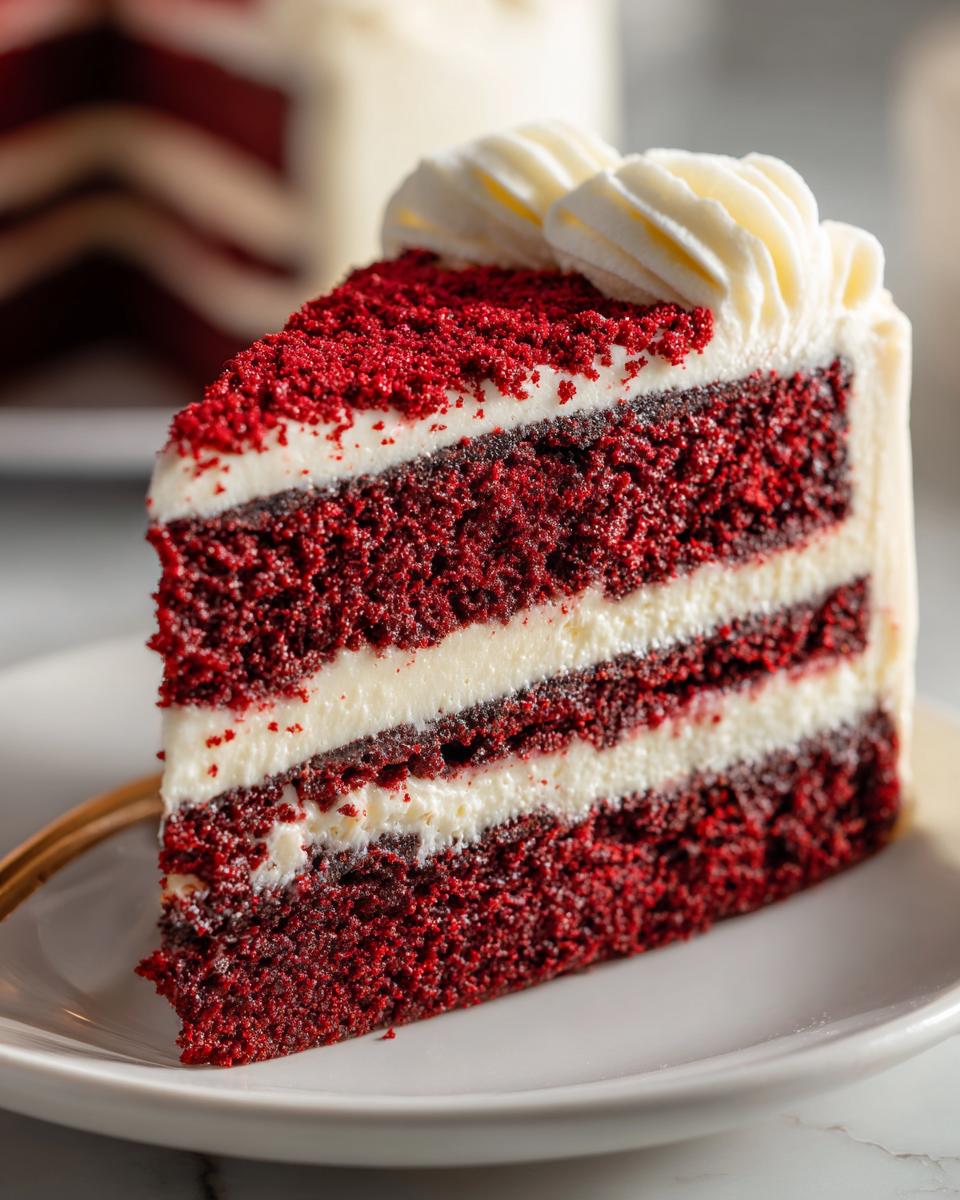
What makes this red velvet cheesecake different than everything else you’ve seen? It’s the architecture, my friend! We aren’t messing around with just a thin layer of cream cheese on top of a cake. We are building layers right into the pan, creating one of those truly Visually Stunning Desserts. When you slice into this for the first time, you get that perfect marriage between the deep, slightly tangy red velvet and that unbelievably smooth, cool cheesecake. Trust me when I say this becomes one of your go-to Decadent Sweet Treats. It’s the richness that gets everyone talking!
Perfect for Holidays and Birthdays
If you need a dessert that screams ‘special occasion,’ this is it. It’s gorgeous enough for a centerpiece at Christmas, but that passionate color just screams romance, making it perfect for Valentine’s Day Baking. Forget fussy tiered cakes; this one serves beautifully right out of the springform pan. It’s a guaranteed hit for any big celebration.
Gathering Ingredients for Your red velvet cheesecake
Okay, so pulling together this red velvet cheesecake hybrid sounds fancy, but honestly, the ingredient list is super straightforward! This is where precision really matters, just like in any great Creamy Cheesecake Recipe. You need everything measured correctly, especially that cream cheese—it shouldn’t be cold from the fridge when you start mixing. I always pull mine out an hour early. I’ve included a link to my very favorite cream cheese frosting recipe if you decide to skip the simple whipped topping, but for this layered wonder, we stick to the plan!
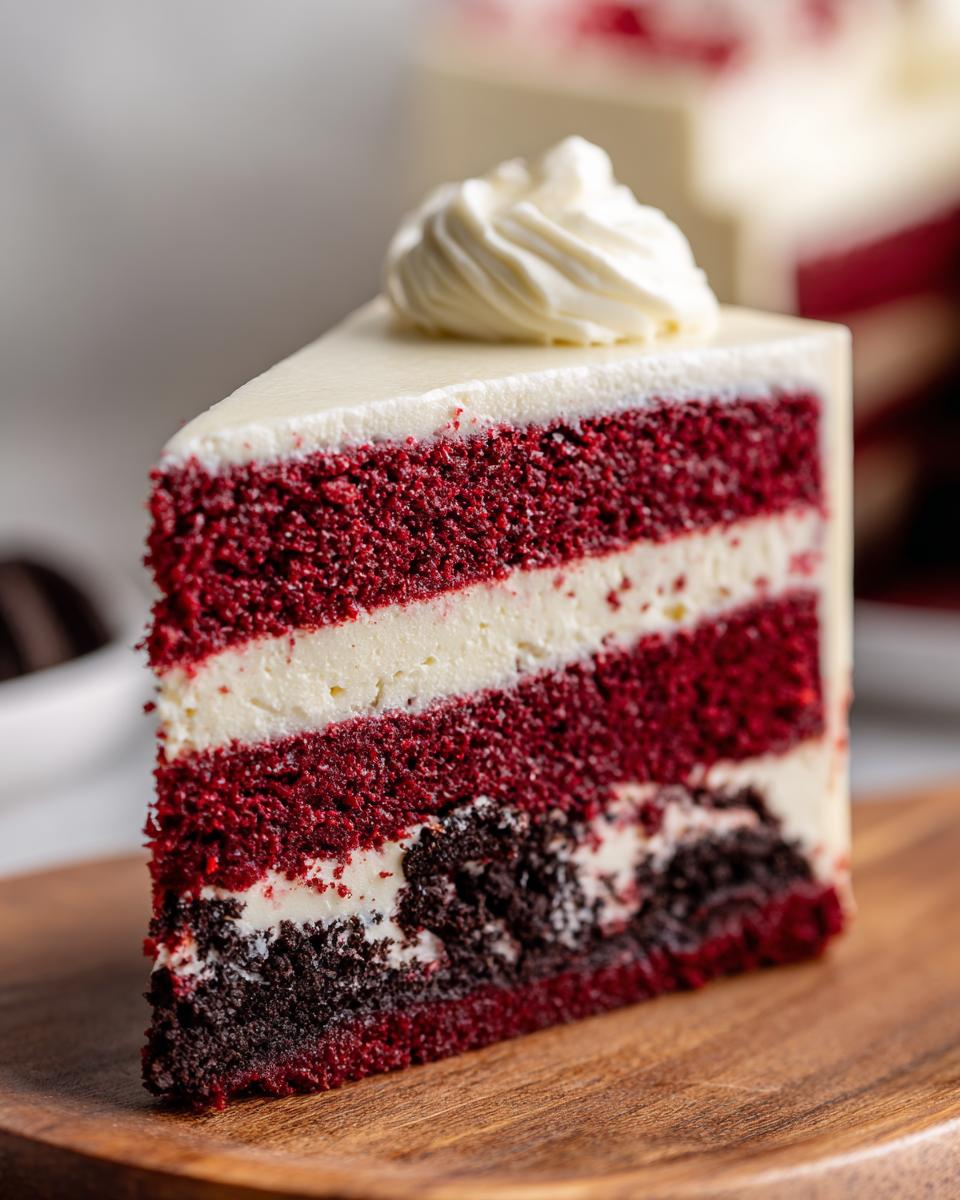
For the Optional Oreo Crust Cheesecake Base
If you want that extra crunch and deep chocolate contrast, you have to make the Oreo crust. It anchors the whole dessert so beautifully, especially when you are making a towering Layered Cake Dessert like this one. You’ll need exactly:
- 1 ½ cups crushed Oreo cookies (don’t bother separating the filling, it adds good binding fat!)
- 6 tablespoons of melted butter—make sure it’s fully melted so it binds everything together.
Just mix those two until it looks like wet sand, and you’re halfway to a base!
For the Creamy Cheesecake Recipe Layer
This is the heart of the recipe, the smooth part that contrasts the cake. We need that silky texture, so room temperature ingredients are a must! Here’s what you gather for the creamy filling:
- 16 ounces of cream cheese, nice and softened—I cannot stress this enough!
- ⅔ cup of granulated sugar
- 1 teaspoon of vanilla extract (I always sneak this in for depth, even if it’s not strictly listed!)
For the Red Velvet Cake Batter Component
For the signature red velvet flavor and color, we cheat just a little bit, and who is judging? Not me! You grab one standard box of red velvet cake mix. Remember, you aren’t just dumping the powder in; you have to follow the box directions for everything else. So, that means you’ll need:
- The red velvet cake mix needed for a 9-inch round cake.
- The eggs, oil, and water called for on the cake box instructions.
That’s it! Easy peasy, right? Now we layer this gorgeous stuff.
Step-by-Step Instructions for the Layered red velvet cheesecake
This part is where the magic happens, and I promise, if you follow these steps exactly, you’ll master this red velvet cheesecake on your first try. We’re aiming for foolproof, beautiful results here, which is why this recipe feels like a win for Easy Cheesecake Baking. Remember, we are using a 9-inch springform pan, pre-greased, ready to hold all this wonderful stuff!
Preparing the Base Layers and Crust
First things first: get that cake mix ready! Prepare your red velvet cake mix exactly as the box says for a regular 9-inch round cake. Now, pour about half of that vibrant red batter right into your greased springform pan. That’s Layer One!
Next, you have a choice. If you made the Oreo crust—and oh, you should!—mix your crushed cookies and melted butter together until it looks like good, dark soil. Gently press that mixture right over that first layer of red batter. If you decided to skip the crust (I won’t judge, but I might offer you some later!), move straight to the next step.
Now, take that creamy cheesecake filling we prepped earlier and spread it evenly over whatever is currently sitting in your pan—be that the red batter or your Oreo crust. Be gentle with it so you don’t mix the layers up too much!
Assembling and Baking Your red velvet cheesecake
Time to cap it off! Carefully pour the remaining half of your red velvet cake batter right on top of that smooth cheesecake layer. Try to pour it slowly onto the center so it spreads gently outwards. Don’t worry if it doesn’t perfectly cover the edges; it will spread out as it bakes.
Into the oven it goes! Now, here’s the tricky part. The box will tell you a certain bake time—maybe 30 minutes. Forget that! Because we have that dense cheesecake layer in the middle, this is going to take longer. I usually add 15 to 25 extra minutes. You’re checking for doneness by seeing if a toothpick inserted near the center comes out mostly clean—not wet batter, but maybe with a few sticky crumbs clinging on. That’s perfect for a hybrid!
Once it seems done, take it out and let it cool completely on a wire rack. Seriously, don’t rush this cooling part. After it’s cool on the counter, it needs a long nap in the fridge—at least 4 hours, but honestly, overnight is when this red velvet cheesecake really sets up perfectly. You can check out my thoughts on baking other chilled desserts, like my creme brulee cheesecake, over here.
Chilling and Whipped Topping
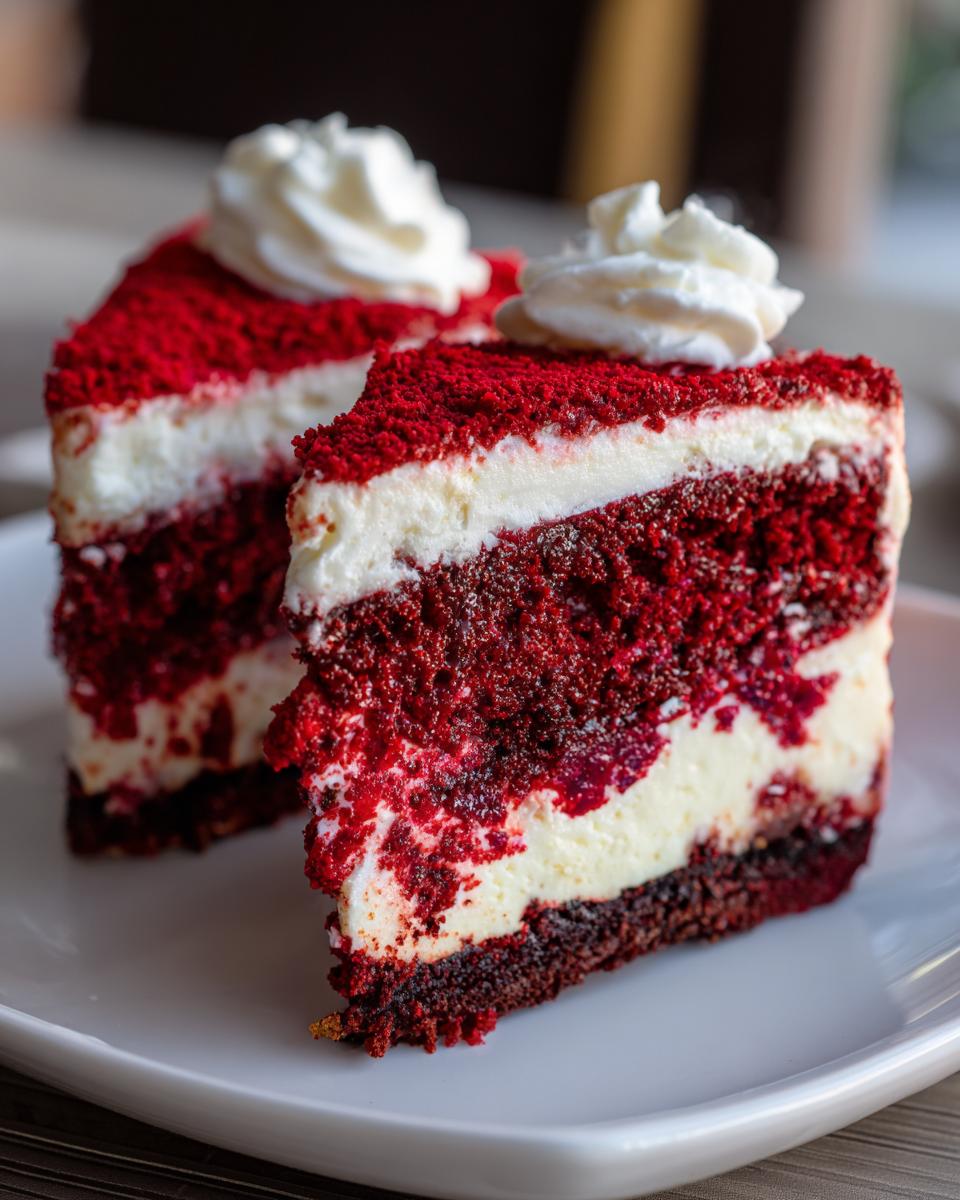
Once your beauty is chilled and firm, it’s ready for the final flourish! While it’s chilling, you can make that light, fluffy topping. Whip up your heavy whipping cream and powdered sugar until you get stiff, beautiful peaks. This topping is much lighter than a heavy cream cheese icing, which I find balances out how rich this layered cake dessert is underneath.
Spread that whipped topping all over the top of your firm, cold cheesecake. Slice it up, and prepare for applause!
Tips for the Best red velvet cheesecake Texture
Achieving that perfect balance—not too dense, not too crumbly—is what separates a good red velvet cheesecake from the absolute Best Cheesecake Recipe out there. Honestly, getting the texture right is all about the small details you do *after* it comes out of the oven. My favorite hack, if you really want to push the decadence factor, is to take some extra Oreo pieces and gently fold them into your cheesecake batter right before you pour the top cake layer on. It creates little pockets of crunch throughout the creamy part. Delicious chaos!
Also, and this is so important for slicing, don’t cut into it straight from the fridge. Pull it out about 30 minutes before you plan on serving. It allows the cheesecake to soften just a bit from rock hard to melt-in-your-mouth velvety. If you want other ideas on making desserts super simple, you can check out my thoughts on a fantastic no-bake peanut butter pie.
Alternative red velvet Dessert Variations
I know we are focused on the amazing layered setup here, but if you are short on time or just craving that incredible filling, you can absolutely tweak this! If you skip both layers of the red velvet cake mix and just use the Oreo crust, you end up with a fantastic, slightly lighter Oreo Crust Cheesecake. It’s still visually stunning because of the red layer peeking out from under the topping, but it leans more heavily into that pure, creamy experience.
Or, maybe you want a pure cake base? You can definitely skip the cheesecake filling and bake the red velvet mix right on top of the crust—it turns into a standard, deeply colored red velvet cake, which you can top with cream cheese frosting. Either way, enjoy the beautiful color! If you’re looking for other ways to enjoy this flavor profile, I highly recommend looking up some thoughts on that smooth version from Frosting and Fettuccine. It’s good inspiration!
Making This red velvet cheesecake a True Cake and Cheesecake Hybrid
When I first put this together, I was worried about the structure. You know, cake batter is light and fluffy, and cheesecake filling is heavy and dense. How do they play nice? Honestly, that’s the fun of this red velvet cheesecake! The red velvet cake mix—made just slightly sturdier than a normal cake—acts like a warm, spiced cradle for that cool, luxurious center. It’s an amazing marriage in texture.
The flavor combination is just flawless. You get the subtle cocoa and tang from the red velvet, which is immediately balanced by the sweet, pure vanilla flavor of the cheesecake. It’s why this is my favorite kind of Cake and Cheesecake Hybrid; neither component overwhelms the other. They are truly friends working together!
The chilling time is non-negotiable here; that’s what locks the two textures in place so they slice beautifully. If you want to see how I build out a classic, sturdy vanilla layer that would work well on the bottom too, check out my guide for a perfectly moist vanilla cake recipe. But for this dessert, trust the layering process!
Storage and Serving Suggestions for Your Decadent Sweet Treats
Once you’ve finally wrestled this gorgeous red velvet cheesecake into the fridge and it’s all set up, the next question is always: how long does the beauty last? Because we have that wonderful mix of cake, cream cheese, and whipped topping, you definitely want to keep this cozy in the refrigerator. I find that it stays truly perfect for about three or four days, maybe five if you covered it really well. The cake part doesn’t dry out too fast, especially nestled against that creamy filling.
But here’s the essential tip that makes all the difference when you serve it: don’t cut into it ice-cold! Like I mentioned before, pull that springform pan out of the fridge about 30 minutes before you plan on slicing. This allows the cream cheese layer to relax just enough so it doesn’t fight you when the knife goes through. It becomes so much more luscious!
When it comes to pairing, this dessert is already a champion, but if you want to serve it for a brunchy gathering or just a cozy evening, try serving a slice alongside a nice hot cup of coffee—I’ve got a great recipe for a moist coffee cake that pairs perfectly if you wanted a second baked good! Fresh raspberries or maybe even sliced strawberries on the side cut through the richness beautifully, too.
Making Ahead: Preparing the red velvet cheesecake Early
This is fantastic news for party hosts: this red velvet cheesecake does not mind being made ahead of time at all! In fact, I think it tastes even better the next day because all the moisture and those amazing chocolatey and tangy flavors get to hang out and blend together overnight. This is a lifesaver when you have a busy day of cooking planned.
You need to complete all the steps, right up until the whipped topping goes on, ideally the night before. Bake it, cool it completely on the counter, then wrap that springform pan tightly in plastic wrap and let it chill. The structure will be unbelievably firm and easy to slice the next day. Only when you are just about ready to serve (maybe 30 minutes before!) should you whip up that topping and spread it over the top. If you put the whipped topping on too early, especially if you’re keeping it covered, it might weep a little.
So yes, feel free to make this the day before your big event! It makes game day or party morning so much less stressful when the main event dessert is already done.
Frequently Asked Questions About red velvet cheesecake
I tried to cover everything when I wrote out the main instructions, but I know sometimes you just have quick questions, especially when tackling a big dessert like this red velvet cheesecake! I’ve gathered a few things folks ask me all the time. Hopefully, this helps you feel super confident before you even preheat the oven. I love that you’re planning on making one of these amazing treats—it’s definitely one of my favorites for creating those special memories!
Can I use homemade red velvet cake instead of a mix for this red velvet cheesecake?
Oh, absolutely you can! If you have a favorite from-scratch cake recipe, go for it. But I have to give you a little word of caution: because you are baking the cake batter *under* a dense layer of creamy cheesecake filling, you need a really sturdy cake. Don’t use a super light, airy sponge cake, because the weight of the cheesecake might make it collapse a bit during baking. You want a denser red velvet recipe that can handle the weight. Also, be ready to bake it for much longer than what the cake recipe suggests, since that cheesecake layer acts like insulation!
What makes this recipe a ‘Showstopper Dessert’?
That’s my favorite question! It’s all about that beautiful contrast. When you slice into the finished, chilled dessert, you get that dramatic, beautiful band of deep crimson red velvet right next to that stark white, rich cheesecake filling. That color pop alone screams “special occasion.” Plus, since we are layering the cake mix *and* the cheesecake, you get a really nice height to the final product, which always makes a dessert look more impressive on the table. It’s why I call it a Showstopper Dessert every time!
Is this recipe suitable for ‘Birthday Party Desserts’?
One hundred percent yes! Honestly, I think this tops a traditional sheet cake for any big milestone. It’s luxurious, it feels special, and it’s easy to serve neat slices, especially if you let it chill overnight properly. It appeals to everyone—kids love the red color and the sweetness, and adults just adore that rich, dense texture. If you are thinking about this for a birthday, you might want to check out my thoughts on easy-to-make treats like these homemade protein bars as a lighter option to round out the dessert table later on, but for the main event? This red velvet cheesecake steals the show. For other ideas on impressive cakes, you might want to peep what Kinsley Recipes does with their incredible Knock You Naked Cheesecake too!
Estimated Nutrition for this red velvet cheesecake
Okay, let’s talk numbers for a minute. Because this red velvet cheesecake is packed with cream cheese, cake mix, and often a crunchy crust, it falls squarely into the category of truly Decadent Sweet Treats! I always have to say this upfront: the nutrition facts I’m giving you here are just estimates. Since we aren’t measuring every molecule in the kitchen, these numbers swing a bit based on the brand of cake mix you use or whether you skipped the Oreo crust. Treat these as a fun guideline more than strict dietary law!
But for all you fellow planners out there, here is what a single, generous slice of this amazing hybrid dessert clocks in at:
- Serving Size: 1 slice
- Calories: About 450—yes, it’s rich!
- Fat: Around 28g
- Carbohydrates: Roughly 45g
- Protein: We get about 6g in there.
Because we’re using cream cheese and butter, the saturated fat content is higher, which is just the trade-off for that incredible, smooth texture we’re aiming for. If you normally love baking things like my spicy sweet potato muffins, you know that richness is worth it sometimes. This dessert is definitely reserved for special occasions, not an everyday snack, but when you serve it, nobody is counting calories because they’re too busy enjoying it!
Share Your Culinary Creations
Now that you’ve baked this incredible red velvet cheesecake and experienced how easy it is to create a truly unforgettable centerpiece, I’d love to see what you came up with! Did you stick to the classic recipe, or did you go rogue with extra Oreos folded into the filling? Don’t keep those beautiful creations secret!
When you rate the recipe—please, go ahead and use that five-star guide right below—let me know what you thought of the texture contrast. Did the cake layer hold up well to the cheesecake? If you shared photos of your stunning bakes on social media, tag us! Seeing your incredible Visually Stunning Desserts pop up in my feed honestly makes my day. It shows me that this recipe sparked joy in your kitchen, and that’s the whole point of HearthBite.
Also, tell me in the comments section which holiday adaptation you tried. Did you add little peppermint pieces for Christmas? Or maybe piped a delicate heart on top for Valentine’s Day? Hearing how you tailor these classic recipes for your family gatherings helps build up our community so we can all learn from each other’s successes. If you ever have a question about the process, don’t hesitate to reach out via the contact page!
PrintLayered Red Velvet Cheesecake with Optional Oreo Crust

Create a showstopper dessert by combining rich red velvet cake layers with a creamy vanilla cheesecake center. This recipe is visually stunning and perfect for holidays or birthdays.
- Prep Time: 30 min
- Cook Time: 55 min
- Total Time: 95 min
- Yield: 12 servings 1x
- Category: Dessert
- Method: Baking
- Cuisine: American
- Diet: Vegetarian
Ingredients
- 1 box red velvet cake mix (plus eggs, oil, and water as directed)
- 1 (9-inch) springform pan, greased
- 16 oz cream cheese, softened
- ⅔ cup granulated sugar
- 2 cups heavy whipping cream
- 4 tbsp powdered sugar
- Optional: Ingredients for Oreo Crust (e.g., 1 ½ cups crushed Oreo cookies, 6 tbsp melted butter)
Instructions
- Prepare the red velvet cake mix according to package directions. Pour half of the batter into the greased springform pan.
- If using the Oreo crust, combine crushed Oreos and melted butter. Press mixture firmly into the bottom of the pan over the first layer of batter.
- In a separate bowl, beat the softened cream cheese and granulated sugar until smooth. Spread this mixture evenly over the cake batter layer (or over the crust if you skipped the first batter layer).
- Pour the remaining red velvet cake batter over the cheesecake layer.
- Bake according to the cake mix instructions for a 9-inch round cake, or until a toothpick inserted near the center comes out mostly clean. This may take longer due to the cheesecake layer.
- Cool the cheesecake completely on a wire rack. Then, chill in the refrigerator for at least 4 hours, or preferably overnight.
- To make the topping, beat the heavy whipping cream and powdered sugar until stiff peaks form.
- Spread the whipped topping over the chilled cheesecake before serving.
Notes
- For a truly decadent treat, fold crushed Oreo pieces into the cheesecake batter before baking.
- If you prefer a classic cheesecake texture without cake layers, use the Oreo crust and bake the cheesecake layer over it, omitting the cake mix entirely.
- Allow the cheesecake to come to room temperature for about 30 minutes before slicing for the best texture.
Nutrition
- Serving Size: 1 slice
- Calories: 450
- Sugar: 35g
- Sodium: 300mg
- Fat: 28g
- Saturated Fat: 17g
- Unsaturated Fat: 11g
- Trans Fat: 0.5g
- Carbohydrates: 45g
- Fiber: 1g
- Protein: 6g
- Cholesterol: 95mg