
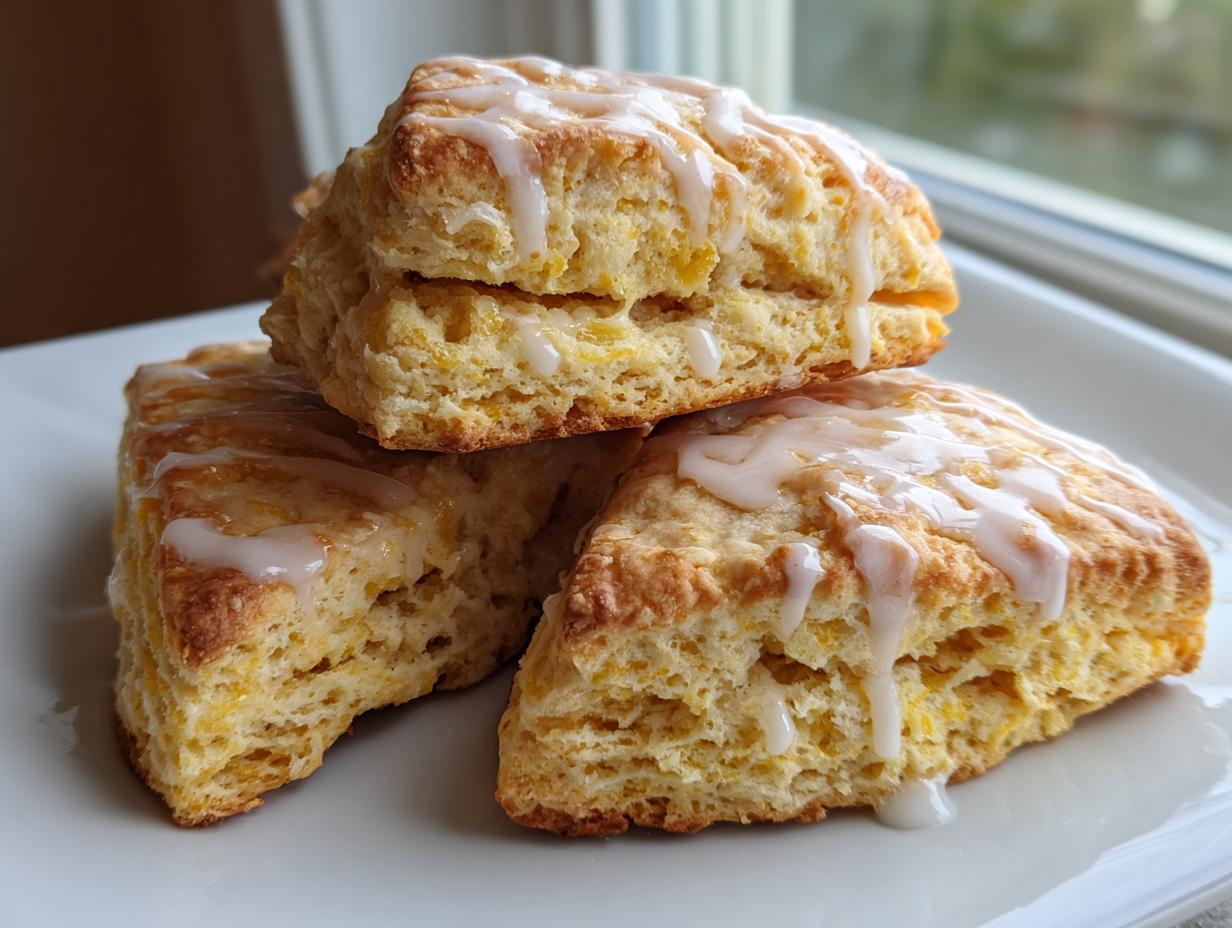
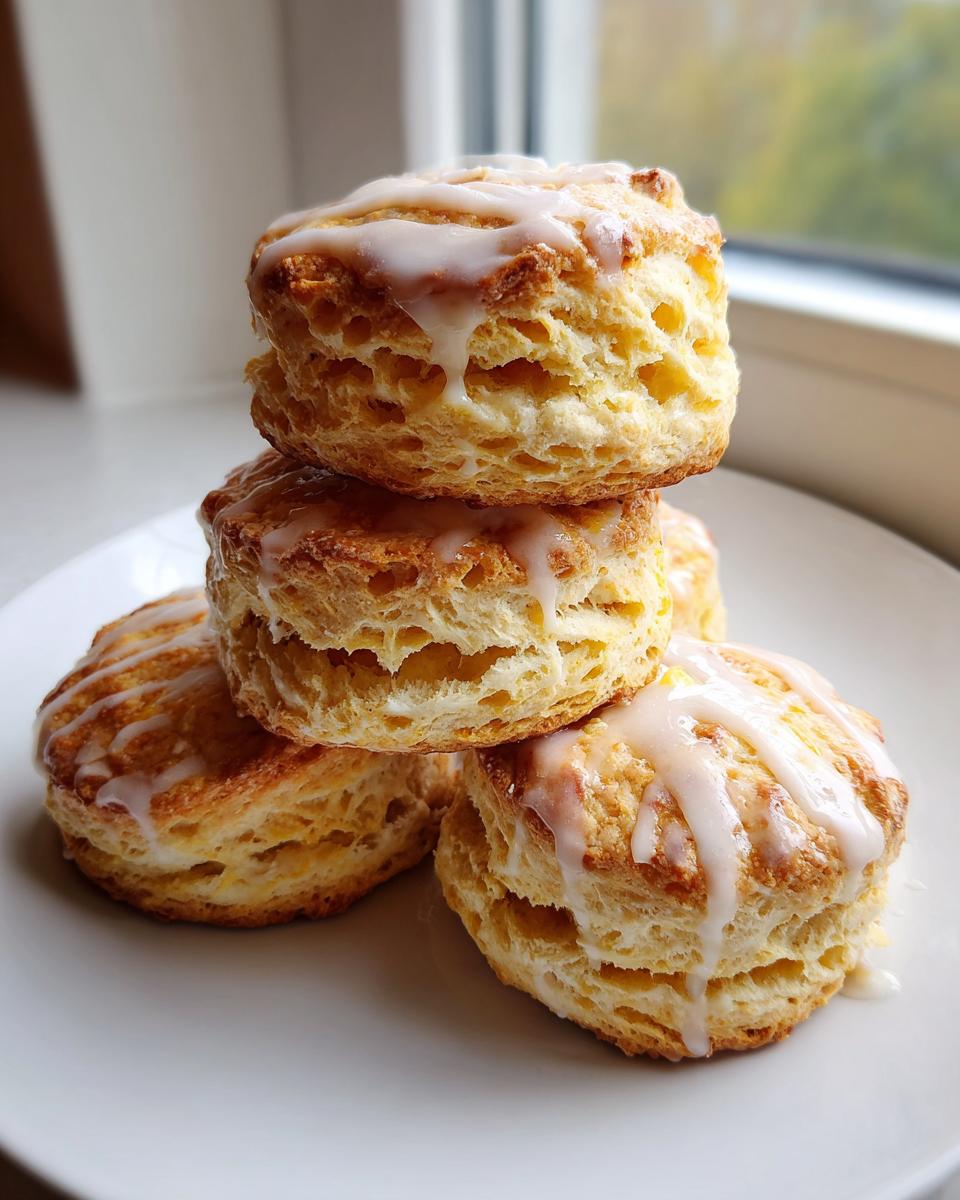
Have you ever bitten into a homemade scone only to realize it tastes like sweet, crumbly cardboard? Oh, I’ve been there, trust me! My mission at HearthBite, fueled by Sarah Miller’s lifelong dedication to making cooking joyful, is to completely eliminate that sad experience. This best scone recipe uses a classic buttermilk base to guarantee you get tall, fluffy bakery style scones every single time. Forget dry, sad little biscuits; these are tender, perfect for tea or brunch, and shockingly simple to master. You are about to unlock the secret to light, airy scones that will become your new go-to morning treat.
If you’re looking for ways to spruce up your breakfast routine this week, you might also love checking out some of our other favorites in the easy breakfast recipes collection!
- Why This Is The Best Scone Recipe: Achieving Bakery Style Scones
- Essential Ingredients for Perfect Classic Buttermilk Scones
- How to Prepare Fluffy Scones Tutorial: Step-by-Step Instructions
- Variations: Flavor Ideas Beyond Classic Buttermilk Scones
- Baking Tips for Scones: Troubleshooting Common Issues
- Serving Suggestions for Afternoon Tea Scones
- Storage and Reheating Instructions for Homemade Scones
- Frequently Asked Questions About Making Scones
- Estimated Nutritional Data for These Scones
- Share Your Perfect Scones Creations
Why This Is The Best Scone Recipe: Achieving Bakery Style Scones
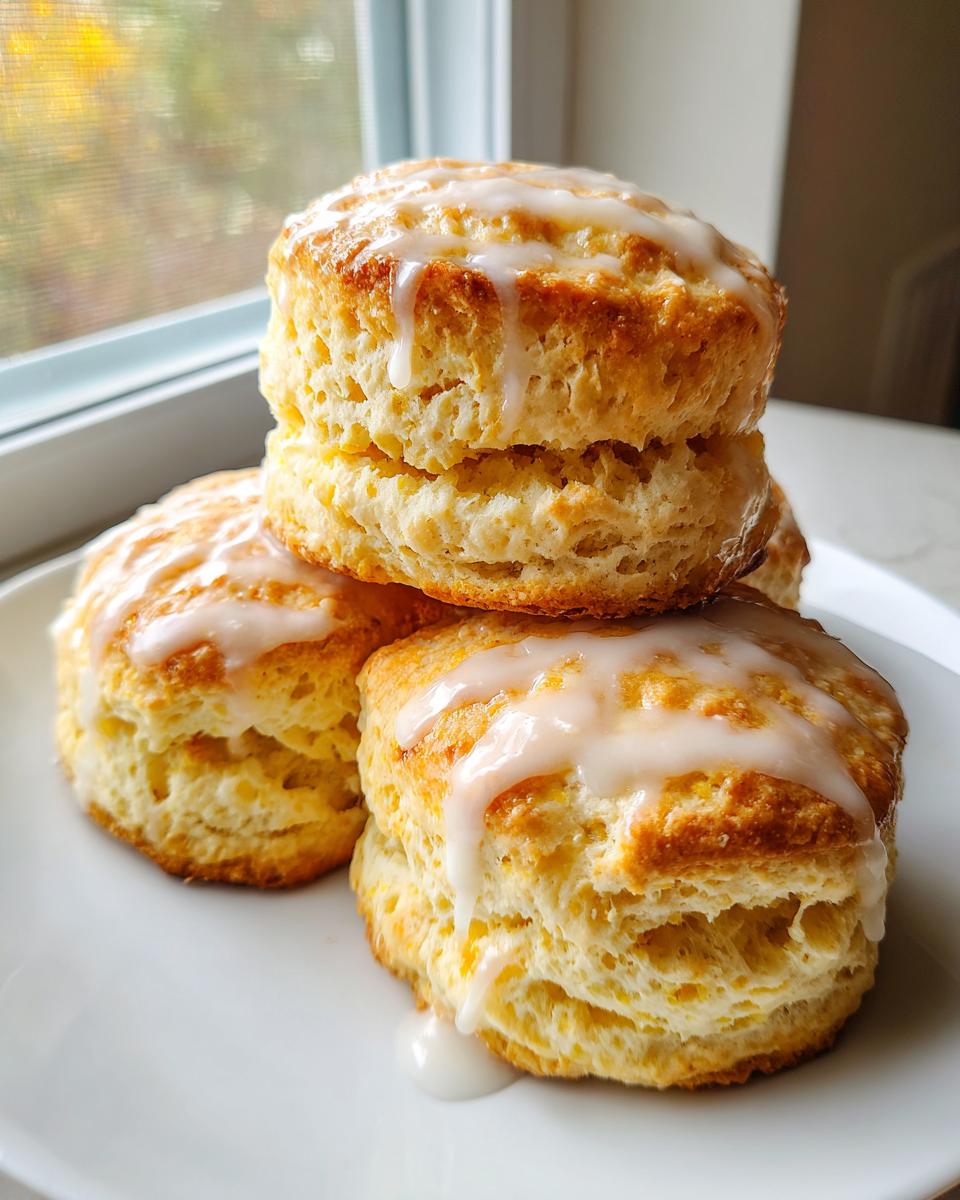
So, what makes this recipe the best scone recipe out there? It all comes down to beating the ‘hockey puck’ problem. You know what I mean—those dense, slightly tough scones that seem incapable of rising? We are skipping that fate entirely! This fluffy scones tutorial focuses on technique, marrying the tender crumb of a great biscuit with the delicate flavor of a true tea pastry. It’s just a few extra moments of attention, but it guarantees you get those beautifully layered, tall scones that look like they came straight from a fancy bakery counter. Plus, this base is perfect if you’re thinking about learning how to make scones from scratch.
If you love learning the science behind baking, you’ll appreciate how these simple adjustments lead to incredible results that define amazing comfort food recipes.
The Secret to Tall Scones: Temperature Control
Listen closely, because this is non-negotiable for those gorgeous, high-rising scones. Every single cold component—the butter, the buttermilk, even the eggs if you have time—has to be straight-up freezing. When that super-cold fat hits the oven’s heat, it bursts into steam super fast. That steam is what pushes the dough upward, giving you that height and that airy interior crumb. Don’t let your butter warm up while you’re mixing; if it gets soft, you just get a biscuit that spreads out instead of soaring up!
Essential Ingredients for Perfect Classic Buttermilk Scones
Okay, let’s talk ingredients. With scones, simplicity is key, but quality matters tremendously, especially for achieving that best scone recipe texture we talked about. We aren’t using fancy stuff, just the basics handled correctly. You’ll see the full list below, but keep the cold buttermilk in mind—it’s the workhorse here, giving us structure and tang. Don’t skimp on the sugar in the dough itself either; it helps with browning and tenderness!
If you love a good biscuit, you’ll notice the similarities here. Speaking of which, don’t forget to check out my favorite sweet potato biscuits recipe when you have a minute!
Ingredient Notes and Substitutions for Your Scones
This recipe really loves all-purpose flour. It gives the structure we need for those tall scones without being too heavy. Now, about substitutions: if you are absolutely out of buttermilk, you can make a quick substitute by taking regular milk (whole milk is best!) and stirring in a tablespoon of white vinegar or lemon juice. Let it sit for about five minutes until it slightly curdles. That works! For the sugar, stick with granulated sugar in the dough to keep the flavor clean, which lets those beautiful buttermilk notes shine through in these sweet scones. If you want a richer flavor, heavy cream works in a pinch instead of buttermilk—just know your lift might be slightly less dramatic.
How to Prepare Fluffy Scones Tutorial: Step-by-Step Instructions
This is the really fun part, and honestly, the instructions are quick! Since we’ve kept everything cold, we can move fast here. We’re aiming for scones that are ready in about 30 minutes total, making this technically a quick scone recipe. First things first: get that oven fired up to 400 degrees F. You need it hot! Line a baking sheet with parchment paper because no one needs sticky cleanup when they’ve just made perfect pastries.
Now, look at your dry ingredients—flour, baking powder, salt, and sugar—whisk them together really well. Then comes the butter! You need to cut that cold butter into the dry mix. I use my pastry blender until it looks like coarse sand, but you can just dig your fingers in there and rub it until you have bits about the size of small peas. That pea-sized butter melts in the oven and gives you those amazing layers.
Once the butter is cut in, pour in all that ice-cold buttermilk at once. Use a fork, gently, to bring it together. I’m serious, stop mixing the second it looks like shaggy dough. And if you want more tips on how to keep your mornings simple, check out some of our easy breakfast recipes!
Mixing and Shaping Your Scones Dough
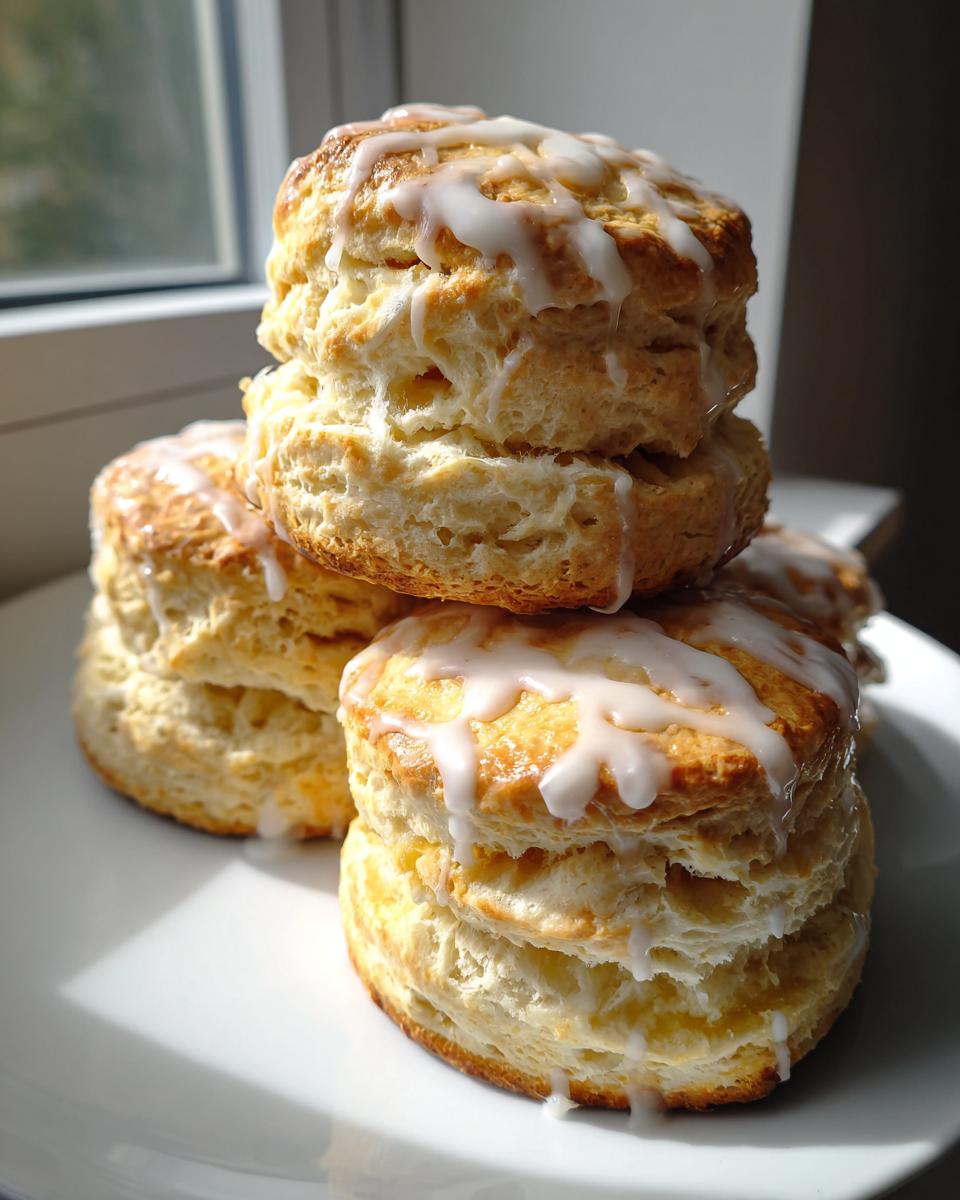
This is where most people mess up. If you knead this dough like bread, you develop the gluten, and hello, hockey puck! We want the opposite. Sarah always says, “If you see flour streaks, you’re doing it right.” Gently pat that shaggy dough into a thick circle, maybe ¾ of an inch thick—thicker is better for rise. Don’t press it thin! Cut it into 8 wedges, or use a cutter, but make sure you place these scones right onto the sheet close enough so they lean on each other just a little. That physical support helps them rise straight up into perfect bakery style scones.
Baking and Glazing These Sweet Scones
Brush the tops with your egg wash—I mix one egg with a splash of milk—this gives them that beautiful golden shine. Pop them into that hot oven for just 14 to 17 minutes. You want them golden brown on top and smelling absolutely incredible. They need about 15 minutes to cool completely before you even *think* about glazing them. For the simple glaze, just whisk together powdered sugar, a couple of spoons of milk, and vanilla until it’s smooth. Drizzle over your cooled sweet scones and watch them look even more professional!
Variations: Flavor Ideas Beyond Classic Buttermilk Scones
You’ve mastered the base recipe for perfect scones, which is fantastic! But the best part about this foolproof buttermilk dough is how easily it turns into almost any flavor you can dream up. If you’re browsing for ideas along with me, you know people go wild for recipes like rich cranberry orange bread recipe, and we can capture that flavor right here in a scone!
Think about folding in those juicy cranberries and a little orange zest for amazing cranberry orange scones. Or maybe you want that deep, earthy flavor? Fold in toasted pecans and a drizzle of maple syrup glaze for sensational maple pecan scones.
We can also get a little more advanced! You can absolutely create London Fog (Earl Grey) scones by steeping tea right in your buttermilk before adding it, which adds such a unique, elegant flavor profile; you can see a great example of that London Fog scone recipe variation online.
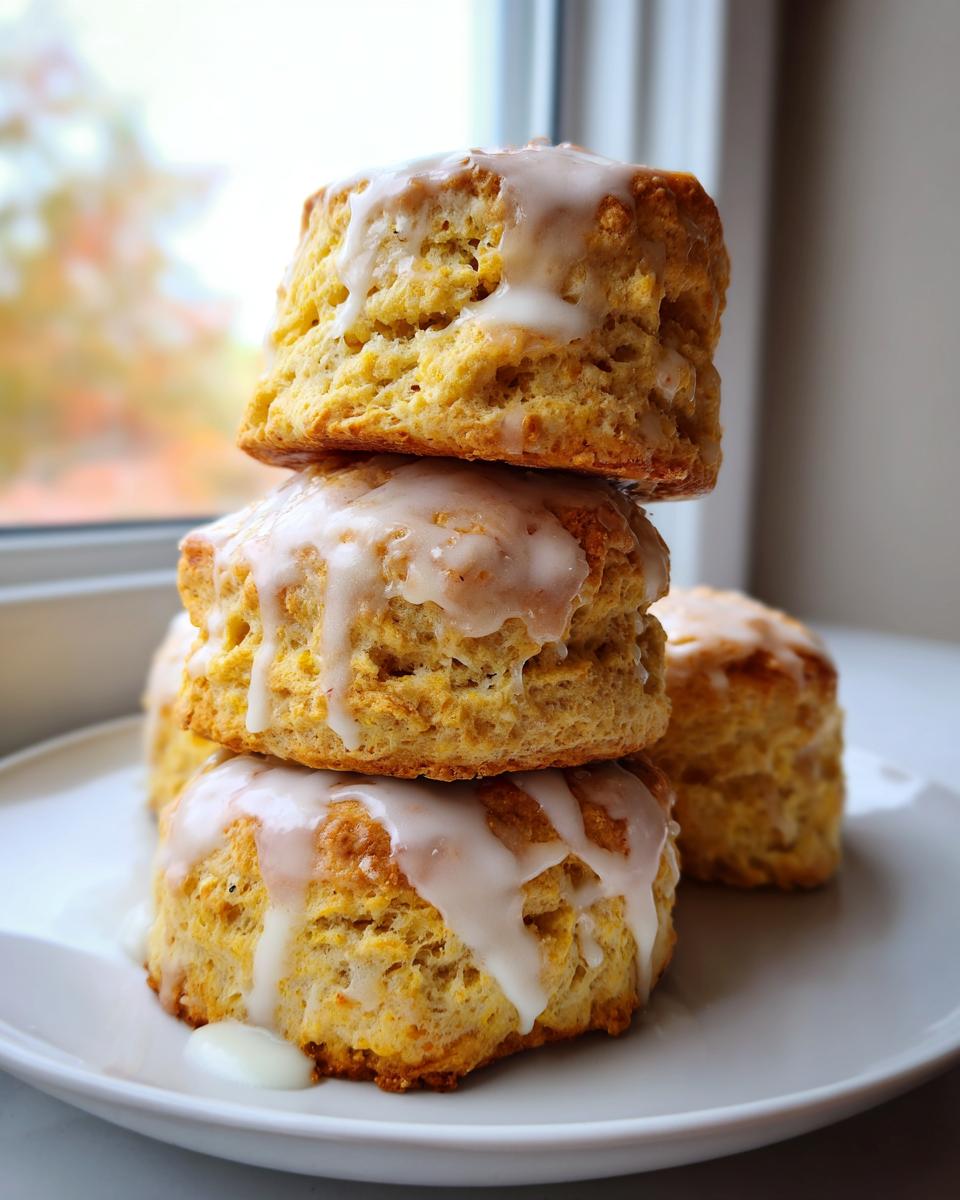
Creating Holiday Scones Recipes
When the air gets crisp, our cravings change. This base is perfect for those seasonal bakes! To get into the spirit of holiday scones recipes, skip the fruit and stir in about three-quarters of a cup of canned pumpkin puree right along with your buttermilk (you might need just a teaspoon less liquid overall). Then load it up with cinnamon, ginger, and clove for amazing pumpkin spice scones!
Speaking of cozy flavors, if you’re looking for another homey morning bake, you have to try my recipe for sweet potato muffins recipe moist and spiced.
Baking Tips for Scones: Troubleshooting Common Issues
Sometimes even with the best intentions, our scones don’t turn out exactly right. Don’t sweat it! That’s why Sarah insists on testing every reliable recipe multiple times. Preventing those common pitfalls during your baking tips for scones session makes all the difference between a good pastry and a truly great one. Most issues boil down to temperature or overhandling the dough. We covered the cold fat rule, but here are a few other ways to ensure your scones rise beautifully and stay moist.
If they look a little flat, try the gentle folding trick mentioned in the notes—it mimics the lamination found in puff pastry. For more general kitchen wisdom, check out my tips for making banana oatmeal pancakes!
If you are still struggling with the mechanics of the dough, sometimes watching someone else do it helps immensely. I learned so much just by seeing techniques live, which is why I always suggest checking out detailed guides, like this one on how to make scones.
Serving Suggestions for Afternoon Tea Scones
The ritual of serving these magnificent scones is almost as fun as baking them! If you’ve made the beautiful vanilla glaze, that’s usually enough sweetness, but for true afternoon tea scones elegance, you need the classics. I always serve ours slightly warm with plenty of clotted cream—it’s non-negotiable, honestly—and a generous bowl of strawberry jam. Keep some savory ideas in mind too, because these work wonderfully for scones for brunch!
For a brunch spread, you could whip up my simple avocado egg salad recipe to serve alongside less sweet versions of these pastries. It makes the whole table look richer and way more inviting!
Storage and Reheating Instructions for Homemade Scones
These classic scones are honestly best eaten the day you bake them, but we all have leftovers! If you haven’t glazed them, store them in an airtight container at room temperature for up to two days. They really don’t like the fridge; it makes them dry out faster than you can say ‘tea time’. If you made a huge batch and want to keep them for longer, wrap the unglazed scones tightly in plastic wrap and toss them in the freezer. That’s the real secret to having easy homemade scones available all week!
To bring them back to life? Don’t microwave them unless you absolutely have to! Pop them in a 350-degree oven for about 5–8 minutes. That heat wakes up the butter, and they become fluffy again. If you’re looking for ways to keep your other baking endeavors fresh, check out my recipe for easy homemade protein bars for fantastic grab-and-go snacks a few days later.
Frequently Asked Questions About Making Scones
I get so many messages asking about how to handle these scones when planning ahead or when comparing my recipe to others. It’s great that you’re thinking ahead! Baking should fit your schedule, not the other way around. We’ve had a few hiccups with this recipe needing to travel, so I figured I’d tackle the most common questions right here so you’re ready for anything.
Can I make these scones ahead of time?
Yes, absolutely! For the best results, I always recommend shaping the dough, cutting your scones out, placing them on a tray (covered tightly!), and refrigerating the whole tray for up to 24 hours before baking. They bake straight from the cold tray into the preheated oven—they might need an extra minute or two. If you bake them first and then try to store them, they lose that perfect tender crumb quick!
What is the difference between American and UK scones?
This is fun! The main thing to remember is that the best scone recipe for the UK style—the true afternoon tea scones—is usually less sweet and relies on cream for richness, often yielding a slightly shorter scone. My American version uses buttermilk, which gives a bit more tang and helps create that incredible height and lightness we talked about. You want that height for American scones!
If you’re making a big batch of appetizers for your next gathering, you absolutely have to try my recipe for the easy 15-minute beer cheese dip! It’s always a crowd-pleaser.
Estimated Nutritional Data for These Scones
I always feel a little nervous sharing nutritional estimates because, let’s be honest, we make these scones out of love, not lab precision! But since you asked so nicely, here is the estimated breakdown for one serving using our classic buttermilk scones recipe, assuming you skip the sweet glaze.
Please keep in mind that this is just a general guide based on the ingredients listed—the exact numbers can shift depending on the specific brand of flour or butter you use. If you add a thick vanilla glaze or fold in half a cup of chocolate chips, those numbers are definitely going up!
- Calories: Approximately 280
- Total Fat: Around 14g
- Protein: About 5g
- Carbohydrates: Roughly 34g
- Total Sugars: Close to 12g (this is the sugar in the dough, not the glaze!)
Share Your Perfect Scones Creations
You made them! The best part of sharing these scones is hearing how they turned out in your own kitchen. Did you try the maple pecan variation? Or did you stick true to the classic buttermilk base? Please, if you loved how tall and fluffy they got, take a second to leave a little star rating right here on the recipe card. It helps other home bakers feel confident giving this recipe a try!
And oh my goodness, if you’re excited about sharing your gorgeous bakes on social media, especially Pinterest where we discover so many new friends, tag us! I absolutely drool over seeing photos where my sweet scones are perfectly paired with a cup of hot tea. We want to see your gorgeous glazes and your beautiful crumb shots!
If you have any last-minute questions or feedback that this post didn’t cover—maybe you’re wondering if you can use oat flour next time—don’t hesitate to shoot us a message through the contact page and let’s chat baking!
PrintThe Best Classic Buttermilk Scones Recipe: Tall, Fluffy, Bakery-Style Results
Learn how to make perfect, tall, and fluffy homemade scones using a classic buttermilk base. This recipe provides the essential techniques for a tender crumb, avoiding dry or dense results, ideal for afternoon tea or brunch.
- Prep Time: 15 min
- Cook Time: 17 min
- Total Time: 32 min
- Yield: 8 servings 1x
- Category: Breakfast
- Method: Baking
- Cuisine: American
- Diet: Vegetarian
Ingredients
- 2 cups all-purpose flour
- 1 tablespoon baking powder
- 1/2 teaspoon salt
- 1/4 cup granulated sugar
- 6 tablespoons cold unsalted butter, cut into small cubes
- 3/4 cup cold buttermilk
- 1 large egg, beaten (for egg wash)
- 1 tablespoon milk or cream (for egg wash)
- Optional Glaze: 1 cup powdered sugar, 2 tablespoons milk, 1/2 teaspoon vanilla extract
Instructions
- Preheat your oven to 400 degrees F (200 degrees C). Line a baking sheet with parchment paper.
- In a large bowl, whisk together the flour, baking powder, salt, and sugar.
- Cut the cold butter into the dry ingredients using a pastry blender or your fingertips until the mixture resembles coarse crumbs with some pea-sized pieces of butter remaining.
- Pour in the cold buttermilk all at once. Use a fork to mix until the dough just comes together. Do not overmix.
- Turn the dough out onto a lightly floured surface. Gently pat the dough into a 3/4-inch thick circle or square.
- Cut the dough into 8 equal wedges or use a round cutter to cut out scones. Place the cut pieces onto the prepared baking sheet, setting them close together for taller sides.
- Brush the tops lightly with the egg wash (beaten egg mixed with milk or cream).
- Bake for 14 to 17 minutes, or until the tops are golden brown and the scones are risen.
- Let the scones cool on a wire rack. If using the glaze, whisk together the powdered sugar, milk, and vanilla extract until smooth. Drizzle over the cooled scones.
Notes
- Keep all ingredients, especially the butter and buttermilk, very cold to ensure the scones rise high.
- For extra height, gently fold the dough over itself two or three times before cutting, mimicking the laminated effect of puff pastry.
- If you prefer a less sweet scone for afternoon tea, reduce the sugar in the dough to 2 tablespoons.
- For flavor variations, gently fold in 1/2 cup of dried cranberries or chocolate chips after adding the buttermilk.
Nutrition
- Serving Size: 1 scone
- Calories: 280
- Sugar: 12
- Sodium: 250
- Fat: 14
- Saturated Fat: 9
- Unsaturated Fat: 5
- Trans Fat: 0
- Carbohydrates: 34
- Fiber: 1
- Protein: 5
- Cholesterol: 55