
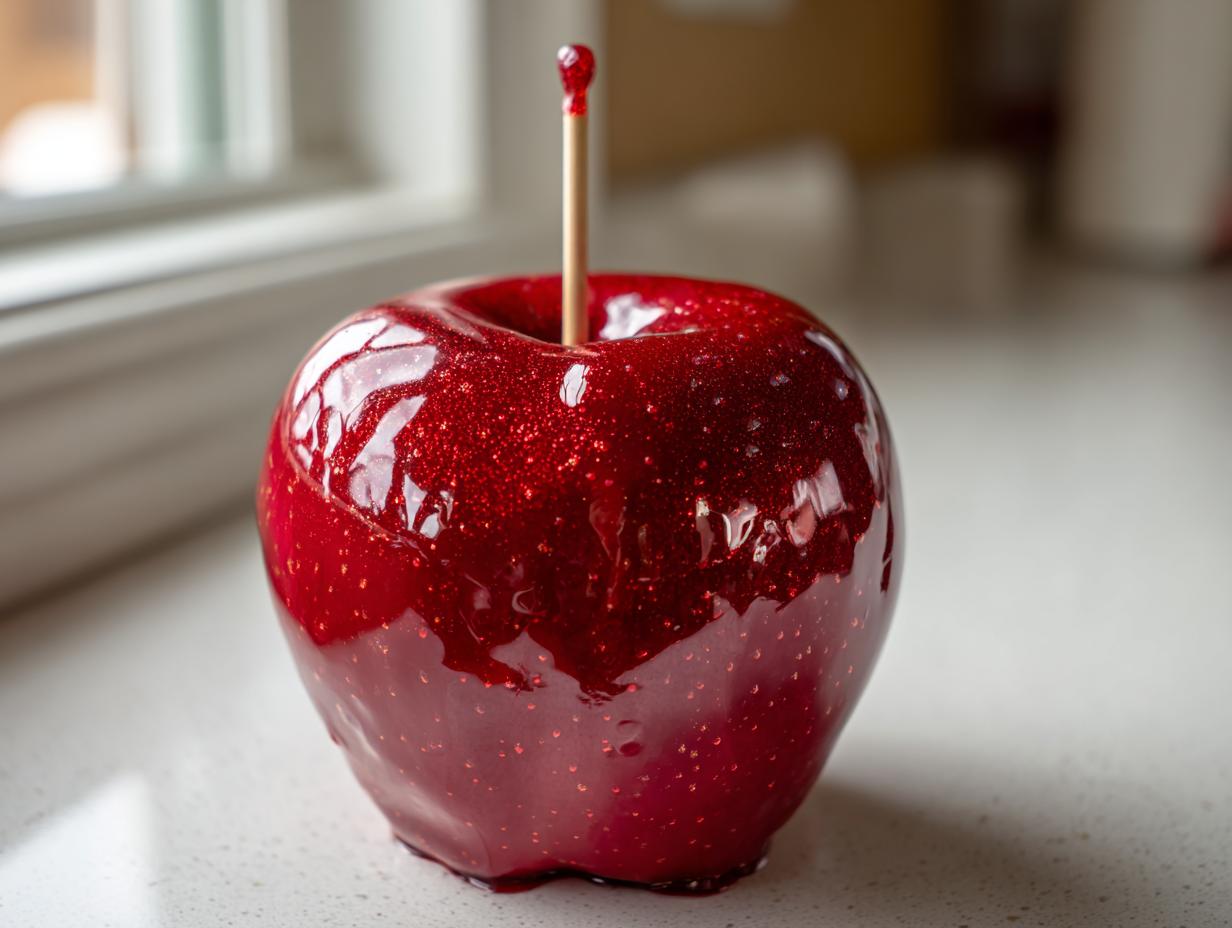
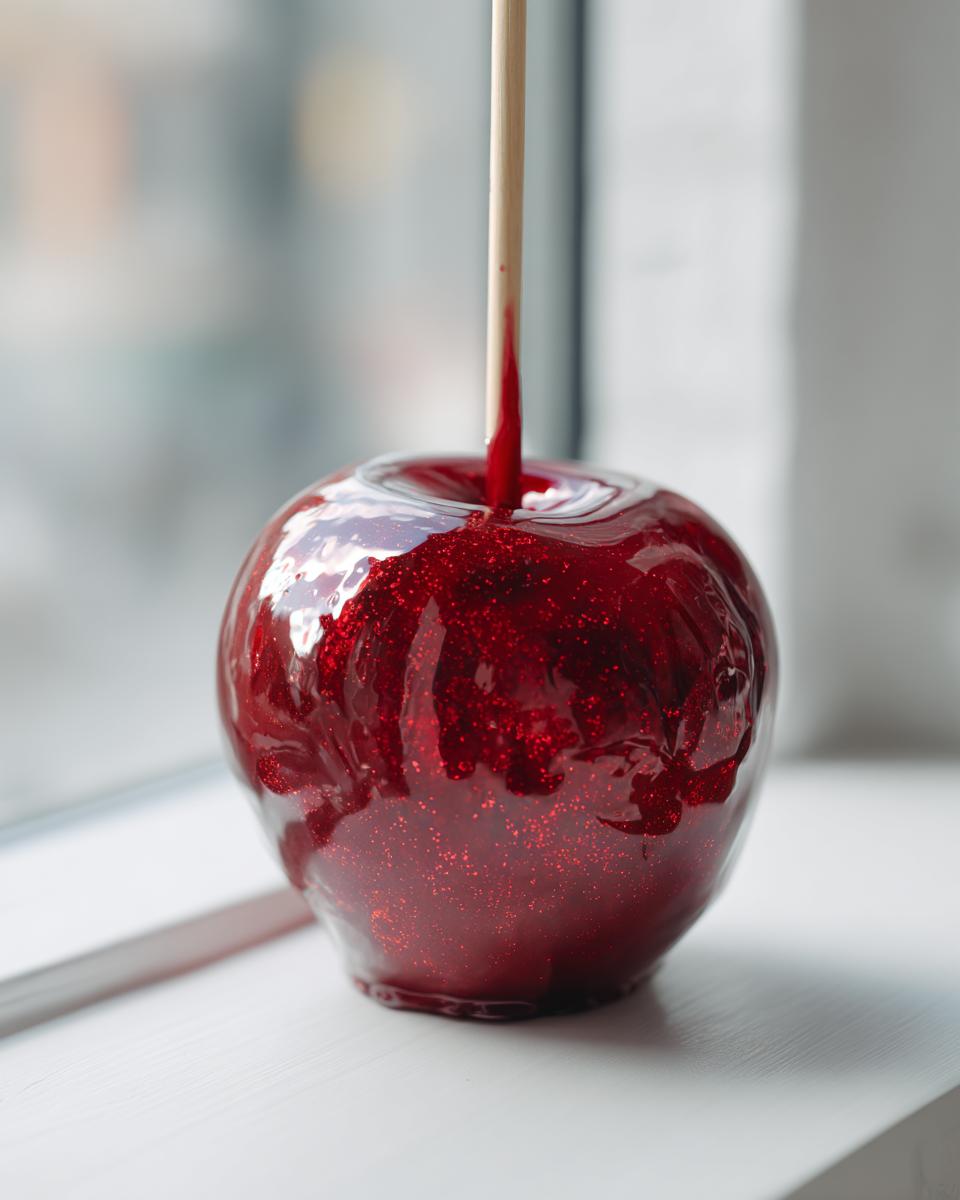
There are few things that smell more like autumn adventures and crisp evenings than a perfect, shiny red ball of sugar. Wow, I just love making candy apples! If you’ve ever been scared off by sticky messes or coatings that crack the second they cool, you’ve come to the right place. This is my absolute foolproof guide for achieving that perfectly glossy, crack-free shell. I’m Sarah Miller, and like my own grandmother whose apple pies shaped my love for fruit desserts, I believe in making treats that feel both nostalgic and incredibly reliable. Need a homemade apple pie filling recipe for another day? Keep this one in your back pocket! Trust me, these classic candy apples will be the easiest, shiniest ones you’ve ever made at home.
- Why This Classic Candy Apple Recipe Delivers a Shiny Flawless Candy Coating
- Gathering Ingredients for Homemade Candy Apples
- Easy Candy Apple Tutorial: Step-by-Step Instructions
- Tips for Success with Crispy Candy Apple Shell
- Make-Ahead and Storage for Party Perfect Dipped Apples
- Creative Candy Apple Topping Ideas and Variations
- Frequently Asked Questions About Candy Apples
- Estimated Nutritional Breakdown for Homemade Candy Apples
- Share Your Nostalgic Fall Desserts Creations
Why This Classic Candy Apple Recipe Delivers a Shiny Flawless Candy Coating
The secret to these amazing candy apples isn’t luck; it’s science, honey! We are pushing that sugar syrup all the way to 300 degrees Fahrenheit—that’s Hard Crack Stage. If you stop pulling the temp too soon, you get sticky mess that drips off, but hitting that exact temp leaves you with that wonderfully crisp, shiny flawless candy coating. It’s totally different from a soft, chewy caramel apple, which is what makes this treat so iconic for grabbing a big, hard crunch! For more insight on getting that perfect coating, check out this great resource on the best candy apple recipe.
If you want the best results, you have to nail the prep. Don’t just wipe them down; we need to take off every trace of surface wax so that beautiful, bright candy layer actually sticks!
Expert Tips for Perfect Apple Preparation
Listen up, this part is non-negotiable if you want that perfect shell! You must strip the wax off your apples first. I know, it feels weird, but commercial apples are coated in wax to keep them fresh, and that wax makes your glossy candy slide right off later. Just a quick 5-second dip in boiling water, then dry them off completely—I mean *bone dry*—before sticking in the skewer. It only takes a moment, but this simple step ensures ultimate adhesion. You’ll be amazed at how well that hard candy grips!
Gathering Ingredients for Homemade Candy Apples
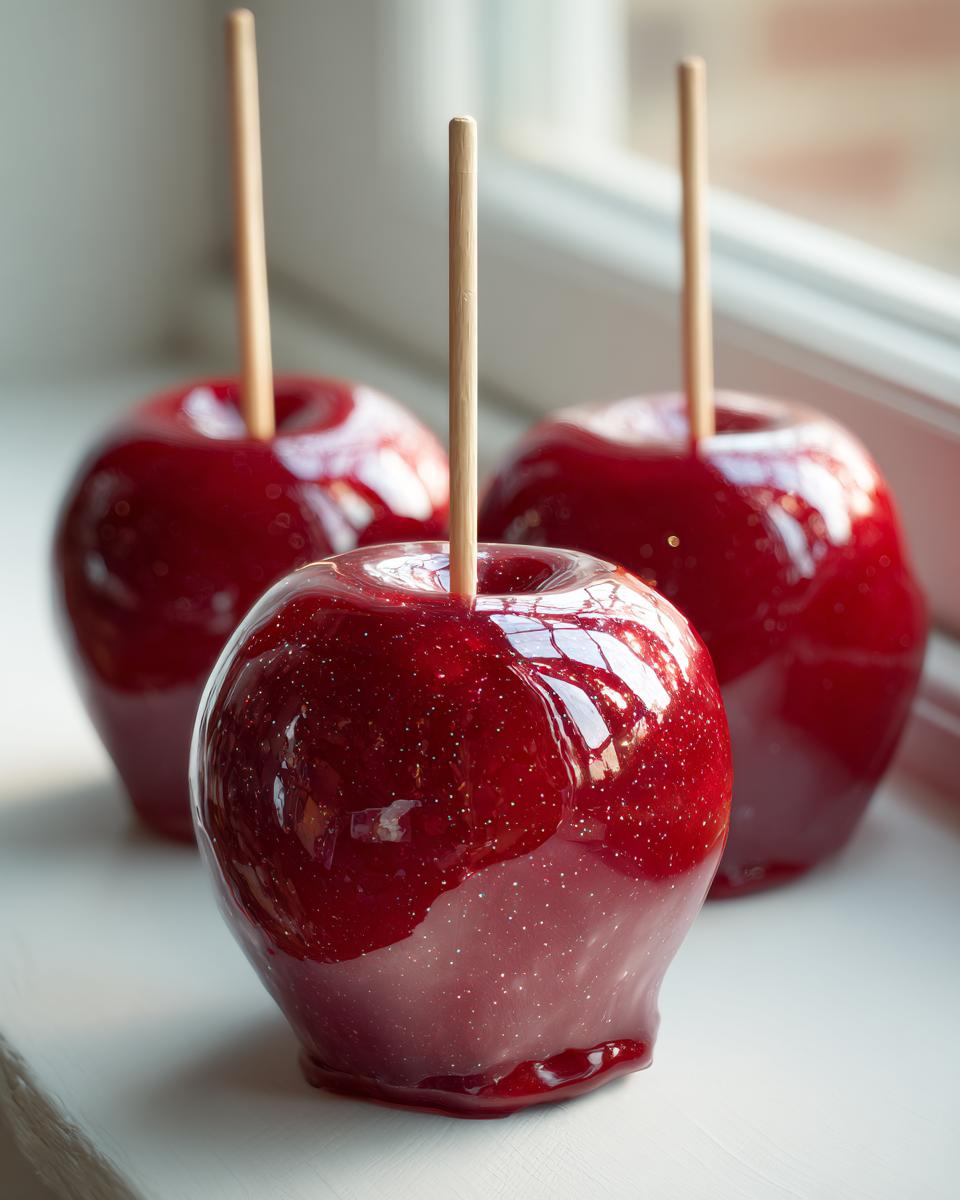
Alright, let’s get our shopping list ready for these amazing candy apples. This recipe keeps things simple because we want the full power of that hard candy shine to do the heavy lifting. Here’s exactly what you’ll need for six beautiful apples. Keep everything measured out near your stove because once the hard crack happens, we move fast!
- 6 medium firm apples (like Granny Smith or Fuji)
- 6 wooden sticks or skewers
- 2 cups granulated sugar
- 1 cup light corn syrup
- 1/2 cup water
- 1 teaspoon red food coloring (liquid or gel)
- 1/2 teaspoon cinnamon extract or vanilla extract
If you’re looking for a great make-ahead breakfast while these cool, check out my recipe for apple cinnamon overnight oats! It’s so easy.
Ingredient Notes and Substitutions for Your Candy Apples
For that perfect tart-sweet flavor balance in your candy apples, I insist on using Granny Smith or Fuji—they hold up beautifully! When it comes to color, gel food coloring gives you a much brighter, richer red than basic liquid coloring, so I always choose gel if I can find it. And for the extract, cinnamon gives it that super nostalgic fall dessert vibe, but vanilla works wonderfully too if spice isn’t your first choice.
Easy Candy Apple Tutorial: Step-by-Step Instructions
Okay, the moment of truth! This is where we turn sugar and water into that hard, shatteringly crisp shell. If you’re doing anything else while waiting for that thermometer, you should check out my recipe for creamy mushroom pasta, but honestly, once that temperature starts climbing, you need to pay attention! Combine your sugar, corn syrup, and water in that heavy saucepan. Stir *just* until the sugar dissolves over medium heat—don’t agitate it too much once it starts boiling, that’s how crystals form!
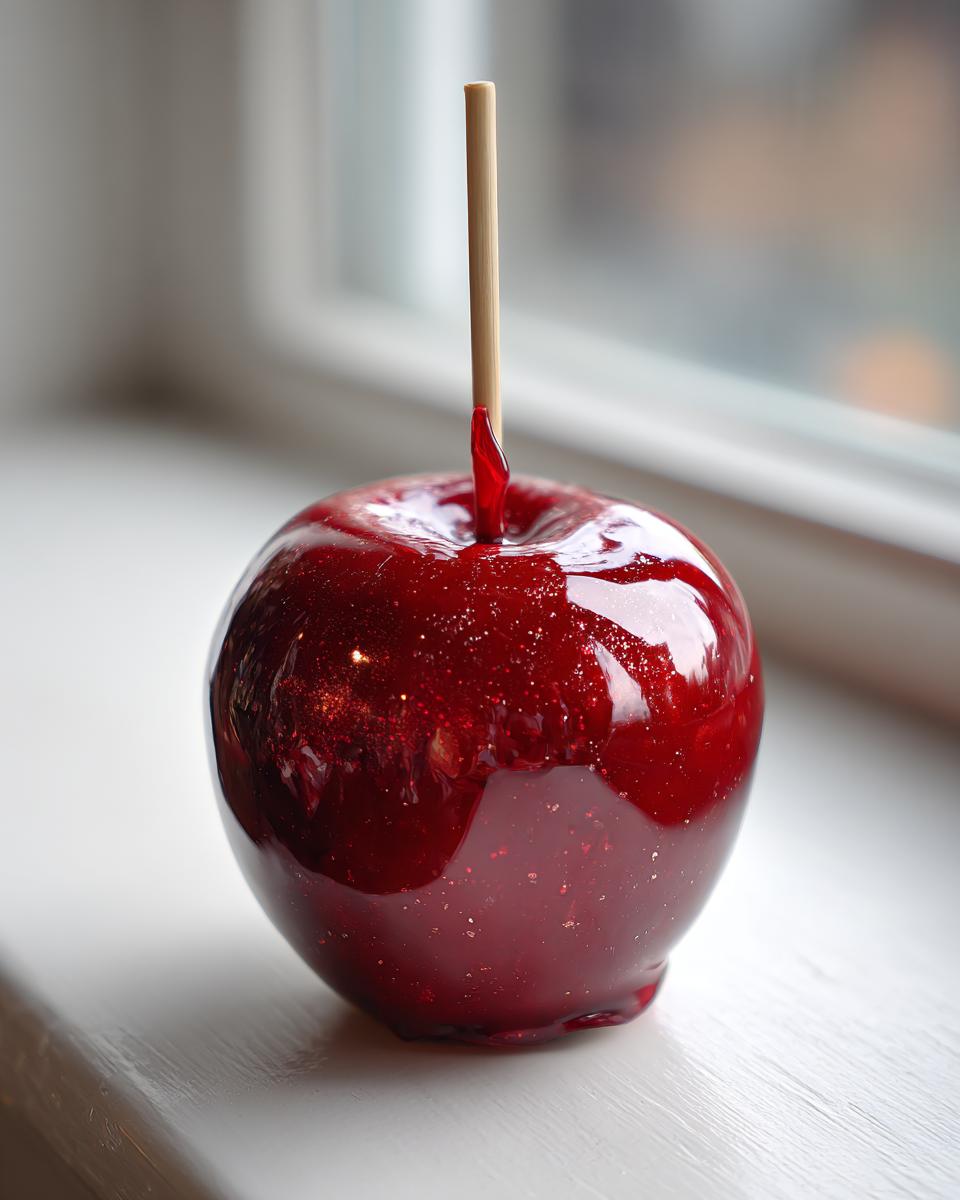
Once it hits 300 degrees Fahrenheit—that beautiful Hard Crack Stage—pull it off the heat immediately! Quickly stir in your red coloring and extract. Now, move fast; the mixture will look thin but trust me, it’s scorching hot! Tilt your pan and dip each prepared apple, rotating it like lightning to get full coverage. Let the extra drip off gently before setting it on your greased parchment paper to cool. For a fantastic read on these simple steps for candy apples, this guide is really helpful: easy candy apple recipe.
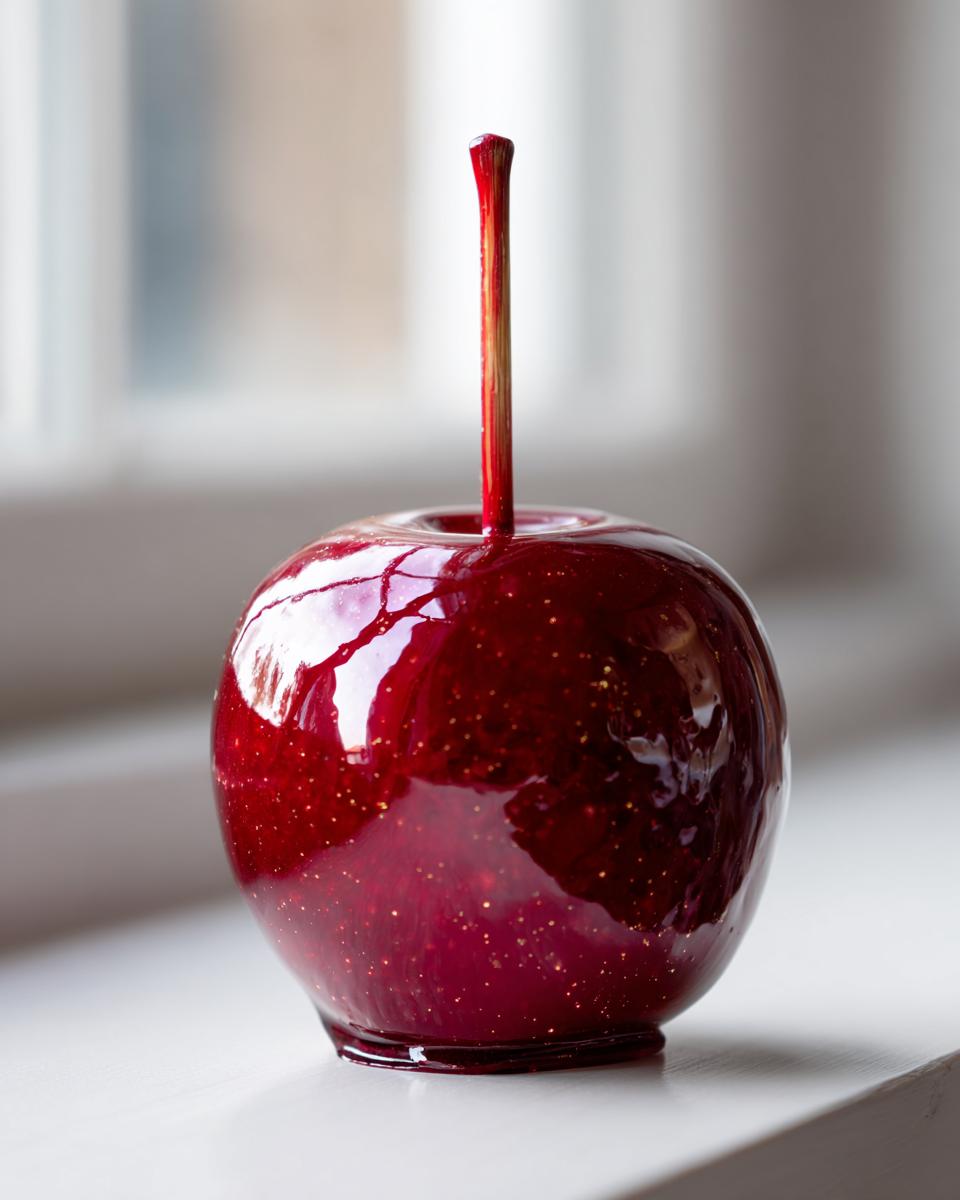
Achieving the Best Candy Apple Color Recipe
That beautiful, vibrant red is classic, but we can totally play here! Remember how I mentioned gel colors work best? If you want a spooky black for Halloween candy apples, or a bright orange for fall, use just a few drops of gel coloring when you stir it in. Gel colors are super concentrated, so you get maximum saturation without adding extra liquid that could throw off the sugar balance. Stick to just one color for the classic look, or save a little syrup in a separate, small microwave-safe bowl to try swirling later for something truly unique!
Tips for Success with Crispy Candy Apple Shell
We’ve all been there: you pull the pan off the heat, dip one perfect apple, and when you go back for the second one, the syrup has gotten thick and sticky! Don’t panic and don’t throw it out! If your candy apples coating starts to set up too fast, just slide that saucepan back onto the lowest heat setting for just a minute. You just need to gently melt the edges back into liquid—never, ever let it boil again, or you’ll ruin that hard-crack stage. This little trick has saved many a batch for me. For more helpful tips on avoiding common pitfalls in your candy apples, I always point people to check out this easy candy apple tutorial.
Techniques for Swirled Candy Apples
Want to get really fancy with your candy apples? That gorgeous swirling effect is easier than you think! After your first dip in the red syrup, let that apple sit on the parchment paper for maybe 30 seconds until the shell starts clouding over just a bit—it needs a tiny bit of tackiness. Then, quickly dip it just halfway into a bowl of a second color, like blue or green. When you pull it out, the colors will lightly marble together as they cool. It looks so professional and is perfect for themed party perfect dipped apples!
Make-Ahead and Storage for Party Perfect Dipped Apples
I often get asked if I can make these gorgeous candy apples days before a party, and the answer is a definite yes! Because we are using that hard-crack sugar coating, they hold up beautifully for storage. The key is keeping them away from humidity, which is what makes that shiny shell go dull or sticky. Store your finished apples in a single layer, not touching, in an airtight container. Keep them in a cool, dry spot—never the fridge, even though that seems logical! A cool pantry works like a charm.
If you’re prepping for a big weekend event, you can safely make your beautiful candy apples up to two days ahead of time. If you need something else ready ahead of time, you absolutely have to try my recipe for refrigerator pickles; they are fantastic alongside heavy desserts!
Creative Candy Apple Topping Ideas and Variations
Our classic red candy apples look stunning on their own, but what if we want to jazz them up for a big autumn celebration or something a bit more gourmet? You can absolutely decorate these babies before the shell sets completely! If you have finely chopped pecans or rainbow sprinkles, wait just a few seconds after dipping—not long enough for it to harden—and then roll or lightly press the toppings onto the sticky coating right away. They stick like magic before they cool down!
If you’re feeling ambitious and want truly unique dipped apples, you could look into making flavored candy apples by swapping out the sugar/water combination for melted hard candies, like those Jolly Ranchers. That’s how you get those amazing neon blues or greens! For a great example of taking that idea even further, check out this incredible tutorial on Glow in the Dark Jolly Rancher Candy Apples—it’s so much fun!
Honestly, though, for a simple serving that still feels homemade and delicious, I love pairing these shiny snacks with something savory, like my cranberry brie bites for a party platter. The sweet crunch always hits just right!
Frequently Asked Questions About Candy Apples
I know you might still have a few things bouncing around in your head after all that boiling sugar talk! It’s natural to have questions when dealing with Hard Crack Stage syrup. I gathered up the most common things people always ask me when they are trying to master homemade candy apples for the first time.
Can I use caramel apples instead of candy apples?
That’s a great question! You absolutely can make caramel apples, but the process and result are totally different. Caramel is cooked to a lower temperature, keeping it soft and chewy. These candy apples use a much higher temperature (300°F!) to create that thin, shatteringly crisp, shiny shell. If you want the hard crunch, you have to stick to the candy coating method we just used!
Why is my candy coating sticky instead of having a crispy candy apple shell?
If your coating is sticky, it means the sugar didn’t reach the full Hard Crack Stage, so it’s likely trapped some moisture or didn’t quite hit 300 degrees. This is super common! Also, make sure you removed all the wax from the apple first, otherwise the soft sugar just melts right off. If you followed the temp and still have stickiness, you might have bumped the pot while boiling—that can cause premature crystallization!
How do I prevent those pesky bubbles in the coating?
Ah, the bubbles! Those are frustrating because they ruin that lovely, perfectly smooth finish. The biggest trick for *no bubble candy coating* is making sure your apples are bone dry after that quick, boiling water bath. Any water left on the apple surface literally turns to steam under the hot candy, trapping air and creating bubbles! Also, try to dip slowly and steadily; fast dipping forces air in there too. For more great tips on making comforting meals in general, take a peek at all my comfort food recipes!
How long do these hard candy apples last?
These are fantastic for making ahead! Stuffed in an airtight container in a cool, dry cupboard, these candy apples will stay nice and crisp for several days. Remember what I said—keep them away from humidity so that glossy coating stays gorgeous!
Estimated Nutritional Breakdown for Homemade Candy Apples
Since we are working with pure sugar syrup here, it’s important to know what you’re diving into! These numbers are an estimate for one serving—one beautiful, shiny candy apple. It’s certainly a treat and not an everyday snack, right? I always tell my family that these are for celebrating the season and savoring those wonderful nostalgic fall desserts moments.
- Serving Size: 1 apple
- Calories: 350
- Sugar: 85g
- Fat: 0g
- Protein: 0g
Share Your Nostalgic Fall Desserts Creations
I hope you feel confident tackling these amazing candy apples now! When you make a batch of these nostalgic fall desserts, snap a picture and tag me! Seriously, I love seeing how bright your red coating turned out. Rate the recipe below and tell me in the comments how the Hard Crack Stage went for you. Don’t forget, if you need anything else, you can always reach me through my contact page!
PrintFoolproof Classic Red Candy Apples: Achieve a Perfectly Shiny, Crack-Free Coating
Make classic candy apples with a simple recipe that delivers a perfect, glossy, crack-free coating every time. This tutorial shows you how to prepare the apples for the best texture and shine.
- Prep Time: 15 min
- Cook Time: 20 min
- Total Time: 35 min
- Yield: 6 servings 1x
- Category: Dessert
- Method: Stovetop Cooking
- Cuisine: American
- Diet: Vegetarian
Ingredients
- 6 medium firm apples (like Granny Smith or Fuji)
- 6 wooden sticks or skewers
- 2 cups granulated sugar
- 1 cup light corn syrup
- 1/2 cup water
- 1 teaspoon red food coloring (liquid or gel)
- 1/2 teaspoon cinnamon extract or vanilla extract
Instructions
- Wash and thoroughly dry the apples. Remove any wax by briefly dipping them in boiling water for 5 seconds, then immediately dry them completely. Insert the sticks firmly into the apple stems.
- Line a baking sheet with parchment paper or a silicone mat and lightly grease it with cooking spray.
- Combine the sugar, corn syrup, and water in a medium heavy-bottomed saucepan. Stir gently over medium heat until the sugar dissolves.
- Stop stirring once the mixture boils. Insert a candy thermometer. Cook the syrup without stirring until it reaches 300 degrees Fahrenheit (Hard Crack Stage).
- Remove the saucepan from the heat immediately when it reaches 300 degrees F. Carefully stir in the red food coloring and the extract. Work quickly.
- Tilt the pan slightly. Dip each apple into the hot syrup, rotating to coat completely. Lift the apple and allow excess syrup to drip off by turning it slowly over the pot.
- Place the coated apples onto the prepared baking sheet to cool and harden completely, about 30 minutes.
Notes
- For a crack-free coating, ensure your apples are completely free of moisture before dipping.
- If you want a different color, substitute the red food coloring with gel colors like orange, blue, or green.
- To achieve a swirled look, dip the apple in one color, let it set slightly, then dip quickly into a second color.
- If the candy coating hardens in the pan before you finish, place the pan back on low heat briefly to re-melt the edges, but do not let it boil again.
Nutrition
- Serving Size: 1 apple
- Calories: 350
- Sugar: 85g
- Sodium: 2mg
- Fat: 0g
- Saturated Fat: 0g
- Unsaturated Fat: 0g
- Trans Fat: 0g
- Carbohydrates: 90g
- Fiber: 1g
- Protein: 0g
- Cholesterol: 0mg