
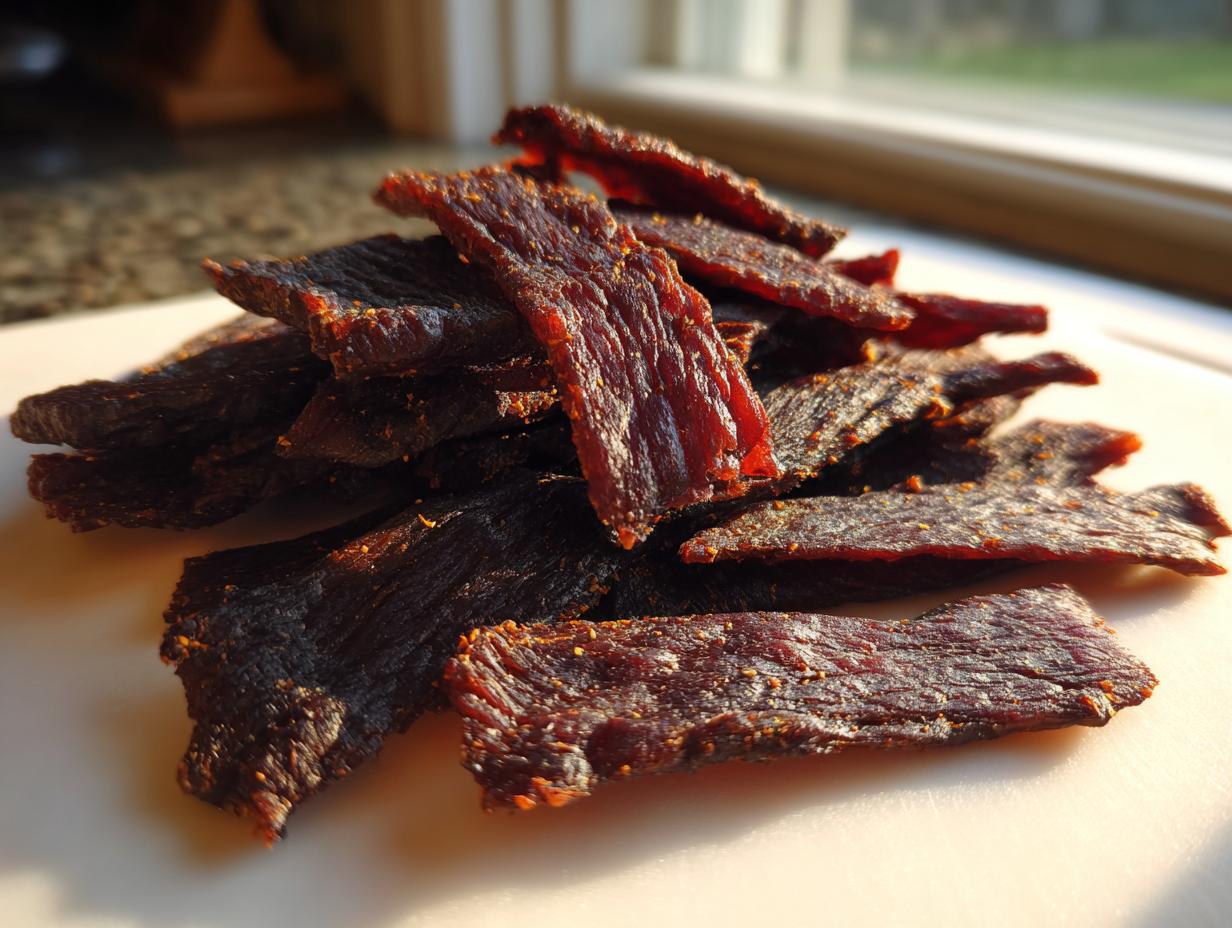
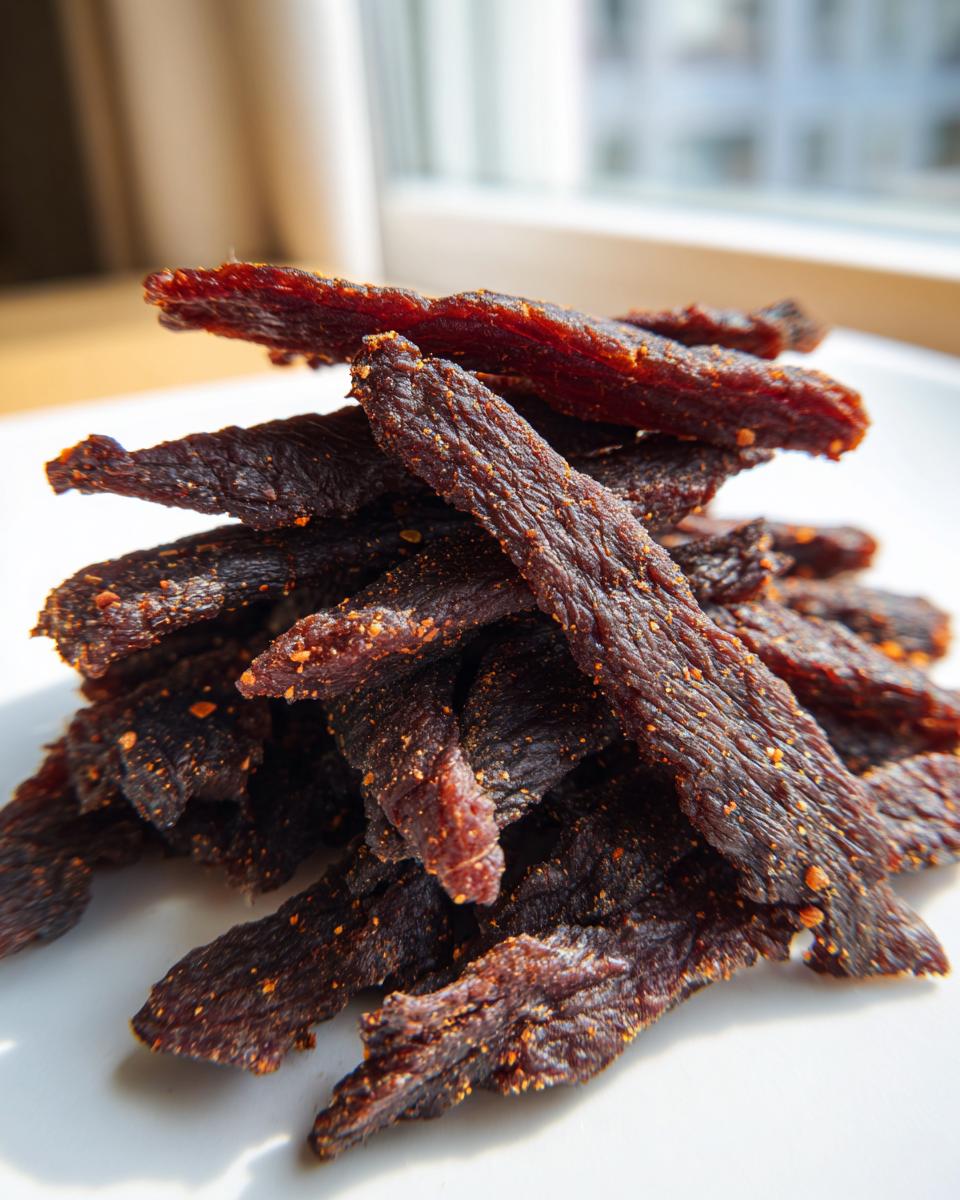
Hunting season is here, or maybe you just need a seriously good, make-ahead protein snack that actually tastes amazing? I totally get it. When I started HearthBite, my goal was always to give you reliable recipes perfect for the modern home cook, and this sweet and smoky venison jerky recipe is one of my absolute best. Forget those dry, flavorless store-bought packets!
This marinade—packed with brown sugar, Worcestershire, and liquid smoke—is truly unbeatable. The best part? It’s so wonderfully versatile. Whether you’re relying on a trusty dehydrator or you only have your oven available, this recipe for venison jerky delivers that perfect chew every single time. As you can see on our About page, my focus is always on comfort and simplicity in the kitchen. Trust me, once you try your own homemade jerky, you won’t go back!
- Why This Sweet and Smoky Venison Jerky Recipe Works (Primary Keyword Focus)
- Essential Ingredients for Perfect Venison Jerky
- Preparation Steps: Slicing and Marinating Your Venison Jerky
- Drying Methods: Mastering the Dehydrator Jerky or Oven Jerky Method
- Tips for Success When Making Deer Jerky Recipe
- Storage and Gifting Your Sweet and Smoky Venison Jerky
- Frequently Asked Questions About Homemade Jerky
- Nutritional Estimate for This Make Ahead Protein Snack
- Share Your Sweet and Smoky Venison Jerky Results
Why This Sweet and Smoky Venison Jerky Recipe Works (Primary Keyword Focus)
Honestly, this recipe shines because it’s built for success, even when you’re busy. The flavor is where it really gets you—that perfect balance of savory meat with that sweet and smoky profile from the paprika and smoke. It’s the foundation of great venison jerky.
- Flavor Pop: The brown sugar melts right into the meat, giving you that satisfying chew without being overly sweet.
- Total Reliability: Whether I use my dehydrator or my oven, I know the drying temperature is safe and consistent.
- Fat-Free Perfection: By trimming every bit of silver skin, you guarantee a piece that’s truly all meat and chew.
Essential Ingredients for Perfect Venison Jerky
When it comes to making fantastic homemade jerky, you have to be picky about what goes into the marinade. This isn’t the time to eyeball things! Everything listed below is necessary because we need to create a brine that draws out moisture while adding massive flavor payoff. Trust me, using lean meat is step number one for great venison jerky.
You start with two pounds of venison, and I mean *all* the fat trimmed off. Seriously, scrape that white stuff off until you see nothing but deep red muscle fiber. Fat doesn’t dry out like meat does, and it just goes rancid sitting there. Then we mix everything—soy sauce, Worcestershire, liquid smoke, and all those beautiful spices—until that brown sugar completely disappears into the mixture.
Ingredient Notes and Substitutions for Your Venison Jerky
Let’s talk specifics, because precision matters here. For the meat, you absolutely need lean cuts like top round or flank steak. If you use anything with marbling, you’ll end up with jerky that feels greasy instead of perfectly dried. When you buy your brown sugar, make sure it’s packed down hard in the cup—that extra molasses is key for the color and depth of the sweet and smoky jerky flavor we’re aiming for.
Liquid smoke is non-negotiable if you aren’t smoking the meat separately! It gives you that campfire essence quickly. If you don’t have paprika, you could try an extra half-teaspoon of smoked paprika, but that’s my one big substitution warning. Stick close to the measurements here, and you’ll have the best venison jerky you’ve ever made!
Preparation Steps: Slicing and Marinating Your Venison Jerky
Okay, now we get into the really hands-on part! Before we even think about the dehydrator or the oven, we have to get the meat prepped perfectly, and this preparation is what separates chewy, perfect jerky from the floppy stuff. After you’ve trimmed off every last bit of fat, we need to freeze the meat slightly. Trust me on this one—let it firm up in there for about 45 minutes. It makes slicing so much easier!
This is where a lot of people mess up jerky marinade ideas. You absolutely have to slice against the grain. If you slice parallel to the muscle fibers, you end up with long, tough strings instead of tender strips. This process takes a little patience, but the result is worth it for your homemade jerky.
Achieving Uniform Thickness for Consistent Venison Jerky
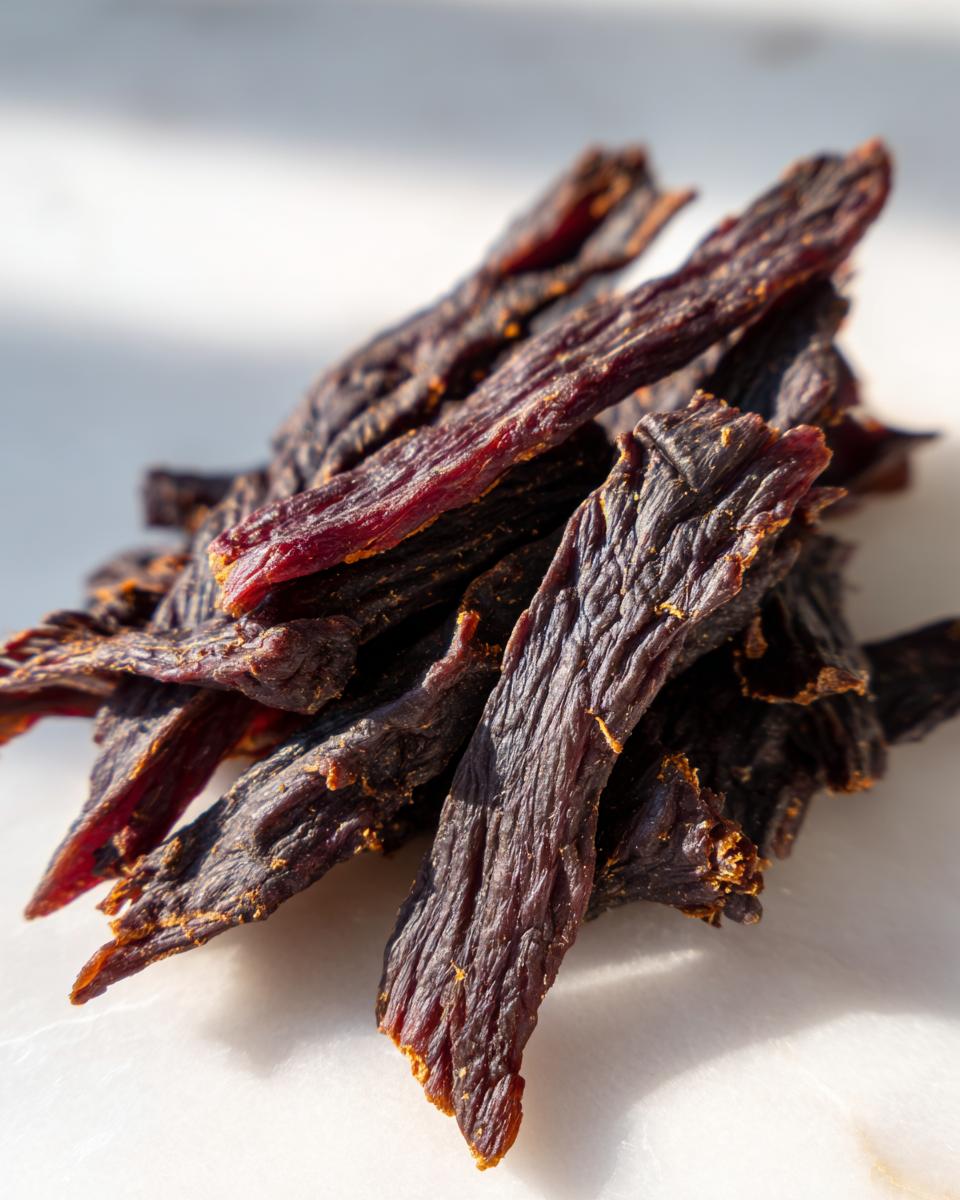
When I say uniform, I mean it! Aim for right between 1/8 inch and 1/4 inch thick. No thicker than a nickel, no thinner than a credit card, ideally. Why does this matter so much? Because if you have thick chunks next to super thin pieces, the thin ones will burn while the thick ones are still soft and mushy inside. That slight freeze we did earlier helps you get that gorgeous, even cut with a sharp knife. It’s like the foundation for your entire batch of venison jerky.
Marinating Time Guidelines for Deep Flavor in Your Homemade Jerky
Once those beautiful slices are cut, it’s marinade time! Pour that whole sweet and smoky bath over the meat, seal up your bag, and get it into the fridge. You can get away with six hours if you’re in a huge rush, but if you can leave it overnight—say, 20 to 24 hours—the flavor penetration is unbelievable. You want that Worcestershire and soy sauce really sinking deep into the muscle. Just remember to pull that bag out of the fridge once or twice while it’s chilling and give it a good squish and turn so every piece gets coated evenly.
Drying Methods: Mastering the Dehydrator Jerky or Oven Jerky Method
This is the moment of truth! After all that trimming and marvelous marinating, we need to dry this meat properly. Remember how I mentioned reliability? Well, this recipe handles both the dehydrator jerky crowd *and* those of us who rely on the oven. You must follow the temperature guidelines closely for safety, especially as we want that minimum 160 degrees Fahrenheit mark.
If you’re using a dedicated dehydrator, go ahead and set it to 160°F. Spread your pieces out so they aren’t touching at all—air has to flow around them to wick away that moisture. It usually takes anywhere from four to eight hours in there. Check it starting at hour four!
Now, for the oven jerky method—this is incredibly effective if you don’t own a dehydrator. You have to set your oven to its absolute lowest setting, ideally hovering right around 160°F to 170°F. Here is the critical trick: even if your oven thermostat says it’s low, it still holds heat in ways a dehydrator doesn’t. You need to prop that oven door open slightly. I usually stick a wooden spoon handle right in the latch. This lets the humid air escape so the meat actually dries instead of just slowly cooking. It takes about the same amount of time, sometimes just a touch longer, so check every hour after the six-hour mark.
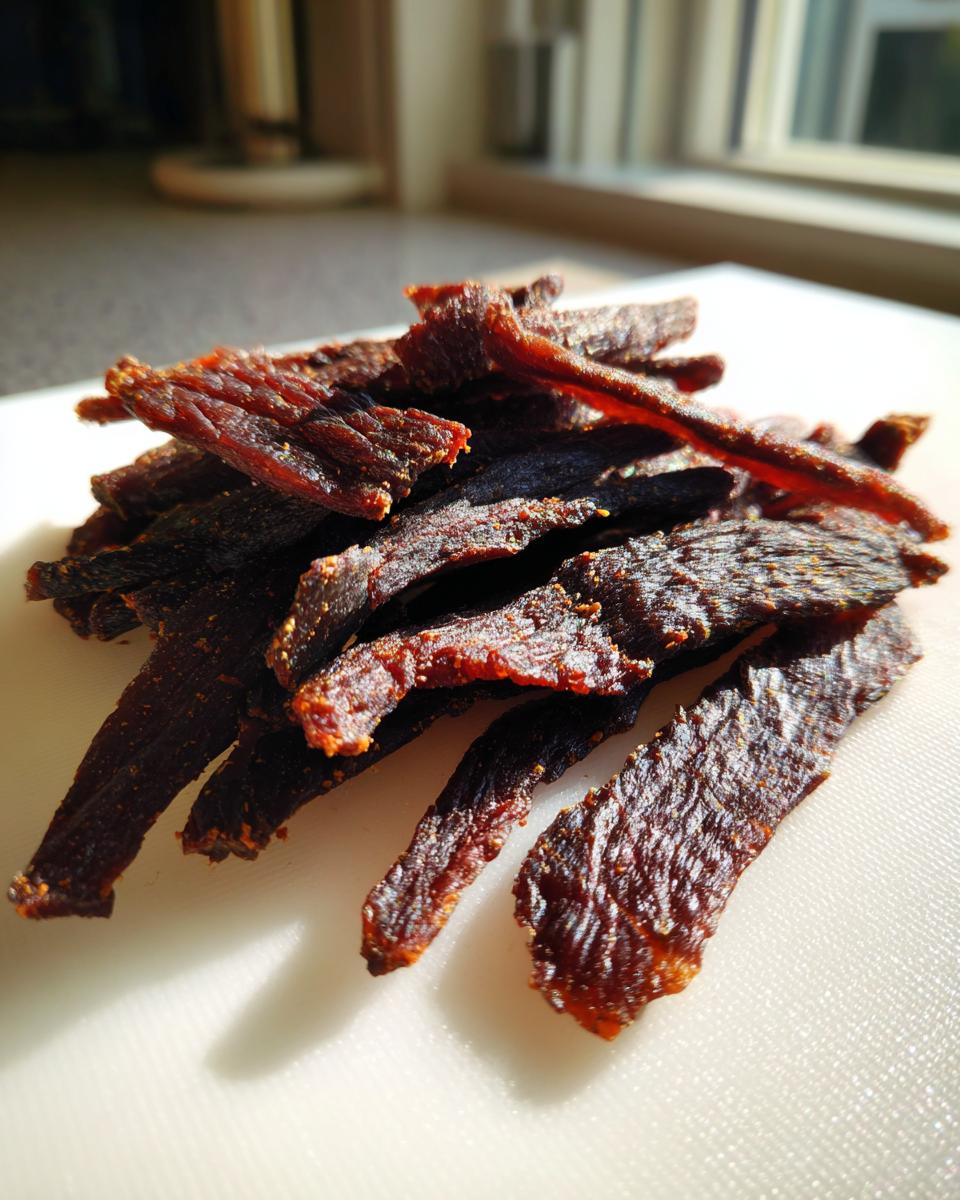
Whichever method you pick, the final texture for good venison jerky is the same: it should bend and show small cracks, but it shouldn’t snap cleanly in half. If it feels soft, put it back in!
Tips for Success When Making Deer Jerky Recipe
Even with the best marinade, little things can go wrong if you rush the drying process. The most common mistake I see when people try my deer jerky recipe is skipping the thorough paper towel pat-down. Seriously, you need to blot off every drop of surface moisture before that meat ever hits a rack. If you skip that, you’re essentially steaming your jerky for the first hour!
I remember one batch of venison jerky I made years ago—I was so excited for hunting season to start that I pulled it out too early. It looked great on the outside, but when I packed it into a zip-top bag, it was a soggy mess the next day. Oops! So, learn from my mistake: when you think it’s done, give it one more check.
The final test is always about pliability. Pick up a piece, let it cool for a minute, and try to bend it. You want that classic jerky behavior: it should bend sharply and show tiny cracks where you bent it, but it absolutely should not snap clean in half. If it snaps, you’ve gone too far. If it droops or feels soft when you squeeze it, it needs more time on the rack, even if it looks dry. Patience equals perfect venison jerky!
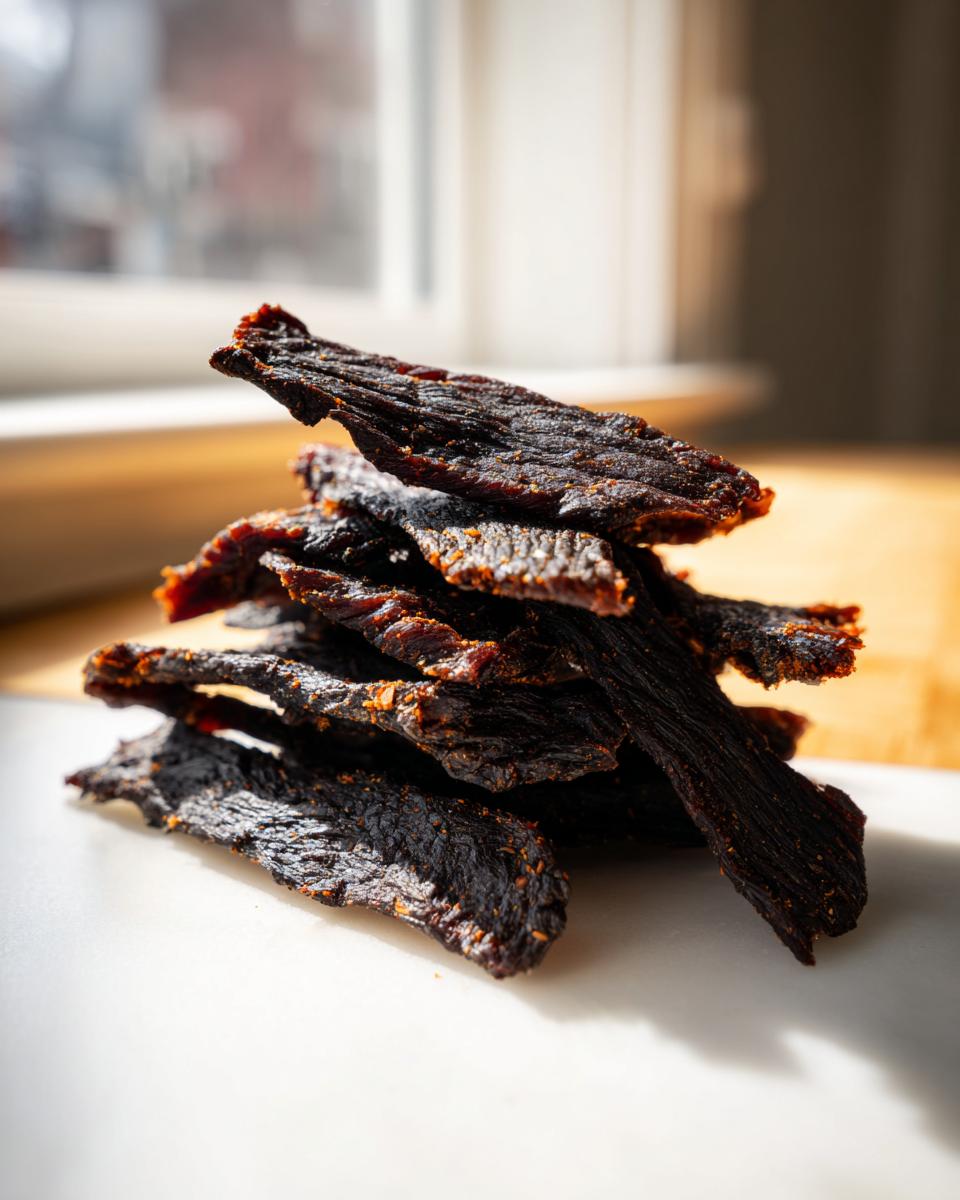
Storage and Gifting Your Sweet and Smoky Venison Jerky
You worked hard on this batch of sweet and smoky venison jerky, so let’s make sure it lasts! Once the jerky has completely cooled—and I mean totally cooled down, maybe sitting on a wire rack for an hour—you can finally pack it up. If you’re planning to use this batch for your upcoming hunting season recipes, just make sure to store it in something truly airtight. I usually rely on sturdy zip-top freezer bags or glass canning jars with tightly sealed lids.
If you plan to eat it within a month, room temperature storage is fine, as long as your kitchen isn’t super humid. But if you want this homemade jerky to last longer, definitely tuck those containers into the fridge. That helps keep the meat perfectly preserved! For gifting, I love putting small portions into cute cello bags and tying them with twine. It looks so professional, and everyone assumes you bought it!
Frequently Asked Questions About Homemade Jerky
I know you might have a few lingering questions after reading through all the steps for this deer jerky recipe. That’s totally fair! Making jerky at home always brings up specific concerns about food safety and texture, but don’t worry, that’s what this section is for. Drop any extra questions you have over on my contact page if I missed something!
Can I use a different type of meat for this venison jerky marinade?
You definitely can experiment with other meats, but remember the golden rule: it has to be lean! This marinade works beautifully on beef (like flank or even round steak) or even turkey breast. The chemistry of the cure relies on low-fat content. Since this recipe is specifically balanced for the density of venison jerky, you might need to adjust your drying time slightly if you switch to a leaner cut like turkey.
How do I know if my venison jerky is safe to eat?
Safety is paramount, especially when making a make ahead protein snack like this. The USDA guidelines are firm on this one: you must reach a minimum drying temperature of 160°F (71°C) for at least four hours to destroy any potential bacteria. Always confirm your dehydrator or oven hits that minimum heat mark during the drying process. Texture is your final check—no soft spots allowed! If it passes the “bend and crack” test, you’re good to go.
Nutritional Estimate for This Make Ahead Protein Snack
I always try to give you guys a general idea of what you’re putting into your body, especially when you’re relying on something like this homemade jerky as a make ahead protein snack for long days outdoors. Remember, because we are drying this meat and losing a bunch of water weight, these numbers are concentrated—a little strip packs a big punch of energy!
The estimates below are based straight off the recipe yield, calculated per one-ounce serving. Things like the exact brand of soy sauce you use for your venison jerky marinade, or how much sugar truly stays behind after drying, can shift these figures slightly. Just treat this as a really good guideline for your planning!
For those keeping a close eye on the finer details, you can check out our site’s Privacy Policy for more on how we handle data related to nutrition testing, though these figures are purely estimates!
- Serving Size: 1 ounce
- Calories: Around 90
- Protein: A whopping 17 grams! This is why it’s the ultimate field snack.
- Sugar: About 3 grams (from that brown sugar in the sweet and smoky marinade).
- Sodium: Keep an eye on this one—about 350mg, mostly from the soy and Worcestershire sauces.
One of the best things about making your own venison jerky is that the fat content is virtually non-existent since we trim it all off during prep. That keeps the fat count under 1 gram per serving. It’s lean fuel, folks!
Share Your Sweet and Smoky Venison Jerky Results
Alright, now that your kitchen smells like a gorgeous mix of campfire and caramel, I really, really want to hear how it went! Making venison jerky at home is such a satisfying project, and seeing your successes is what keeps me going back to the kitchen every day.
This recipe has such different results depending on whether you use the dehydrator jerky setting or whether you mastered the oven jerky method—so please, drop a comment below! Did the oven door prop hold up? Did your strips get that perfect bend-and-crack texture?
If you managed to get some beautiful, thin slices, I’d love to see photos! Tag me if you post pictures online—I live for seeing your homemade jerky hanging on the cooling racks or packed up for a hiking trip. Happy snacking, and thank you for trying out this sweet and smoky venison jerky!
PrintSweet and Smoky Venison Jerky
Make reliable, flavorful venison jerky at home using a simple sweet and smoky marinade. This recipe works well for dehydrator or oven drying.
- Prep Time: 20 min
- Cook Time: 8 hr
- Total Time: 8 hr 20 min
- Yield: About 1 pound 1x
- Category: Snack
- Method: Dehydrating or Oven Drying
- Cuisine: American
- Diet: Low Fat
Ingredients
- 2 lbs venison, trimmed of all fat and silver skin
- 1/2 cup soy sauce
- 1/4 cup Worcestershire sauce
- 1/4 cup brown sugar, packed
- 2 tablespoons liquid smoke
- 1 tablespoon smoked paprika
- 1 tablespoon onion powder
- 1 teaspoon black pepper, freshly ground
- 1 teaspoon garlic powder
- 1/2 teaspoon ground ginger
Instructions
- Trim all visible fat and silver skin from the venison. Freeze the meat for 30 to 60 minutes until it is firm but not frozen solid.
- Slice the venison across the grain into uniform pieces, aiming for 1/8 to 1/4 inch thickness. Thin slicing is key for good jerky texture.
- In a medium bowl, whisk together the soy sauce, Worcestershire sauce, brown sugar, liquid smoke, smoked paprika, onion powder, black pepper, garlic powder, and ground ginger to create the marinade.
- Place the sliced venison into a large, resealable plastic bag or a non-reactive container. Pour the marinade over the meat, ensuring all pieces are coated.
- Refrigerate and marinate for a minimum of 6 hours, or up to 24 hours for deeper flavor. Turn the bag occasionally.
- Remove the meat from the marinade and pat each slice thoroughly dry with paper towels. Excess moisture prevents proper drying.
- Arrange the meat strips on your dehydrator trays or on oven racks lined with foil or a wire rack, making sure the pieces do not overlap.
- For a dehydrator: Set the temperature to 160 degrees Fahrenheit (71 degrees Celsius). Dry for 4 to 8 hours, checking for doneness periodically.
- For an oven: Set your oven to its lowest temperature, ideally between 160 and 170 degrees Fahrenheit (71 to 77 degrees Celsius). Prop the oven door open slightly with a wooden spoon to allow moisture to escape. Bake for 4 to 8 hours.
- Jerky is done when it is dry to the touch and bends without breaking, showing small cracks. It should not feel soft or mushy.
- Cool the jerky completely on a wire rack before storing.
Notes
- For gifting, store the finished jerky in airtight containers or vacuum-sealed bags at room temperature for up to one month, or refrigerate for longer storage.
- If you prefer a spicier flavor, add 1/2 teaspoon of cayenne pepper to the marinade mixture.
- If you are using a very lean cut of meat, you may need to add a small amount of fat back in, or the jerky may become too brittle.
Nutrition
- Serving Size: 1 ounce
- Calories: 90
- Sugar: 3
- Sodium: 350
- Fat: 0.5
- Saturated Fat: 0.2
- Unsaturated Fat: 0.3
- Trans Fat: 0
- Carbohydrates: 4
- Fiber: 0.2
- Protein: 17
- Cholesterol: 35