
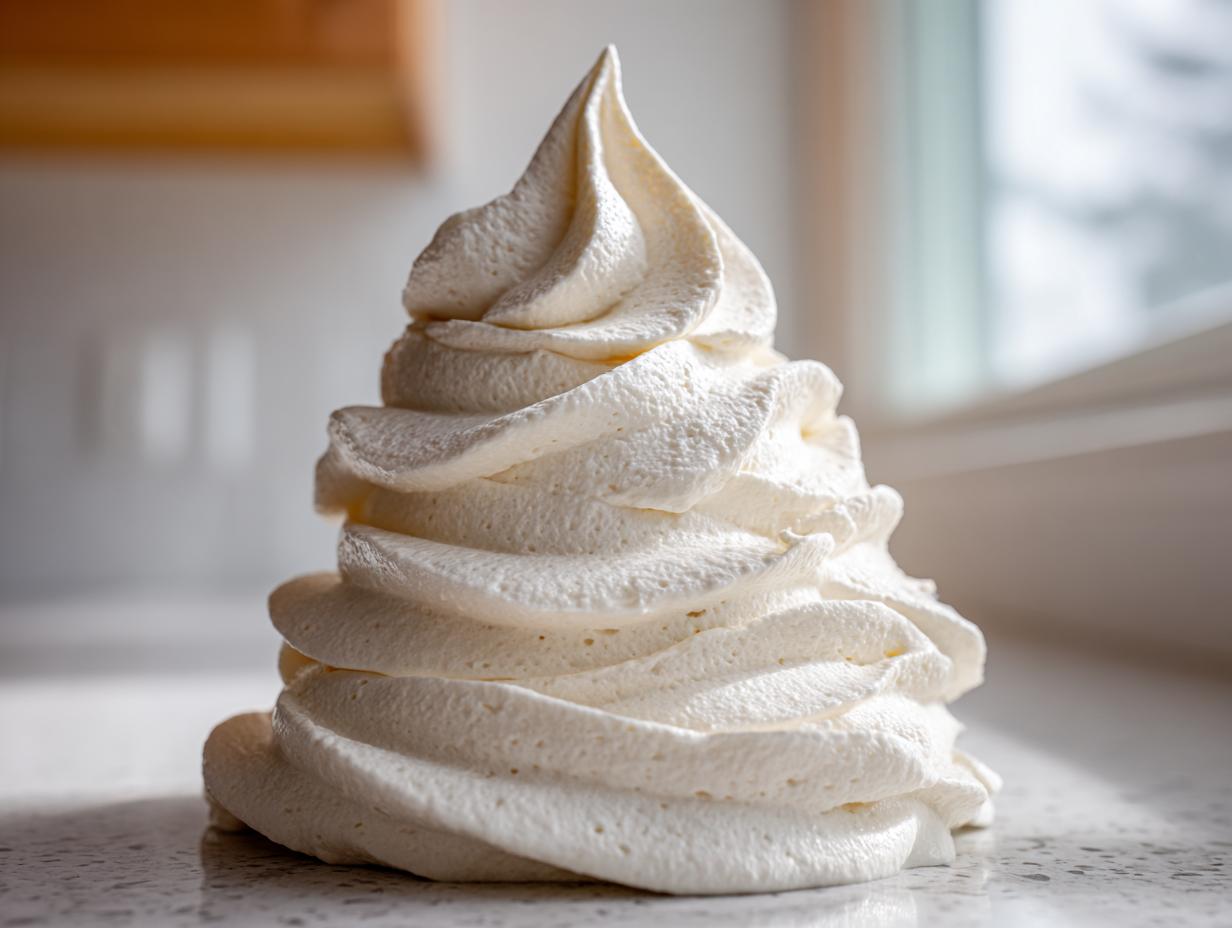
Oh, stop worrying about store-bought icing that feels too stiff or separates the second you look at it! From my kitchen to yours, I’m sharing the secret to what I truly consider the ultimate no-fail fluffy vanilla buttercream frosting. This isn’t just another recipe; it’s the foundation for stress-free decorating. In about ten minutes, you’ll have a perfectly creamy, stable icing that holds sharp edges and swirls like a dream. Trust me, once you master this classic American buttercream, you’ll never go back. It’s pure comfort, perfected.
- Why This is the Best Vanilla Buttercream Recipe for Your Cakes
- Gathering Ingredients for Fluffy Vanilla Buttercream Frosting
- The Quick 10-Minute American Buttercream Tutorial for Perfect Vanilla Buttercream Frosting
- Tips for Success: Achieving No-Fail Vanilla Buttercream Frosting
- Making Your Vanilla Buttercream Frosting Stable for Piping
- Serving Suggestions for Your Classic Vanilla Frosting
- Storage and Reheating Instructions for Vanilla Buttercream Frosting
- Frequently Asked Questions About Making Vanilla Buttercream Frosting
- Estimated Nutritional Data for This Simple Dessert Topping
Why This is the Best Vanilla Buttercream Recipe for Your Cakes
When I first started baking for large events, I needed icing that wouldn’t melt or fall apart halfway through the party. That’s why I developed this recipe; it’s simply the best vanilla buttercream recipe I’ve ever tested. It solves all those fussy problems you run into with basic recipes.
Here’s what makes this creamy homemade frosting my go-to recommendation for everyone:
- It’s incredibly fast! We are talking about a fully finished, ready-to-use topping in under ten minutes, which is a lifesaver when you need a last-minute batch.
- It creates a truly stable cake icing that holds those gorgeous sharp corners you see in professional bakeries.
- We beat out all the lumps. This method guarantees a perfectly smooth vanilla icing—no more sandy sugar texture!
- It’s fluffy without tasting overly sweet, giving you that perfect, light topping for any occasion.
If you want to learn more about the HearthBite philosophy behind creating reliable recipes, you can always check out our About Page!
Gathering Ingredients for Fluffy Vanilla Buttercream Frosting
You only need five simple things for this magic topping, but how you prepare them makes all the difference between good and truly great frosting. Remember, we are aiming for that fluffy buttercream frosting that tastes like it came from a professional bakery.
- 1 cup unsalted butter, softened right to cool room temperature (don’t rush this part!)
- 4 cups powdered sugar, and I mean sifted—this is non-negotiable!
- 1 teaspoon of the best pure vanilla extract you can find
- 1/4 teaspoon salt to cut the sweetness
- 3 to 5 tablespoons heavy cream or whole milk
That’s it! Ten minutes later, you’ll have about three cups ready to go. Isn’t that amazing for such basic components?
Ingredient Notes and Substitutions for Creamy Homemade Frosting
Using pure vanilla extract makes a huge difference; imitation vanilla tastes artificial, and we want that rich, classic taste. Always use unsalted butter, because we control the salt level ourselves, which is key to a smooth vanilla icing. If you run out of heavy cream, whole milk works just fine, but start with less liquid and add it slowly. You can even use a splash of half-and-half for a nice middle ground in creaminess!
The Quick 10-Minute American Buttercream Tutorial for Perfect Vanilla Buttercream Frosting
Alright, put on your apron because this is where the magic happens fast! We are going to whip up the most amazing vanilla buttercream frosting you’ve ever tasted, and it really does take less time than making a quick cup of coffee. The key to keeping this recipe so fast is making sure everything is ready to go before you turn the mixer on. I use my stand mixer for this, but a good hand mixer will totally work if you don’t mind a little arm workout!
When it comes to timing, we are constantly scraping down the sides. This ensures all that glorious butter gets incorporated, which keeps the final product looking flawless, not split or greasy. Ready? Let’s dive into the steps for this seriously easy vanilla frosting.
Step 1: Creaming the Butter for a Smooth Base
First up, the butter! It has to be perfectly softened—cool to the touch but yielding slightly. If it’s cold, your frosting will have lumps; if it’s warm or greasy, it’ll separate immediately! Beat that butter alone until it looks completely smooth and creamy, scraping down the bowl sides halfway through. This step builds the structure for us.
Step 2 & 3: Incorporating Sugar and Whipping for Fluffy Buttercream Frosting
Now, here’s the part where we avoid kitchen dust clouds: add that sifted powdered sugar one cup at a time on the absolute lowest speed. Seriously, low speed! Once it’s mixed in, turn the machine up to medium-high and let it beat for a solid three minutes. This extended whipping time is what turns plain butter and sugar into that airy, beautiful whipped vanilla frosting we love.
Step 4 & 5: Adjusting Consistency for the Best Frosting for Cupcakes
After the initial whip, start adding your heavy cream, just one tablespoon at a time. We beat for another two minutes after adding the first three tablespoons. This step finalizes the texture. If you are aiming for the best frosting for cupcakes that needs to sit up tall for piping, stop adding liquid when it looks slightly firmer than you think you need. If it’s just for spreading on a cake layer, keep adding that cream until it flows nicely off your spatula!

You can check out some of my favorite quick pairings, like my quick dinner recipes, while you wait for this frosting to set up!
Tips for Success: Achieving No-Fail Vanilla Buttercream Frosting
I want you to feel confident when you make this frosting—I really do! It’s so easy to mess up the temperature, and trust me, I’ve been there. I remember one summer trying to make this for a church picnic; my kitchen was too hot, and the butter turned soupy halfway through beating. What I ended up with was a greasy puddle, not that beautiful whipped vanilla frosting. Never again!
To make sure you avoid the greasy look and get that perfectly vanilla buttercream without a grainy texture, you absolutely must sift that powdered sugar. If you skip it, I promise you’ll spend the entire 10 minutes picking out little sugar pebbles. It’s worth the extra minute!
Another big tip, taken right from my grandmother’s notebook, is keeping the butter cool but not hard. If your frosting starts looking weird or oily while you’re working with it, don’t panic! Just pop the whole mixing bowl into the fridge for about ten minutes. When you bring it back out, give it a quick whip, and it settles right back down into perfect classic vanilla frosting.
If you ever have questions about why a recipe went sideways, please feel free to reach out—I love hearing from our readers! Just send a note through the Contact page!
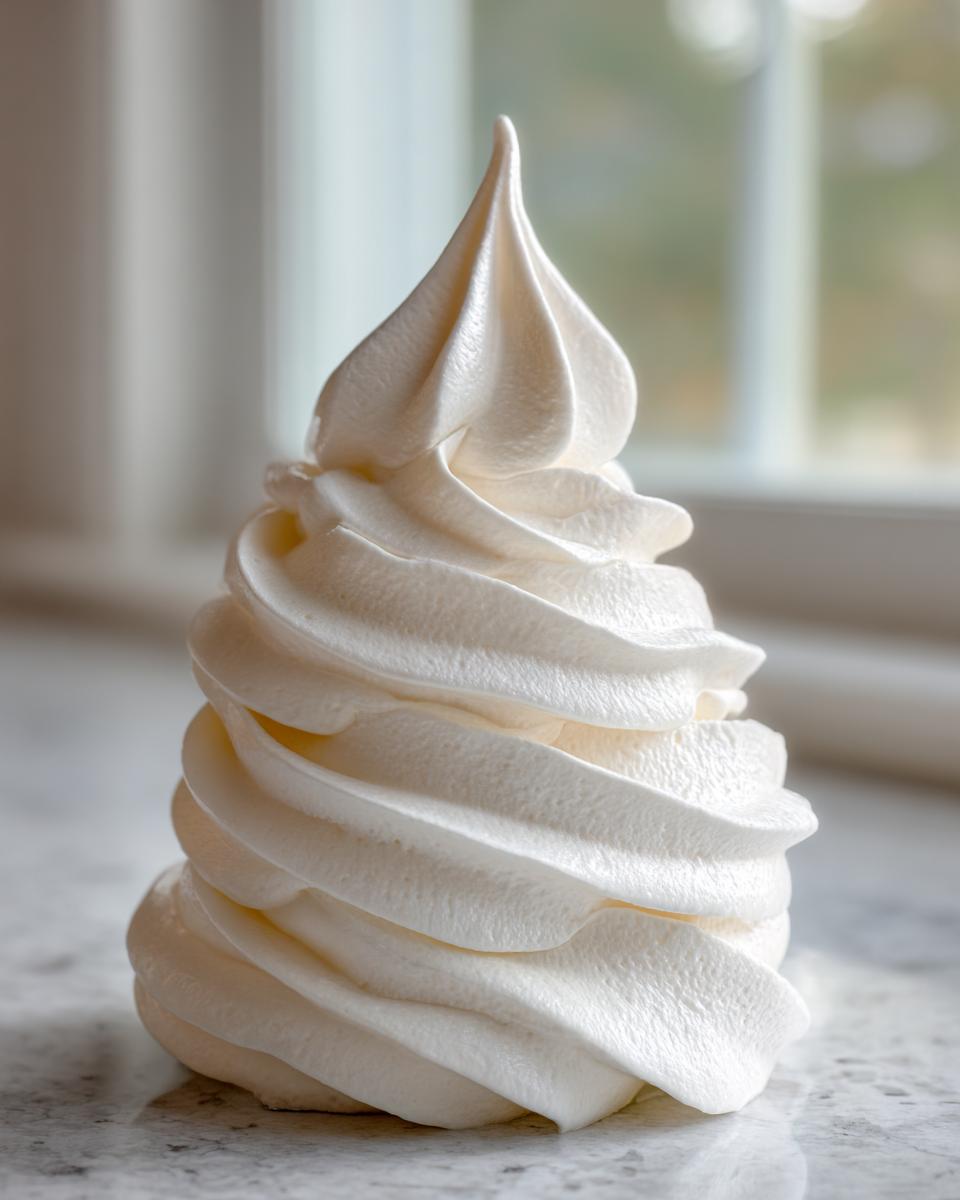
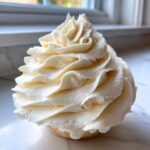
Making Your Vanilla Buttercream Frosting Stable for Piping
The moment you want to turn this creamy topping into towering swirls, you need to make sure it’s stiff enough, right? Nobody wants their beautiful piped roses melting down the side of a cake before anyone even gets a slice!
If your plan involves using star tips or making sharp borders, you need the best buttercream for piping. The beauty of this American buttercream is how easy it is to adjust the thickness. If you think it looks a little soft while it’s mixing, just hold back on that last tablespoon of cream or milk.
If you’ve already added all the liquid and it’s too slouchy? Chilling is your best friend! Pop the bowl in the fridge for ten minutes, then bring it back out and whip it on medium speed again. That extra minute of whipping incorporates air, firms it right up, and keeps that lovely vanilla flavor intact. You’ll find this texture is perfect for decorating your next big layer cake, maybe even my classic vanilla cake!
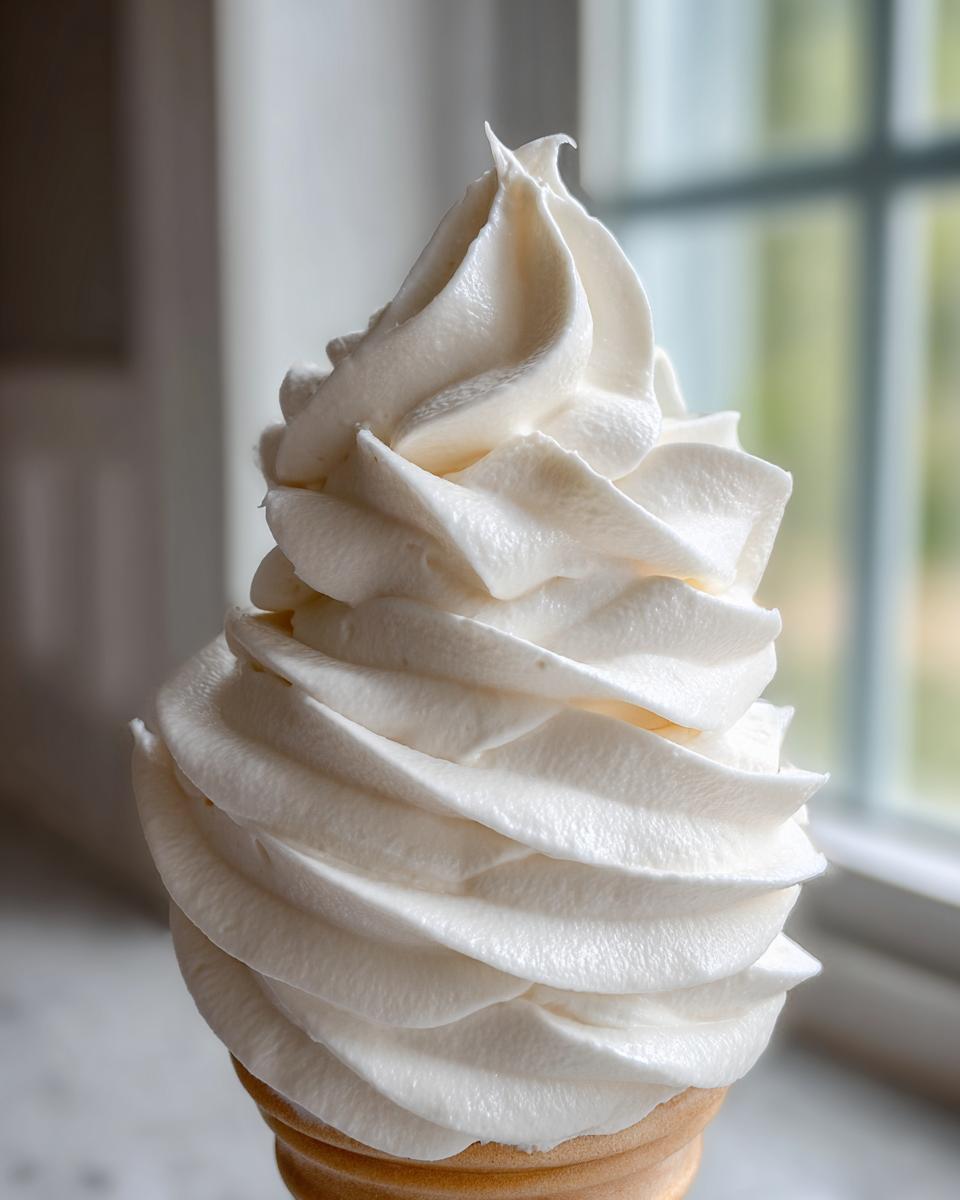
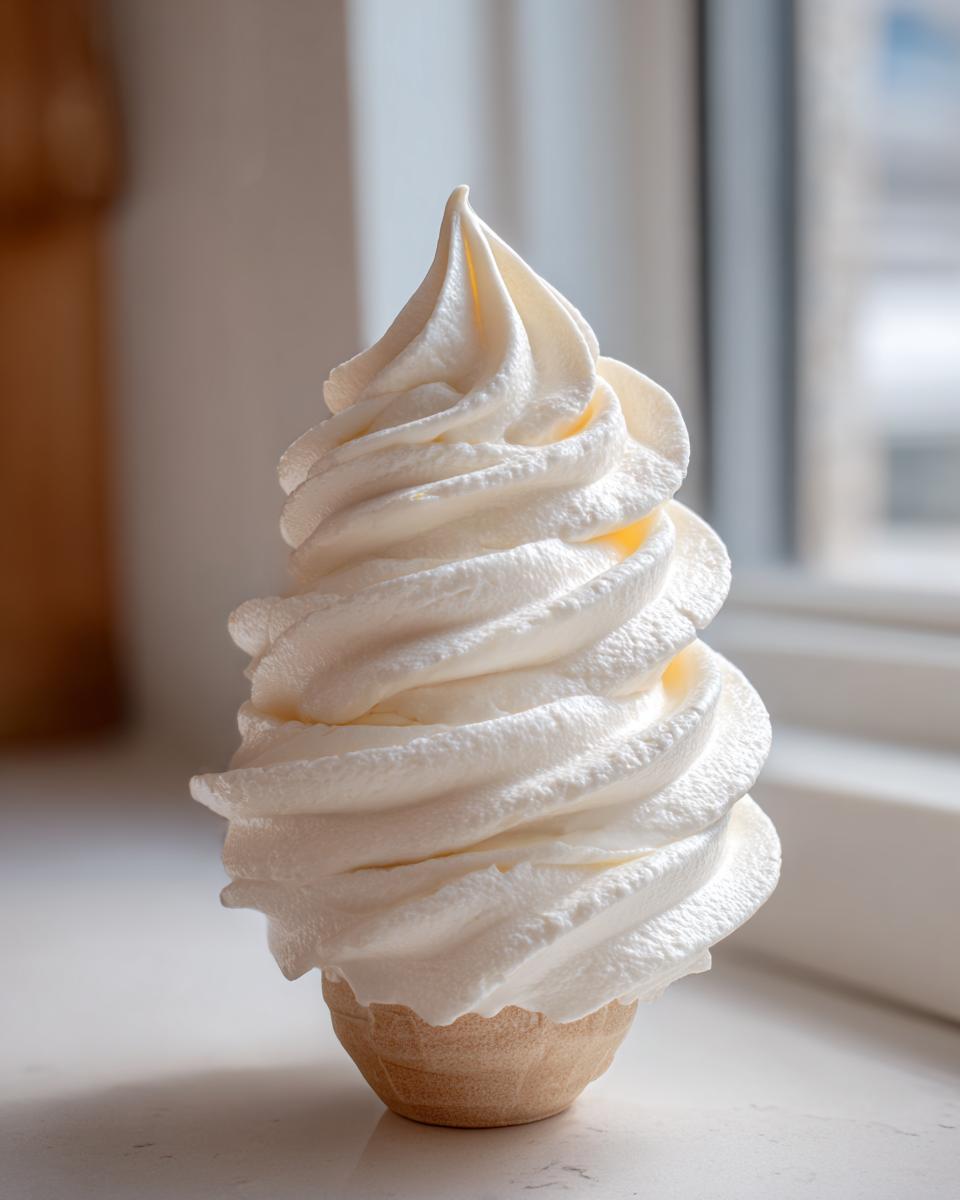
Serving Suggestions for Your Classic Vanilla Frosting
Now that you have this perfect, classic vanilla frosting, the fun part begins—putting it to good use! This airy, sweet topping is incredibly versatile. I usually reserve it for cupcakes because the stiff consistency makes those tall, bakery-style swirls look effortless.
But don’t stop there! This makes an outstanding filling between chocolate layers. Speaking of which, if you’re making my rich chocolate fudge cake, this vanilla pairs just beautifully—it’s the perfect contrast.
It’s also fantastic on simple sugar cookies, or even just spread thick on homemade brownies if you need a quick, comforting dessert topping. Honestly, you could even eat a spoonful straight from the bowl; I won’t tell anyone!
Storage and Reheating Instructions for Vanilla Buttercream Frosting
I love that this frosting is so stable, but knowing how to store it properly is important too! If you have leftovers—which, let’s be honest, happens when you make a big batch—you can keep this vanilla buttercream frosting airtight at room temperature for a day or two. It’s usually fine on the counter, especially if you aren’t running your oven hot. But for anything longer, or if your kitchen is just too warm, pop it into the fridge.
The secret to bringing refrigerated frosting back to life is patience and re-whipping. Don’t just scoop it out and try to spread it; it will tear your cake to shreds! Let it sit on the counter for about an hour to soften up a bit, and then bring it back to your mixer.
Give it a good 2 to 3 minutes on medium speed. That final whip incorporates fresh air, making it fluffy again and getting rid of any slight stiffness it picked up in the cold. It just takes a couple of minutes to transform it from stiff to perfectly spreadable. It’s an easy step that makes the difference between good frosting and truly fantastic frosting for your holiday treats!
Frequently Asked Questions About Making Vanilla Buttercream Frosting
When you’re aiming for that smooth vanilla icing, sometimes little questions pop up. I’m happy to answer the ones I get asked the most frequently about my no-fail vanilla frosting!
How do I make this frosting less sweet?
American buttercream, by nature, is sweet because it uses so much powdered sugar, but you can balance it out beautifully. The best trick is adding a small pinch of extra salt—like a tiny bit more than called for—or using a splash of lemon juice instead of cream. The acid cuts right through the sugariness! Also, make sure you are using good quality pure vanilla extract, as that intense flavor helps balance the sweetness too.
Can I use salted butter for this easy vanilla frosting?
You absolutely *can*, but I really advise against it if you want the best results. Since the recipe calls for precisely 1/4 teaspoon of salt, using salted butter means you have no control over the salinity. If your butter has a lot of salt, your frosting can end up tasting oddly savory or too sharp. I always stick to unsalted so I can control every tiny flavor component in this classic vanilla frosting.
What’s the main difference between this and Swiss Meringue Buttercream?
This is a great question for someone looking to graduate their baking skills! This recipe is an American buttercream, meaning we just whip the butter and sugar together—it’s quick and dense. Swiss Meringue Buttercream, on the other hand, requires heating egg whites and sugar over a double boiler first to dissolve the sugar and stabilize the proteins before adding the butter. Swiss meringue is generally silkier, much less sweet, and takes way longer to make, but this recipe is your reliable, quick buttercream recipe for everyday use!
Why is my frosting turning slightly yellow instead of white?
If you’re looking for a pure white finish for specific cakes, the culprit is usually the butter or the vanilla! Butter contains natural coloring, so if you want snow-white frosting for your best cake decorations frosting, use a butter with a paler color, and swap your dark vanilla extract for clear vanilla extract. Clear vanilla gives you all that flavor without the tint. I cover more transparency needs in our Privacy Policy if you’re curious about my ingredient sourcing!
Estimated Nutritional Data for This Simple Dessert Topping
When we share these wonderful recipes here at HearthBite, I always try to give you as much information as possible, even down to the numbers. Remember, this is a rich, sweet topping, full of butter and sugar, but it’s truly worth the indulgence when you want a show-stopping cake!
Here is the rough nutritional breakdown based on the ingredients for this simple dessert topping. Please keep in mind that these are just estimates based on the core measurements we use, and they can shift a bit depending on the exact brand of butter or cream you use.
- Serving Size: 1/4 cup
- Calories: 380
- Fat: 20g (with 12g being saturated fat)
- Carbohydrates: 52g
- Sugar: 50g
- Protein: 1g
- Cholesterol: 60mg
- Sodium: 55mg
I always say that the best things in life are enjoyed in moderation, and this creamy icing definitely falls into that category! Consider this wonderful vanilla buttercream frosting something special for birthdays or holidays—it’s meant to celebrate those moments, not just be an everyday snack. Just enjoy that incredibly smooth texture when you serve it up!
PrintThe Ultimate No-Fail Fluffy Vanilla Buttercream: Perfectly Creamy & Pipes Beautifully
Make the best vanilla buttercream frosting with this quick, no-fail American buttercream recipe. It results in a smooth, creamy, and stable icing perfect for piping swirls on cakes and cupcakes.
- Prep Time: 10 min
- Cook Time: 0 min
- Total Time: 10 min
- Yield: About 3 cups 1x
- Category: Dessert Topping
- Method: Mixing
- Cuisine: American
- Diet: Vegetarian
Ingredients
- 1 cup unsalted butter, softened to cool room temperature
- 4 cups powdered sugar, sifted
- 1 teaspoon pure vanilla extract
- 1/4 teaspoon salt
- 3 to 5 tablespoons heavy cream or milk
Instructions
- Place the softened butter into the bowl of a stand mixer fitted with the paddle attachment. Beat the butter on medium speed until it is completely smooth and creamy, about 2 minutes. Scrape down the sides of the bowl.
- Gradually add the sifted powdered sugar, one cup at a time, mixing on low speed until just combined after each addition.
- Add the vanilla extract and salt. Increase the mixer speed to medium-high and beat for 3 minutes until the mixture is light and fluffy. Scrape down the bowl again.
- Add 3 tablespoons of heavy cream or milk. Beat on medium-high speed for another 2 minutes. This whipping action incorporates air, making the frosting fluffy.
- Check the consistency. If the frosting seems too stiff for spreading or piping, add the remaining cream, one tablespoon at a time, until you reach your desired smooth consistency.
- If you need a very stable frosting for detailed piping, reduce the cream slightly and beat for an extra minute on medium speed to incorporate more air without making it too soft.
Notes
- For the smoothest vanilla buttercream without a grainy texture, make sure your powdered sugar is sifted before adding it to the butter.
- Use room temperature butter; if it is too warm, the frosting will separate and become greasy. If it is too cold, the frosting will be lumpy.
- If the frosting becomes too soft while working, chill the entire bowl for 10 minutes, then re-whip it.
- This classic vanilla frosting is excellent for layer cakes and holding sharp edges on cupcakes.
Nutrition
- Serving Size: 1/4 cup
- Calories: 380
- Sugar: 50
- Sodium: 55
- Fat: 20
- Saturated Fat: 12
- Unsaturated Fat: 8
- Trans Fat: 0
- Carbohydrates: 52
- Fiber: 0
- Protein: 1
- Cholesterol: 60