
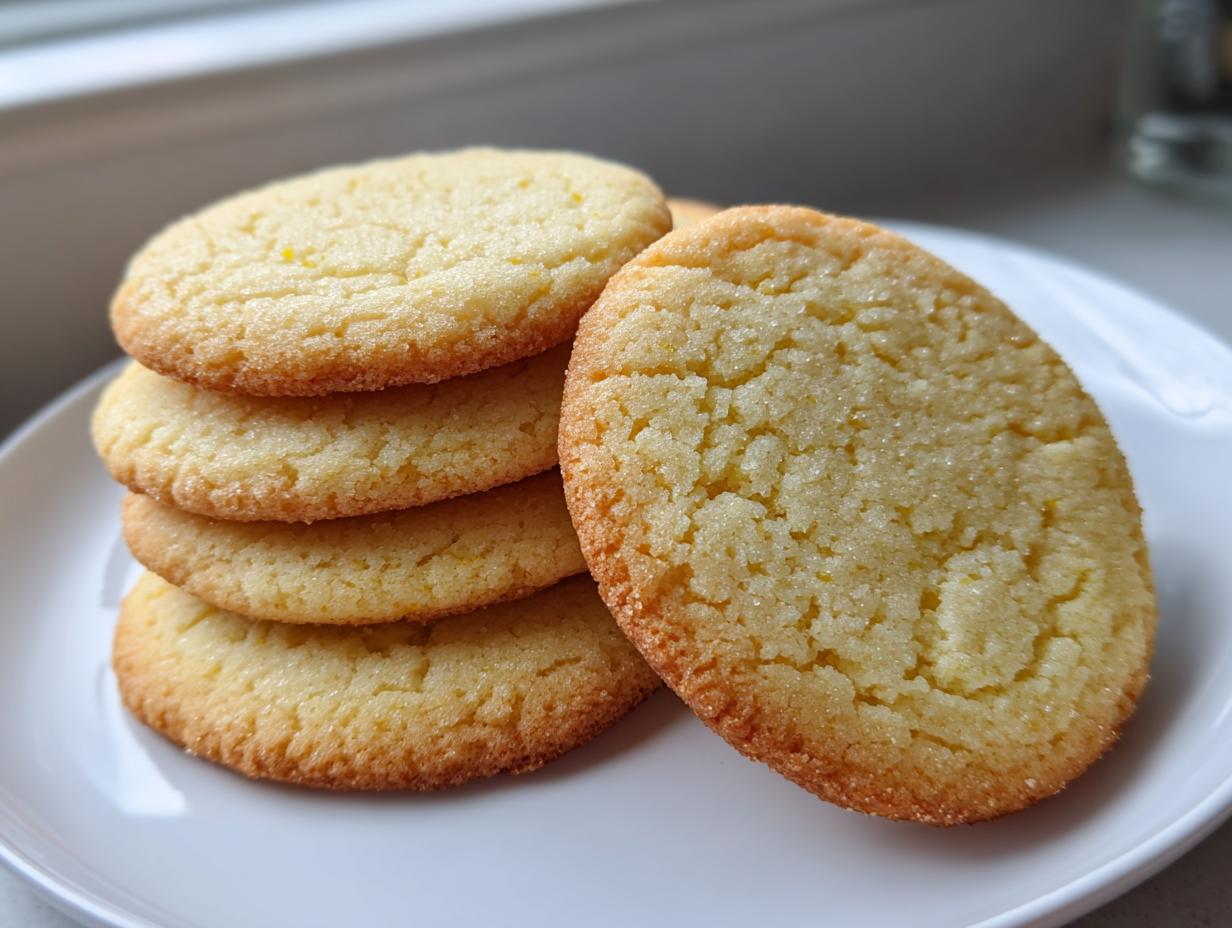
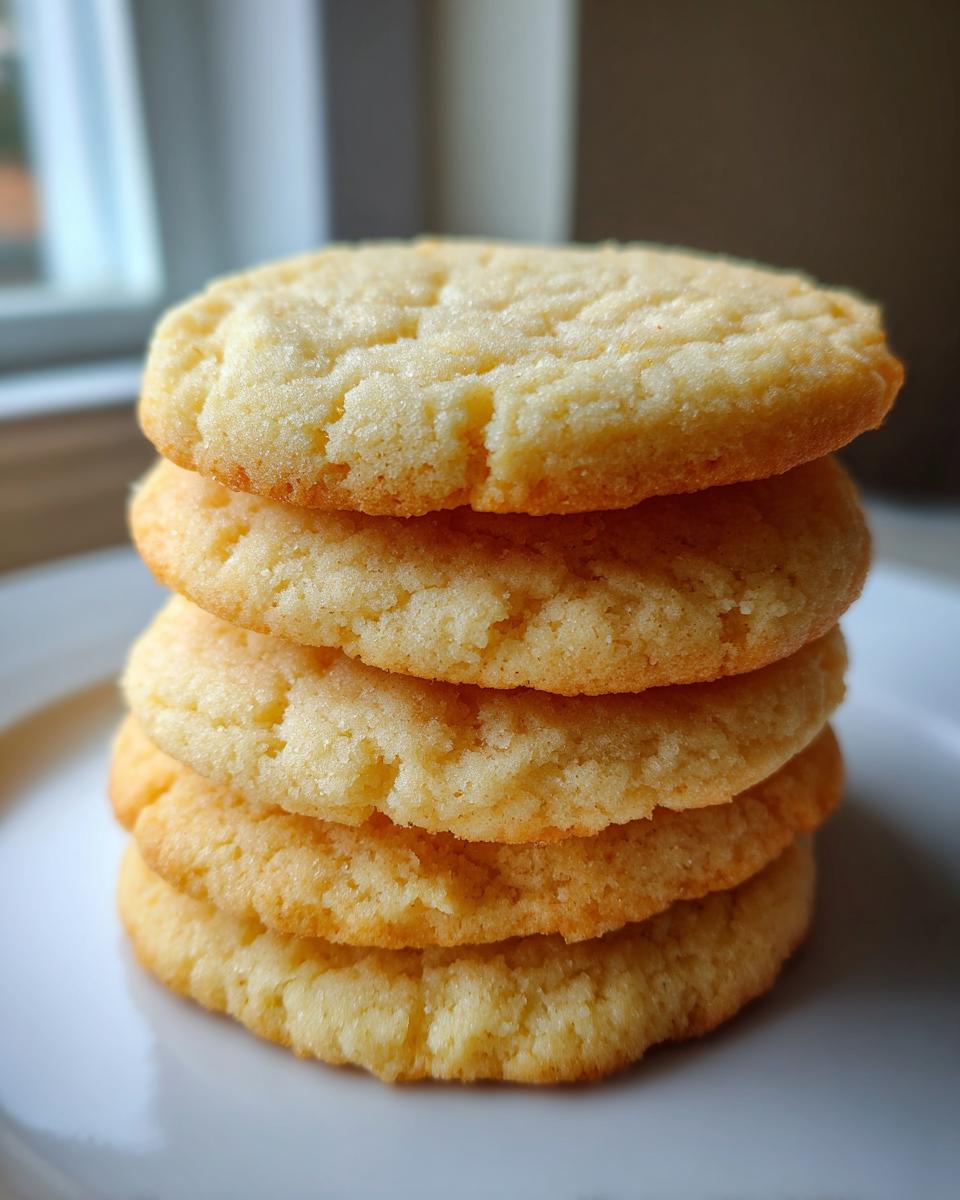
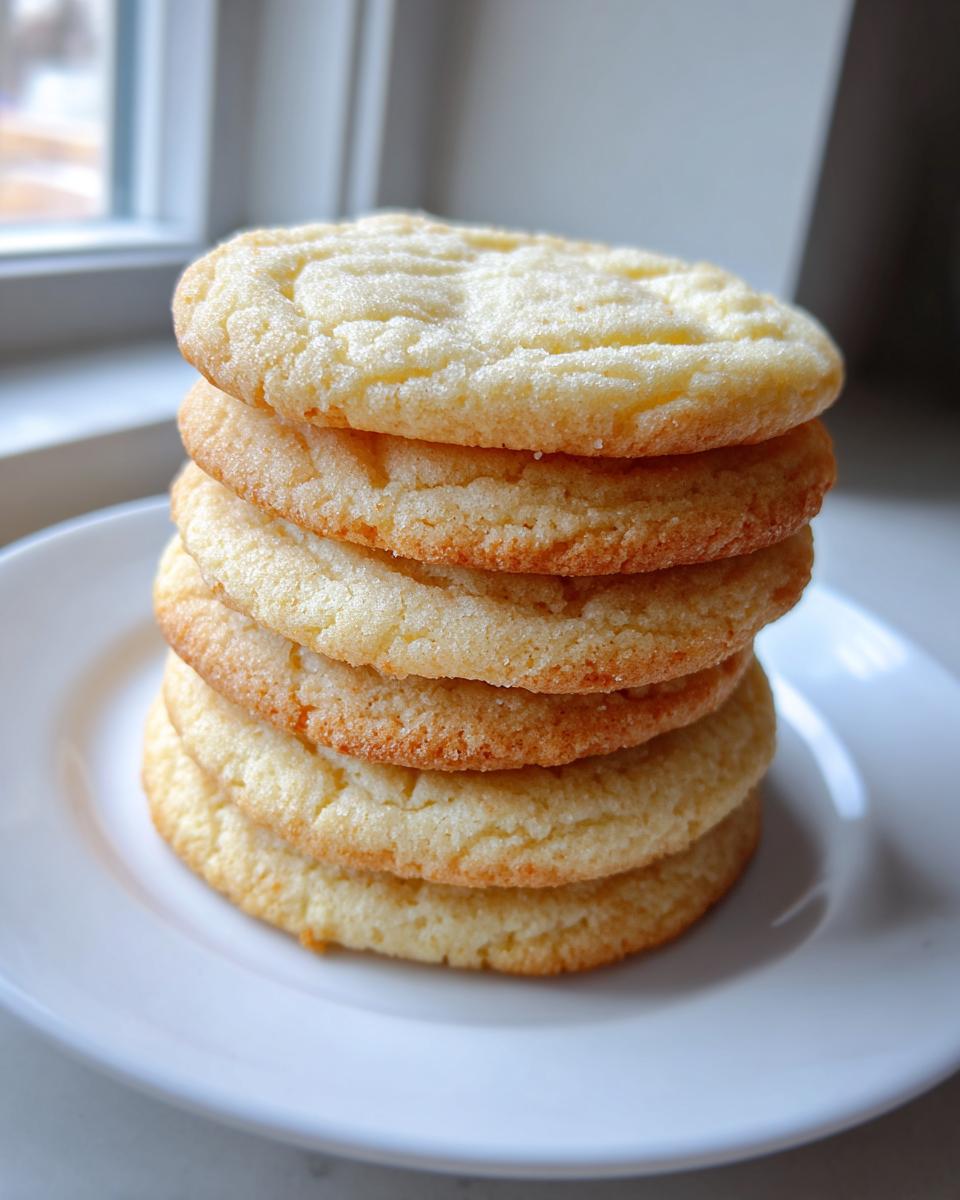
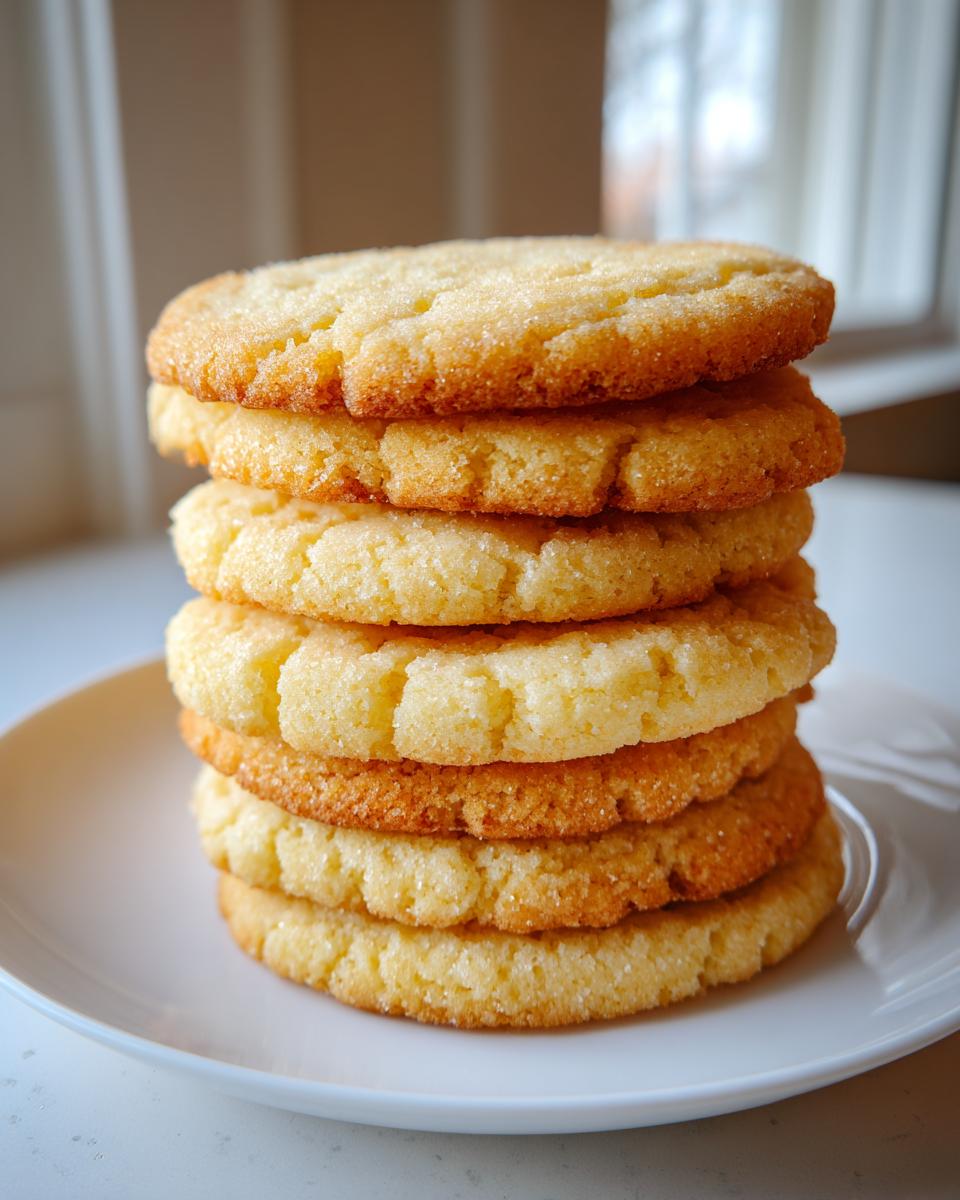
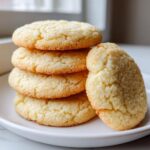
If there is one thing that instantly brings me back to my childhood kitchen at HearthBite, it’s the smell of sweet vanilla and warm butter hitting the oven—the scent of a perfect sugar cookie in the making. I know so many of you are searching for that elusive recipe that tastes soft and rich but somehow holds its shape when you cut it out. Well, friends, I spent years perfecting this one! This is The Ultimate Soft & Sturdy Cut-Out Sugar Cookies for Decorating. It’s reliable, it’s buttery, and it lives up to HearthBite’s promise: extraordinary meals made easy. Forget those sad, spread-out puddles of dough; we’re making cookies that stand tall and proud for all your decorating needs.
- Why This Is The Best Sugar Cookie Recipe for Decorating
- Ingredients for Your Ultimate Sugar Cookie Dough
- How to Make Perfect Sugar Cookies: Step-by-Step Instructions
- Tips for Success When Baking Sugar Cookies
- Decorating Your Classic Sugar Cookie Masterpiece
- Storage & Reheating Instructions for Sugar Cookies
- Frequently Asked Questions About This Sugar Cookie Recipe
- Nutritional Information Estimate for This Sugar Cookie
- Share Your Sweet Dessert Recipes Creations
Why This Is The Best Sugar Cookie Recipe for Decorating
I swear, I used to think making perfect cut-out cookies was just a myth! Every holiday, I’d end up with sad, blobby circles that looked nothing like the festive shapes I cut. But this iteration became my go-to best sugar cookie recipe because it solves that dreaded spreading problem. We get that rich, buttery flavor in every bite, but the cookie stays thick enough to handle sprinkles and icing. These are the secret to finally having those gorgeous, soft sugar cookies that don’t spread you see in magazines.
Achieving the Perfect Buttery Sugar Cookie Recipe Texture
The trick? Patience, mostly! We absolutely have to chill this dough. If you skip the chilling phase, the fat melts too fast in the oven, and poof—spread. Chilling the dough firms up that butter, giving us the structure needed for those crisp edges while keeping everything inside wonderfully soft. This is how we nail that coveted no spread sugar cookies result, giving you true bakery style sugar cookies every single time.
Ingredients for Your Ultimate Sugar Cookie Dough
Getting started on this buttery sugar cookie recipe is really straightforward because the list is so classic! We aren’t using a ton of strange things here; just good quality staples that come together beautifully. Remember, every ingredient plays a role in making sure this dough holds its shape but still melts in your mouth later on.
- 3 cups all-purpose flour
- 1 teaspoon baking powder
- 1/2 teaspoon salt
- 1 cup (2 sticks) unsalted butter, softened
- 1 1/2 cups granulated sugar
- 1 large egg
- 1 teaspoon vanilla extract
Ingredient Notes and Substitutions for Sugar Cookie Success
Listen, when it comes to making cookies that perform like this, the temperature of your starting ingredients matters tons. Your butter and egg absolutely need to be at room temperature—this is what makes the creaming process work so you get that light texture! When it comes to butter versus margarine? Skip the substitute if you can; real butter is why you get that deep, rich flavor we love in a classic sugar cookie recipe.
Also, a huge tip for being accurate with your flour: use a spoon to fluff it up in the bag, then gently spoon it into your measuring cup and level it off with a knife. Scooping directly packs the flour in, and that throws off the entire balance, leading to dry dough!
How to Make Perfect Sugar Cookies: Step-by-Step Instructions
Now that we have gorgeous ingredients, let’s talk about the process! Learning how to make perfect sugar cookies really boils down to managing your mixing time. We’re aiming for easy homemade sugar cookies that are tender, not tough, so pay close attention to when you add the flour after creaming!
Mixing the Sugar Cookie Dough Correctly
First, you really want to beat that butter and sugar until it looks fluffy and pale—I mean really fluffy. That’s where the air gets trapped! Once you add the egg and vanilla, mix just until they disappear. After that, add your flour mixture in stages, and I mean *slowly*. Stop the mixer the second you see the last streaks of flour vanish. If you keep mixing, you develop gluten, and that means a tougher cookie.
The Critical Step: Chilling Your Sugar Cookie Dough
I cannot stress this enough: don’t try to rush the chill time! Chilling for at least two hours, or honestly, even overnight if you can stand it, is non-negotiable for these cut out sugar cookies for decorating. This resting period solidifies the fat back up inside the dough, which is exactly what keeps your shapes from spreading out when they hit that hot oven air.
Rolling Out and Baking Your Cut Out Sugar Cookies
Once chilled, roll your dough right to about 1/4-inch thickness. Thinner than that, and they might bake too quickly for that soft center we want. After you cut out your shapes, take them to your baking sheet and pop the whole tray in the fridge for ten minutes—yes, do it! It firms them up one last time. Bake at 350°F (175°C) until those edges just look set. They might seem a tiny bit soft in the very middle when you pull them out, but trust me, that’s what gives you that amazing soft texture once they cool completely on the rack.
Tips for Success When Baking Sugar Cookies
Even with the best recipe, baking is about feel, right? For truly fantastic results every time, remember that temperature management is everything when you are trying to roll out sugar cookies successfully for cutting. If your dough gets too warm while you’re working it on the counter, just stop, slide it back onto a sheet, and pop it in the fridge for 15 minutes. You can’t rush this part of simple sugar cookie baking.
Also, when you are rolling, use just enough flour on your surface to keep it from sticking—too much flour incorporates into the dough and makes the final cookie dry and brittle. I always use a big silicone mat because cleanup is a breeze, and everything stays true to size. If you want consistent results like those wonderful cut out sugar cookies, don’t skip that quick chill once they are cut out.
Decorating Your Classic Sugar Cookie Masterpiece
Now that you have these perfectly shaped, buttery beauties, it’s time for the fun part! Because this recipe produces such well-structured cookies, they are truly the best cookie recipe for frosting. Whether you love a simple glaze or you want to go all out with royal icing designs, remember the number one rule: the cookies must be completely cool.
If you try to put frosting on even slightly warm cookies, you’ll end up with a colorful, melted mess all over your cooling rack. Wait until they are totally room temperature—give them a good hour after they come off the wire rack—before you start decorating. Then, have fun bringing your holiday sweets and treats to life!
Storage & Reheating Instructions for Sugar Cookies
The best thing about these classic sugar cookies is that they are still fantastic a few days later—maybe even better, since they absorb some of the buttery flavor! Keep your decorated or undecorated holiday sugar cookies in an airtight container at room temperature for up to five days. Don’t put them in the fridge; that humidity can actually soften the texture too much.
If you made extra dough (and who doesn’t?), wrap those disks tightly in plastic wrap and freeze them! They freeze beautifully for up to three months. When you’re ready to bake, just thaw them overnight in the fridge and proceed as normal when you want some fresh sweet dessert recipes!

Frequently Asked Questions About This Sugar Cookie Recipe
Can I make these sugar cookies chewy instead of sturdy?
Oh, you totally can! If you prefer a little more chew in your delicious classic cookies instead of a super sturdy cookie, just pull them out of the oven slightly sooner. Start checking closely around the 7-minute mark. If they look set on the edges but still look a tiny bit soft in the absolute center, take them out! That slight underbake is what guarantees that melt-in-your-mouth chewiness.
What is the secret to preventing my sugar cookies from spreading?
This is the question everyone asks when making chewy sugar cookies recipe variations! There are two big secrets here. First, you must chill the dough for at least two hours, no shortcuts! Second, when you cream your butter and sugar, make sure that butter is softened perfectly—not melted or greasy. When the fat is cold, it forces the cookie to bake up instead of spreading out sideways.
Are these traditional sugar cookies easy enough for beginners?
Absolutely! While we call this recipe the “ultimate,” its foundation is built on simple baking principles, making it a great holiday sweets and treats staple even for newcomers. As long as you stick exactly to the instruction to chill that dough completely—that’s the only place you can’t cut corners—you will have fantastic success making these easy festive baking cookies on your first try.
Nutritional Information Estimate for This Sugar Cookie
I always feel a little funny sharing exact numbers for recipes, because goodness knows we aren’t pulling out the lab equipment here at the house! These cookies are made with love and butter, so they are definitely a treat. But for those of you who like to track things, I’ve provided the best estimate I could calculate based on the ingredients we used for this batch of sugar cookie goodness. Remember, these figures are just an idea based on our yield of 24 cookies.
- Serving Size: 1 cookie
- Calories: 160
- Sugar: 14g
- Sodium: 85mg
- Fat: 8g
- Saturated Fat: 5g
- Unsaturated Fat: 3g
- Trans Fat: 0g
- Carbohydrates: 20g
- Fiber: 0g
- Protein: 2g
- Cholesterol: 30mg
As you can see, they’ve got that comforting amount of sugar and fat that makes them taste so wonderfully rich, and that’s thanks to that good quality butter we insisted on! Enjoy them guilt-free as part of your wonderful sweet dessert recipes.
Share Your Sweet Dessert Recipes Creations
We made these wonderful sweet dessert recipes together, and now I just can’t wait to see what you all come up with! If you had success making these sturdy beauties, please leave a rating below so other bakers feel confident trying them out. Seeing your decorated cookie photos fills my heart! Remember, from our hearth to yours—we love seeing your baking joy!
PrintThe Ultimate Soft & Sturdy Cut-Out Sugar Cookies for Decorating
This recipe creates buttery, classic sugar cookies that stay soft and chewy while holding their shape perfectly for cutting and decorating. It is a reliable, easy recipe for any celebration.
- Prep Time: 25 min
- Cook Time: 10 min
- Total Time: 155 min
- Yield: 24 cookies 1x
- Category: Dessert
- Method: Baking
- Cuisine: American
- Diet: Vegetarian
Ingredients
- 3 cups all-purpose flour
- 1 teaspoon baking powder
- 1/2 teaspoon salt
- 1 cup (2 sticks) unsalted butter, softened
- 1 1/2 cups granulated sugar
- 1 large egg
- 1 teaspoon vanilla extract
Instructions
- In a medium bowl, whisk together the flour, baking powder, and salt. Set the dry ingredients aside.
- In a large bowl, use an electric mixer to beat the softened butter and granulated sugar together until the mixture is light and fluffy, about 3 minutes.
- Beat in the egg and vanilla extract until just combined. Scrape down the sides of the bowl as needed.
- Gradually add the dry ingredient mixture to the wet ingredients, mixing on low speed until just combined. Do not overmix the dough.
- Divide the dough in half, flatten each half into a disk, wrap tightly in plastic wrap, and chill in the refrigerator for at least 2 hours, or up to 2 days. Chilling is key for no-spread cookies.
- Preheat your oven to 350°F (175°C). Line baking sheets with parchment paper.
- On a lightly floured surface, roll out one disk of chilled dough to about 1/4-inch thickness. Use your favorite cookie cutters to cut out shapes.
- Carefully transfer the cut-out cookies to the prepared baking sheets, placing them about 1 inch apart.
- Bake for 8 to 10 minutes. The edges should be set but the centers should still look slightly soft. For thicker cookies, bake closer to 10 minutes.
- Let the cookies cool on the baking sheet for 5 minutes before transferring them to a wire rack to cool completely before decorating.
Notes
- For the best cut-out results, chill the rolled-out dough on the baking sheet for 10 minutes before baking.
- If you prefer a softer cookie, slightly reduce the baking time. If you want a sturdier cookie for stacking, bake for an extra minute or two.
- This dough works well with royal icing or a simple buttercream frosting.
Nutrition
- Serving Size: 1 cookie
- Calories: 160
- Sugar: 14g
- Sodium: 85mg
- Fat: 8g
- Saturated Fat: 5g
- Unsaturated Fat: 3g
- Trans Fat: 0g
- Carbohydrates: 20g
- Fiber: 0g
- Protein: 2g
- Cholesterol: 30mg