
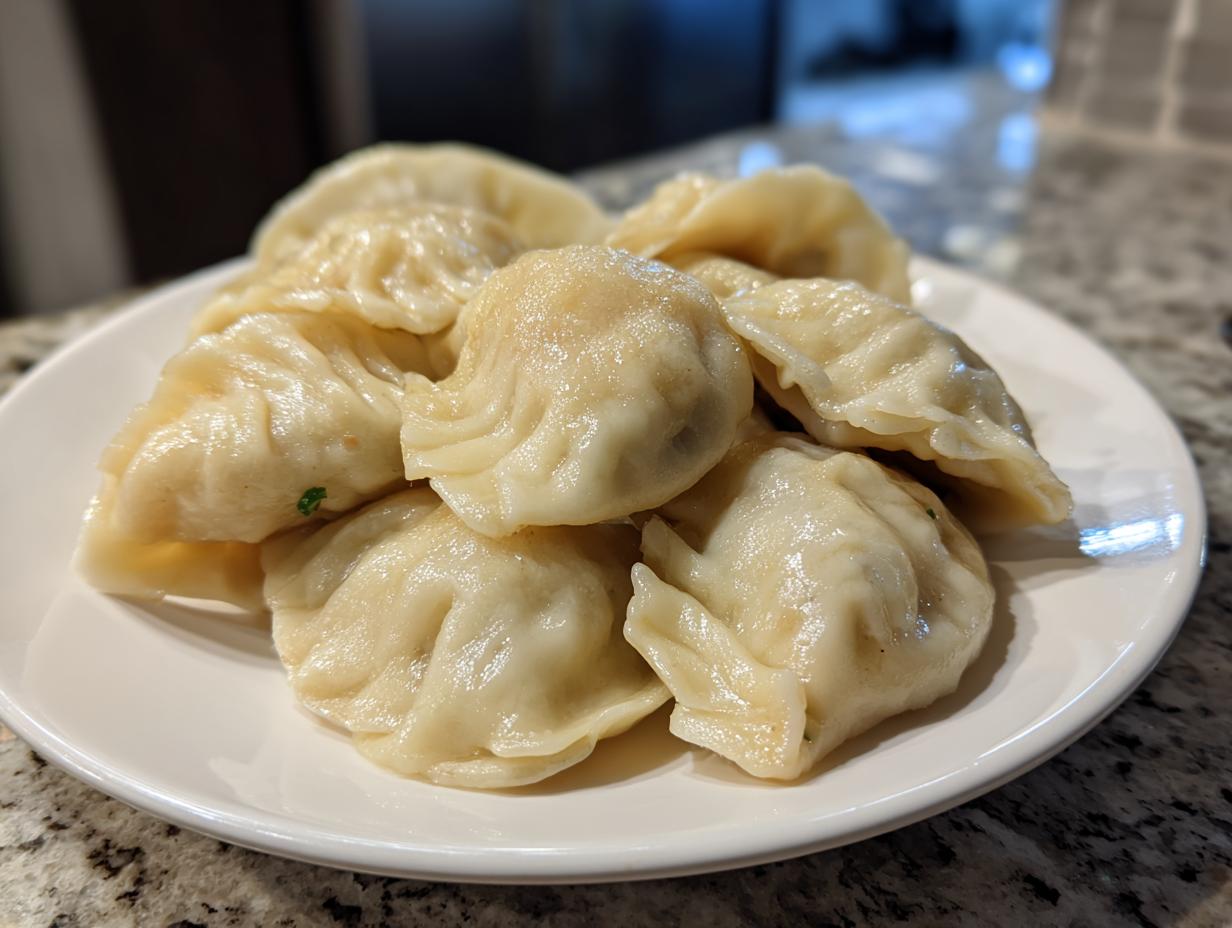
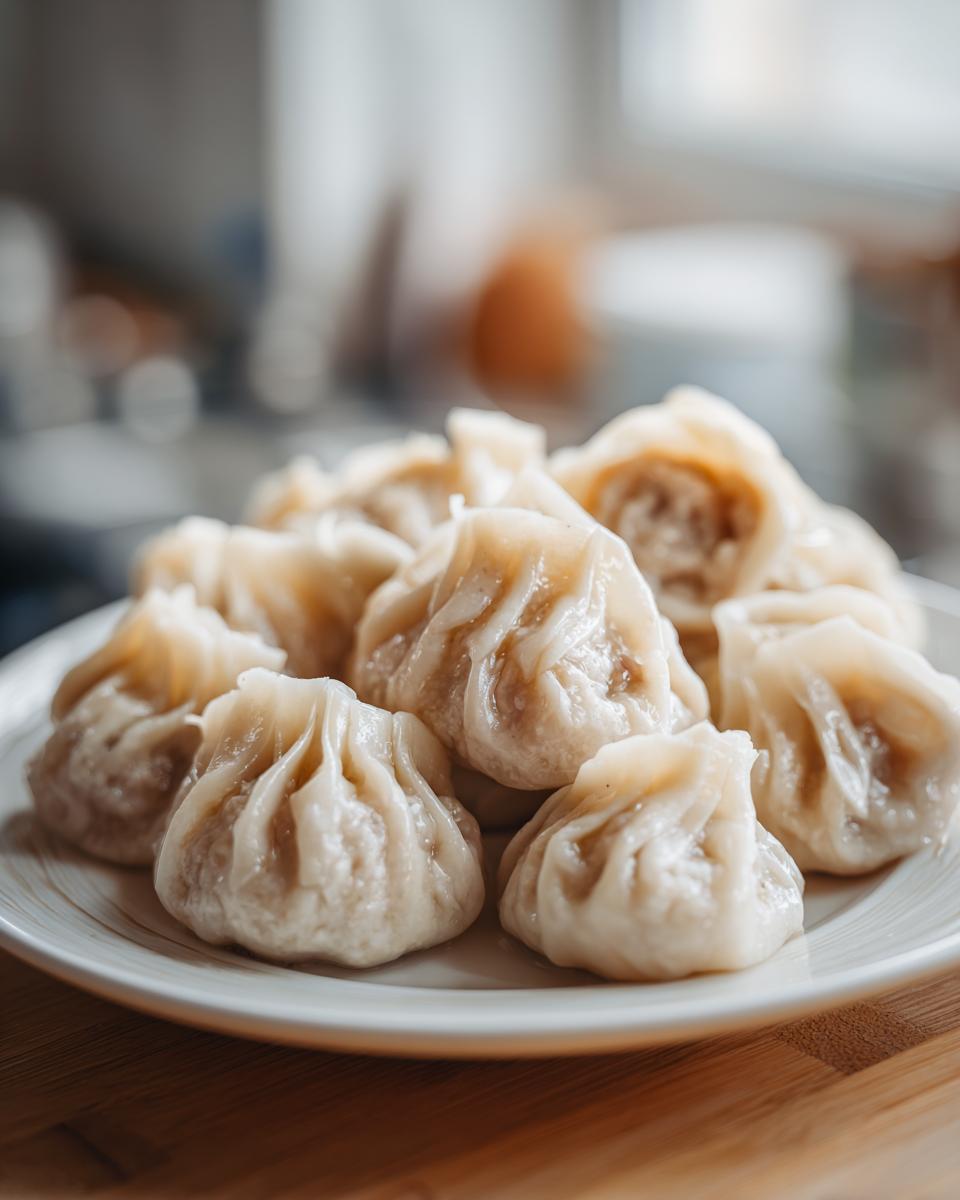
There’s just nothing that beats the comfort of food made slowly, with intention, right in your own kitchen space. That warm, earthy smell that says, “You are home.” That’s exactly the feeling I want you to capture when you try this recipe for Traditional Chinese Dumplings. We aren’t just making a filling here; we’re tackling the whole journey—from scratch!
When I think about where I learned the importance of heritage cooking, I always go back to my mom and grandmother, just like Sarah Miller does here at HearthBite. They taught me that food is how we keep traditions alive. Honestly, making your own homemade dumpling wrappers might sound intimidating, but trust me, once you nail the dough consistency, you’ll never go back. This authentic approach to making authentic jiaozi is so rewarding, and it tastes miles better than anything store-bought. Let’s tie on our aprons and get started!
If you want to learn a bit more about why we value these traditions so much here, you can always pop over and read our story on the About page.
- Why This Traditional Chinese Dumplings Recipe Delivers Authentic Flavor
- Gathering Ingredients for Traditional Chinese Dumplings
- Mastering Homemade Dumpling Wrappers for Your Traditional Chinese Dumplings
- Preparing the Flavorful Filling for Traditional Chinese Dumplings
- Assembling and Pleating Your Authentic Jiaozi
- Cooking Methods: Achieving Perfect Boiled Chinese Dumplings
- Making Traditional Chinese Dumplings Freezer Friendly
- Frequently Asked Questions About Traditional Chinese Dumplings
- Nutritional Estimates for Pork Cabbage Dumplings
- Share Your Homemade Traditional Chinese Dumplings Experience
Why This Traditional Chinese Dumplings Recipe Delivers Authentic Flavor
Honestly, this recipe isn’t just good; it’s a ticket straight back to feeling connected to tradition. When you make authentic jiaozi completely from scratch, including that dough, you taste the difference. It’s reliability you can bank on, which is what we work for here at HearthBite.
Forget those long, complicated weekend projects; we’ve streamlined this so you can get amazing results without spending all day in the kitchen. These pork cabbage dumplings are proof that satisfying, homemade fare doesn’t need to take forever!
Quick Facts: Prep Time, Cook Time, and Yield
- Prep Time: 45 min
- Cook Time: 10 min
- Total Time: 55 min
- Yield: 4 servings
Gathering Ingredients for Traditional Chinese Dumplings
Listen, I know getting all your supplies lined up feels like one million steps, but trust me—having everything measured and ready makes the wrapping process fly by. Precision matters when you’re making dough from scratch, so let’s make sure we’ve got the right stuff for success. Clarity here is half the battle, especially if this is your first time aiming for truly authentic jiaozi.
We need two distinct groups of ingredients: those for the wrappers—our blank canvas—and those for the savory, delicious center of our pork cabbage dumplings.
Ingredients for the Homemade Dumpling Wrappers
The wrappers are simple! It’s just flour and water, but the water needs to be warm, not hot. Aim for that sweet spot around 110°F—just warm when you dip your finger in—that really coaxes the flour into cooperating beautifully.
- 2 cups all-purpose flour
- 3/4 cup warm water (plus more if needed)
Ingredients for the Pork Cabbage Dumplings Filling
This filling is where all the flavor magic happens. Make sure your Napa cabbage is chopped as finely as you can manage; it integrates better that way. And remember that little secret about mixing? You want to push and fold everything in just one direction. It helps bind the pork mixture so it doesn’t fall apart when you boil them!
- 1 pound ground pork
- 2 cups finely chopped Napa cabbage
- 1/4 cup chopped scallions
- 2 tablespoons soy sauce
- 1 tablespoon Shaoxing rice wine
- 1 tablespoon grated fresh ginger
- 1 teaspoon sesame oil
- 1/2 teaspoon salt
- 1/4 teaspoon white pepper
Mastering Homemade Dumpling Wrappers for Your Traditional Chinese Dumplings
Okay, let’s talk about the dough. For so many people, making your own homemade dumpling wrappers stops them before they even start, but this is where you build your confidence! We are tackling the hardest part first so everything else feels easy afterwards. Remember what I always say—great fillings need a sturdy, tender wrapper to hold them.
The feeling of that dough changes as you work it, and that’s the key. When I knead bread or dough, I feel like I’m really connecting with the flour. It’s not just mixing; it’s building structure. Don’t worry if your dough feels a little stiff at first; that’s totally normal for these kinds of wrappers.
Kneading and Resting the Dough
You need to be active here! Once that shaggy mass comes together, you’re going to take it to a clean surface and knead it for a good eight to ten minutes. Really work into it until it’s smooth and springs back nicely when you poke it. Why so long? We are relaxing those gluten strands! If you skip the kneading, the wrapper will be tough and springy when you try to roll it thin.
After all that hard work kneading, believe it or not, you need to walk away! Cover that beautiful ball of dough tightly with plastic wrap and let it rest for at least 30 minutes. Seriously, honor the rest time. This resting period is what makes the dough pliable and stretchy later. When it’s rested properly, you can roll it paper-thin around the edges without it tearing. That’s the little secret for a wrapper that melts in your mouth!
Preparing the Flavorful Filling for Traditional Chinese Dumplings
Now that your dough is chilling out, we can focus on the stars of the show: the filling! This is where we layers up the savory goodness that makes an authentic jiaozi truly shine. I sometimes taste-test a little bit of the raw filling mixture—just a tiny spoon, don’t judge!—to make sure the seasoning is spot-on before I start wrapping.
The most important thing you need to remember for this chinese dumplings recipe is the stirring technique. You’ve got the ground pork, the crisp cabbage, the zing of ginger, and the salty soy sauce all mingled together, right? Now, grab your spoon and mix, mix, mix, but only in ONE direction. Seriously, keep going in the same circle!
You’ll notice that after a minute or two of dedicated stirring, the whole bowl of meat mixture starts to look a little… sticky? It binds together and gets a bit pasty. That texture is magic! That stickiness is what keeps the filling tucked neatly inside the wrapper when you’re boiling them. It’s a sign of true expertise, so don’t rush that binding process!
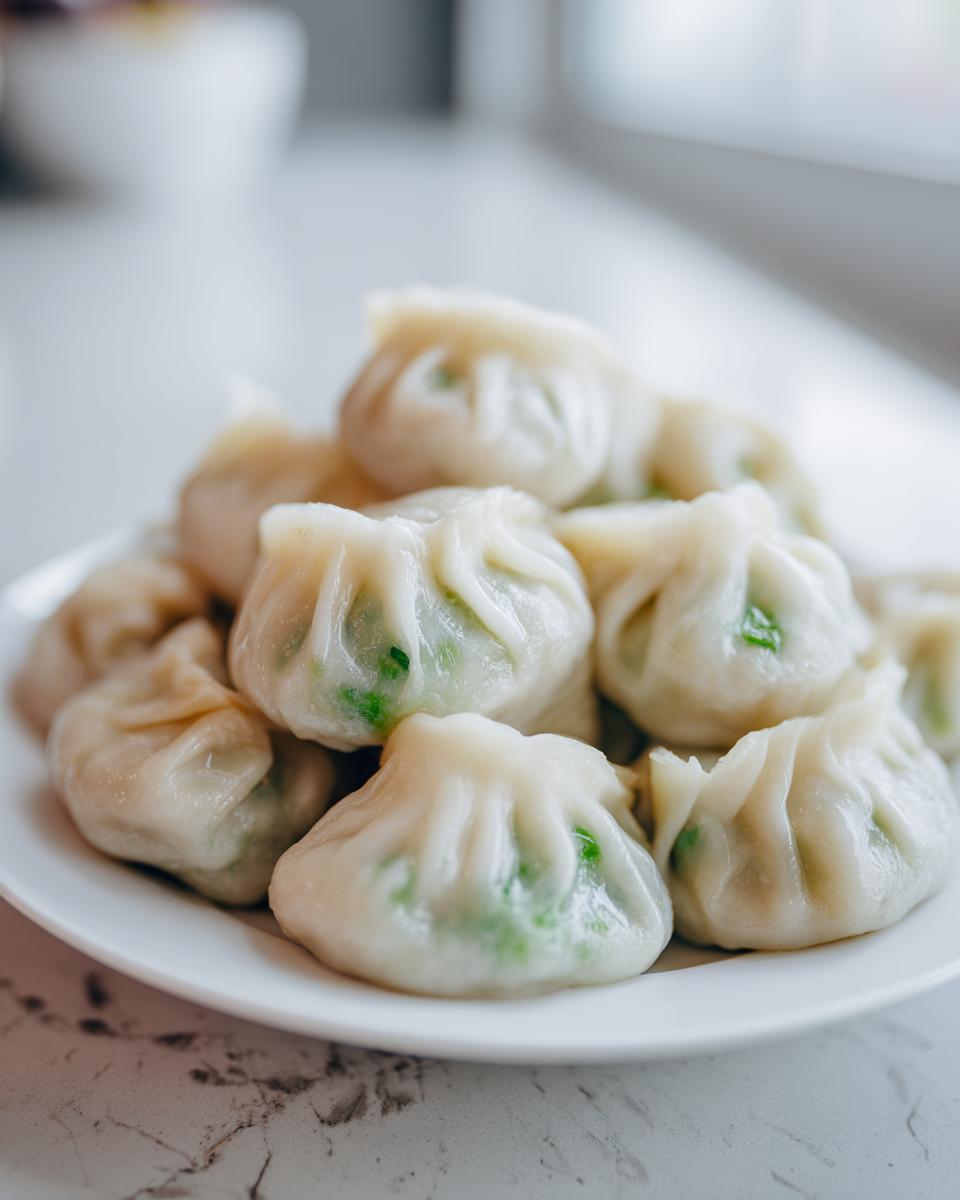
Assembling and Pleating Your Authentic Jiaozi
This is my favorite part! All that prep work—the rested dough, the perfectly mixed filling—it all comes together right now when we form our authentic jiaozi. It can feel fiddly at first, but remember, messy dumplings taste just as good as perfect ones, so try not to stress!
First, take one of those four dough ropes you made and slice it into little one-inch segments. Think of them like little dough nuggets. Then, you take one of those nuggets and roll it out thin. Don’t obsess over making a perfect circle, but aim for about 3 inches across. You actually want the edges slightly thinner than the center where the filling sits!
Now, grab about a teaspoon of that savory filling and plop it right in the middle of your wrapper. Dip your finger in a little cup of water and run it lightly around the edge of the wrapper—this is the homemade glue! Fold that wrapper over to make a half-moon shape. Press the center closed first, making sure to squash all the air out near the middle.
Tips for Perfect Pleating Technique
If you’re a beginner, honestly, just crimp those edges tightly with the back of a fork or just pinch them together really hard until they seal up. That’s success right there! But if you want that classic look, you’re creating the small pleats on just one side of the dumpling edge, pressing them firmly against the flat back edge as you work your way from one end to the other. Just make sure the seal is secure before you drop them into the water. We don’t want any surprise filling leaks!
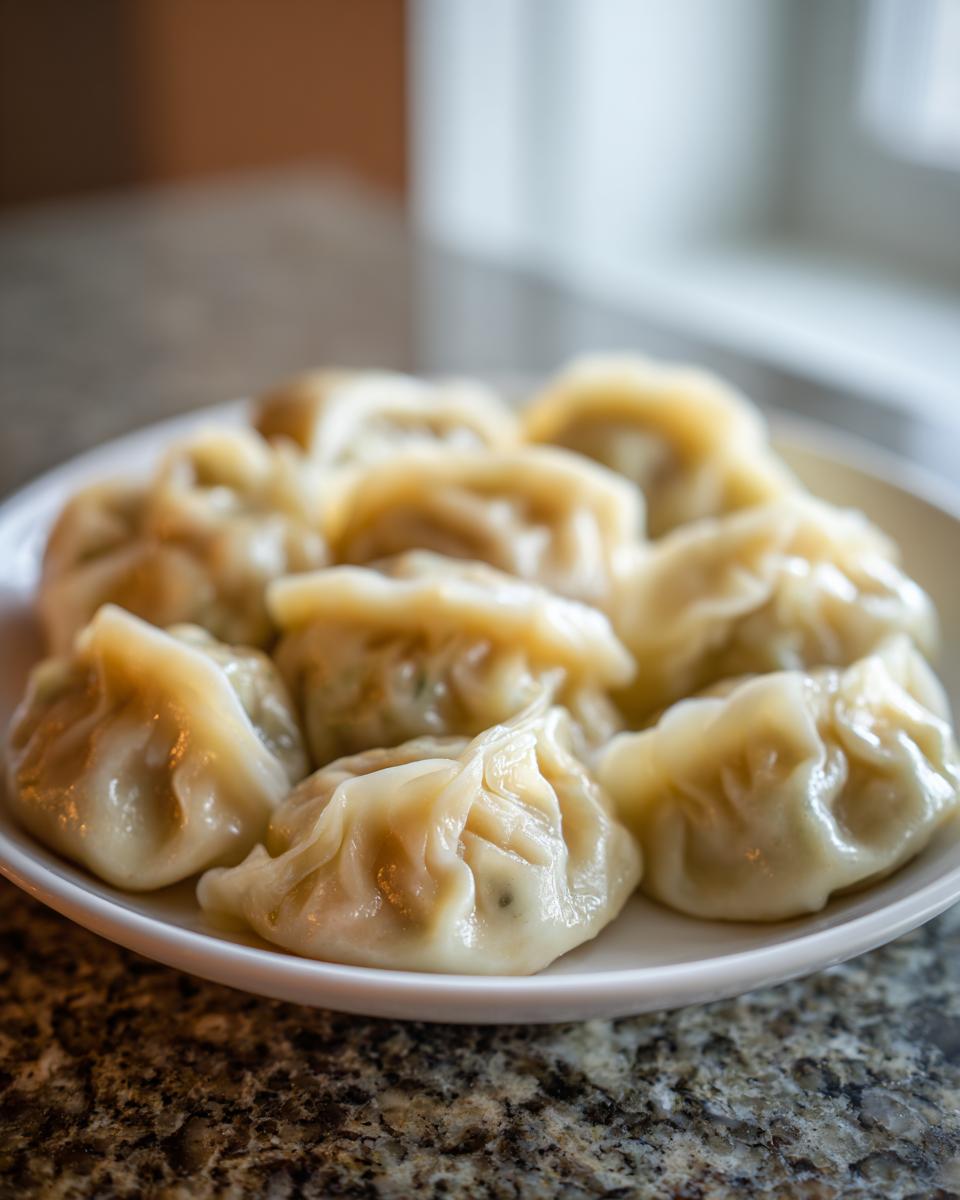
Cooking Methods: Achieving Perfect Boiled Chinese Dumplings
Time to cook these little flavor pockets! Since we are making these Traditional Chinese Dumplings for weeknights sometimes, boiling is the fastest and most reliable method. Seriously, it takes less time than it takes the water to boil!
Get a big pot of water ripping hot—a full, rolling boil is what we want. Gently drop your dumplings in. Don’t crowd the pot; we want them to have room to swim! The absolute moment they hit the water, use a slotted spoon or chopsticks to give them a very light stir around the bottom of the pot. This prevents them from sticking to the bottom or to each other, which is key for great boiled Chinese dumplings.
After about five to seven minutes, you’ll see them all rise to the surface—that’s your first big cue! Once they float, usually another minute or two seals the deal and ensures that pork filling is cooked all the way through. Scoop them out with a slotted spoon, let the extra water drip off, and they are ready to eat immediately. Oh, the smell!
Making Traditional Chinese Dumplings Freezer Friendly
This recipe is a lifesaver because we can totally make a huge batch of these pork cabbage dumplings ahead of time! Being able to pull out homemade dumplings on a Tuesday night when you’re exhausted? That’s my kind of meal planning success. The key to keeping them perfect—the wrappers tender but not fused together—is a flash freeze technique. We want these to be truly freezer friendly dumplings.
You absolutely have to lay them out on a baking sheet lined with parchment paper first. Don’t just toss them into a bag! They need to be in a single layer so they don’t stick together into one giant dumpling brick. Pop that whole tray into the freezer until they are rock solid. Once they’re frozen solid, you can just dump them all into one big freezer bag until the next time you’re ready for a wonderful bowl of boiled Chinese dumplings!
Cooking Traditional Chinese Dumplings From Frozen
The best part? You don’t even need to thaw them out! When it’s dumpling night and you’ve pulled a bag of these beauties out of the deep freeze, just drop them straight into that rolling boil of water. You’ll need to add a little extra time since they are starting frozen—I usually tack on an extra three or four minutes to my usual cooking time. They might sink at first, which is normal, but give them a gentle nudge and watch them swim up to the top when they’re ready. Perfect!
Frequently Asked Questions About Traditional Chinese Dumplings
I always get so many questions after people finally decide to try making their own Traditional Chinese Dumplings! It’s natural; when you tackle something that feels historic or complicated, you want to make sure you get it right. Don’t hesitate to try this, even if you’re nervous about the wrapping part. We’ve all been there!
Can I use store-bought wrappers instead of homemade dumpling wrappers?
Oh, absolutely you can! If you are short on time or just dipping your toe into the world of making homemade dumpling wrappers for the first time, store-bought wrappers are perfectly fine. It cuts out about 30 minutes of work, so I totally get it for a busy night. That said, if you want that truly perfect, delicate texture that melts in your mouth alongside that rich filling? Nothing beats a wrapper you made yourself. The homemade dough just has a better chew when you cook these boiled Chinese dumplings.
What is the best way to serve these Lunar New Year dumplings?
For me, the best way to celebrate these incredible Lunar New Year dumplings is simple, simple, simple! You need a dipping sauce, bad. The flavors here are already balanced, so you don’t want something heavy drowning them out. Mix up some soy sauce, a splash of black vinegar—that gives it a nice little tang—and definitely add a drizzle of chili oil if you like a little warmth! It takes seconds to mix, and it makes the whole experience feel special.
If you’re ever curious about other recipes that bring comfort and tradition to the table, you can always check out our privacy policy page, just to see how we handle things here at HearthBite!
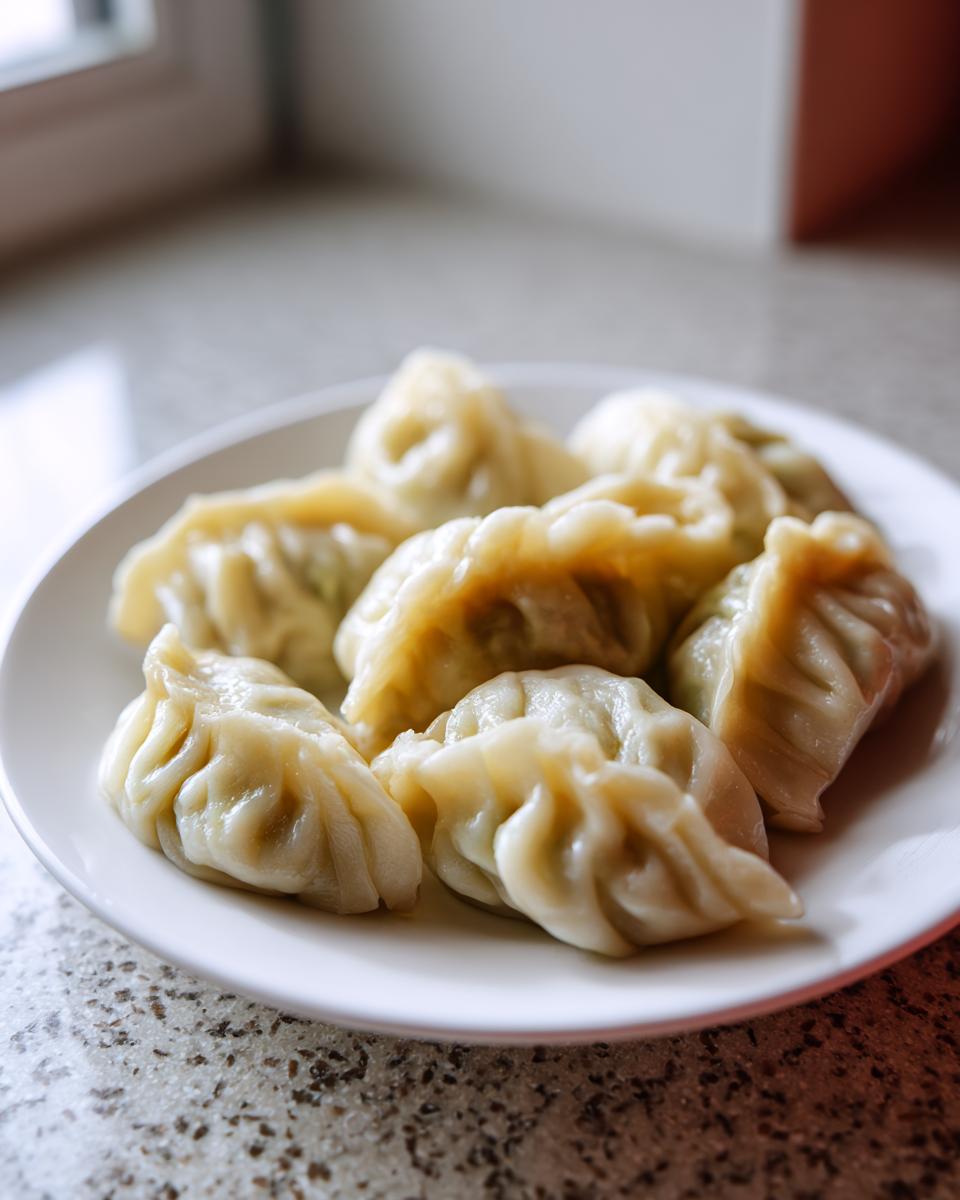
Nutritional Estimates for Pork Cabbage Dumplings
Now, I’m not a nutritionist, so please take this with a grain of salt—literally! We focused on making these pork cabbage dumplings taste amazing and travel well in the freezer, not hitting perfect macro counts. But for those of you who like to keep track, I pulled the numbers from our standard recipe measurements to give you a rough idea of what you’re looking at for a standard serving size.
Remember, these estimates are based on about five traditional Chinese dumplings if you follow the recipe exactly, including the wrappers. When you’re making something so flavorful from scratch, it’s always a good idea to check specialized apps, but this gives you a baseline!
Here are the ballpark numbers:
- Serving Size: 5 dumplings
- Calories: 280
- Protein: 15g
- Fat: 14g
- Carbohydrates: 25g
See? Not bad at all for a super satisfying dinner! We use lean pork and lots of cabbage, so you get a good punch of protein. If you’re ever wondering more about how we operate and keep our tracking transparent, you can always review our terms of use page. Happy cooking, you’re doing great!
Share Your Homemade Traditional Chinese Dumplings Experience
Wow, you made it! If you’ve gotten through the dough, the filling, and the wrapping marathon, you deserve a huge pat on the back. Honestly, seeing pictures of your Traditional Chinese Dumplings is the absolute highlight of my week. It proves that these wonderful, old-world techniques are still alive and well in home kitchens everywhere!
I would be so thrilled if you took a moment to come back here and leave a rating for this chinese dumplings recipe. Was the dough workable? Did those pork cabbage dumplings stay sealed when you boiled them? Please tell me everything in the comments below. Your feedback helps me make sure this recipe is the best it can be for the next person who tries it. Don’t be shy—we are all learning together here!
And if you snapped a picture of your beautiful plate of authentic jiaozi or maybe even a fun shot of the family wrestling the wrappers, please share it on social media and tag us. Showing off those gorgeous, homemade seals is the best reward! We love seeing our recipes make their way to your table. If you ever need to get in touch with specific questions that don’t fit in the comments, you can always use the Contact page. Happy eating, everyone!
PrintTraditional Pork and Cabbage Jiaozi (Chinese Dumplings)
Make authentic Chinese pork and cabbage dumplings from scratch, including instructions for making homemade wrappers and freezing for later.
- Prep Time: 45 min
- Cook Time: 10 min
- Total Time: 55 min
- Yield: 4 servings 1x
- Category: Dinner
- Method: Boiling
- Cuisine: Chinese
- Diet: None
Ingredients
- 2 cups all-purpose flour
- 3/4 cup warm water (plus more if needed)
- 1 pound ground pork
- 2 cups finely chopped Napa cabbage
- 1/4 cup chopped scallions
- 2 tablespoons soy sauce
- 1 tablespoon Shaoxing rice wine
- 1 tablespoon grated fresh ginger
- 1 teaspoon sesame oil
- 1/2 teaspoon salt
- 1/4 teaspoon white pepper
Instructions
- Make the wrappers: Place the flour in a large bowl. Gradually add the warm water, mixing with chopsticks until a shaggy dough forms. Knead the dough on a lightly floured surface for 8 to 10 minutes until smooth. Cover the dough with plastic wrap and let it rest for at least 30 minutes.
- Prepare the filling: In a large bowl, combine the ground pork, chopped Napa cabbage, scallions, soy sauce, rice wine, ginger, sesame oil, salt, and white pepper. Mix the ingredients thoroughly in one direction until the mixture becomes slightly sticky.
- Assemble the dumplings: Divide the rested dough into four equal pieces. Roll each piece into a long rope, then cut the rope into 1-inch pieces. Roll each piece into a thin circle (about 3 inches in diameter) for the wrapper.
- Place about 1 teaspoon of filling in the center of a wrapper. Moisten the edges with water. Fold the wrapper in half over the filling to create a half-moon shape. Crimp and pleat the edges to seal securely.
- Cook the dumplings: Bring a large pot of water to a rolling boil. Gently drop the dumplings into the boiling water, stirring gently to prevent sticking. Cook for 5 to 7 minutes, or until the dumplings float and the filling is cooked through.
- Remove the dumplings with a slotted spoon and serve immediately.
Notes
- For freezing: Arrange uncooked dumplings in a single layer on a parchment-lined baking sheet. Freeze until solid, then transfer to a freezer bag. Cook directly from frozen, adding a few extra minutes to the cooking time.
- You can substitute ground chicken or turkey for the pork if desired.
- Serve with a dipping sauce made from soy sauce, black vinegar, and chili oil.
Nutrition
- Serving Size: 5 dumplings
- Calories: 280
- Sugar: 1
- Sodium: 450
- Fat: 14
- Saturated Fat: 5
- Unsaturated Fat: 9
- Trans Fat: 0
- Carbohydrates: 25
- Fiber: 1
- Protein: 15
- Cholesterol: 50