
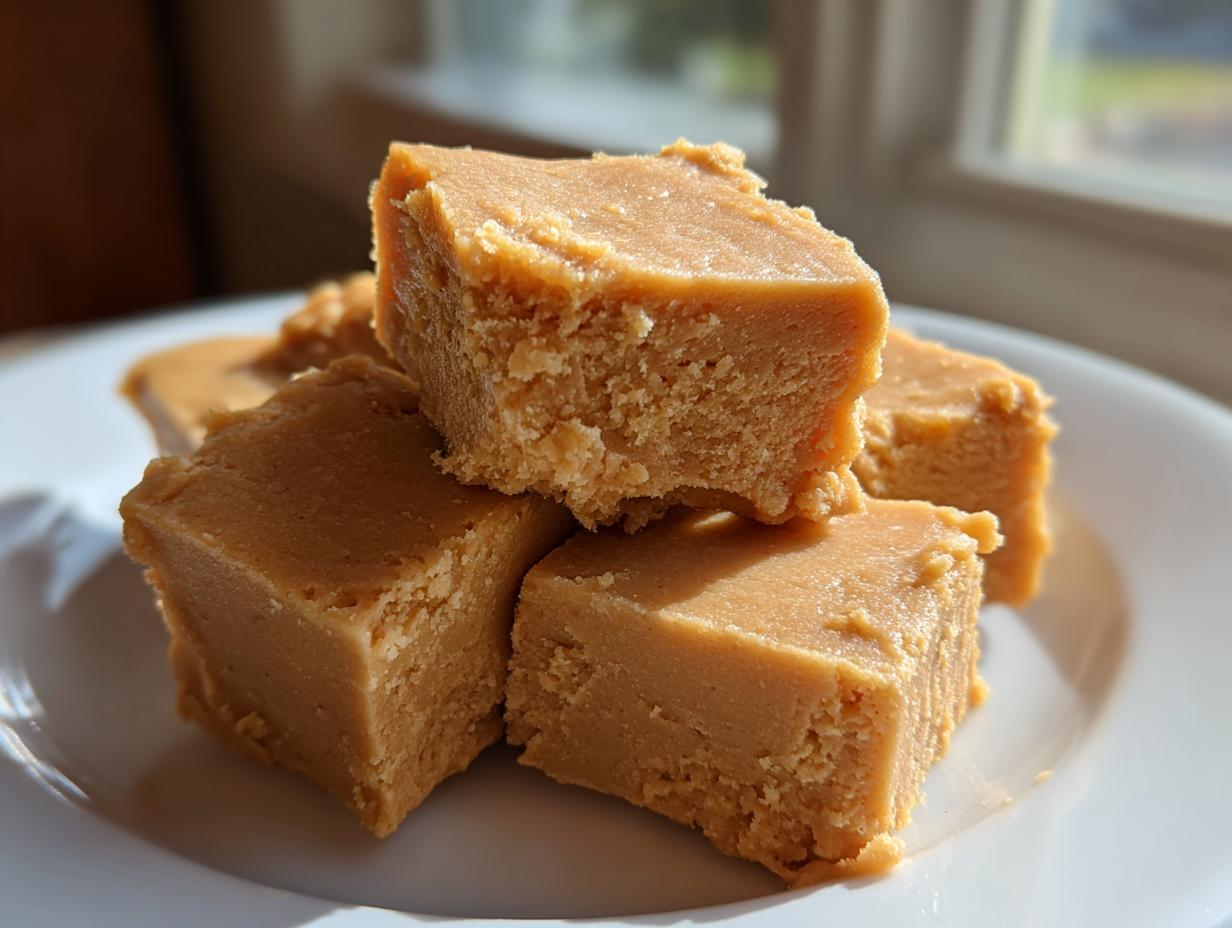
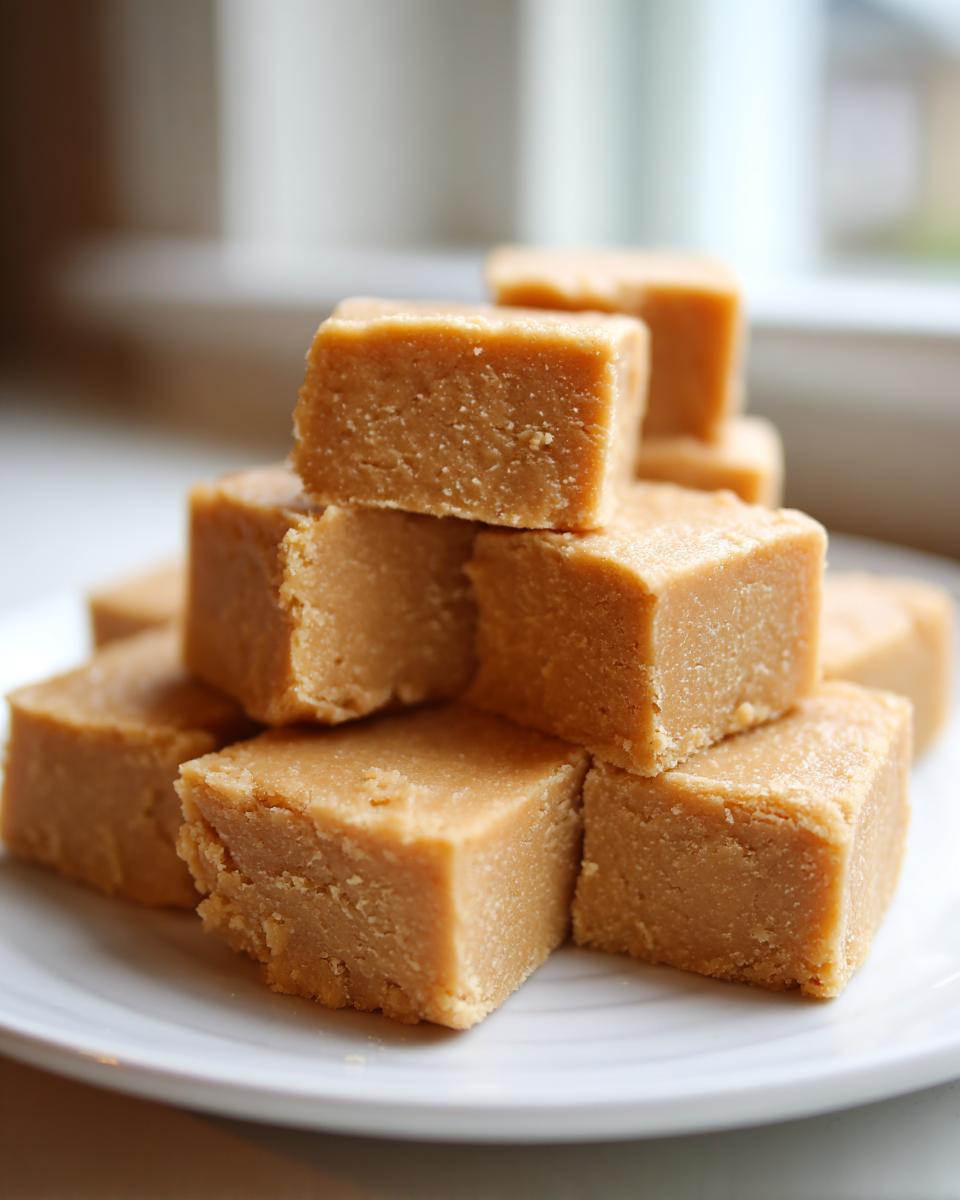
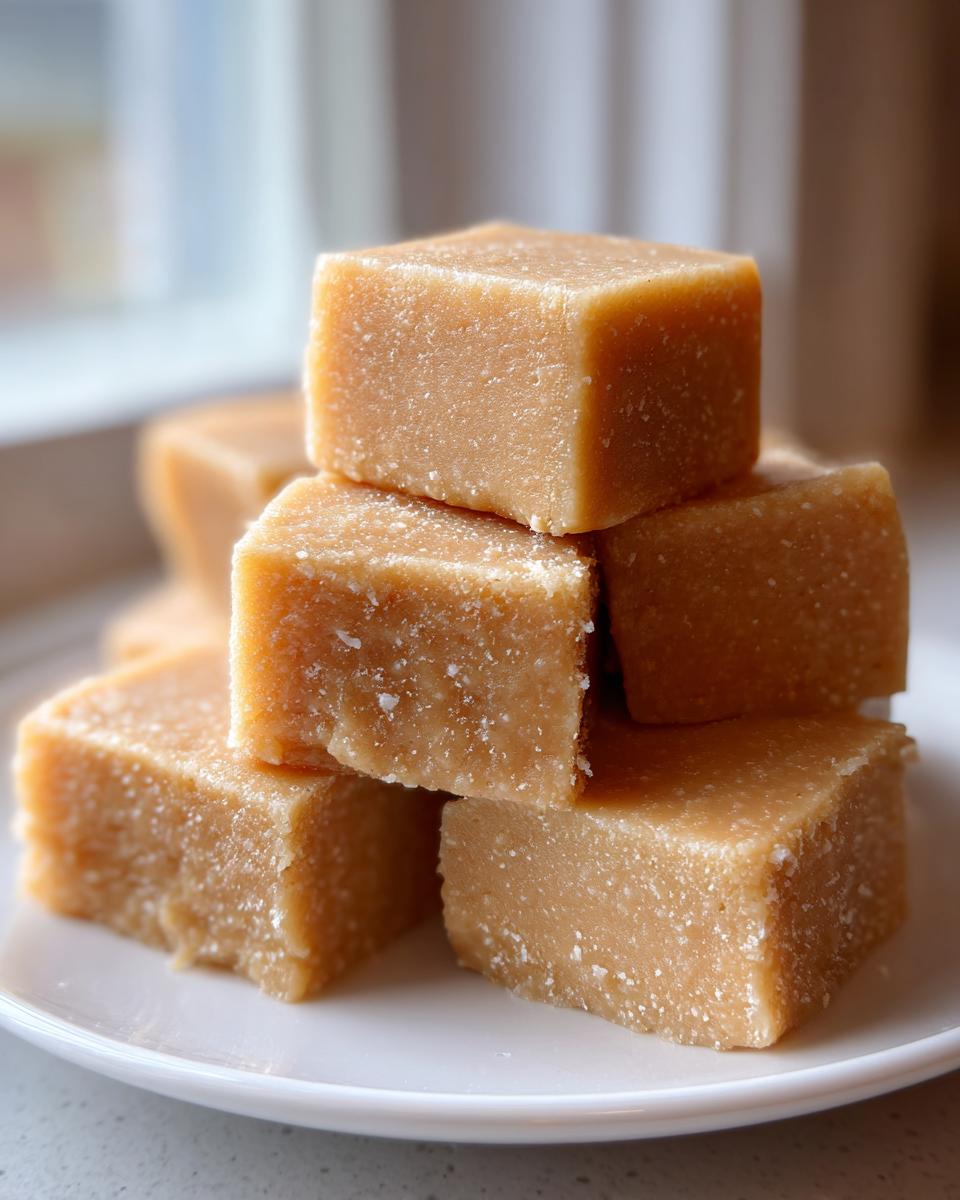
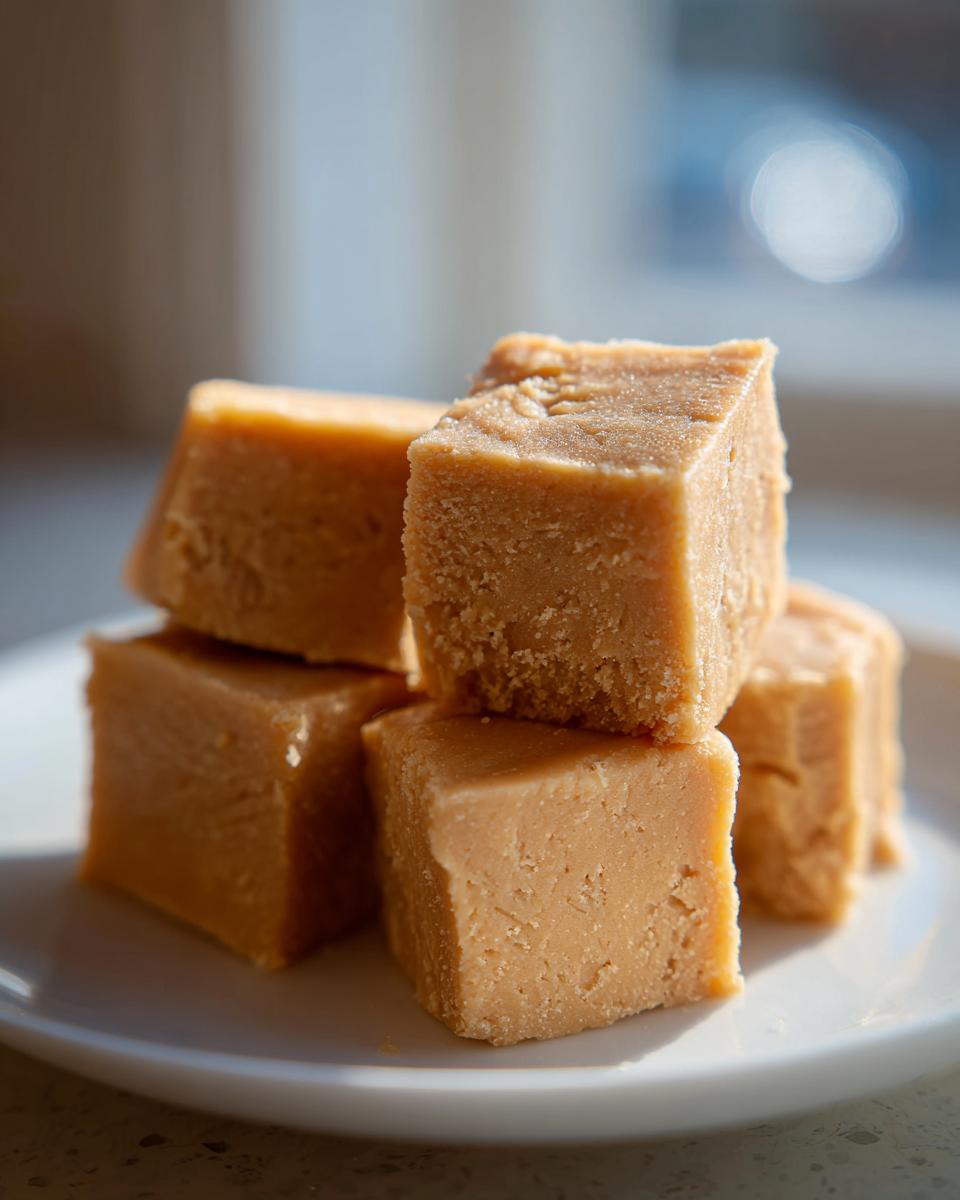
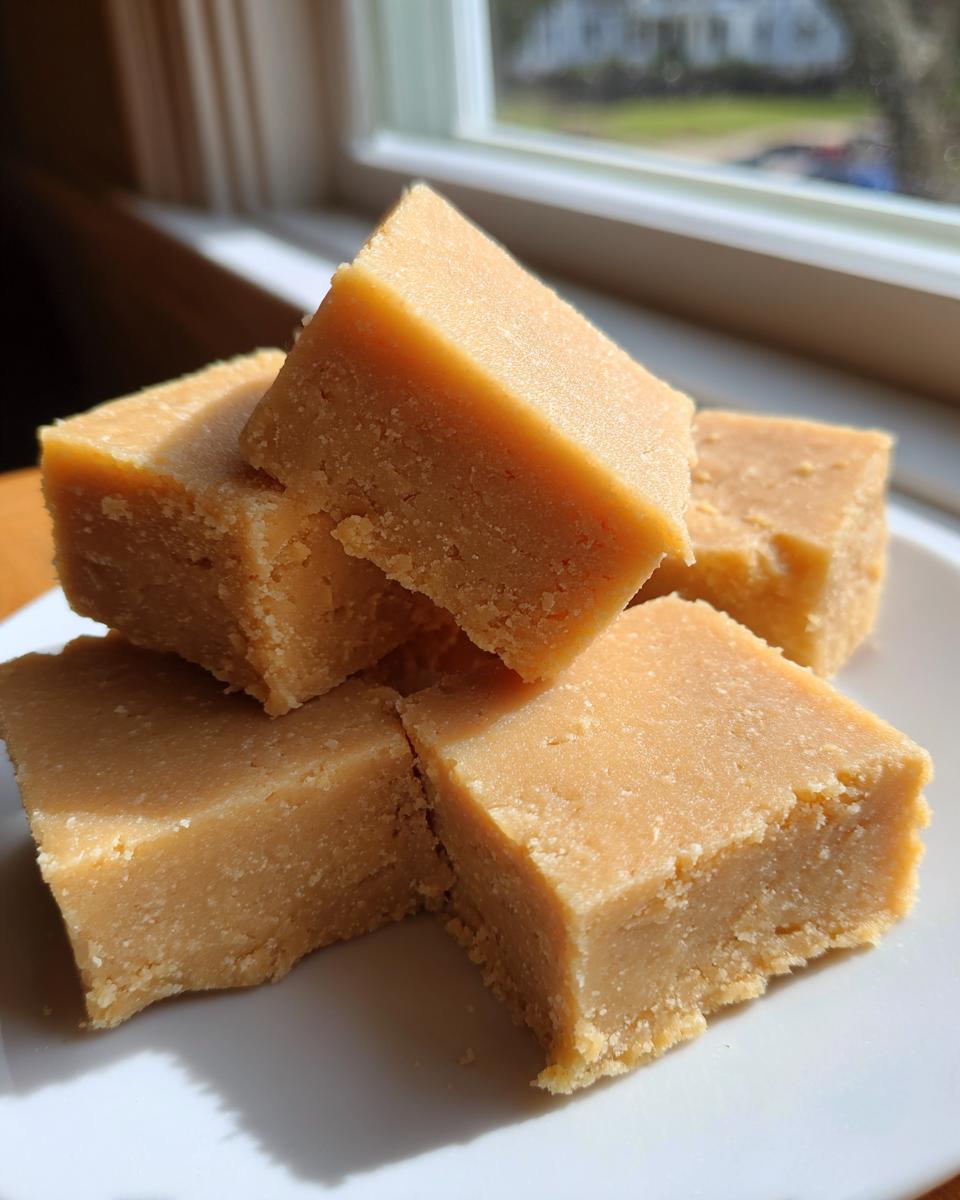
Oh, there’s nothing quite like the thrill of making homemade candy, is there? That perfect, rich square of something sweet that tastes a million times better than anything store-bought. I’m Sarah Miller from HearthBite, and today I’m sharing what I truly believe is the best peanut butter fudge recipe in existence. It’s unbelievably creamy, requires only five simple ingredients, and—my favorite part—it’s completely no-bake! Seriously, ten minutes of mixing and then it chills itself into perfection. Trust me, this recipe has been tested and re-tested at countless family gatherings here in Ohio. It hits that perfect spot between luxurious and totally effortless.
- Why This Creamy Peanut Butter Fudge Recipe Works So Well
- Gathering Your Ingredients for the Best Peanut Butter Fudge
- How to Make Smooth Fudge Tutorial: Step-by-Step peanut butter fudge
- Tips for Success Making Your Holiday Fudge Recipe
- Variations on Classic peanut butter fudge
- Storage and Reheating Instructions for Homemade Candy
- Frequently Asked Questions About Easy Peanut Butter Fudge
- Nutritional Information for This Simple Sweet Treat
- Share Your Best Peanut Butter Fudge Creations
Why This Creamy Peanut Butter Fudge Recipe Works So Well
When you want homemade candy, you don’t want complicated steps and temperamental stovetops. That’s why I stick to this method for my peanut butter fudge. It’s built for success, even if you’re new to making sweet treats. If you love this kind of simple goodness, you should check out my recipe for easy homemade soft chewy sea salt caramels too!
- Melt in Your Mouth Fudge Texture Guaranteed: We specifically use softened butter and peanut butter beaten together first. This creates the absolute smoothest base possible before we even touch the sugar. It skips the gritty texture that plagues so many other recipes, giving you that true Melt in Your Mouth Fudge experience.
- Quick Dessert Ideas with No Bake Fudge Preparation: Between gathering ingredients and mixing, you’re looking at maybe ten minutes of hands-on time. It’s the ultimate No Bake Fudge solution when you need Quick Dessert Ideas FAST. No candy thermometer needed, ever!
Gathering Your Ingredients for the Best Peanut Butter Fudge
The best part about this peanut butter fudge recipe is how few things you need! It’s truly a miracle of simplicity. You probably have most of this on hand right now, which is why this is such a great last-minute dessert fix. Before you grab your bowls, take a peek at my notes on ingredients below—those small details are what make the difference between good fudge and absolute perfection. Want to try another simple treat? Check out my recipe for peanut butter cookies soft chewy classic recipe!
Here is everything you need for the base recipe, ready to go:
- 1 cup (2 sticks) unsalted butter, softened
- 1 cup creamy peanut butter
- 1 teaspoon vanilla extract
- 1 (16 ounce) package confectioners’ sugar, sifted
- 1/2 teaspoon salt (optional, adjust to taste)
Ingredient Notes and Simple Sweet Treats Substitutions
Okay, let’s talk specifics. First, we are using creamy peanut butter here. If you use crunchy, the texture gets weirdly uneven, and we are aiming for smooth, remember?
Also, the butter absolutely *must* be softened to room temperature. If it’s cold, you’ll end up with chunks in your mix, and we don’t want that lumpy outcome. If you want to save this recipe for later, remember where you found this Fudge Recipe with Few Ingredients and come back!
For the sugar, don’t even try to skip sifting the confectioners’ sugar. It’s the main defense against graininess in these Simple Sweet Treats. If your peanut butter is the natural kind where the oil separates, just stir that jar like your life depends on it before measuring!
How to Make Smooth Fudge Tutorial: Step-by-Step peanut butter fudge
Alright, let’s get messy! Making this peanut butter fudge is so straightforward it feels like cheating. We’re skipping the whole candy thermometer drama, thankfully. It all starts with getting your pan ready—I always use parchment paper with an overhang, like little handles, so I can just lift the whole slab out later. Trust me, it saves so much frustration when cutting.
Now for the electric mixer part. Beat that softened butter and peanut butter together until they are totally creamy and look like one homogenous, beautiful mixture. That’s the foundation of our smooth fudge! Next, gently beat in the vanilla. Then, and this is key, you need to add the *sifted* confectioners’ sugar slowly, mixing on low speed so you don’t blast sugar dust everywhere! Once it’s almost combined, take your spatula and scrape down the sides and bottom of the bowl—you want to make sure every last bit of dense sugar gets mixed in.
Once the sugar is incorporated, stop mixing! That’s our cue. Press it gently into your prepared pan. Remember, this is peanut butter fudge, not rock candy. After it’s smooth on top, pop it into the fridge for at least two full hours. If you want to see another great no-bake treat idea, check out my recipe for easy homemade marshmallows while you wait!
Achieving Perfect Peanut Butter Fudge Consistency
Listen, once that sugar goes in, you switch gears. We’re done whipping air in there; we’re just combining now. Over-mixing after the sugar is added is what ruins things! That agitation can cause the sugar to start crystallizing, and suddenly your Creamy Fudge turns sandy overnight. It’s the biggest bummer.
So, mix until you see no more white patches, then stop, even if you think you might need one more second. A good trick: after you think you’re done mixing, give the bowl one final scrape with your spatula, folding the bottom layer up over the top just once or twice. That ensures everything that settled on the sides is mixed in without beating the batter to death.
If you want to read about how another blogger tackles this, they have a great run-down here: peanut butter fudge.
Tips for Success Making Your Holiday Fudge Recipe
Making this peanut butter fudge for gifts or holidays means you need reliable results, and I’ve learned a few tricks the hard way so you don’t have to! The success of this simple confection really hinges on paying attention to the ingredient prep.
First, please, please sift your confectioners’ sugar. I underlined this twice on my original recipe card because it’s the difference between velvety smooth fudge and a grainy mess. You want that powder light and airy before it even hits the butter mixture.
Second is the butter temperature. It has to be at room temperature—soft enough to dent but not warm or melty. Cold butter lumps up immediately when you try to cream it with the peanut butter, and those lumps never go away!
If you need more holiday inspiration after this, make sure you save my recipe for my Christmas cookie bars!
Finally, if you use natural peanut butter, give it a good, vigorous stir first. That oil separation is rough, and you need everything combined before you measure it out. Check out how the folks over at Shugary Sweets describe their method; it’s a good reference point!
Variations on Classic peanut butter fudge
Now that you’ve mastered the ultimate creamy peanut butter fudge, it’s fun to play around a little! This base recipe is solid, but we can dress it up for holidays or just for fun.
If you’re craving chocolate and peanut butter together—who isn’t?—gently fold in about a cup of mini chocolate chips right before pressing it into the pan. They melt just a tiny bit while chilling, making for such a treat. You could also try folding in crushed pretzels for a little salty crunch! If you love that intense flavor, maybe try my recipe for chocolate fudge cake next time.
For those who want an Old Fashioned Fudge feel without changing the main recipe, I just dust the top lightly with unsweetened cocoa powder before it sets. It looks fancy! And if you’re curious about skipping the powdered sugar entirely, some people have success with sweetened condensed milk, though I haven’t personally tested that version as much. You can see one method here: Peanut Butter Fudge with Condensed Milk.
Storage and Reheating Instructions for Homemade Candy
Once you get this glorious batch of fudge cut, you need to keep it happy! Since this is such a dense, creamy Homemade Candy, the refrigerator is definitely its best friend. Keeping it cool ensures that beautiful, smooth texture doesn’t get soft or greasy sitting on the counter, especially when the house is warm.
Store your squares in an airtight container—I like layering them between sheets of wax paper so they don’t stick together. They stay perfectly fresh and ready to eat for at least a week. If you want them to last longer, you can pop them in the freezer, which is great for saving some for later! While you’re thinking about making things ahead, check out my recipe for freezer jam easy strawberry no cook recipe.
Honestly, I’ve never had to “reheat” fudge, ha! But if they get too hard straight from the cold fridge, just let them sit on the counter for about ten minutes before serving. That little bit of time brings back that perfect melt-in-your-mouth quality we worked so hard to achieve!
Frequently Asked Questions About Easy Peanut Butter Fudge
I get so many questions about this Easy Peanut Butter Fudge recipe, which just proves how much everyone loves a simple, stress-free dessert! Since this is the recipe I turn to when I need something fast for a neighbor or a bake sale, I’ve worked out all the kinks long ago. If you want to know more about the HearthBite philosophy, head over to our About Page!
Can I use a microwave recipe for this peanut butter fudge?
You absolutely *can* use a microwave, especially if you are looking for something unbelievably quick! However, for the smoothest, most Melt in Your Mouth Fudge texture, I really stand by this no-bake creaming method. Microwaving involves melting the butter and peanut butter, and while fast, it can sometimes make the final texture slightly less structured than this gentle mixing approach. If you try the microwave, just be very careful not to overheat the sugar!
What causes peanut butter fudge to become grainy?
Graininess is just sugar crystallizing, and it’s the absolute worst when you want that silky texture! In my recipe, we fight this two ways. First, you *must* sift your confectioners’ sugar so there are no clumps to start the crystallization process. Second, once you add that sugar, you stop whipping wildly. Low speed mixing, just enough to incorporate evenly, keeps the sugar crystals from forming.
Is this a gluten free fudge option?
Great question, especially if you’re baking for friends with dietary needs! Yes, this base peanut butter fudge recipe is naturally gluten-free. Butter, peanut butter, sugar, vanilla—none of those contain gluten. You don’t need any special swaps at all! Just double-check the label on any store-bought peanut butter if you are extremely cautious, but generally, you are good to go with this one!
Nutritional Information for This Simple Sweet Treat
I know many of you, like me, like to have a better idea of what’s going into a treat, even if it’s just a little slice of heaven now and then! Here are the estimated values for one square of this wonderful peanut butter fudge. If you’re looking for ideas on balancing out something sweet with something savory during the week, take a peek at my healthy lunch recipes!
- Serving Size: 1 square
- Calories: 180
- Sugar: 18g
- Sodium: 65mg
- Fat: 11g
- Protein: 4g
Please keep in mind these are just estimates, friends! If you use a different brand of peanut butter or adjust the optional salt, those numbers will shift a touch. But hey, at least we know a small piece packs a good amount of flavor!
Share Your Best Peanut Butter Fudge Creations
Well, that’s it! You’ve made the creamiest, easiest peanut butter fudge, and I’m so proud of you! Now what? I absolutely want to see what you created. Did you add sprinkles? Did you cut perfect squares? Rate this recipe five stars on the page so others know it’s the real deal!
Snap a picture and tag us so I can share your delicious work! Remember, that’s the whole point of HearthBite—sharing the joy from our kitchen to yours. If you’re looking for more easy inspiration, check out what my friends are making here: Easiest Peanut Butter Fudge. If you have any final questions, feel free to reach out via our Contact page!
PrintUltimate Creamy No-Bake Peanut Butter Fudge (Only 5 Ingredients!)
Make rich, smooth peanut butter fudge that melts in your mouth using just five simple ingredients. This no-bake recipe is quick, easy, and perfect for holiday gifting or satisfying a sweet craving.
- Prep Time: 10 min
- Cook Time: 0 min
- Total Time: 2 hours 10 min
- Yield: About 36 squares 1x
- Category: Dessert
- Method: No-Bake
- Cuisine: American
- Diet: Vegetarian
Ingredients
- 1 cup (2 sticks) unsalted butter, softened
- 1 cup creamy peanut butter
- 1 teaspoon vanilla extract
- 1 (16 ounce) package confectioners’ sugar, sifted
- 1/2 teaspoon salt (optional, adjust to taste)
Instructions
- Line an 8×8 inch baking pan with parchment paper, leaving an overhang on two sides for easy removal. Lightly grease the paper.
- In a large bowl, beat the softened butter and peanut butter together with an electric mixer until the mixture is completely smooth and creamy.
- Beat in the vanilla extract.
- Gradually add the sifted confectioners’ sugar, mixing on low speed until just combined. If the mixture seems too stiff, you can add a tablespoon of milk, but this recipe usually does not require it for a smooth texture.
- Stir in the salt, if using. Mix until no streaks of sugar remain. Do not overmix once the sugar is incorporated.
- Press the fudge mixture evenly into the prepared baking pan. Use a spatula or the back of a spoon to smooth the top.
- Refrigerate the fudge for at least 2 hours, or until firm enough to cut.
- Lift the fudge out of the pan using the parchment paper overhang. Cut into 1-inch squares. Store leftovers in an airtight container in the refrigerator.
Notes
- Sift your confectioners’ sugar before measuring and adding it to the mixture. This step is crucial for achieving a smooth, non-grainy texture.
- Use room temperature, softened butter for the best blending results. Cold butter will create lumps.
- For a richer flavor, use natural peanut butter, but ensure you stir it well before measuring to incorporate the oil.
- If you prefer a slightly firmer fudge, chill the mixture for 30 minutes before pressing it into the pan.
Nutrition
- Serving Size: 1 square
- Calories: 180
- Sugar: 18
- Sodium: 65
- Fat: 11
- Saturated Fat: 5
- Unsaturated Fat: 6
- Trans Fat: 0
- Carbohydrates: 19
- Fiber: 1
- Protein: 4
- Cholesterol: 15