
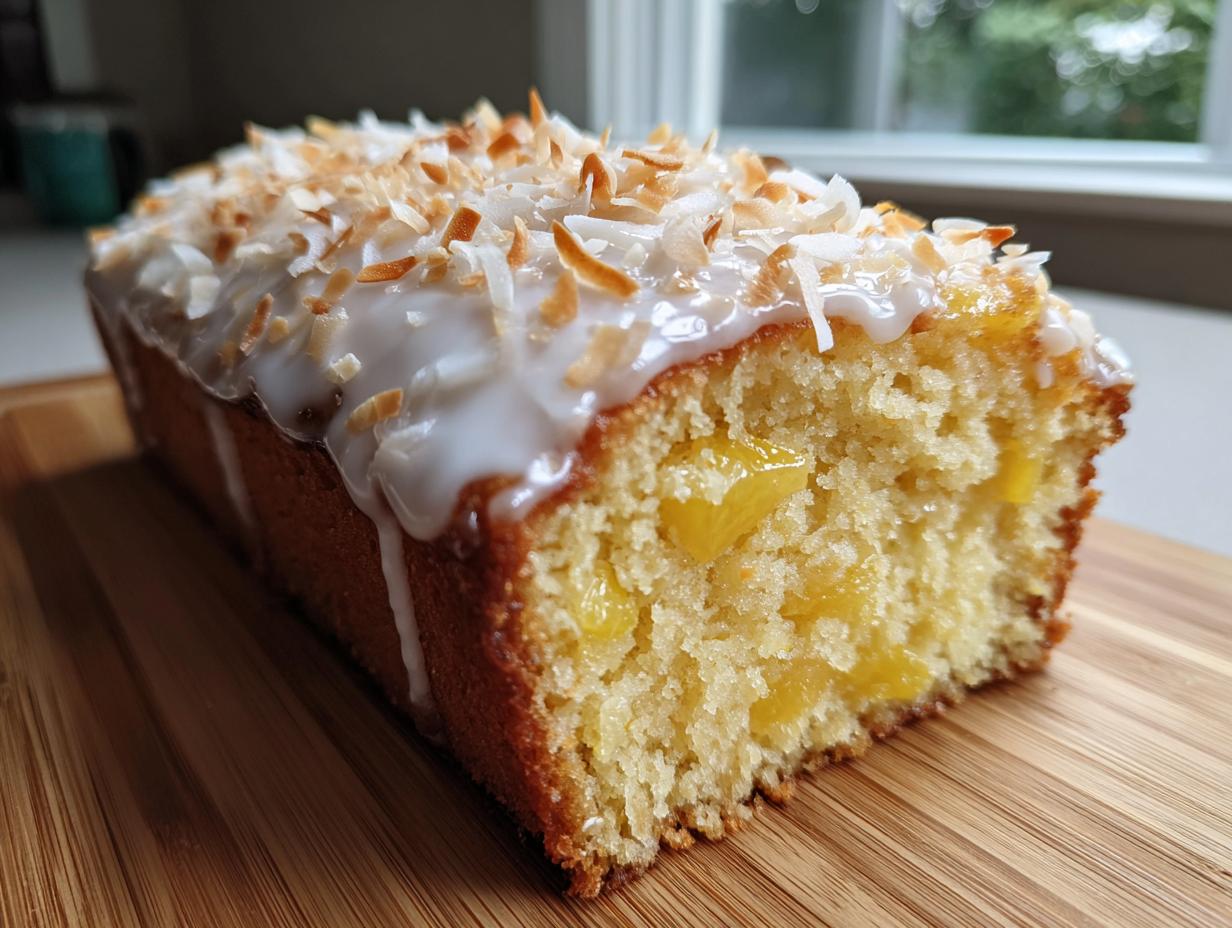
There’s just something magical about bringing the taste of the islands into your own kitchen, isn’t there? When I think about celebrations—whether it’s a major milestone or just a Tuesday that needs a little sunshine—my mind immediately goes to this cake. It’s rich, it’s absolutely packed with tropical flavor, and it’s somehow easier than most standard layer cakes. Trust me when I say this is the definitive, easy-to-follow recipe for the classic hawaiian wedding cake.
Here at HearthBite, we believe food should connect us, and this cake always brings such a sense of warmth and nostalgia. It reminds me of big family gatherings where everyone piles seconds onto their plates. We’re talking about a truly moist pineapple nut cake that makes every slice feel like a vacation. You are going to love how delightfully simple this whole process is!
- Why This Hawaiian Wedding Cake Recipe is a Celebration Staple
- Gathering Your Ingredients for the Hawaiian Wedding Cake
- Step-by-Step Instructions for the Best Hawaiian Cake Recipe
- Crafting the Easy Toasted Coconut Glaze
- Tips for Perfect Hawaiian Wedding Cake Success
- Serving Suggestions for Your Tropical Flavors Homemade Dessert
- Storage and Make-Ahead Tips for Hawaiian Wedding Cake
- Frequently Asked Questions About Making Hawaiian Wedding Cake
- Nutritional Estimate for This Tropical Delight
Why This Hawaiian Wedding Cake Recipe is a Celebration Staple
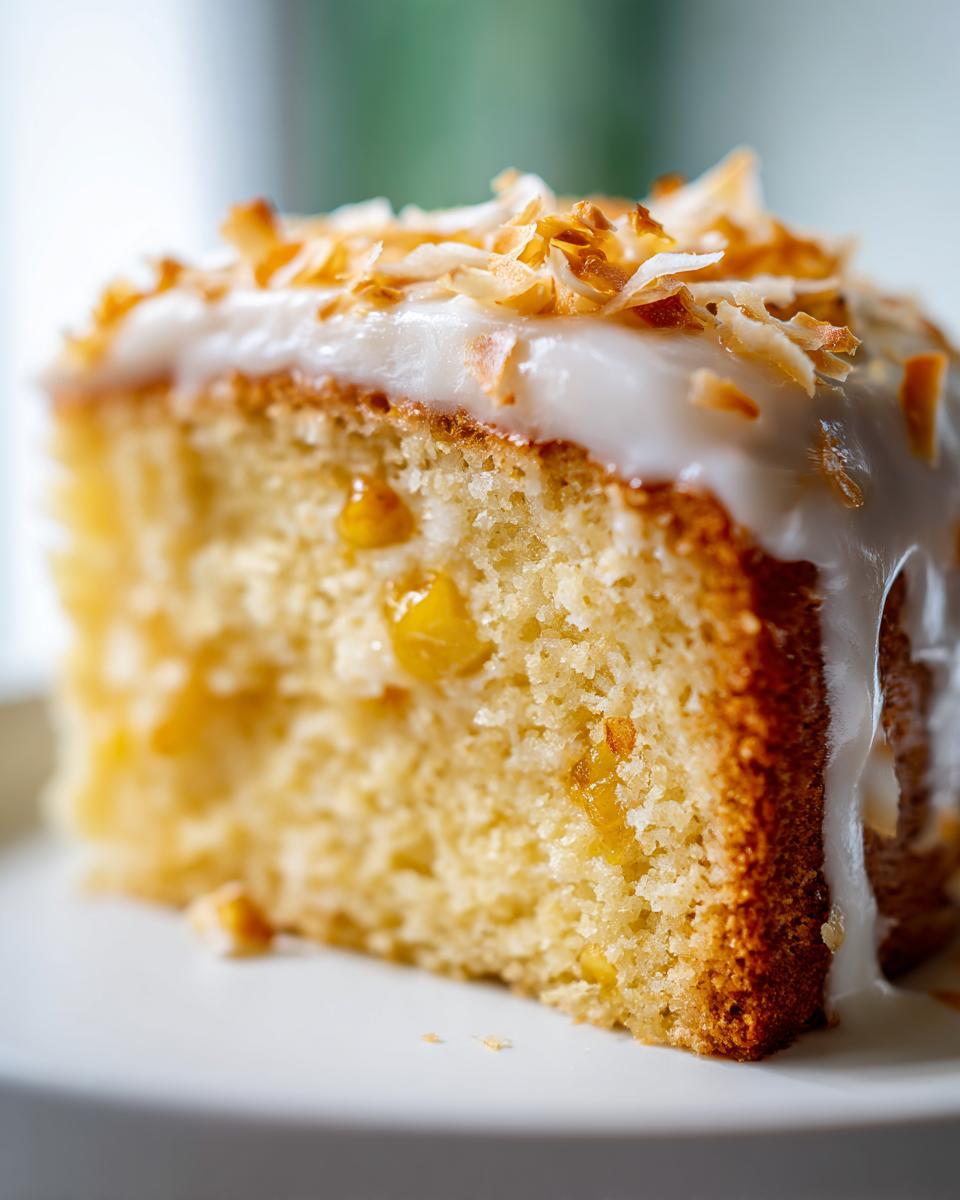
What makes this cake so popular for big events? Honestly, it’s the texture first and foremost! This isn’t one of those dry, crumbly sheet cakes that needs to be soaked in syrup to be palatable. This Tropical Pineapple Cake Recipe is just inherently moist, and it stays that way for days. That’s key when you’re making something for a big celebration or shower!
It hits that sweet spot between being incredibly flavorful and surprisingly easy to handle. We’re talking about a truly Moist Pineapple Nut Cake here, which means less stress for you in the kitchen. It handles layering beautifully, which is why it’s such a favorite for actual weddings or big potlucks. It transports well, too, making it perfect for parties!
Key Characteristics of the Hawaiian Wedding Cake
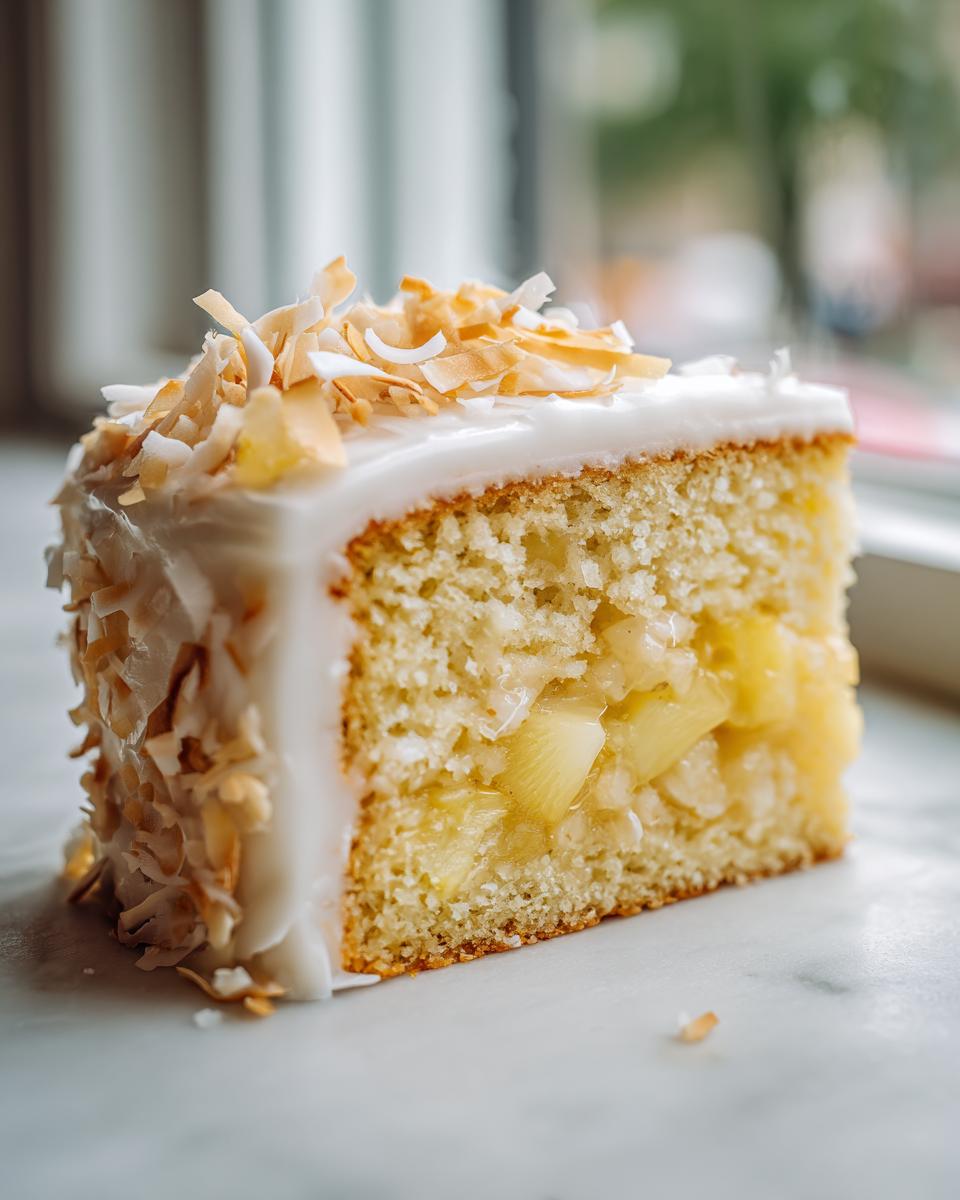
The magic really is in the fillings. Forget fancy extracts—we use crushed pineapple right out of the can, undrained! That liquid is pure moisture gold, and it blends right into the cake batter, making these layers tender. Then we toss in crunchy macadamia nuts and sweet shredded coconut.
These three elements—pineapple, nuts, and coconut—are the heart of the hawaiian wedding cake flavor profile. They give you that wonderful tropical punch in every single bite. It’s rich enough for a centerpiece but light enough, thanks to the fruit, that folks always go back for a second slice.
Gathering Your Ingredients for the Hawaiian Wedding Cake
Okay, let’s talk ingredients! This recipe looks like a lot, but honestly, most of it is standard pantry stuff, and the stars of the show are the tropical additions. I’ve written out exactly what you need below, and remember, precision matters with baking, even when you want that relaxed island vibe!
- 1 cup unsalted butter, softened
- 2 cups granulated sugar
- 4 large eggs
- 3 cups all-purpose flour
- 1 teaspoon baking soda
- 1 teaspoon salt
- 1 (8 ounce) can crushed pineapple, undrained
- 1 cup buttermilk
- 1 teaspoon vanilla extract
- 1 cup chopped macadamia nuts
- 1 cup shredded sweetened coconut
- For the Glaze: 2 cups powdered sugar
- 1/4 cup milk
- 1 teaspoon vanilla extract
- 1/2 cup toasted shredded coconut for topping
See? Simple elements coming together! That undrained crushed pineapple is crucial—don’t drain it! We want every bit of that flavorful juice to melt right into the batter. I have my recipe card stained right where I accidentally spilled some buttermilk, ha!
Ingredient Notes and Substitutions for Hawaiian Wedding Cake
The macadamia nuts really make this the ultimate Coconut Macadamia Nut Dessert, but if you’ve had trouble finding them or they aren’t your favorite, don’t panic! You can absolutely swap those out for pecans or walnuts in a pinch. They give a different kind of crunch, but they still hold up perfectly in this moist cake structure.
Also, make sure you are using sweetened shredded coconut for the batter because it dissolves slightly to add texture, and sweetened for the topping, too. If you use unsweetened, your cake might taste a little flat, and we simply can’t have flat cake!
Step-by-Step Instructions for the Best Hawaiian Cake Recipe
Alright, let’s get baking! This might sound like a complicated cake because it has so many great additions, but I promise you, the actual making of the batter is wonderfully straightforward. We want to keep everything balanced so we end up with that perfect texture. I’ve linked my guide to quick, easy dinner recipes if you need something fast later, but for now, focus here on the cake!
Preparing the Moist Pineapple Nut Cake Batter
First things first: get that oven at 350 degrees Fahrenheit and grease and flour those two 9-inch round pans. That’s your foundation!
Start big: Cream that softened butter and sugar in a large bowl until it’s pale and fluffy—you know the look. Then, drop in those four eggs, one by one, making sure they’re fully incorporated before adding the next one. Don’t rush this part; it builds structure!
In separate bowls, whisk your flour and baking soda together, and mix your buttermilk and vanilla. Now, here’s the expert trick: alternate adding the dry mixture and the buttermilk mixture into the butter mixture. Start and end with the flour. We stop mixing the second everything is combined. Don’t even think about overmixing here, or you’ll deflate all that air we just worked so hard to whip in!
This is where the tropical magic happens. You need to GENTLY fold in that undrained crushed pineapple (yes, undrained!), those chopped macadamia nuts, and the cup of coconut. The crushed pineapple adds so much moisture to this Moist Pineapple Nut Cake. Seriously, treat that batter gently!
Baking and Cooling Your Hawaiian Wedding Cake Layers
Once it’s mixed, split the batter evenly between your prepared pans. Pop them into the oven and bake them for about 30 to 35 minutes. You’re listening for that “it’s done!” signal, which means a wooden pick stuck right in the center slides out clean. A few moist crumbs clinging to it are okay, but no wet goop!
Patience now! Let those beautiful layers cool in the pans for about 10 minutes. If you try to flip them out immediately, they might sag on you. After ten minutes, invert them onto a wire rack to cool completely. We need them stone cold before we even think about glazing them, especially if you want that sturdy two-layer look for your Hawaiian Wedding Cake.
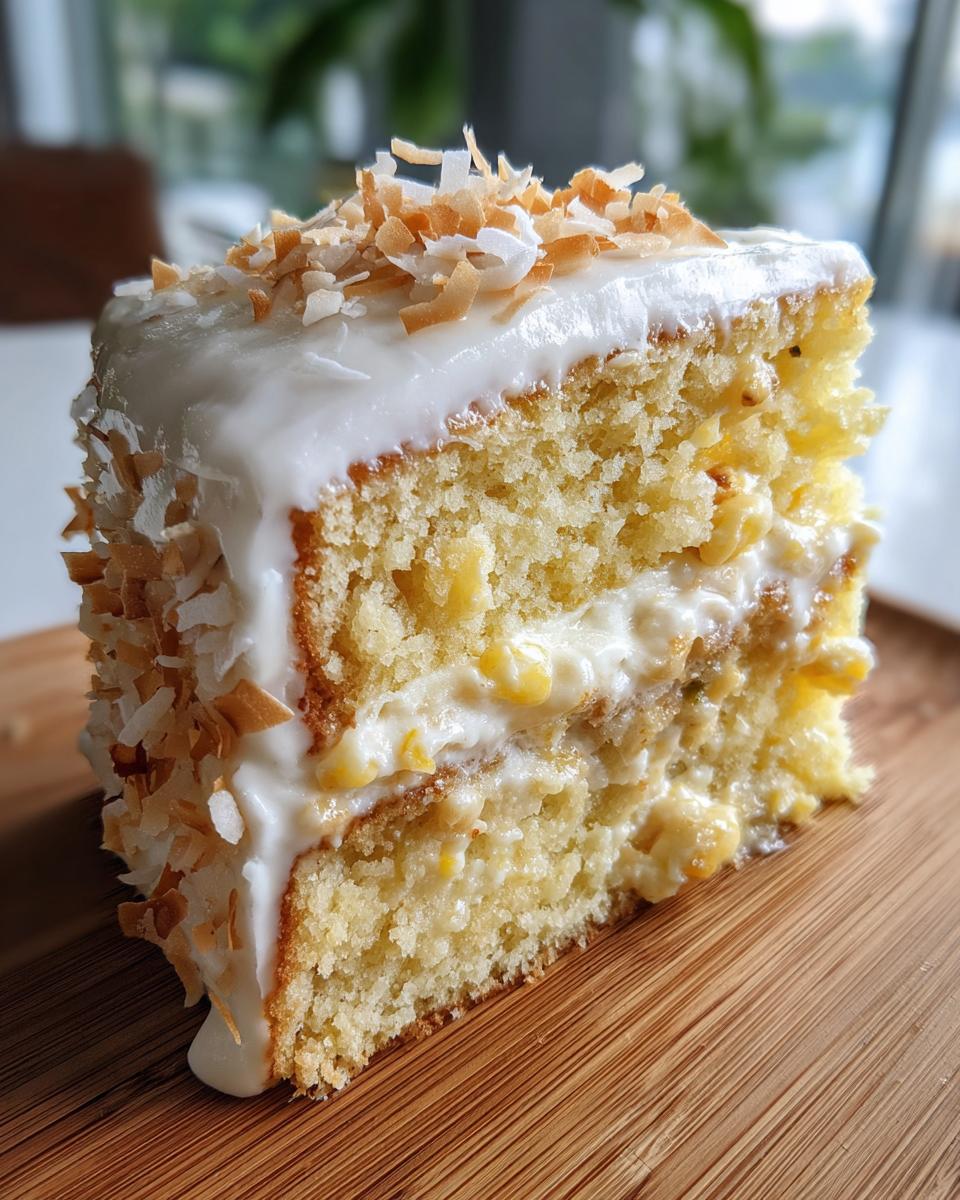
Crafting the Easy Toasted Coconut Glaze
We’ve made a wonderfully moist cake, and now we need a simple, bright topping to finish it off. This isn’t a complicated buttercream; it’s our fantastic Easy Toasted Coconut Glaze which lets those tropical flavors really shine through! It’s so quick, you can whip it up while the cakes are cooling down.
For the glaze base, you just need to whisk together the powdered sugar with the milk and vanilla extract until it’s totally smooth. Don’t worry if it looks a little thick at first; just nudge it with a tiny bit more milk until it’s easily pourable. I always give it a good five minutes to settle before I start drizzling.
Now for the best part—the crunch! Remember those notes I mentioned? You absolutely must toast your topping coconut separately! Spread that half-cup of shredded coconut in a single layer on a baking sheet. Pop it into the 350-degree oven for just 5 to 8 minutes. You have to watch it like a hawk, seriously, because it goes from perfectly golden to burnt charcoal in about thirty seconds. Once it’s beautifully golden brown, sprinkle it generously all over the top of that lovely glaze. It adds such a fantastic layer of texture to our Hawaiian Wedding Cake.

Tips for Perfect Hawaiian Wedding Cake Success
Baking is fun, but when you’re making something special like this for a big event, you want it to turn out perfect, right? Even though this recipe is incredibly reliable due to the fruit content, I have a few little tricks up my sleeve from my years of perfecting this Island Inspired Baking creation. Think of these as the final polish on an already beautiful cake!
Ensuring a Moist Hawaiian Wedding Cake Every Time
The secret sauce, literally, comes down to two ingredients working together: the buttermilk and that undrained crushed pineapple. When you alternate the wet and dry ingredients like we did, you are trapping air and coating the flour particles, which prevents toughness. But the real moisture insurance is the pineapple juice! I find that checking the cake just before the timer goes off is always a good idea when baking with fruit.
Since the pineapple is undrained, you are adding acid (from the juice) along with the liquid buttermilk. This acid tenderizes the crumb structure even further, keeping the cake soft and springy long past the first day. I’ve had this cake taste just as phenomenal three days later sitting on my counter. If you’re worried about freshness, a light brush of simple syrup—just equal parts sugar and water simmered for two minutes—applied once the cake is cool but before glazing will give you extra insurance. Just a tiny bit goes a long way to keep that tropical flavor singing!
Also, never, ever overbake it. I know it’s tempting to peek, but that extra five minutes in the oven is what steals moisture. If the timer says 35 minutes, pull it out at 33 and test it. Better slightly underbaked and needing a quick return to the oven than dried out from being forgotten!
Serving Suggestions for Your Tropical Flavors Homemade Dessert
This cake is practically begging to be served at a gorgeous table setting! Because it’s already so rich with fruit and nuts, it doesn’t actually need a lot of heavy frosting, which I adore. It feels so light and celebratory.
If you’re serving it warm, I highly recommend a dollop of lightly sweetened whipped cream right on top of the glaze. If you’re letting it sit out for a party, plain, strong black coffee or even a chilled glass of iced tea goes wonderfully alongside those bright pineapple notes. For a little extra freshness, a side dish of sliced mango and kiwi really makes the whole dessert shine.
It really shines best with simplicity, which is why I love this recipe so much. For more ideas on pairing comfort food classics, check out my thoughts on hearty dining!
Storage and Make-Ahead Tips for Hawaiian Wedding Cake
Since this cake has such a wonderful inherent moisture from all that pineapple and the buttery crumb, it actually handles sitting out for gatherings way better than other cakes. You certainly don’t want to stress about refrigeration right before a big party, so you have some flexibility here!
The best place to keep your finished Hawaiian Wedding Cake is right on the counter. Just make sure it’s covered well! Covering it keeps the glaze from getting sticky if the air is humid and, more importantly, keeps the cake from drying out. I find if I place a cake dome over it, it stays perfectly moist for about three full days. Don’t try to keep it in the fridge unless your kitchen is incredibly hot; the cold air always seems to dull the texture of a buttery cake like this.
If you are baking for a huge shower next weekend, you can absolutely make these ahead! Don’t glaze them yet, though. Bake the layers, let them cool completely, and wrap each layer tightly in plastic wrap, followed by a layer of foil. You can freeze the plain layers for up to a month. When you’re ready to serve, just pull them out, let them thaw on the counter wrapped up for a few hours, and then frost!
If you plan on making the glaze ahead of time, that’s fine too, but keep it just slightly thicker than you think you need. Since it’s mostly just powdered sugar and milk, it can firm up when refrigerated. A quick whisk with a teaspoon of milk right before spreading it on your completely cool cake will get it back to that perfect, drizzly consistency. It’s all about making your celebration day as calm as possible!
Frequently Asked Questions About Making Hawaiian Wedding Cake
I always get so many questions when people try this recipe for the first time! It’s natural when you’re baking for something as big as a wedding or a major party. I’ve pulled together the questions I hear most often about this Tropical Pineapple Cake Recipe to make sure your experience is smooth sailing.
Can I use canned coconut milk instead of buttermilk in this Classic Potluck Cake?
That’s a thoughtful question, especially if you are aiming for an even stronger island flavor! You *can* substitute full-fat coconut milk for the buttermilk, but you have to be careful because coconut milk is richer in fat than standard buttermilk. Because this recipe already has high fat content from the butter and nuts, switching to full-fat coconut milk might make the cake a little too heavy or slightly greasy on the crumb.
If you want to try the coconut milk route, I highly suggest thinning the full-fat canned coconut milk with a splash of water until it’s roughly the same consistency as the buttermilk we called for. This keeps the dairy ratios balanced while still giving you that delicious, subtle hint of coconut flavor throughout your Classic Potluck Cake!
What is the traditional frosting for a Hawaiian Wedding Cake?
The tradition behind the name is so interesting! Historically, many versions of what became known as the hawaiian wedding cake were often served unfrosted or just with a very simple dusting of powdered sugar. Think of it as a rich, moist snack cake that needed no fuss.
However, as the recipe became popular on the mainland, people started using heavier frostings. Cream cheese frosting is a really popular choice now—it pairs beautifully with the pineapple and nuts. For this recipe, though, I stuck to the lighter, slightly translucent glaze using toasted coconut topping, as I find it lets the actual cake flavor breathe more. It keeps the dessert from becoming too heavy and overly sweet, which is perfect for a shower or reception!
If you are set on cream cheese frosting, just let your layers cool completely, and then whip up a batch of your favorite recipe, making sure to thin it just slightly before spreading it on thick. Either way, your Island Inspired Baking creation is going to be a hit!
Nutritional Estimate for This Tropical Delight
When you’re baking something this delicious for a celebration, you’re probably not worried too much about the numbers, but I always like to give you an idea of what’s in that amazing slice! Here are the estimated values for one serving of this beautiful, moist cake recipe.
- Serving Size: 1 slice
- Calories: 410
- Sugar: 45g
- Sodium: 250mg
- Fat: 20g
- Saturated Fat: 10g
- Unsaturated Fat: 10g
- Trans Fat: 0g
- Carbohydrates: 58g
- Fiber: 2g
- Protein: 5g
- Cholesterol: 85mg
Just remember that these numbers are just an estimate based on the ingredients listed. Depending on the exact brands of butter, nuts, or sugar you use, these figures can shift a little bit. But honestly, every bite of this Tropical Flavors Homemade dessert is worth it!
PrintClassic Hawaiian Wedding Cake with Toasted Coconut Glaze
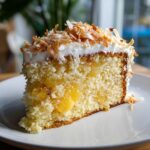
Make this moist, tropical pineapple nut cake, perfect for celebrations. This recipe features crushed pineapple, macadamia nuts, and a simple toasted coconut glaze.
- Prep Time: 20 min
- Cook Time: 35 min
- Total Time: 55 min
- Yield: 12 servings 1x
- Category: Dessert
- Method: Baking
- Cuisine: American
- Diet: Vegetarian
Ingredients
- 1 cup unsalted butter, softened
- 2 cups granulated sugar
- 4 large eggs
- 3 cups all-purpose flour
- 1 teaspoon baking soda
- 1 teaspoon salt
- 1 (8 ounce) can crushed pineapple, undrained
- 1 cup buttermilk
- 1 teaspoon vanilla extract
- 1 cup chopped macadamia nuts
- 1 cup shredded sweetened coconut
- For the Glaze: 2 cups powdered sugar
- 1/4 cup milk
- 1 teaspoon vanilla extract
- 1/2 cup toasted shredded coconut for topping
Instructions
- Preheat your oven to 350 degrees Fahrenheit. Grease and flour two 9-inch round cake pans.
- In a large bowl, cream together the softened butter and granulated sugar until light and fluffy.
- Beat in the eggs one at a time, mixing well after each addition.
- In a separate bowl, whisk together the flour and baking soda.
- In a small bowl, mix the buttermilk and vanilla extract.
- Gradually add the dry ingredients to the wet ingredients, alternating with the buttermilk mixture, beginning and ending with the flour mixture. Mix until just combined. Do not overmix.
- Gently fold in the undrained crushed pineapple, chopped macadamia nuts, and 1 cup of shredded coconut.
- Divide the batter evenly between the prepared cake pans.
- Bake for 30 to 35 minutes, or until a wooden pick inserted into the center comes out clean.
- Let the cakes cool in the pans for 10 minutes before inverting them onto a wire rack to cool completely.
- To make the glaze, whisk together the powdered sugar, milk, and vanilla extract until smooth.
- Once the cakes are completely cool, spread the glaze evenly over the top layer. Sprinkle generously with the 1/2 cup of toasted shredded coconut.
Notes
- To toast coconut, spread it in a single layer on a baking sheet and bake at 350 degrees Fahrenheit for 5 to 8 minutes, watching closely to prevent burning.
- You can substitute pecans or walnuts for macadamia nuts if desired.
- This cake keeps well covered at room temperature for up to three days.
Nutrition
- Serving Size: 1 slice
- Calories: 410
- Sugar: 45g
- Sodium: 250mg
- Fat: 20g
- Saturated Fat: 10g
- Unsaturated Fat: 10g
- Trans Fat: 0g
- Carbohydrates: 58g
- Fiber: 2g
- Protein: 5g
- Cholesterol: 85mg