
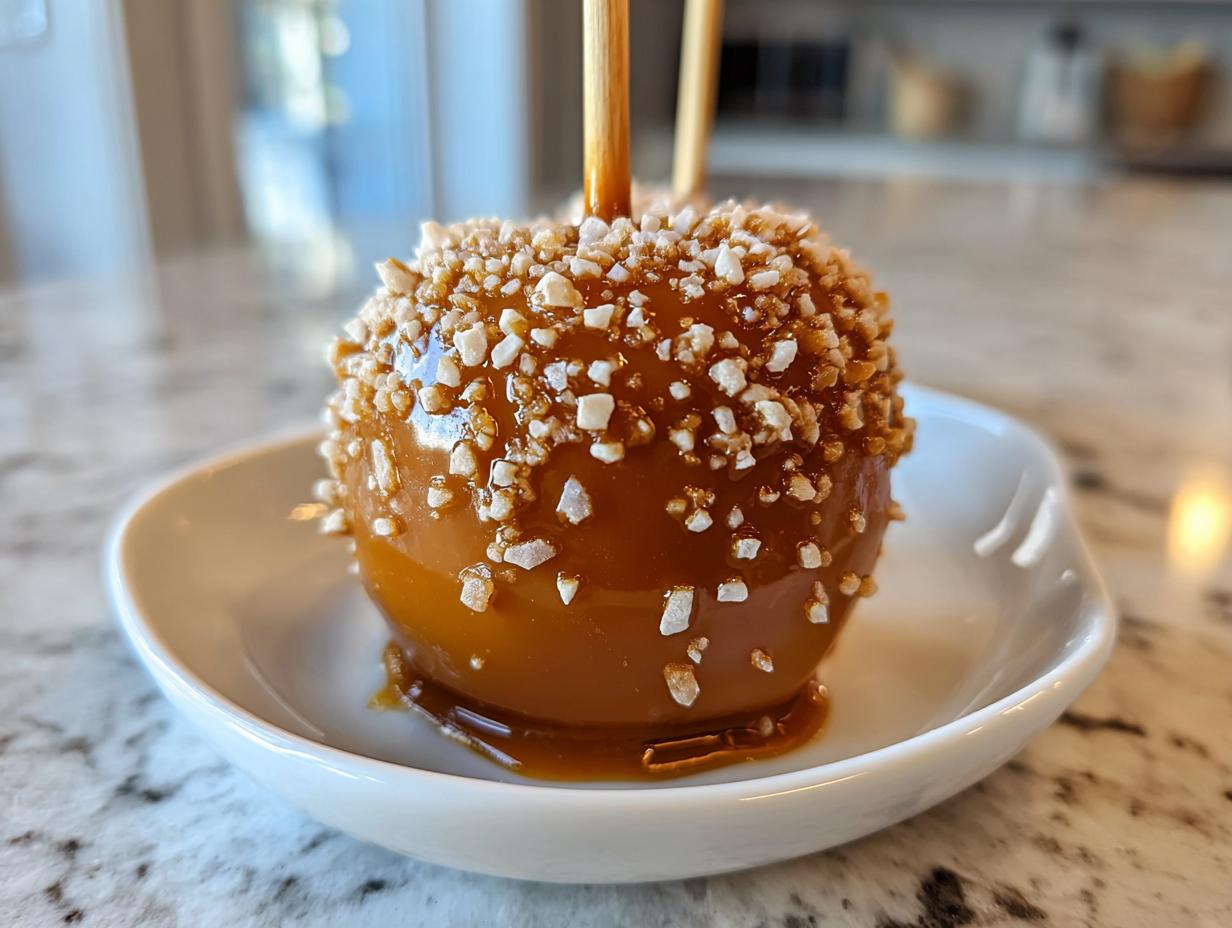
Oh, the sights and smells of the autumn kitchen! There’s just something magical about that first crisp day that makes me want to pull out my favorite fall layering recipes. And nothing says fall gathering quite like a perfectly crafted **caramel apple**. I remember setting up those first batches, only to watch half the beautiful caramel slide right off onto the wax paper. Ugh! That’s why I’m so thrilled to share my absolute foolproof method here at HearthBite. This isn’t just a recipe; it’s a promise that your **homemade caramel apples** will be wonderfully chewy and stick beautifully, just like the comforting treats we share around our family table. If you want to know more about where HearthBite comes from and our philosophy, you can always read about us here.
- Why This Foolproof Recipe Guarantees Perfect Caramel Apples
- Selecting the Best Apples for Homemade Caramel Apples
- Ingredients for Chewy Caramel Apples
- Step-by-Step Tutorial for Foolproof Caramel Apples
- Expert Caramel Coating Tips for Perfect Caramel Apples
- Making Gourmet Caramel Apples: Topping Variations
- Storage and Serving Suggestions for Caramel Apples
- Frequently Asked Questions About Caramel Apples
- Estimated Nutritional Data for Homemade Caramel Apples
Why This Foolproof Recipe Guarantees Perfect Caramel Apples
I promise you, this is the end of your sliding caramel disaster days! This easy caramel apple recipe is all about making you feel confident, especially when you are hosting friends or family. We focus on the technique that locks that wonderfully chewy caramel right onto the crisp fruit. You can trust this process for your next big fall cooking project. If you love this kind of cozy recipe, make sure you check out more of our comfort food recipes!
- Sticks Flawlessly: That tricky wax coating removal? We nail it so the caramel adheres instantly.
- Perfectly Chewy: Cooking the caramel to the precise temperature gives you that satisfying chew, not a hardened shell.
- Holiday Ready: These are sturdy enough for gifting or setting out on a party platter and looking gorgeous for hours.
Selecting the Best Apples for Homemade Caramel Apples
The apple you choose sets the whole stage, dear baker! If you’re trying to make caramel apples that stay put, you have to choose wisely. For me, the best apples for caramel apples are always Granny Smith—they are tart enough to cut through the sweetness of the caramel, and man, are they firm! Honeycrisp are a runner-up if you like a little more sweetness, but firmness is key so they don’t get mushy.
Now, here’s the part everyone skips: you must remove that natural wax coating they use for transport. I learned this the hard way once when I rushed; the caramel looked fine going on, but the minute it cooled, the whole batch slid off like a bad coat of paint! Simply dipping them in boiling water for about five seconds—just long enough to see the surface change—and then drying them *completely* is non-negotiable. Moisture is the enemy of adhesion, trust me on this one. If you’re interested in other ways to use great apples, you should look at my recipe for thick, spiced apple pie filling!
Ingredients for Chewy Caramel Apples
Getting the right ingredients is step one in achieving that wonderful, slightly gooey, chewy texture for your caramel apples. Because we are using pre-made caramels as our base for this easy caramel apple recipe, it keeps things incredibly straightforward, which I just love—we save the candy-making magic for another day!
For the apples themselves, remember we need structure. Always reach for those large, firm ones. If you want to make a batch of my favorite soft, chewy caramels next time, I’ve got the recipe for those right here!
Here’s the simple shopping list you’ll want:
- 6 large Granny Smith or Honeycrisp apples (remember, firm is king!)
- 1 (14-ounce) bag of soft caramel candies—make sure they are the soft, chewy kind, not the hard, brittle ones!
- 2 tablespoons of heavy cream. Please use heavy cream, not milk; that fat content makes a huge difference in the final texture.
- 1 teaspoon vanilla extract to give it that classic, comforting flavor.
- 6 wooden skewers or sticks wrapped in parchment paper for stability.
And don’t forget your decor station! For the gourmet caramel apples look, have these ready to go:
- About 1 cup of chopped nuts (pecans or peanuts are great).
- 1 cup of mini chocolate chips.
- A little sprinkle of coarse sea salt if you like that sweet-and-salty perfection.
Step-by-Step Tutorial for Foolproof Caramel Apples
Okay, now that we have our perfect apples and our ingredients ready, it’s time for the fun part where we turn this into a stunning centerpiece for your fall table! Remember, success here really depends on following these steps methodically. We are aiming for those gorgeous, chewy treats that won’t slide off the second anyone picks them up. If you want a recipe for shiny, crack-free candy apples—a different ball game entirely—you should check out my guide to those!
Preparing the Apples and Sticks
This initial step is truly the foundation for achieving fantastic no slide caramel apples. First, wash your apples really well to get off any dirt. Then comes the de-waxing: grab boiling water, dip your apple in for just five seconds, pull it out, and immediately dry every single part of it with a paper towel. I mean bone dry! If there is any moisture left, the caramel will absolutely repel it. Once they are dry, push your stick firmly into the stem end. Don’t be shy; you want it snug.
Achieving the Ideal Caramel Coating Consistency
Next, get your topping station ready so you don’t scramble later! Now we focus on the sauce. Melt your caramels in a saucepan over medium-low heat. Constant stirring is non-negotiable here, otherwise you’ll burn the bottoms! Once they’re smooth, stir in your heavy cream and vanilla. This is the biggest secret in successful caramel coating tips: use a candy thermometer and cook this mixture until it hits exactly 245 degrees Fahrenheit. That temperature guarantees that chewy texture!
Dipping and Topping Your Caramel Apples
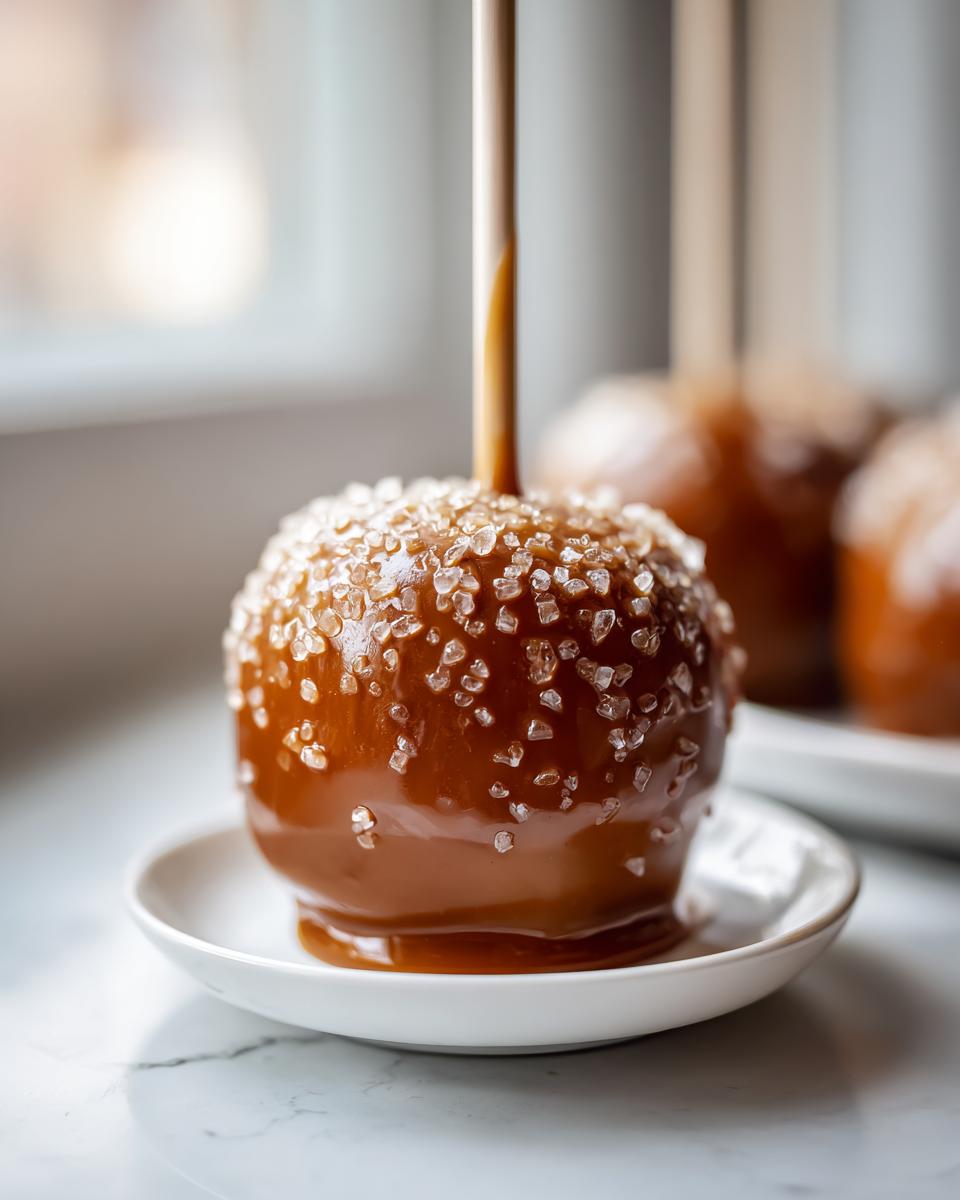
Once you hit that magic 245°F, get that pan off the heat instantly! You need to work fast now, tilting the warm caramel to dip each apple. Rotate it slowly to get good, even coverage, then let the excess drizzle off for just a moment. Immediately while the caramel is still wet, roll it or sprinkle it with your nuts or salt. This way, your toppings stick perfectly, yielding those beautiful, professional-looking **caramel apples** we are aiming for!
Expert Caramel Coating Tips for Perfect Caramel Apples
Even with the perfect plan, sometimes the stovetop does its own thing! That’s where these final caramel coating tips come in handy for your homemade caramel apples. If your caramel starts looking stiff while you are still dipping, don’t panic! Just return the pan to the lowest heat setting for a minute or two, stirring gently until it loosens back up. You want it coating the apple thinly, not glopping on like thick mud.
On the flip side, if your caramel seems too runny—which usually means you didn’t hit that 245°F target—you’ll need to let it cool a tiny bit longer off the heat before dipping. For those truly stunning gourmet caramel apples, wait until the caramel is set and cool, and then drizzle melted chocolate right over the top. It makes them look like they came straight from a fancy bakery! If you’re looking for another layered chocolate treat, my Chocolate Caramel Toffee Crunch Cake is heavenly.
I read once on a great little blog about tips for achieving this—it really does help to rely on someone else’s kitchen wisdom sometimes—you can check out what they suggested here.
Making Gourmet Caramel Apples: Topping Variations
Once you’ve mastered that perfect, sticky chew, it’s time to get creative! This is where we turn simple caramel apples into show-stopping gourmet caramel apples, perfect for any autumn snack table or party. Don’t just stop at peanuts; think texture and flavor balance!
My family loves crushing up salty, crunchy pretzels and sprinkling them on right after the caramel sets. The salty crunch against the sweet, chewy caramel is just incredible. If you’re making a spread for a holiday party, consider offering stations so folks can customize their own!
Other favorites in my kitchen include:
- Crushed sandwich cookies (like Oreos—yes, even the filling melts a little, and it’s glorious).
- Miniature marshmallows followed by a quick torching if you’re feeling fancy!
- Colorful sprinkles for the kids—they always feel extra festive.
If you need a savory idea to balance out all that sweetness, you must try my Cranberry Pecan Cheese Ball—it’s a crowd-pleaser during the holidays! For more amazing inspiration on leveling up these treats, check out this great resource here.
Storage and Serving Suggestions for Caramel Apples
Once these beautiful **caramel apples** are set, you’ll want to display them proudly! For the best chew, I always recommend setting them on a parchment-lined platter at cool room temperature for about 24 hours. They should last about three days that way, tasting wonderfully fresh.
Now, if your kitchen is warm or you need them to last longer, you can use the fridge, but be warned: sometimes the cold makes the caramel feel too hard, and if you bring them out too fast, you might get a little condensation which can make them weep. You want them firm, not frozen! Serving them alongside squares of my moist sour cream coffee cake makes an amazing pairing for any of our favorite **fall dessert recipes**.
Frequently Asked Questions About Caramel Apples
I always get so many questions after making a batch of these sticky delights! That’s wonderful because it means you’re getting ready to make your own batch of the best **caramel apples** for your family or guests. Here are the top things folks always ask me when trying to get that perfect, chewy coating that actually stays put.
Can I make these easy caramel apple recipe without a candy thermometer?
Oh, I wish I could say yes, but for this specific easy caramel apple recipe, I really, really advise against skipping the thermometer! The difference between 240°F and 245°F is the difference between soft, gooey caramel and a runny mess. If you absolutely cannot use one, you need to rely on the very old-school ‘firm ball’ stage test. You drop a tiny bit of caramel into ice water, and it should form a soft, pliable ball that still feels a little bendy between your fingers. But honestly, a decent thermometer is worth its weight in gold for guaranteed results!
What if I want chocolate dipped apples instead of just caramel apples?
That is such a fantastic idea for those gourmet caramel apples! The key here is patience. You must let the caramel layer set completely first. Stick those caramel-coated apples in the fridge for about 30 minutes until the caramel feels firm to the touch. Once it’s set, your second dip is into melted chocolate. It creates that amazing double-layered effect. It seriously elevates the whole treat, and leftover dipping sauce is perfect for brownies, too!
Are these chewy caramel apples recipe suitable for Halloween treats?
Are they ever! These are basically the definition of festive halloween treats! Because this chewy caramel apples recipe sticks so well, they hold up beautifully for an afternoon party or a fun fall festival fundraiser. They are certainly one of my go-to **autumn snack ideas** because they feel decadent but come together surprisingly fast once you get into the rhythm of dipping. If you need a savory dish to balance out all the sugar on your dessert table, don’t forget to check out my recipe for quick pizza sauce!
Estimated Nutritional Data for Homemade Caramel Apples
Alright, let’s chat about the facts, although honestly, when you bite into one of these perfect **caramel apples**, who is worried about the numbers, right? Because these are decadent, special occasion **fall dessert recipes**, the nutrition facts are based on one whole apple serving, including the caramel and standard toppings like a light sprinkle of nuts.
Please remember these are just estimates, as the exact count depends heavily on the size of your apples and the amount of toppings you slather on! If you’re ever concerned about data privacy on the web, you can always review our policy here. But truly, these are worth every single calorie when that autumn magic hits!
- Serving Size: 1 apple
- Calories: Approximately 450
- Total Fat: About 20g
- Protein: Roughly 3g
- Carbohydrates: Around 70g
- Sugar Content: High, about 65g (because it’s caramel, darling!)
Foolproof Homemade Caramel Apples: The Chewy Recipe That Actually Sticks

Make perfect, chewy homemade caramel apples that stick every time. This recipe focuses on the secret to a no-slide coating, making it ideal for your fall parties and Halloween treats.
- Prep Time: 20 min
- Cook Time: 15 min
- Total Time: 35 min
- Yield: 6 servings 1x
- Category: Dessert
- Method: Stovetop Cooking
- Cuisine: American
- Diet: Vegetarian
Ingredients
- 6 large Granny Smith or Honeycrisp apples (best apples for caramel apples)
- 1 (14-ounce) bag soft caramel candies, unwrapped
- 2 tablespoons heavy cream
- 1 teaspoon vanilla extract
- 6 wooden or parchment-wrapped sticks
- Optional Toppings: 1 cup chopped nuts, 1 cup mini chocolate chips, coarse sea salt
Instructions
- Prepare the apples: Wash the apples thoroughly. Remove the wax coating by dipping them briefly in boiling water (about 5 seconds), then dry them completely with paper towels. Insert a stick firmly into the stem end of each apple.
- Prepare the topping station: Arrange your chosen toppings on separate plates or shallow bowls. Set up a baking sheet lined with parchment paper for cooling.
- Make the caramel coating: In a medium saucepan over medium-low heat, melt the unwrapped caramel candies. Stir constantly until smooth.
- Add cream and vanilla: Stir in the heavy cream and vanilla extract until the mixture is smooth and fully combined. Continue to cook, stirring, until the caramel reaches 245 degrees Fahrenheit on a candy thermometer (this temperature is key for a chewy, no-slide caramel coating).
- Dip the apples: Remove the caramel from the heat. Working quickly, tilt the pan and dip each apple into the caramel, rotating to coat evenly. Allow excess caramel to drip off slightly.
- Add toppings: Immediately dip or sprinkle the coated apple with your desired toppings before the caramel sets.
- Cool and set: Place the finished caramel apples on the prepared baking sheet. Let them cool completely at room temperature for at least 1 hour, or until the caramel is firm.
Notes
- To remove wax from apples, boil water and dip each apple for 5 seconds, then dry completely. Moisture prevents the caramel from adhering.
- For the best results, use a candy thermometer. Cooking the caramel to 245°F ensures a chewy texture that will not slide off the apple.
- If the caramel thickens too much while dipping, return the pan to low heat briefly to thin it out.
- For gourmet caramel apples, drizzle melted chocolate over the set caramel layer before serving.
Nutrition
- Serving Size: 1 apple
- Calories: 450
- Sugar: 65g
- Sodium: 180mg
- Fat: 20g
- Saturated Fat: 12g
- Unsaturated Fat: 8g
- Trans Fat: 0g
- Carbohydrates: 70g
- Fiber: 1g
- Protein: 3g
- Cholesterol: 15mg