
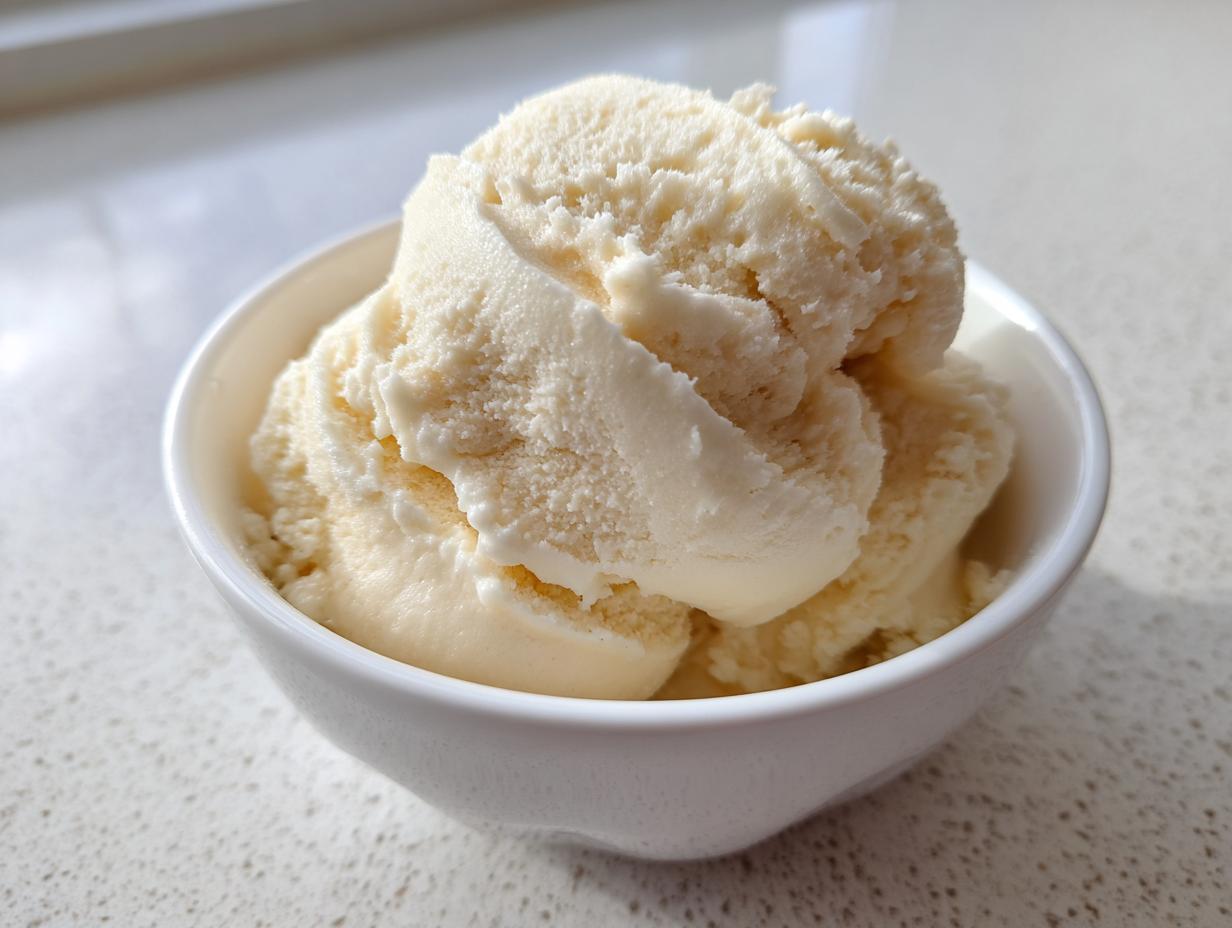
When the summer heat hits hard here in Ohio, sometimes you just need something cold, sweet, and fast—but I don’t always have the energy for a full churned batch of classic ice cream. That’s why I absolutely adore this recipe. It’s the kind of simple magic we champion here at HearthBite! We’re talking about incredibly easy 3-ingredient banana ice cream, often called ‘nice cream,’ that needs zero churning machine. You just blend frozen bananas, and voilà! This delightful banana ice cream is naturally sweet, completely dairy-free, and ready almost instantly. It’s pure comfort without the fuss, proving that simplicity often wins the dessert race.
- Why This Easy 3-Ingredient Banana Ice Cream is Your New Favorite
- Ingredients for Perfect Banana Ice Cream
- Equipment Needed for This Easy Banana Ice Cream
- How to Prepare Quick Frozen Dessert Banana Ice Cream
- Tips for Success with Your Blended Banana Dessert
- Serving Suggestions and Storage for Your Nice Cream
- Frequently Asked Questions About Dairy Free Soft Serve
- Estimated Nutritional Data for This Healthy Ice Cream Recipe
- Share Your HearthBite Banana Ice Cream Creations
Why This Easy 3-Ingredient Banana Ice Cream is Your New Favorite
I want you to feel completely confident bringing this recipe out, even if your blender isn’t the strongest model on the market. This is honestly one of the most reliable, tasty frozen fruit desserts you can make!
- It delivers that rich texture without any complicated steps or special equipment. Trust me, it’s nearly foolproof!
- It’s naturally sweetened, meaning you aren’t fighting off that sneaky sugar rush later.
Achieving Creamy Fruit Ice Cream Texture Effortlessly
The secret to the gorgeous velvety texture lies solely in frozen bananas! Once those frozen slices blend up, they transform into a fantastic creamy fruit ice cream alternative—it’s unbelievable how smooth it gets just from the fruit itself. It’s the ultimate healthy swap.
The Ultimate Guilt Free Sweets Solution
This naturally sweet approach makes it the perfect choice when you need a little something indulgent after dinner. When you skip the heavy cream and processed sugars, you are left with pure, satisfying guilt free sweets. It’s dessert that tastes fantastic and leaves you feeling great.
Ingredients for Perfect Banana Ice Cream
When everything hinges on just a few simple things, clarity is everything! Following the recipe exactly ensures you get that incredible, natural sweetness without any iciness. This is the foundation for truly great dairy free soft serve.
Ingredient Clarity for Your Banana Ice Cream Base
For this banana ice cream to work its magic, your bananas must be treated right. Please make sure you peel, slice them up, and then freeze them solid—we are talking rock-hard, ideally for at least a day. We only need a tiny bit of liquid to get things moving, so measure out exactly 1/4 cup of unsweetened almond milk. That vanilla extract is just there to make the banana flavor pop!
I’ve linked to my About Page if you want to read a little more about why keeping things simple is my main philosophy in the kitchen!
Equipment Needed for This Easy Banana Ice Cream
Honestly, the ‘equipment’ list here is pretty short, which is what makes this the perfect banana ice cream for a Tuesday night treat. But listen to Aunt Sarah on this one part: the machine you use makes a huge difference in how fast this comes together!
Choosing the Right Blender for No Machine Frozen Treat
You absolutely need a high-powered food processor or a really strong blender for this. If you try this in a weak blender, you’ll end up with chunky banana slush instead of smooth dairy free soft serve. Seriously, if your machine struggles, don’t panic! Just let the frozen chunks sit on the counter for about five minutes before you start. That little breather helps your equipment handle this amazing no machine frozen treat without burning out. We want the deliciousness, not a trip to the repair shop!
How to Prepare Quick Frozen Dessert Banana Ice Cream
Getting that perfect, luscious **banana ice cream** texture is surprisingly hands-on at first, but trust me, it’s worth every scrape of the bowl! We’re following a simple path to a wonderful summer frozen snack.
- First thing’s first: put those rock-hard frozen banana slices right into your high-powered food processor or blender jar.
- Start by pulsing them gently. They will turn into little crumbles at first. This is exactly what we want! You have to stop every 30 seconds or so to scrape down the sides. If you forget this step, your blender will wear out faster than the bananas will blend!
- Once they look crumbly enough, pour in that quarter cup of almond milk and the vanilla.
- Now, blend away! Keep stopping and scraping until the mixture stops looking chunky and starts looking beautiful.
The Blending Process for Creamy Chilled Dessert
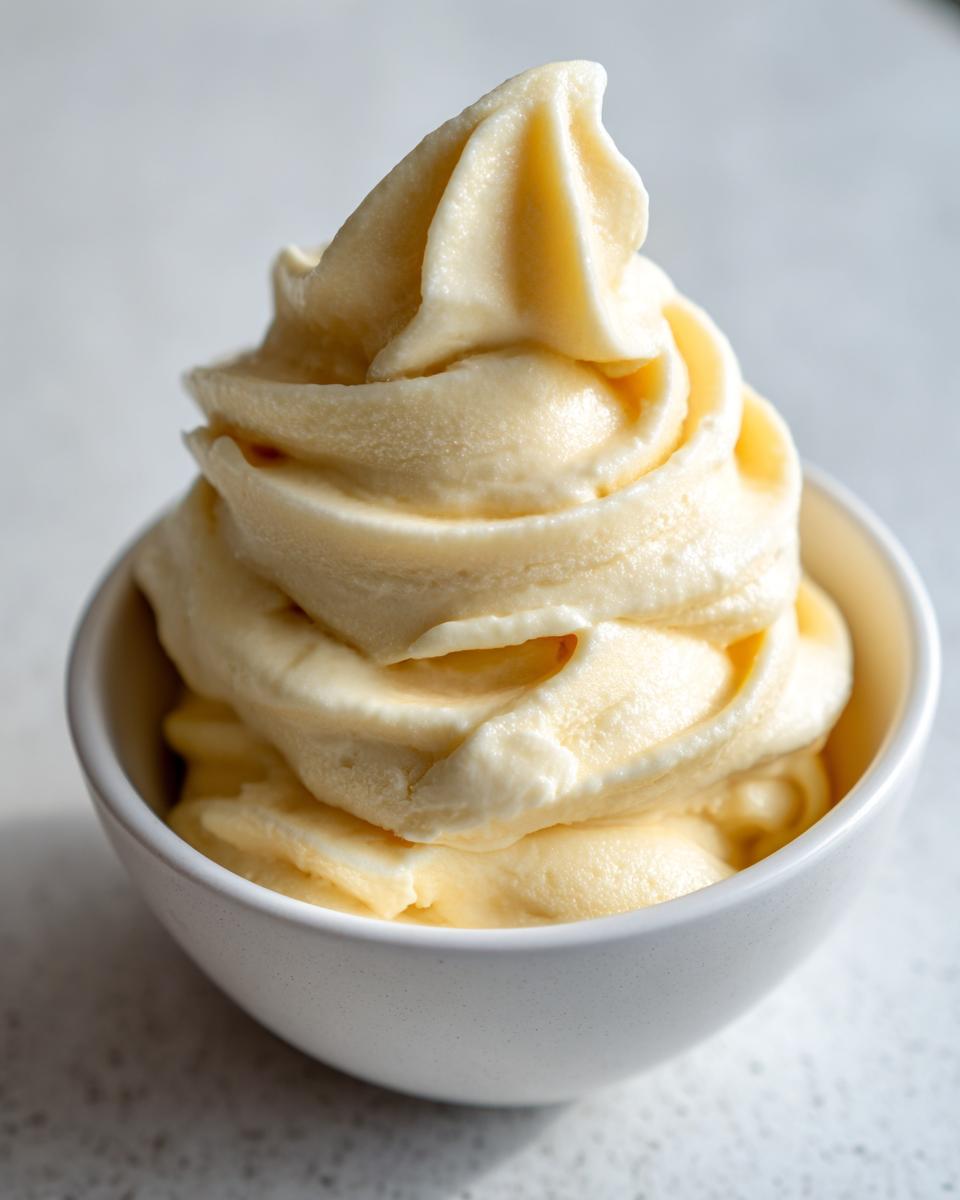
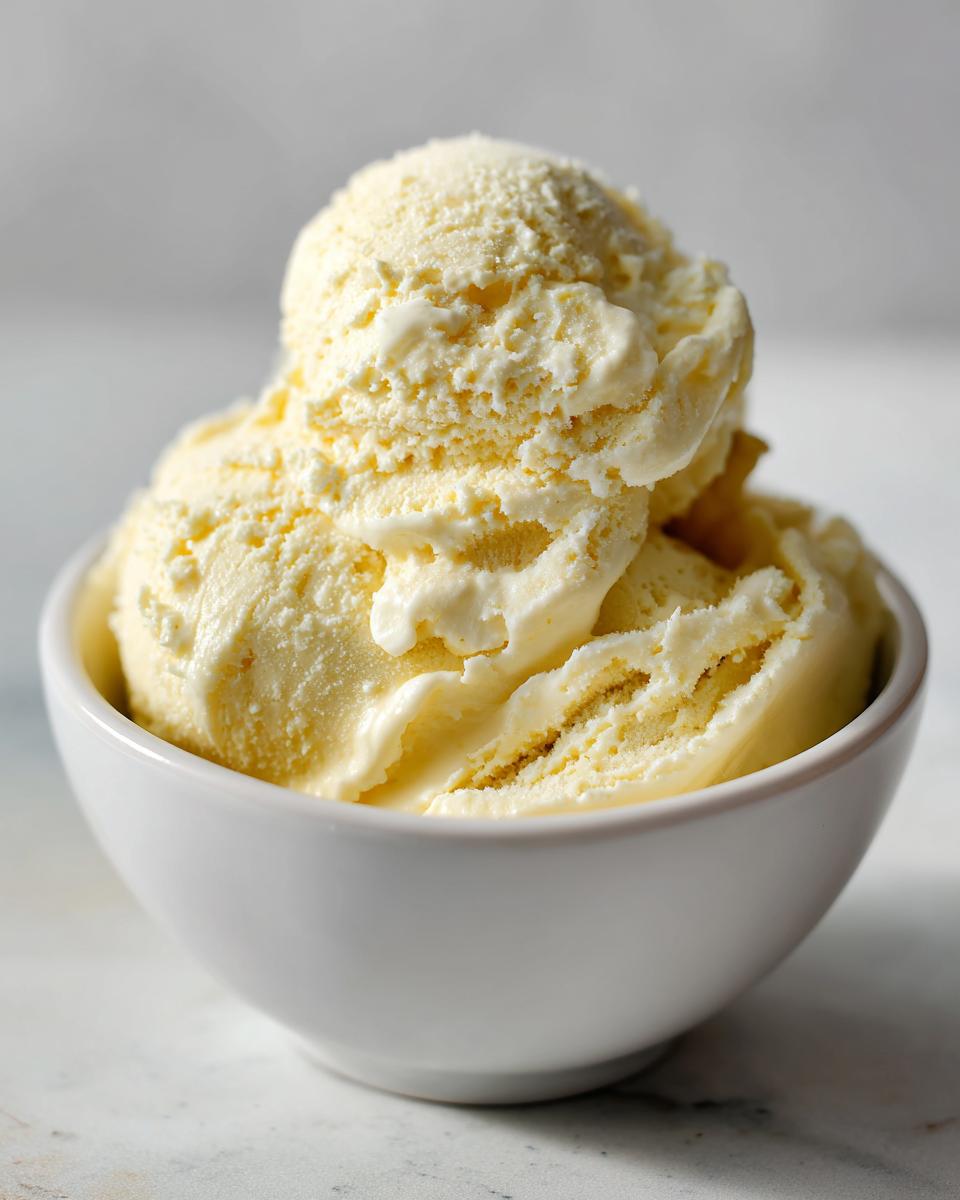
This transformation is the fun part. Depending on your equipment, moving from those separate crumbles to the silky smooth final product can take anywhere from three to five hard minutes of blending. Keep giving those sides a good scrape down until everything whips into a glorious, uniform texture. When it looks exactly like thick, perfect soft-serve, you’ve nailed it! That lovely, smooth finish means you have successfully created a truly **creamy chilled dessert** that only needed bananas to make it happen.
If you need some inspiration for quick meals to make before you pull out this beautiful dessert later, check out my favorites over at quick easy dinner recipes!
Tips for Success with Your Blended Banana Dessert
I always tell folks that once you master this base recipe, you’ve unlocked a whole world of easy breakfast recipes and healthy treats! The beauty of this simple method is how easily you can customize the flavor profile, making it your very own. This simple foundation truly elevates the simple blended banana dessert.
Flavor Variations for Your Banana Ice Cream
If you want something richer than plain vanilla, here are my two favorite simple swaps! First, forget that small amount of almond milk and toss in about two tablespoons of peanut butter instead. It turns into this incredibly indulgent peanut butter banana ice cream—my kiddos go wild for that one. Second, if you’re craving chocolate, just whisk in one flat tablespoon of good quality cocoa powder right when you add your milk. It’s amazing how complex these three-ingredient treats can taste!
Achieving the Best Texture for This Frozen Banana Dessert
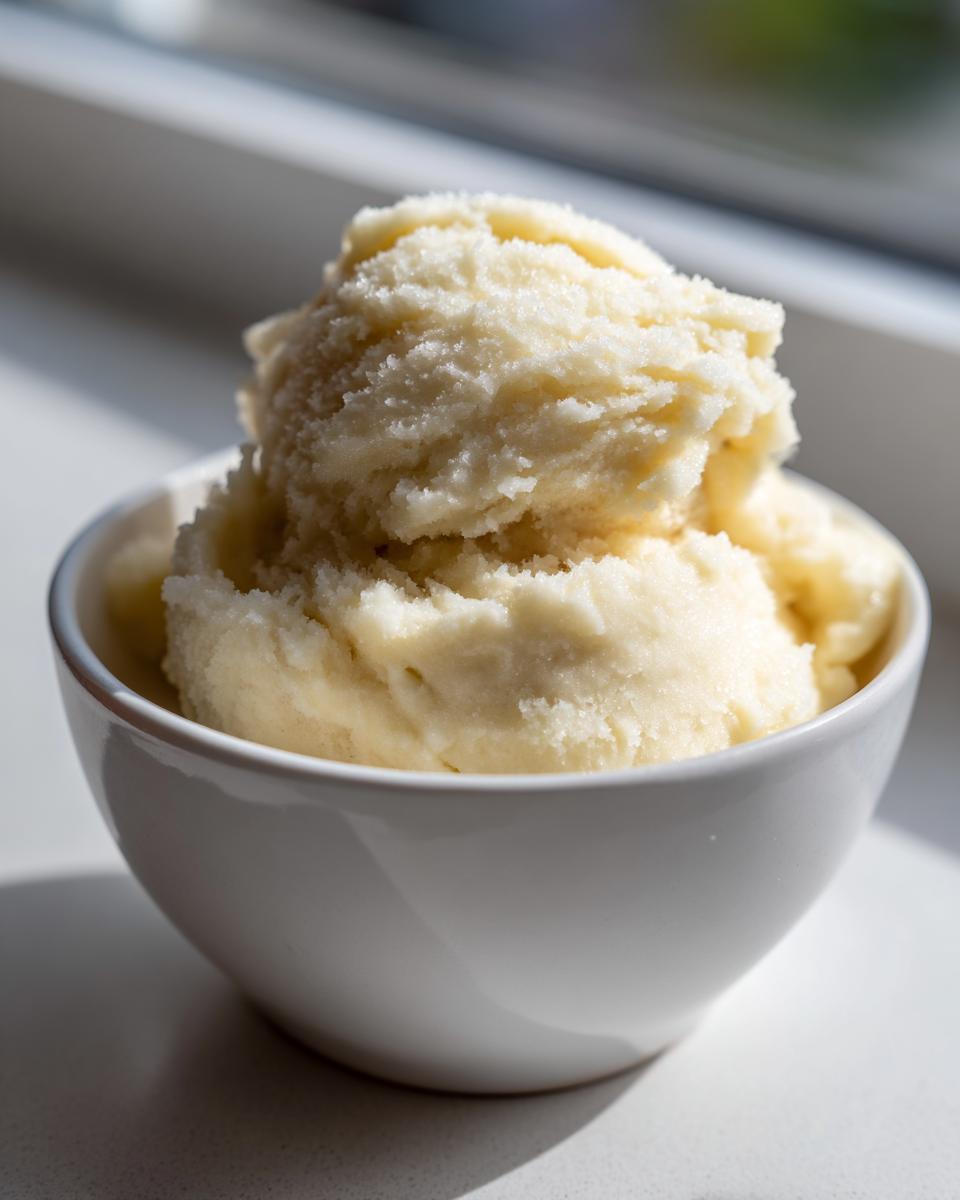
Remember how I stressed the importance of freezing? That’s truly the key to getting a scoopable product instead of something soupy. If you manage to freeze your slices overnight—at least eight solid hours—you’ll find the final product firms up much faster. If you try to rush it and the bananas aren’t rock hard, you’ll spend way too long blending and end up with a softer result. For a truly firm frozen banana dessert, deep freeze is your best friend!
Serving Suggestions and Storage for Your Nice Cream
This is where you get to decide what kind of treat you want! If you serve it right after blending, you’ll have something beautifully soft and light, just like perfect dairy free soft serve straight from a fancy parlor. It’s wonderful for eating right away with a big spoon.
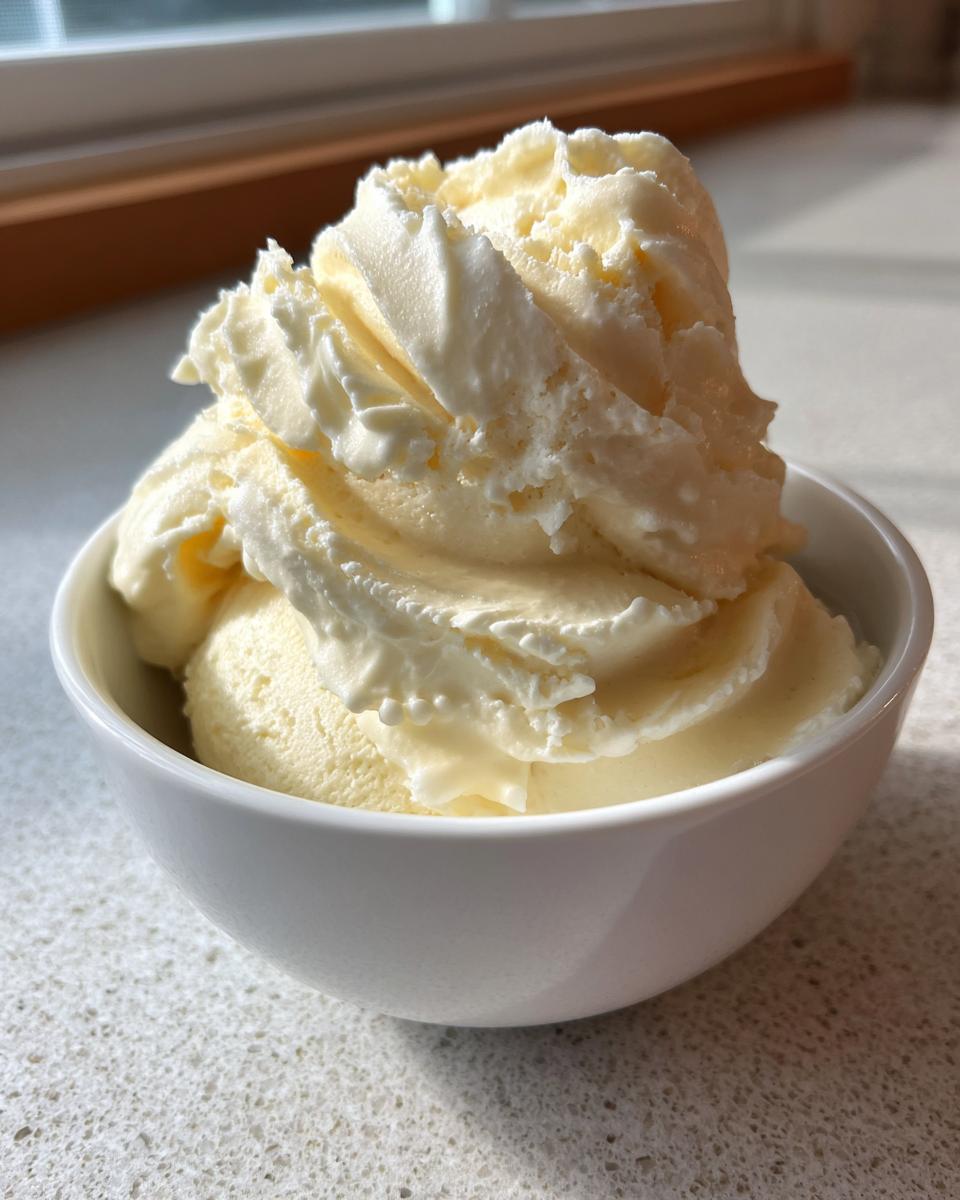
Now, if you want something you can actually scoop out and put onto a cone—like a real slice of summer—you’ll need to transfer that smooth mixture into a freezer container. I like to press a piece of wax paper right on top before sealing the lid tight. That stops freezer burn!
It usually needs about an hour or two in the freezer for that firmer texture. If you keep it longer than a day, you might need to let it soften up for just about five minutes on the counter before scooping. You can find my favorite banana cream pie recipe if you’re craving something baked, but this frozen version is perfect for a quick fix!
Frequently Asked Questions About Dairy Free Soft Serve
It’s funny how many questions pop up when you start messing with inherently simple recipes! People often worry about getting that classic ice cream texture when they are making something so naturally sweet. I hope these quick answers help you feel totally confident blending up your next batch of dairy free soft serve!
Can I make this a 2 Ingredient Dessert?
Oh yes, you absolutely can! If you are sticking strictly to the core components, you can skip the vanilla extract entirely. It still blends up beautifully and tastes great. However, I always recommend that little splash of vanilla because it does so much work to deepen the flavor and stop it from tasting *too* much like just frozen banana. But for a true 2 ingredient dessert fix? Go right ahead!
Is this a good Vegan Ice Cream Base?
It is, hands down, the best vegan ice cream base you can have in your back pocket! Since it’s made only of fruit and a splash of almond milk, it checks all the dietary boxes we want. Because it blends so easily, you can swap out that vanilla for things like cinnamon, mint extract, or even half a cup of frozen berries to make different flavor profiles. It just works for any vegan addition you want to toss in there!
If you’re looking for ideas for something savory to have before dessert, check out my healthy lunch recipes!
Estimated Nutritional Data for This Healthy Ice Cream Recipe
When we talk about enjoying a wonderful, creamy frozen treat, it’s good to have a handle on what’s in it—especially when we’re aiming for healthier options. Since this recipe relies only on fruit and a little bit of almond milk, the numbers are wonderfully low! This is why I call this one of my favorite gluten-free recipes for satisfying a sweet tooth.
Remember, these figures are just estimates based on the straightforward ingredients listed in the recipe above. If you swap out almond milk for oat milk, or if you decide to add peanut butter, those numbers change a bit. But for the basic, pure, naturally sweet base, here’s the typical breakdown for one serving:
- Calories: 180
- Sugar: 18g (all natural from the fruit!)
- Fat: 1g
- Protein: 2g
- Carbohydrates: 45g
- Fiber: 4g
- Cholesterol: 0mg
See? It’s genuinely hard to beat a satisfying dessert that keeps the fat and cholesterol virtually non-existent! That’s the power of relying on nature’s candy.
Share Your HearthBite Banana Ice Cream Creations
Well, that’s it! You now know my absolute favorite trick for whipping up rich, creamy, healthy **banana ice cream** in minutes. I feel like I’ve shared one of my biggest kitchen secrets with you today, and I truly hope this recipe finds its way into your regular rotation!
Honestly, seeing what you all create in your own kitchens is the best part of running HearthBite. Did you try adding cinnamon? Maybe you went wild and added that peanut butter swirl I mentioned? Don’t keep those delicious messes to yourself!
Please head down below and leave a rating and a quick comment telling me what you thought. Knowing this simple treat brings you a little bit of comfort during the summer heat makes my day. Happy blending, and I’ll see you soon back in the kitchen for more easy comfort food adventures across at comfort food recipes!
PrintEasy 3-Ingredient Banana Ice Cream (Nice Cream)
Make this naturally sweet and creamy banana ice cream, often called nice cream, using only three simple ingredients. This recipe requires no machine and results in a healthy, dairy-free soft serve texture perfect for a quick frozen treat.
- Prep Time: 5 min
- Cook Time: 0 min
- Total Time: 5 min
- Yield: 2 servings 1x
- Category: Dessert
- Method: Blending/No-Churn
- Cuisine: American
- Diet: Vegan
Ingredients
- 4 large ripe bananas, peeled, sliced, and frozen solid
- 1/4 cup unsweetened almond milk (or milk of choice)
- 1 teaspoon pure vanilla extract
Instructions
- Place the frozen banana slices into a high-powered food processor or a strong blender.
- Pulse the bananas until they break down into small crumbles. You may need to stop and scrape down the sides several times.
- Add the almond milk and vanilla extract to the processor.
- Continue blending, stopping frequently to scrape the sides, until the mixture becomes completely smooth and creamy, resembling soft-serve ice cream. This may take 3 to 5 minutes depending on your machine.
- Serve immediately for a soft-serve consistency, or transfer the mixture to a freezer-safe container and freeze for 1 to 2 hours for a firmer scoopable texture.
Notes
- For a richer flavor, substitute the almond milk with 2 tablespoons of peanut butter to create a peanut butter banana ice cream base.
- If you want a colder, firmer texture without adding more liquid, freeze the sliced bananas for at least 8 hours.
- You can add 1 tablespoon of cocoa powder during the blending stage for a chocolate banana ice cream.
Nutrition
- Serving Size: 1 serving
- Calories: 180
- Sugar: 18
- Sodium: 5
- Fat: 1
- Saturated Fat: 0
- Unsaturated Fat: 1
- Trans Fat: 0
- Carbohydrates: 45
- Fiber: 4
- Protein: 2
- Cholesterol: 0