
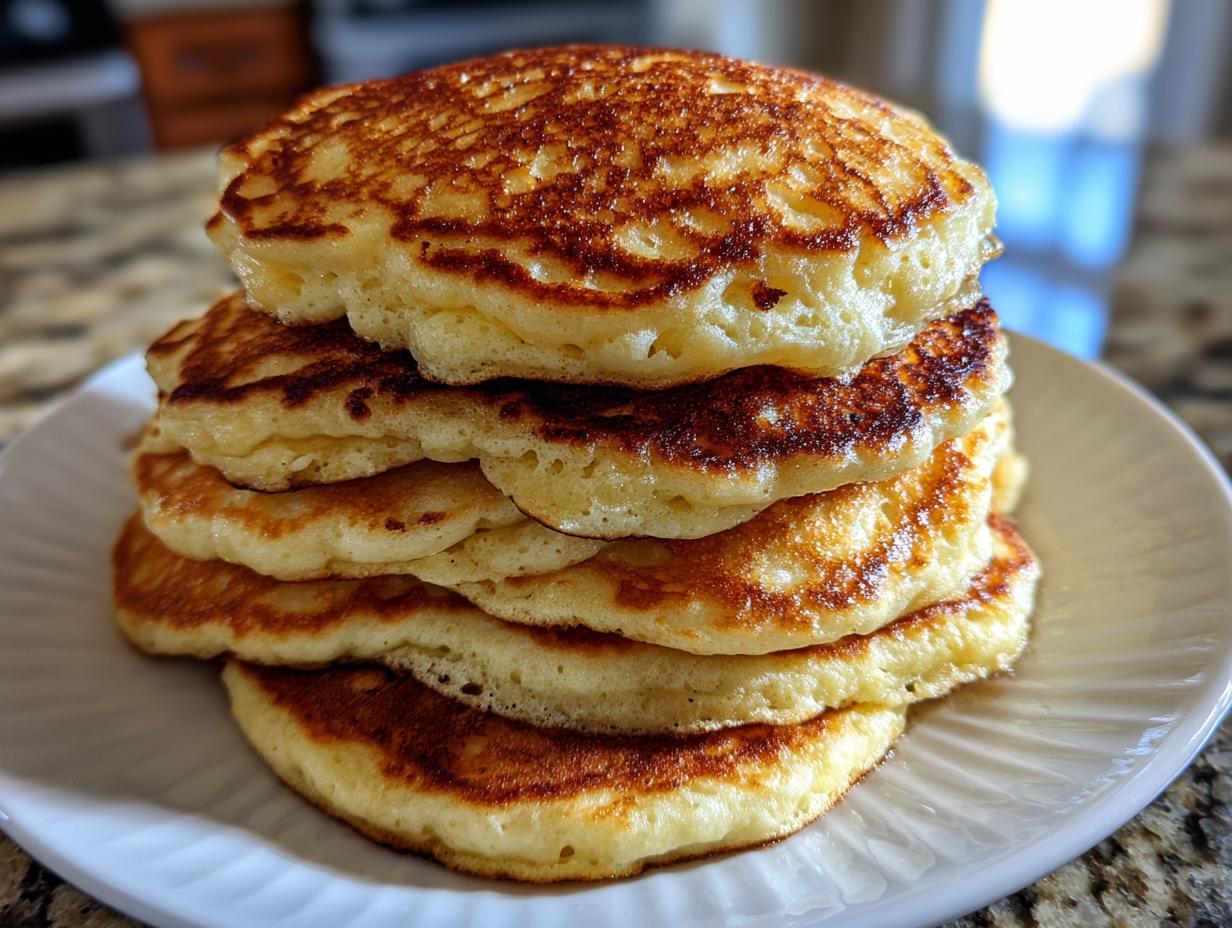
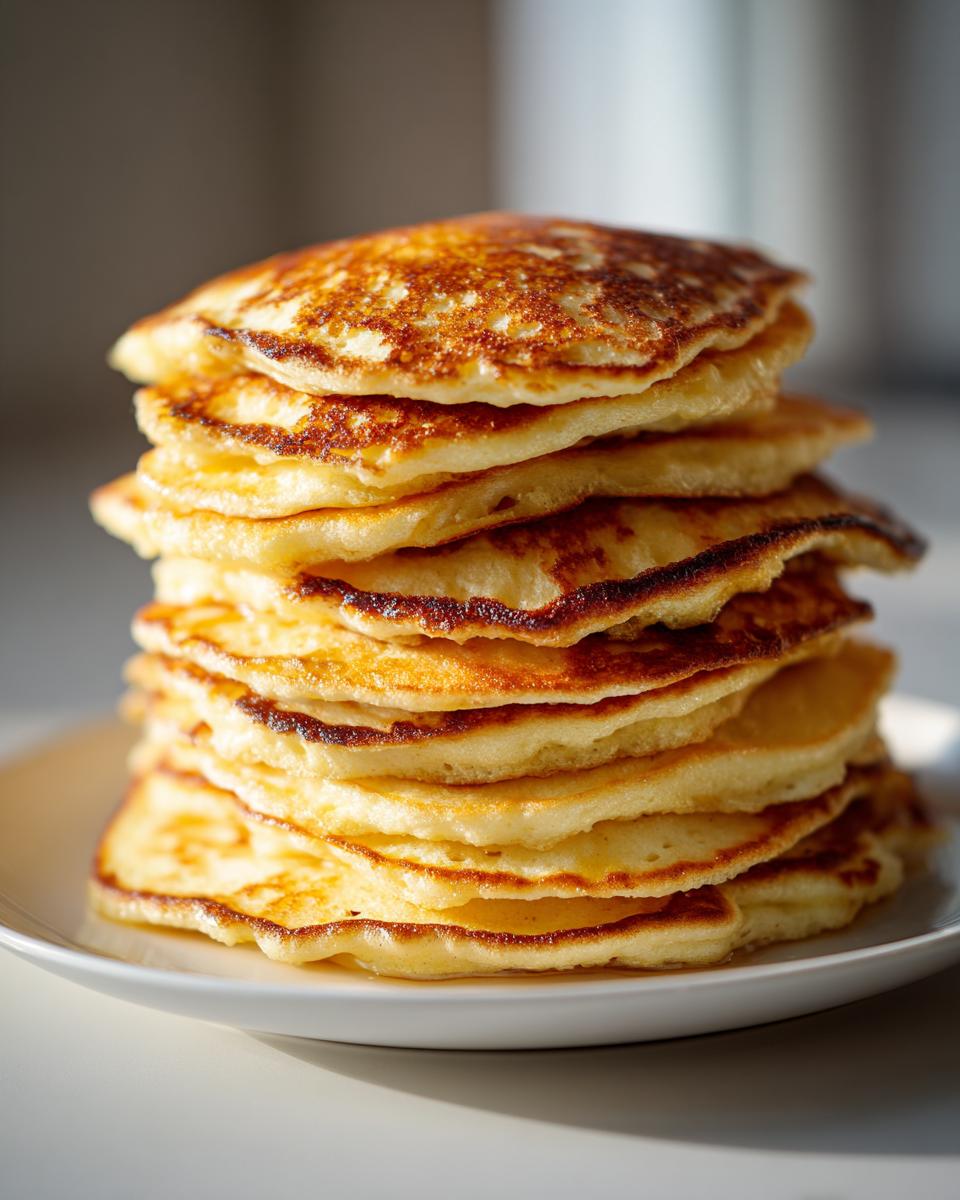
There’s just something sacred about a weekend breakfast, isn’t there? The slow start, the smell of hot butter hitting the pan—it just feels like home. Here at HearthBite, we believe comfort food should never be complicated, but it absolutely has to be perfect. That’s why I’ve spent years tweaking this buttermilk pancakes recipe until every single one comes out ridiculously light, airy, and tall. I remember watching my grandmother stack them impossibly high, drenched in maple syrup, and that memory is what drives this recipe. Forget those flat, sad disks you sometimes end up with! We’re achieving that postcard-perfect, fluffy stack today, trust me.
- Why This is the Best Homemade Buttermilk Pancakes Recipe
- Gathering Ingredients for Perfect Buttermilk Pancakes
- Step-by-Step Instructions: How to Make Buttermilk Pancakes Light and Airy
- Buttermilk Pancake Tips and Tricks for Tall Results
- Equipment Needed for Your Easy Buttermilk Pancake Breakfast
- Variations on Classic Buttermilk Pancakes Recipe
- What to Serve with Buttermilk Pancakes
- Storage and Reheating Instructions for Leftover Buttermilk Pancakes
- Frequently Asked Questions About Making Buttermilk Pancakes
Why This is the Best Homemade Buttermilk Pancakes Recipe
If you’ve been searching for a truly reliable recipe, you’ve found it. This isn’t just another collection of flour and milk; this is about using the right ratios so you get the lift you need every single time. The magic to my Classic buttermilk pancakes recipe lies in balancing the baking soda and the acid in the buttermilk. It creates the perfect reaction for that beautiful rise.
You need those thick and fluffy pancakes, and this recipe delivers:
- Incredible height—they stand up proudly on the plate!
- The batter is easy enough for a Tuesday morning but tastes like a Sunday brunch special.
- It relies on real buttermilk so the flavor is perfectly tangy.
I think you’ll love how simple the steps are. You can jump over to my other quick breakfast ideas once you master this staple!
Gathering Ingredients for Perfect Buttermilk Pancakes
Okay, let’s get our mise en place ready. The measurements here are absolutely key for those tall, impressive results. We need two cups of all-purpose flour, two tablespoons of sugar—just enough for a tiny bit of sweetness—and our leavening team: two teaspoons of baking powder and one teaspoon of baking soda. Don’t forget the salt! We need two cups of real buttermilk for that signature tang, two large eggs, and four tablespoons of unsalted butter, melted right before we get going.
The beauty of this list is that it’s straightforward. If you don’t have buttermilk on hand, don’t panic! It happens to me all the time when I forget to grab it from the store the night before. That’s where our little hack comes in handy.
Making Buttermilk Pancakes with Regular Milk Substitute
If you run out of the real stuff, whip up this buttermilk substitute. It works wonders! Measure out two cups of regular milk—any kind works, whole milk is best though. Stir in exactly two tablespoons of white vinegar or fresh lemon juice. Give it a gentle stir and let it sit on the counter for about five minutes. You’ll see it start to look a little curdled, just like the real thing. Use that just as you would real buttermilk in the recipe!
Step-by-Step Instructions: How to Make Buttermilk Pancakes Light and Airy
Now that we have our ingredients ready, this is where we switch into artist mode—but you have to be gentle! Remember, we are aiming for fluffy pancakes from scratch, and that starts with how we combine everything. First, take your dry ingredients and whisk them really well in a big bowl. We want that baking powder and soda evenly distributed, or the lift will be patchy. In the other bowl, just lightly whisk the eggs into your buttermilk, then pour all the wet into the dry.
This next part is the most important secret to perfect buttermilk pancakes, so listen up! Use a spatula and just fold the ingredients together. I mean it—fold. If you grab a whisk or an electric mixer, you’ll develop gluten and end up with chewy, flat disks. A few visible lumps in that batter? That’s a win! Those little pockets of unmixed flour eventually create space for air, giving you that wonderful rise.
After you stop mixing out of pure instinct that you should keep going, stop! Let that batter rest on the counter for five to ten minutes. This resting time lets the leavening agents wake up and do their job while the gluten relaxes. It’s magical, I promise. While it rests, it’s time to get that cooking surface ready. If you’re interested in making quick weeknight meals later, check out some of my easy dinner recipes!
Mixing the Buttermilk Pancake Batter Secrets
Seriously, do not overmix! I know it feels wrong when you see streaks of flour, but trust the process. When you don’t overwork the batter, you keep it light. Flat pancakes are almost always the result of someone stirring the batter until it’s perfectly smooth, trying to eliminate every single little lump. Leave the lumps! They promise you a taller, fluffier final product every single time.
Griddle Temperature for Perfect Buttermilk Pancakes
The cooking step is critical for making a beautiful stack of fluffy pancakes. You want a large non-stick griddle or skillet set right over medium heat. Don’t rush this step; if it’s too hot, the outside burns instantly, and the inside stays raw and flat. How do you know it’s ready? Take a few drops of water and flick them onto the surface. If those drops sizzle happily and vanish right away, you’re good to go! Ladle about a quarter cup of batter onto the hot spot and wait patiently for those bubbles to form on top.
Buttermilk Pancake Tips and Tricks for Tall Results
We’ve mixed it gently and rested the batter, but to really guarantee that towering stack of buttermilk pancakes, we need a few final expert tweaks. First off, if you can remember to plan ahead, try to let your eggs and buttermilk sit out on the counter for about 20 minutes before mixing. Room temperature ingredients blend far better and react more strongly when they hit that heat, which equals more rise!
Also, always make sure you’re using both baking powder AND baking soda. The baking soda is there to grab onto the acid in the buttermilk instantly, creating those quick little bubbles. The baking powder gives you that second boost of lift as it heats up on the griddle. It’s a two-part lift system, and it never fails me!
For more wonderful recipes that just feel like a hug, you have to browse my collection of comfort food recipes.
Equipment Needed for Your Easy Buttermilk Pancake Breakfast
When it comes to making these pancakes, you don’t need anything fancy, which is part of why I love them so much! We are moving beyond complicated gadgets here. Primarily, you need a good, large mixing bowl, preferably one deep enough that you won’t splash flour everywhere when you whisk.
A wire whisk is essential for bringing those dry ingredients together nicely at the start. However, once the wet goes into the dry, put that whisk away! You’ll switch to a flexible rubber or silicone spatula for gently folding the batter—this is critical for avoiding overmixing, remember?
For the cooking surface, a large, heavy-bottomed nonstick skillet or a specialized griddle works best. You want even heat distribution, so check that pan before you start pouring. Finally, a ladle or a 1/4 cup measuring cup will help you keep the size of every single pancake consistent so they look great stacked high on the plate.
Variations on Classic Buttermilk Pancakes Recipe
If you’ve mastered the plain version—which, by the way, is wonderful on its own—you can’t stop there! We love changing things up, especially when we have company over. Since the base recipe for these buttermilk pancakes is so balanced, it acts like a perfect canvas for little additions. You just need to remember one rule: add mix-ins right at the very end when you fold the batter together, just before that crucial 5-minute rest.
I sometimes add a teaspoon of pure vanilla extract right into the wet ingredients if I’m feeling fancy. That deep sweetness just blooms when it hits the griddle. Cinnamon is also an easy win; try a half teaspoon mixed in with your dry ingredients, and suddenly you have a cozier pancake perfect for a chilly morning!
If you want to add fruit, my favorite has to be the blueberries. Use about a cup of fresh or frozen blueberries. If you use frozen, don’t thaw them! Just gently fold them in with the wet mixture. This prevents them from bleeding blue color all over your beautiful batter.
Don’t forget citrus zest! A little bit of lemon zest folded in makes the tang from the buttermilk really pop. Once you have your favorites down, feel free to explore even more easy ways to jazz up your morning with my collection of easy breakfast recipes!
What to Serve with Buttermilk Pancakes
So you’ve achieved that perfect, towering stack—that’s half the battle won! Now comes the fun part: deciding what gorgeous toppings will join the show. When we talk about what to serve with buttermilk pancakes, my mind immediately goes to the classics because sometimes, simple is just the best thing in the world. Seriously, don’t overcomplicate the finish!
You absolutely need good, pure maple syrup. Don’t settle for the imitation stuff; the real maple flavor sinks into those fluffy pockets so beautifully. A generous pat of real unsalted butter melting right on top? Heavenly. I like to use salted butter for that tiny bit of contrast against the sweetness.
If you want fruit, keep it fresh. Sliced bananas are always a hit, or a quick mixture of berries—strawberries, raspberries, blueberries—tossed briefly in a little sugar on the side makes a quick sauce that tastes amazing.
For weekends, we go all out with a big dollop of freshly whipped cream, maybe dusted with a little cocoa powder. Also, if you’re making this for a big brunch and want something savory alongside, thick-cut bacon or some good sausage patties balance out the richness perfectly!
Storage and Reheating Instructions for Leftover Buttermilk Pancakes
Let’s be real—sometimes you just make too many pancakes, even when you try to measure perfectly. But that’s okay! Having leftover buttermilk pancakes is like having breakfast treasure waiting for you the next day. The secret to keeping them good is getting them stored properly right away.
Once they’ve cooled down completely—and I mean completely, or they will get soggy—layer them in an airtight container with parchment paper or wax paper between each one. This stops them from sticking together while they sit in the fridge. They’ll stay perfectly fine in the refrigerator for about three days this way! If you know you won’t eat them all by then, go straight to the freezer.
Freezing is actually my preferred method for longer storage. Stack them with parchment between each pancake, pop them into a heavy-duty freezer bag, and squeeze out as much air as you can. They last great for up to two months!
Waking Those Pancakes Back Up
Reheating is important because nobody wants a cold, rubbery pancake. Throwing them back in the microwave is fast, but it usually ruins that beautiful fluffy texture we worked so hard for. If you only have one or two, pop them in the toaster! It gives them that nice crisp edge back.
For a bigger batch, I always use the oven or toaster oven. Lay the pancakes out in a single layer on a baking sheet lined with foil. Heat them at 350 degrees Fahrenheit (175 Celsius) for about 8 to 10 minutes. This warms them evenly all the way through without turning them into bricks. When they come out, they taste almost as good as fresh off the griddle!
Frequently Asked Questions About Making Buttermilk Pancakes
I know you’ve been following along, but sometimes leftovers and quick troubleshooting come up! I’ve answered some of the top questions I get about achieving that perfect stack. Don’t worry if you have to troubleshoot—that’s part of the fun!
Why are my buttermilk pancakes flat, even though I used baking soda?
Oh, this is usually one of two things! Either your griddle wasn’t hot enough—it needs that immediate sizzle—or, and this is the big one, you stirred the batter too much. If you mix until the batter is perfectly smooth, you knock out all the air bubbles you created when combining the wet and dry ingredients. Remember, lumps equal lift! Don’t be afraid of a lumpy batter for the best results.
Do I really need to let the batter rest?
Yes, yes, a thousand times yes! This is crucial if you want true texture. Letting the batter rest for 5 to 10 minutes is when the baking powder and baking soda really get activated by the acid in the buttermilk, creating tons of little gas bubbles. This step is essential for learning how to make buttermilk pancakes light and airy instead of dense. It’s worth the short wait, promise!
Can I use yogurt or sour cream instead of buttermilk for my Real buttermilk pancake recipe?
That’s a great question about substitutions! While I push for real buttermilk because of the flavor, you can absolutely use sour cream or plain yogurt if you thin them out a bit. Whisk one cup of sour cream or yogurt with a half cup of water until smooth, and you can use that as your liquid base. It has that acid needed to react with the baking soda, just like buttermilk does.
How thick should the final batter actually be?
You want a batter that drips slowly from your spatula, almost like thick, slow-moving lava. If it runs off quickly like water, it’s too thin, and you won’t get height. If it’s plopping right out without spreading at all, it’s too thick. If you find it’s too thin, just whisk in a tablespoon of flour at a time until it reaches that lovely, thick, spoonable consistency. This consistency is key to a great breakfast!
If you want to explore some healthier options for later in the week, I have a whole section dedicated to healthy lunch recipes too!
PrintClassic Buttermilk Pancakes Recipe for a Fluffy Stack
Follow this reliable recipe to make light, airy, and tall buttermilk pancakes from scratch. This guide includes tips for achieving the perfect texture every time.
- Prep Time: 10 min
- Cook Time: 15 min
- Total Time: 25 min
- Yield: About 12 pancakes 1x
- Category: Breakfast
- Method: Griddling
- Cuisine: American
- Diet: Vegetarian
Ingredients
- 2 cups all-purpose flour
- 2 tablespoons granulated sugar
- 2 teaspoons baking powder
- 1 teaspoon baking soda
- 1 teaspoon salt
- 2 large eggs
- 2 cups real buttermilk
- 4 tablespoons unsalted butter, melted, plus more for the griddle
Instructions
- Combine dry ingredients: In a large bowl, whisk together the flour, sugar, baking powder, baking soda, and salt. Whisk well to mix thoroughly and break up any clumps.
- Combine wet ingredients: In a separate medium bowl, lightly whisk the eggs, then whisk in the buttermilk.
- Mix batter: Pour the wet ingredients into the dry ingredients. Gently fold them together using a spatula until just combined. A few small lumps are acceptable; do not overmix the batter.
- Rest the batter: Let the batter rest at room temperature for 5 to 10 minutes. This allows the gluten to relax and the leavening agents to activate, resulting in fluffier pancakes.
- Heat the griddle: Heat a large nonstick griddle or skillet over medium heat. Lightly grease the surface with butter or cooking spray. The griddle is ready when a drop of water sizzles immediately and evaporates.
- Cook pancakes: Pour about 1/4 cup of batter onto the hot griddle for each pancake. Cook for 2 to 3 minutes per side. You know it is time to flip when bubbles appear on the surface and the edges look set.
- Flip and finish: Flip the pancakes and cook for another 1 to 2 minutes until golden brown and cooked through.
- Serve immediately: Stack the pancakes and serve warm with your favorite toppings.
Notes
- If you do not have real buttermilk, you can make a substitute: measure 2 cups of regular milk and stir in 2 tablespoons of white vinegar or lemon juice. Let it stand for 5 minutes until it slightly curdles before using.
- For extra thick and fluffy pancakes, avoid overmixing the batter. Lumps mean a lighter texture.
- Cook on medium heat. If the heat is too high, the outside will burn before the inside cooks, leading to flat pancakes.
- Serve with maple syrup, fresh berries, or a dusting of powdered sugar for a classic weekend breakfast.
Nutrition
- Serving Size: 1 pancake
- Calories: 180
- Sugar: 4g
- Sodium: 350mg
- Fat: 7g
- Saturated Fat: 4g
- Unsaturated Fat: 3g
- Trans Fat: 0g
- Carbohydrates: 25g
- Fiber: 1g
- Protein: 6g
- Cholesterol: 55mg