

Do you ever look at those towering, cloud-like desserts in magazines and immediately think, “There is no way I could ever make that”? Well, throw that thought right out the window! Here at HearthBite, founded on the belief that cooking should bring connection and comfort, we specialize in taking the seemingly complicated and making it totally reliable, just like sharing a warm meal straight from the hearth. This Berry Pavlova recipe is spectacular—it promises that shatter-crisp exterior that gives way to a marshmallow-soft, chewy center. We’ve tested this meringue until it was absolutely perfect, guaranteeing you an impressive, stunning dessert every single time. It’s proof that true elegance in baking is totally achievable right in your own kitchen. For more about our comforting kitchen philosophy, you can always peek at the story behind HearthBite.
- Why This Berry Pavlova Recipe Delivers Comfort and Elegance
- Gathering Ingredients for Your Perfect Berry Pavlova
- Step-by-Step Instructions: How To Make Pavlova
- Tips for Success with Your Berry Pavlova Recipe
- Variations on the Classic Berry Pavlova
- Serving Suggestions for Your Elegant Dessert Presentation
- Common Meringue Troubleshooting for Berry Pavlova
- Frequently Asked Questions About Berry Pavlova
- Sharing Your Berry Pavlova Creation
Why This Berry Pavlova Recipe Delivers Comfort and Elegance
I know what you might be thinking: Meringue looks scary! But trust me, this recipe is designed for the home cook. We’ve simplified the tricky parts of making a Classic Meringue Dessert so you get reliability, not anxiety. When you pull this beauty out of the oven, you’re serving something truly special, but the steps are straightforward and use simple, real ingredients. Plus, since it’s all egg whites, sugar, and fruit, it’s a fantastic naturally gluten-free option for any gathering! You can find more gluten-free recipes here.
Key Features of Our Berry Pavlova
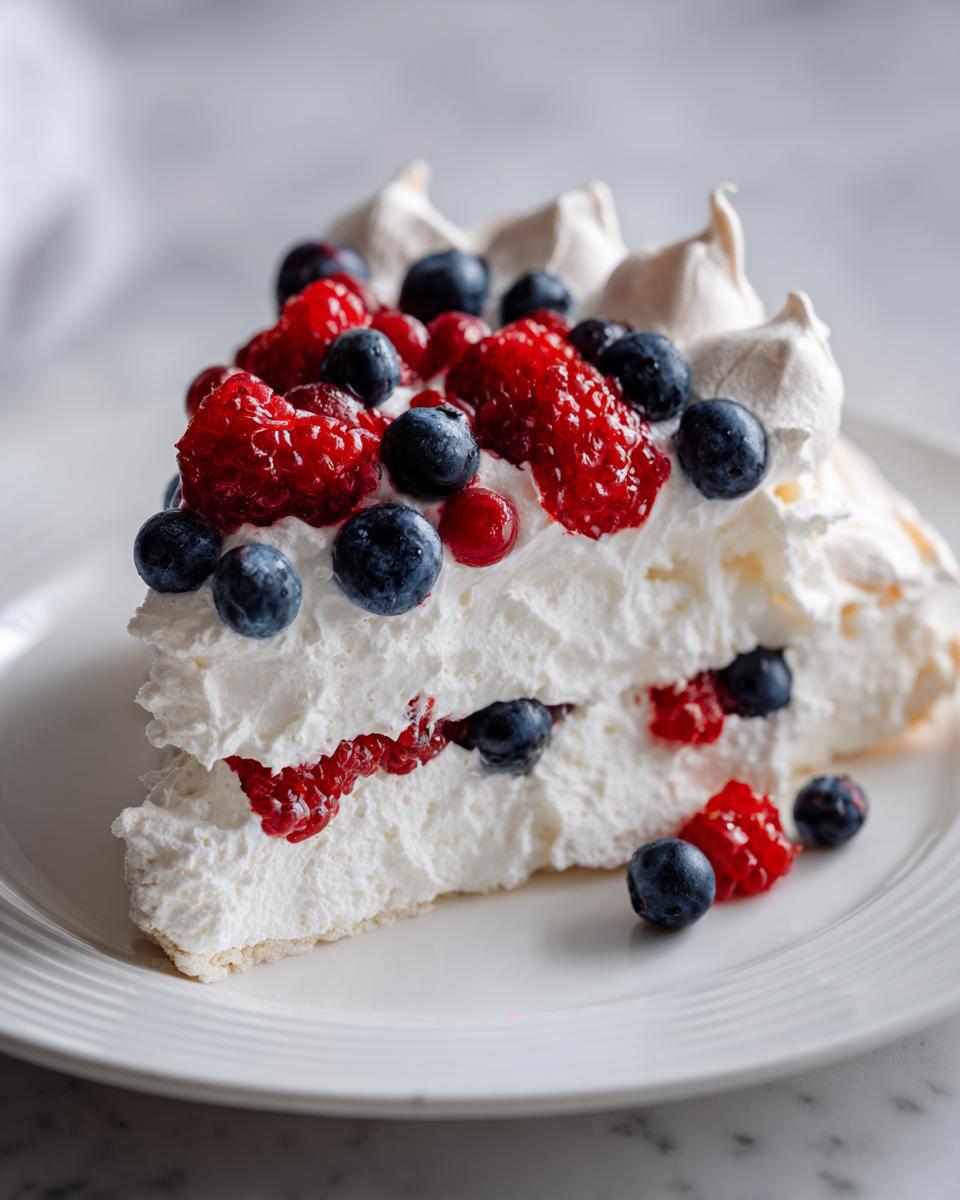
- The outside gives you that perfect snap—a true Crispy Meringue Shell.
- Inside, it stays cloud-like and wonderfully chewy.
- It relies on fresh, seasonal berries, making it one of the best Summer Berry Desserts.
- The assembly is surprisingly quick once the base is cooled!
Gathering Ingredients for Your Perfect Berry Pavlova
Okay, before we dive into the fun part—the baking—let’s talk ingredients. Pavlova is surprisingly simple, but simplicity means every item matters! Because we aren’t using much baking powder or soda, the volume comes almost entirely from air, which is why we need those specific conditions. My number one pro tip, the one I learned the hard way, is that your egg whites absolutely must be at room temperature. Cold whites just don’t whip up to their full, glorious potential, and we need all the volume we can get!
Meringue Base Ingredients for Berry Pavlova
When you gather these items, make sure you have your egg whites out on the counter about 30 minutes before you start. It makes a huge difference in getting that beautiful, stiff meringue base for your Berry Pavlova.
- 4 large egg whites, room temperature (Seriously, don’t cheat this!)
- 1 cup superfine granulated sugar
- 1 teaspoon white vinegar
- 1 teaspoon cornstarch
- 1 teaspoon vanilla extract
Whipped Cream and Berry Topping Ingredients
This topping is the lovely reward for your hard work on the meringue. We keep it light so the fruit can really shine. For the best results in this Fresh Fruit Dessert, try to use berries that are perfectly ripe. A mix gives you the best color and flavor contrast!
- 1 pint heavy whipping cream
- 2 tablespoons powdered sugar
- 1 teaspoon lemon zest
- 2 cups mixed fresh berries (strawberries, blueberries, raspberries)
Step-by-Step Instructions: How To Make Pavlova
This is where the magic happens! Don’t feel intimidated by the word “meringue.” If you follow these steps exactly, you will conquer this Classic Meringue Dessert. Getting the technique right for How To Make Pavlova is really all about speed and following the cues your mixer gives you. Once you see that beautiful, thick volume, you’ll be so proud!
Preparing the Meringue Shell for Berry Pavlova
First, get your baking sheet ready. Preheat your oven to 250°F (120°C) but don’t put anything in yet! Draw a 9-inch circle on your parchment paper—this is your guide. Now, listen closely: your mixing bowl must be absolutely spotless and grease-free, or those egg whites just won’t peak! Beat the room-temperature egg whites until they form soft peaks. Then, you add that cup of sugar, a tablespoon at a time, beating well after every single addition. This slow process is crucial for stability. You know it’s ready when it looks glossy and stiff. Rub a tiny bit between two fingers—if you feel any grit, keep beating until the sugar is totally dissolved. Then, gently fold in the vinegar, cornstarch, and vanilla with a spatula. Don’t stir hard; just fold it in!
Baking and Cooling the Crispy Meringue Shell
Carefully spoon all that gorgeous meringue onto your drawn circle, forming a little nest shape with a dip in the middle for the filling later. Pop that sheet into the oven, and immediately drop the temperature down to 225°F (107°C). You bake it for about an hour and fifteen minutes. Here is the most important secret for a Crispy Meringue Shell: turn the oven off when the time is up! Prop the oven door open just a crack with a wooden spoon and let that meringue cool completely inside for at least two hours, or better yet, overnight. That slow temperature change is what stops it from cracking or weeping later.
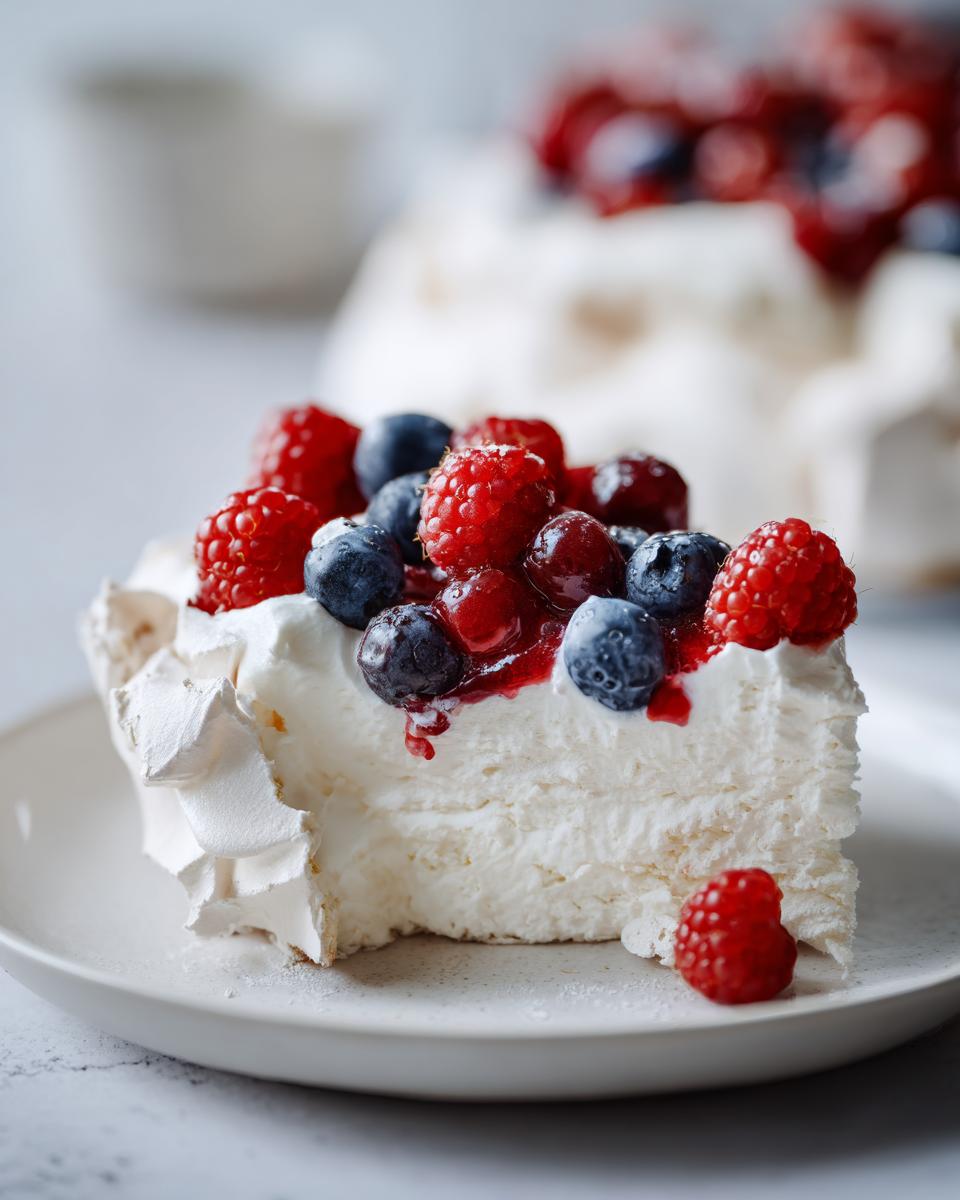
Assembling Your Beautiful Berry Pavlova
Once that meringue is totally cool—it should sound hollow when you tap it—it’s time for the topping! We want a light, airy layer, so beat your cold heavy whipping cream with the powdered sugar and lemon zest until you get stiff peaks. Don’t overbeat this, or you’ll get butter! This is covered perfectly in our section on whipped topping ideas. Next, gently transfer the meringue shell to your final serving plate. Spread that billowy cream over the top, filling in the dip you made. Finally, artfully pile on all those gorgeous, brightly colored fresh berries. It looks stunning, and wow, does it taste even better!
Tips for Success with Your Berry Pavlova Recipe
I want you to feel completely confident making this Berry Pavlova, honestly! Meringue is temperamental, I won’t lie, but if you treat it with respect—meaning, don’t open the oven door while it’s baking—you’ll be fine. The whole point of this recipe is to deliver reliability, so here are the little secrets I’ve picked up to avoid the dreaded weeping or cracking.
Achieving That Perfect Chewy Centre Meringue
The number one rule for that dreamy, Chewy Centre Meringue is patience during the cooling stage. Remember how I told you to turn the oven off and leave it inside? That slow cool-down keeps the temperature stable, which is the main defense against giant cracks forming as the shell contracts too quickly. Also, if you feel *any* graininess when you rub the sugar between your fingers during the whipping stage, the sugar hasn’t dissolved. Undissolved sugar is the primary culprit when you see syrupy weeping later on. Just keep beating until it’s completely smooth!
Making Ahead and Storing Your Berry Pavlova Base
If you need a fantastic Make Ahead Dessert, feel free to bake the meringue shell up to two days ahead of time. Once it’s completely cool from the oven, put it in a low-humidity, airtight container. I usually just place it gently inside a big cardboard box and cover it tightly with plastic wrap. But here is the absolute can’t-skip step: DO NOT add the cream or the berries until you are ready to serve it. If you assemble it too early, the moisture from the whipped cream will soak right into that beautiful, crisp meringue, and poof! You’ve got a soggy bottom. If you have any questions about technique or want to chat about baking in general, feel free to contact me here.
Variations on the Classic Berry Pavlova
While the mixed berry combination is really a showstopper, part of the fun of making this Best Fruit Pavlova is swapping out the toppings! You can tailor it perfectly to whatever looks the best at the market that week. For instance, a vibrant Kiwi and starfruit combination makes a stunningly tropical centerpiece. Or, if you’re feeling extra indulgent, try folding a spoonful of melted dark chocolate into your whipped cream mixture.
If berries aren’t your favorite, don’t worry! Passion fruit pulp drizzled over the top provides an unbelievable tart contrast to the sweet meringue. We even created a recipe for a wonderful mixed berry cobbler if you need another use for your fresh haul! This recipe is a wonderful canvas for any bright, acidic Dessert With Fresh Berries you can think up.
A fun, simple variation for the cream is adding a touch of vanilla bean paste instead of lemon zest for a richer, more classic flavor profile. Either way, it’s going to be delicious.
Serving Suggestions for Your Elegant Dessert Presentation
Once you have your perfect Berry Pavlova assembled, you want the final presentation to be breathtaking! Honestly, because the meringue base is so naturally white and sculptural, it does most of the heavy lifting for you. An Elegant Dessert Presentation doesn’t need to be complicated, just thoughtful.
I always finish mine with the sweetest little sprig of fresh mint tucked right into one of the deeper berry clusters—the green pops wonderfully against the red and blue!
If you’re serving this for a daytime event, like a weekend gathering, it absolutely shines as a Beautiful Brunch Dessert alongside coffee. For an evening finish? A very light, delicate dusting of powdered sugar over the top right before it hits the table makes it look dusted with morning frost—so pretty!
Common Meringue Troubleshooting for Berry Pavlova
Okay, let’s talk about the moments when meringue decides to be difficult. It happens to everyone, even me! But tackling these common issues is what separates a nervous baker from a confident one. Remember, the secret to great Meringue Troubleshooting is less about luck and more about temperature and patience. We’ve built this recipe to minimize these hiccups, but if they sneak in, here’s how we handle them.
If you ever see syrup—weeping, as professionals call it—we usually know right away that the sugar wasn’t 100% dissolved before it went into the heat. That’s why I emphasized the finger-rub test when you’re whipping the meringue! It needs to feel totally smooth, not gritty at all.
As for cracking, that’s almost always due to a quick temperature change. If you open the oven door too early or pull the shell out immediately to cool on the counter, the sudden shift makes the structure collapse unevenly. Stick to my instruction to turn the oven off and leave it inside—that slow, gradual descent into room temperature is your best friend for a perfect shell.
You’ve got this! Just control the heat, control the sugar, and your Berry Pavlova will be flawless.
Frequently Asked Questions About Berry Pavlova
I always get so many questions whenever I share this recipe because baking meringue can feel a little bit mysterious! But once you understand the core rules—clean bowl, smooth sugar, slow cooling—you’ll find that creating this Berry Pavlova is actually quite straightforward. Here are a few things I hear most often when people are first trying this recipe.
Can I use frozen berries on my pavlova?
Oh, I wish you could, but please avoid using frozen berries right out of the bag! When frozen fruit thaws, it releases a ton of extra water. Since the entire structure of our meringue shell is built on very precise moisture levels, that extra liquid will absolutely compromise your Crispy Meringue Shell and probably turn the whole thing soggy right away. Stick to fresh berries, or if you must use fruit that isn’t thawed, make sure it’s fully drained and patted dry, but truly, fresh is always best for this stunning dessert.
What is the best way to whip cream topping ideas?
For the fluffiest, most beautiful Whipped Cream Topping Ideas, remember two things: 1) Your heavy whipping cream needs to be ice cold, and 2) Your bowl and whisk attachment should also be cold. I often pop my bowl and whisk into the freezer for about 10 minutes before I start whipping. Start slow, then increase speed. Once you see soft peaks, toss in that powdered sugar and the teaspoon of lemon zest—that zest is my secret for cutting through the richness! Beat until stiff peaks form, meaning when you lift the whisk, the peak stands up straight without drooping.
Is this a good Make Ahead Dessert?
Yes, absolutely! In fact, I highly recommend making the shell ahead of time if you want to reduce stress on the day you plan to serve this impressive dessert. Since this is a fabulous Make Ahead Dessert option, you can bake and cool that meringue base completely, store it airtight at room temperature for up to two days, and then assemble it an hour or two before you serve. Assembly is fast! Just remember the critical rule: the cream and berries must go on right before serving so you keep that perfect, light texture.
If you’re still having trouble, please don’t hesitate to reach out to me. I love hearing from fellow bakers! You can always drop me a line right here!
Sharing Your Berry Pavlova Creation
Well, that’s it! You’ve done the hard work, and now you have a stunning, impressive Berry Pavlova sitting proudly on your table. I truly hope making this recipe brought a little bit of that HearthBite joy and connection into your kitchen today. It’s one of my absolute favorites because it looks so fancy but comes from such simple, pure ingredients.
Now, I want to hear all about it! Did your meringue shell look perfectly marshmallow-soft in the middle? Did the kids gasp when you brought it out? Please, please leave a rating below and let me know how your attempts at conquering this Classic Meringue Dessert went.
If you snap a picture of your beautiful creation—maybe you were brave and tried a tropical fruit variation or stuck with the classic berries—I would be tickled pink if you shared it! Tag us on social media so I can see your gorgeous work. Happy baking, and thank you for visiting the hearth at HearthBite!
If you’re looking for your next delicious adventure, feel free to explore everything else we have waiting for you over on the main page!
PrintThe Ultimate Berry Pavlova Recipe: Perfect Meringue Every Time
Make a stunning, impressive dessert with this reliable recipe for Berry Pavlova. You will create a crisp meringue shell with a soft, chewy center, topped with fresh berries and whipped cream.
- Prep Time: 20 min
- Cook Time: 1 hr 15 min
- Total Time: 3 hr 35 min
- Yield: 8 servings 1x
- Category: Dessert
- Method: Baking
- Cuisine: Australian/European
- Diet: Gluten Free
Ingredients
- 4 large egg whites, room temperature
- 1 cup superfine granulated sugar
- 1 teaspoon white vinegar
- 1 teaspoon cornstarch
- 1 teaspoon vanilla extract
- 1 pint heavy whipping cream
- 2 tablespoons powdered sugar
- 1 teaspoon lemon zest
- 2 cups mixed fresh berries (strawberries, blueberries, raspberries)
Instructions
- Preheat your oven to 250°F (120°C). Line a baking sheet with parchment paper. Draw a 9-inch circle on the parchment paper to use as a guide.
- Place the egg whites in a clean, grease-free mixing bowl. Beat them with an electric mixer on medium speed until soft peaks form.
- Gradually add the superfine granulated sugar, one tablespoon at a time, beating well after each addition. Continue beating until the meringue is stiff, glossy, and the sugar is completely dissolved. Test by rubbing a small amount between your fingers; it should feel smooth.
- Gently fold in the white vinegar, cornstarch, and vanilla extract using a spatula. Do not overmix.
- Spoon the meringue onto the prepared parchment paper, using the drawn circle as a guide. Shape it into a nest, creating a slight dip in the center for the filling.
- Place the meringue in the preheated oven. Immediately reduce the oven temperature to 225°F (107°C). Bake for 1 hour and 15 minutes.
- Turn off the oven, prop the door open slightly with a wooden spoon, and allow the meringue shell to cool completely inside the oven for at least 2 hours, or preferably overnight. This prevents cracking and weeping.
- When ready to serve, prepare the topping. Beat the heavy whipping cream, powdered sugar, and lemon zest in a clean bowl until stiff peaks form.
- Gently transfer the cooled meringue shell to a serving plate. Spread the whipped cream evenly over the meringue base.
- Arrange the mixed fresh berries attractively over the cream. Serve immediately for the best texture.
Notes
- For a crispier shell, bake the meringue for 1 hour 30 minutes at 225°F (107°C) before turning off the oven.
- If your meringue weeps (leaks syrup), it usually means the sugar was not fully dissolved before baking.
- You can make the meringue shell up to two days ahead, but store it in an airtight container at room temperature. Assemble just before serving to keep the meringue crisp.
- For an elegant dessert presentation, dust the finished pavlova lightly with powdered sugar before serving.
Nutrition
- Serving Size: 1 slice
- Calories: 350
- Sugar: 40
- Sodium: 50
- Fat: 18
- Saturated Fat: 10
- Unsaturated Fat: 8
- Trans Fat: 0
- Carbohydrates: 45
- Fiber: 3
- Protein: 4
- Cholesterol: 65