
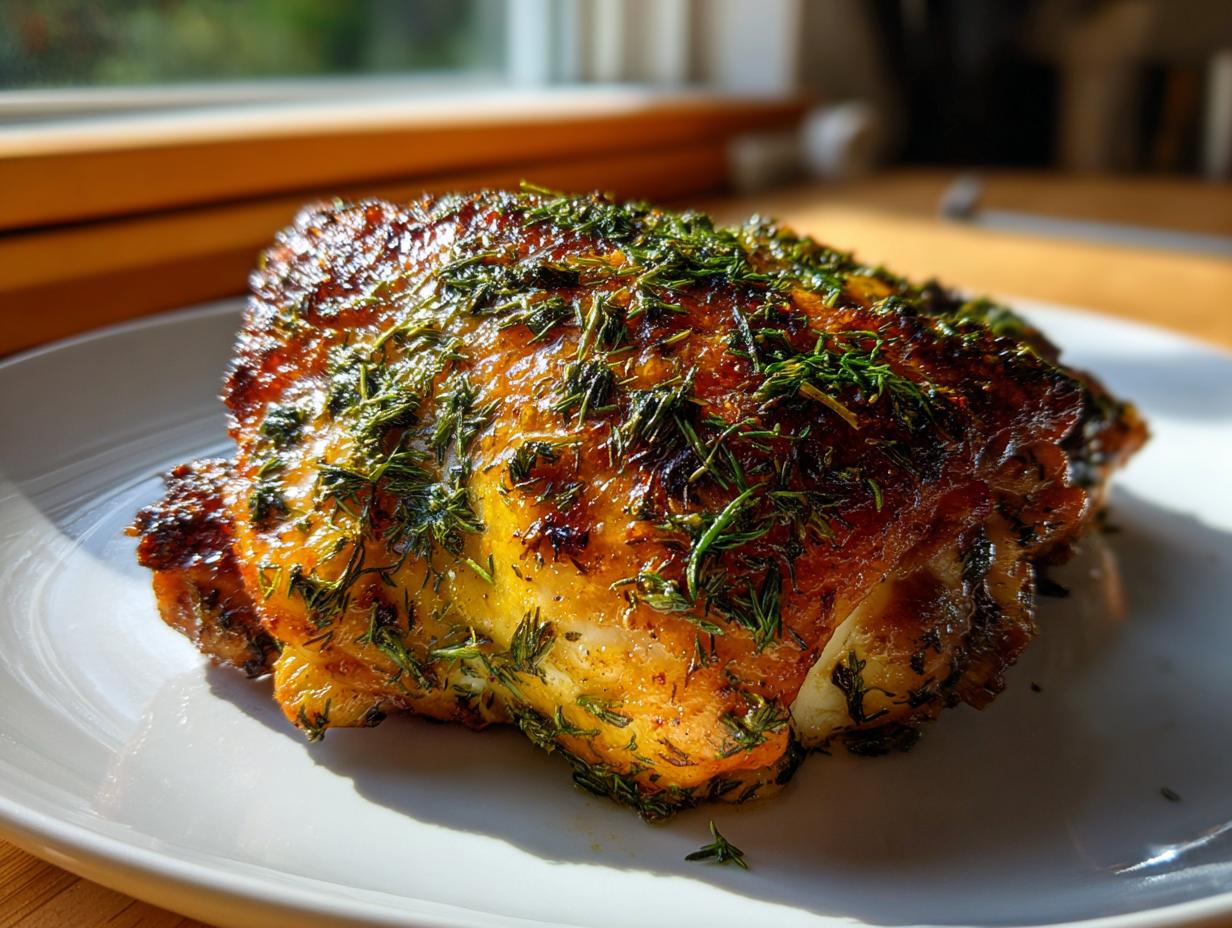
When spring finally rolls around, I start craving meals that feel celebratory but don’t weigh us down, especially for Sunday dinners. My mind immediately goes to Mother’s Day, and you know I always want chicken on the table! Forget fussy birds; our secret weapon for elegance and comfort is these Baked Chicken Thighs with Spring Herbs. This recipe proves that simple, bone-in chicken thighs can deliver that shatteringly crispy skin every single time, keeping the meat juicy underneath.
This isn’t some complicated technique; it’s about honoring good ingredients and trusting your oven. As I talk about more in my journey here at HearthBite, we believe that a meal should connect you to the season and the people around you. If you’re looking for an easy roasted chicken that tastes bright, fresh, and absolutely reliable, you have found your new favorite.
- Why You Need This Recipe for Baked Chicken Thighs with Spring Herbs
- Gathering Ingredients for Your Baked Chicken Thighs with Spring Herbs
- The Secret to Crispy Skin on Baked Chicken Thighs with Spring Herbs
- Step-by-Step Instructions for Easy Roasted Chicken
- Ingredient Notes and Substitutions for Your Herb Roasted Dinner
- Serving Suggestions for Baked Chicken Thighs with Spring Herbs
- Storage and Reheating Instructions for Leftover Baked Chicken Thighs with Spring Herbs
- Frequently Asked Questions About Bone In Chicken Recipes
- Sharing Your Baked Chicken Thighs with Spring Herbs Experience
Why You Need This Recipe for Baked Chicken Thighs with Spring Herbs
Honestly, there are a hundred ways to cook chicken thighs, but this particular method is the one that always wins me over, especially when I need a gorgeous, no-fuss presentation for a special family dinner. If you’re tired of soggy skin that just won’t crisp up, you need to try our Baked Chicken Thighs with Spring Herbs immediately. It’s all about reliability!
- You get the ultimate crispy skin without needing to fry anything. Seriously, the wire rack and high heat do all the heavy lifting for us!
- It’s forgiving! Even if you overcook it by five minutes, the bone-in thighs stay incredibly moist. Who doesn’t love a recipe that forgives human error?
- The flavor is bright and seasonal. That burst of fresh dill and parsley screams springtime and makes boring weeknight chicken feel like a fancy Sunday roast.
- It uses simple pantry staples for the base seasoning, meaning you probably only need to grab fresh herbs before starting. Total win for busy moms!
Gathering Ingredients for Your Baked Chicken Thighs with Spring Herbs
Okay, this is the fun part where we gather everything up! For these Baked Chicken Thighs with Spring Herbs, you don’t need a giant grocery list. We want the star—the chicken—to really shine, so we keep the base dry rub simple and let those gorgeous fresh herbs do the talking later. Remember, the quality of your chicken really matters here. Always grab bone-in, skin-on thighs; that skin is our ticket to success!
For that unbeatable spring herb chicken flavor burst at the end, make sure you get fresh dill, parsley, and thyme. Dried herbs just won’t give you that bright, aromatic lift we’re aiming for on a beautiful spring dinner plate.
Here is exactly what you’ll want sitting on your counter before we start mixing:
- 4 bone in, skin on chicken thighs
- 1 tablespoon olive oil
- 1 teaspoon kosher salt
- 1/2 teaspoon black pepper
- 1/2 teaspoon garlic powder
- 1/4 cup fresh dill, chopped
- 1/4 cup fresh parsley, chopped
- 1 tablespoon fresh thyme leaves
The Secret to Crispy Skin on Baked Chicken Thighs with Spring Herbs
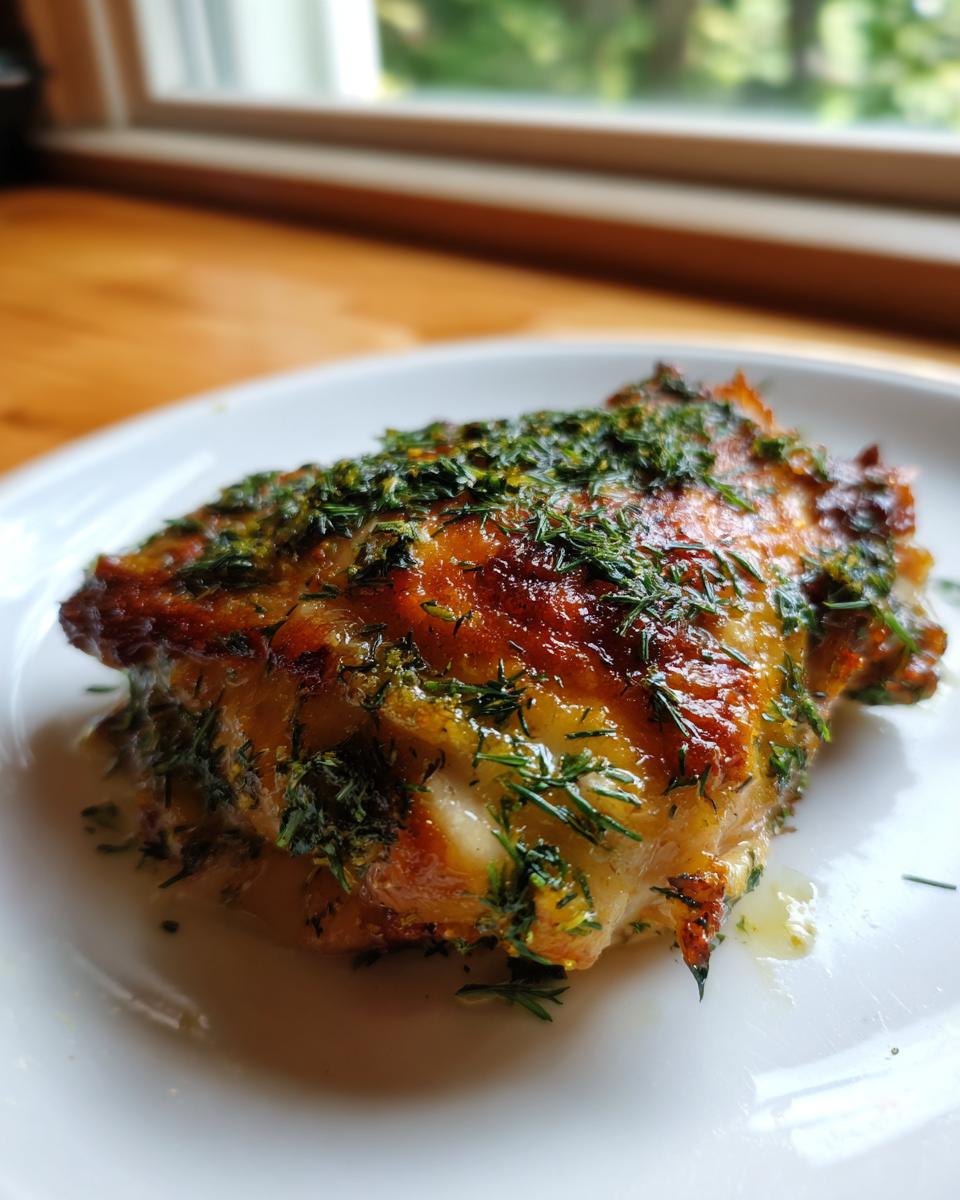
If you want to nail that perfect, audible crunch when you bite into these crispy chicken thighs, you have to respect two non-negotiable steps: drying the skin and elevating it off the pan. We are baking them, not steaming them! When the skin is bone dry, the high heat of the 425°F oven can work its magic quickly, turning that surface brown and crisp instead of pale and floppy.
Trust me on this one—if you really want the best results for your herb roasted dinner, try the trick from my notes: season the chicken and then let it chill uncovered in the fridge for up to four hours before baking. That extra time in the cool air absolutely dries out the skin even more. It’s totally worth the planning! For other quick cooking methods, check out my tips on air fryer hacks; the drying principle is the same!
Prepping the Bone In Chicken Recipes for Maximum Crispness
Before the herbs even come out, we have to prep the foundation. Grab a stack of paper towels and pat those thighs down—I mean really pat them down. I press until I can’t see any moisture left sitting on the skin. Then, rub everything lightly with that tablespoon of olive oil. Don’t drown it, just coat it lightly!
Next, sprinkle that salt, pepper, and garlic powder mixture all over the skin side. Don’t worry about flipping them yet; we are focusing only on getting that surface ready. Putting the chicken on a wire rack set over a baking sheet is crucial because it lets the air circulate all the way around. This airflow is what guarantees these bone in chicken recipes look picture-perfect.
Step-by-Step Instructions for Easy Roasted Chicken
Alright, now that we’ve prepped the skin and got our spice rub ready, putting these easy roasted chicken thighs in the oven is the simple part! Remember how I said we skip frying? That’s because the high heat does the hard work for us. We are aiming for golden, crackly perfection here. For other simple dishes that come together fast, take a peek at my favorite easy breakfast recipes—the speed principle is similar!
First things first: crank that oven up! Get it preheated to 425 degrees Fahrenheit. This high heat is essential for that beautiful crust. Also, make sure that wire rack is sitting snugly inside your baking sheet—that setup is what keeps the bottom from getting soggy.
- Place the seasoned chicken thighs skin-side up on the wire rack. Make sure there is a little space between them so the heat can circulate nicely.
- Roast for about 35 to 40 minutes. Now, listen to me: don’t just trust the clock! You need to check the internal temperature. We are looking for 165 degrees Fahrenheit right near the bone. This is the only way to guarantee that juicy, safe-to-eat chicken without drying it out. The skin should also be deeply golden brown and look super crisp!
- Once they hit temperature, pull them out and let them rest. Set them aside on a cutting board or platter for a full 5 minutes. This resting time is important so all those wonderful juices redistribute back into the meat.
Finishing Touches: Adding the Spring Herbs to Baked Chicken Thighs
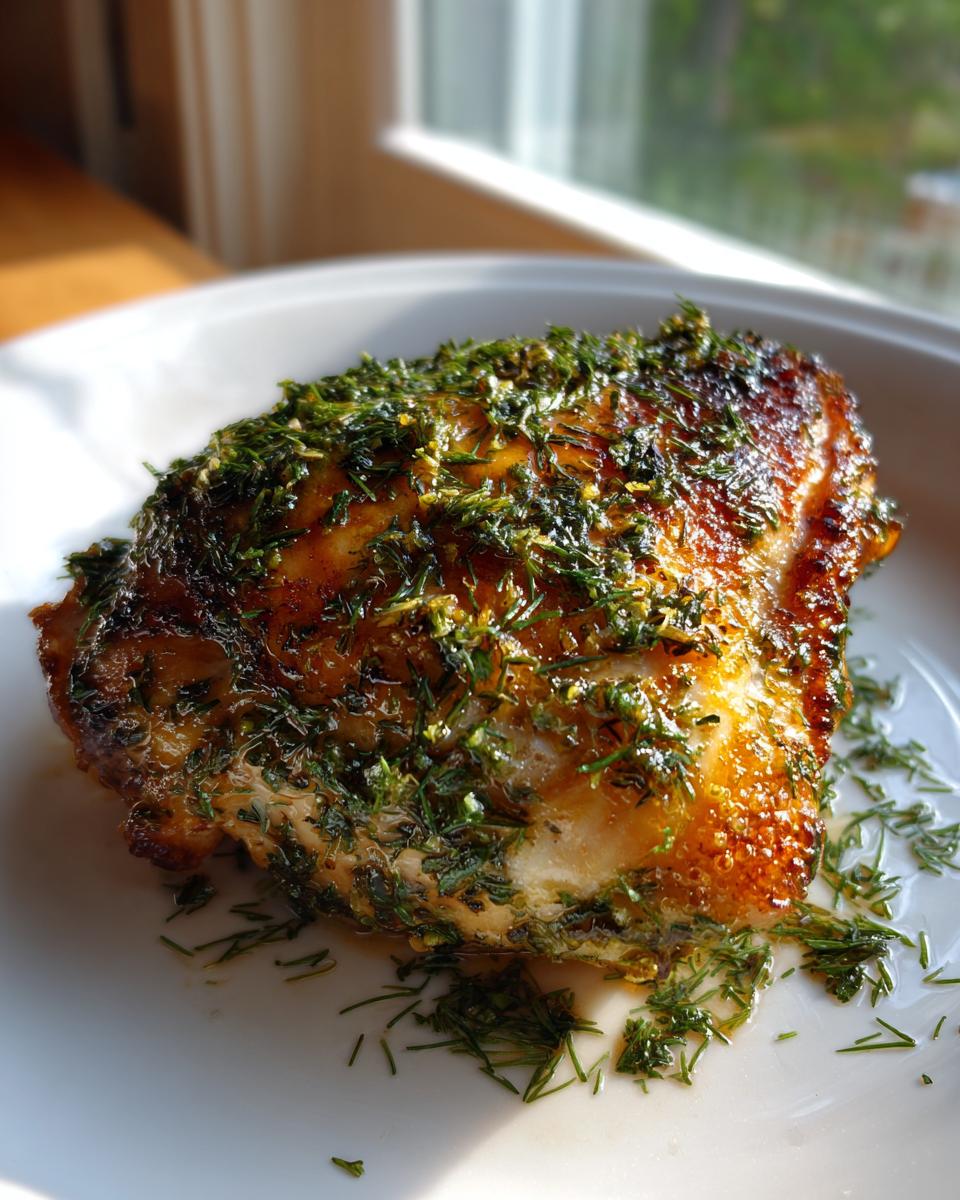
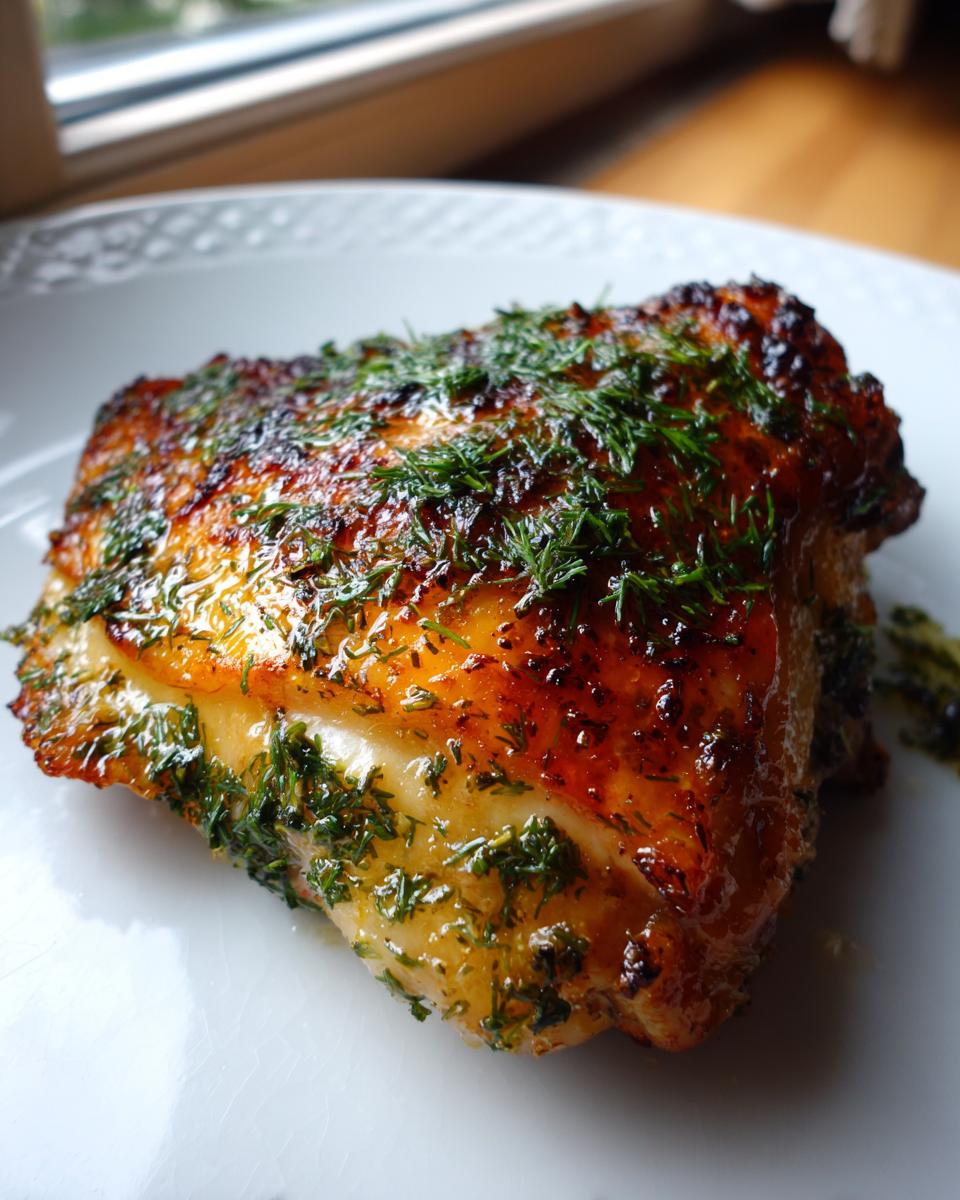
This final step is what separates a perfectly roasted thigh from a *spectacular* one. While the chicken is resting its weary bones, quickly mix up all that gorgeous chopped dill, parsley, and thyme we mentioned earlier. You want that fresh, vibrant herb flavor to hit your palate right after the deep, savory roast flavor, so we add them last!
When those 5 minutes of resting are up, just sprinkle that fragrant herb mixture right over the hot skin. The heat will wake up the oils in the herbs, releasing the most incredible springtime aroma. Trust me, your kitchen will smell like the best Mother’s Day brunch!
Ingredient Notes and Substitutions for Your Herb Roasted Dinner
I get so many questions about tweaking recipes, and I completely encourage experimenting! That’s what cooking is all about, right? While I absolutely stand by the specific mix of dill, parsley, and thyme for this herb roasted dinner because it captures that perfect light, savory note for spring, I know fresh herbs aren’t always in season or budget-friendly.
If you can’t find fresh dill, my first recommendation is fresh tarragon—it brings a sophisticated, slightly anise-like flavor that pairs beautifully with roasted chicken. It’s a fantastic swap! If you absolutely must use dried herbs, remember the golden rule: dried herbs are stronger than fresh. You’ll want to use about one-third the amount listed, so maybe just a teaspoon total of dried herbs mixed together, and definitely mix those dried herbs into the initial salt and garlic rub rather than sprinkling them on at the end.
What about swapping out the chicken? Well, this recipe is really built around the skin on those bone-in thighs, but if you are looking for other amazing comfort food recipes, I have plenty of suggestions for breasts or legs, though the cooking time will change dramatically. Don’t try to swap the baking sheet setup, though—that wire rack is key to keeping things crispy!
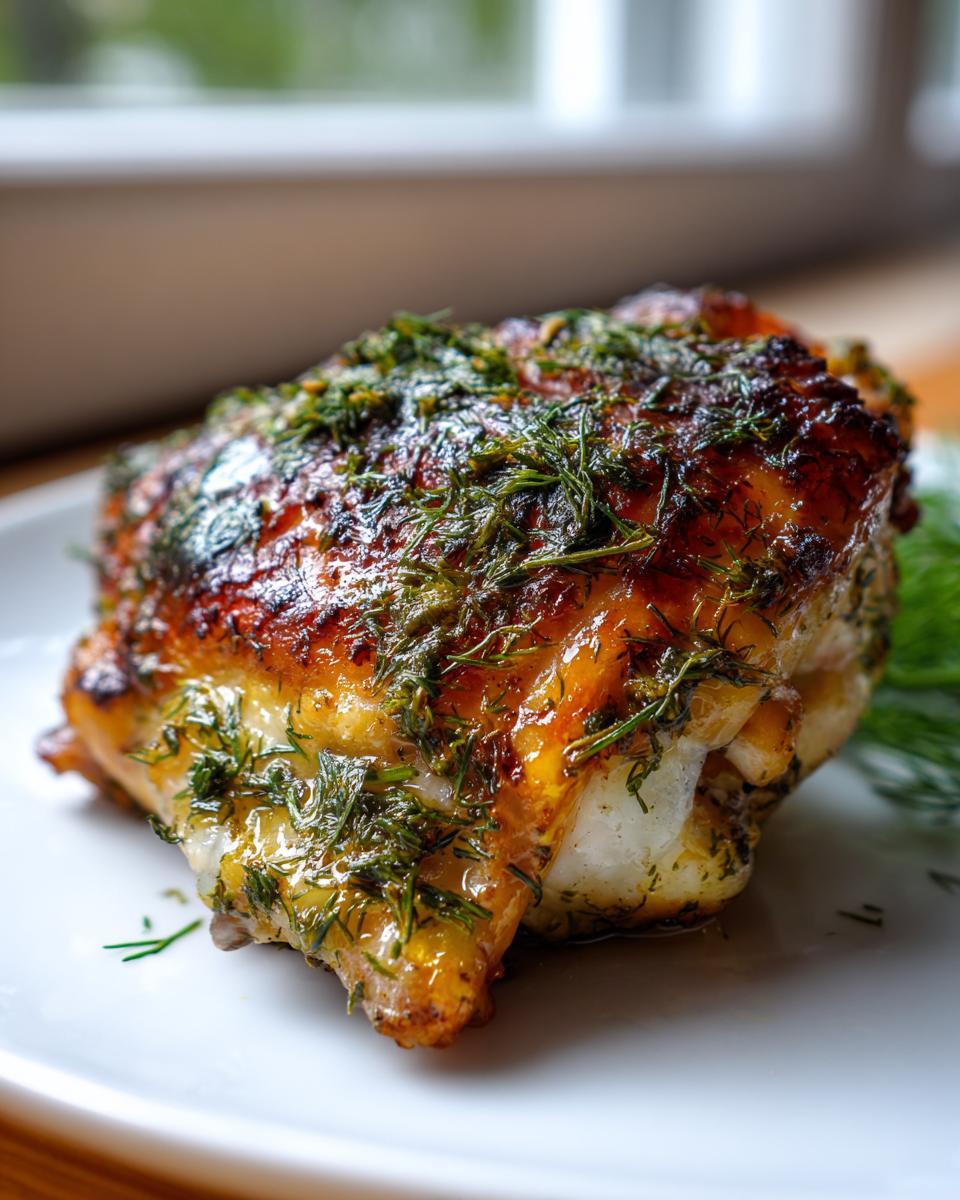
Serving Suggestions for Baked Chicken Thighs with Spring Herbs
Once you pull those gorgeously bronzed, herby thighs out of the oven, you need sides that match that fresh, celebratory vibe. These Baked Chicken Thighs with Spring Herbs definitely call for brighter accompaniments than heavy mashed potatoes, though you certainly can serve those if your heart desires! I find spring vegetables sing right alongside that dill and parsley.
My absolute favorite pairing is a generous pile of roasted asparagus tossed simply with olive oil, lemon zest, and maybe a little sprinkle of that same garlic powder mix we used on the chicken. You can find a great recipe for garlic herb roasted veggies on the site that works perfectly here! If you want something starchier, skip the heavy cream and opt for small, buttery new potatoes tossed with chives.
For Mother’s Day specifically, I always try to make a big salad to cut through the richness of the crispy skin. Last year, I did a simple mixed greens salad with shaved radishes, toasted pecans, and a light vinaigrette made with white wine vinegar. It’s all about balance! The fresh, slightly peppery crunch of the salad makes every bite of that rich, savory chicken feel light enough to celebrate the good weather.
Storage and Reheating Instructions for Leftover Baked Chicken Thighs with Spring Herbs
Oh, leftovers! Half the fun of roasting chicken thighs is knowing you have a delicious, easy lunch waiting for tomorrow. Since these Baked Chicken Thighs with Spring Herbs are so juicy, they store beautifully, but we have to be smart about reheating if we want to save that precious crispy skin from the microwave menace. Trust me, the microwave will turn that beautiful crust into chewy sadness—don’t do it!
Once the chicken has cooled completely (this is important; putting hot food directly into the fridge traps steam!), put them in an airtight container. They are safe in the refrigerator for up to three or four days. That’s a great head start for dinners or salads later in the week. For those of you concerned about our recipe guidelines, you can double-check the security of your information on my privacy policy page.
When you’re ready to enjoy them again, we’re going back to dry heat to resurrect that crisp! My favorite way is to actually throw them back into a 350°F oven for about 10 minutes. If you have an air fryer, even better—5 minutes at 375°F brings that skin right back to life! You’re looking to heat them through until they are steaming, not cook them further. A little effort on reheating brings back 90% of that delicious, fresh-out-of-the-oven texture!
Frequently Asked Questions About Bone In Chicken Recipes
I always end up fielding a lot of questions when I post a new chicken recipe, and that’s okay! It means you’re paying attention, and I want you to feel totally confident about making these baked chicken thighs. Here are a few things folks always ask me when trying out different ways to prepare bone in chicken recipes.
Can I use chicken breasts instead of thighs for this recipe?
You certainly can, but you’ll need to adjust things quite a bit! Chicken breasts run the risk of drying out much faster than the fattier thighs, especially at 425°F. If you use boneless, skinless breasts, I’d drop the oven temp down to 400°F and start checking for 165°F internal temperature closer to 20–25 minutes. If you use skin-on breasts, keep the heat high, but definitely use that meat thermometer I mentioned, otherwise, you might end up with dry meat!
How can I make the spice rub ahead of time?
That’s a great question for meal prepping! The salt, pepper, and garlic powder mix is perfectly wonderful to make in a big batch. I usually mix up a jar of it at the start of the month. Just store it in an airtight spice jar in a cool, dark spot. It’s fantastic for rubbing onto anything, whether you’re making these crispy chicken thighs or seasoning some vegetables. You won’t need to change the ratio at all; just measure out what you need!
My thighs are much bigger than yours—how do I adjust the cooking time?
That happens all the time! Thigh sizes vary wildly, and that’s why the internal temperature is your best friend. If your chicken looks massive, just plan to add an extra 5 to 10 minutes to the cooking time, but don’t guess! Keep checking the temperature every 5 minutes after the initial 35 minutes is up. We want that 165°F reading. If you’re looking for lighter fare like salads to pair with it, I have some great healthy lunch recipes I think you’ll enjoy too.
Can I skip the wire rack and just place them directly on the pan?
Oh, please don’t skip the wire rack! Seriously, that’s one of the most important parts of achieving that lovely crispy chicken thigh skin. If you put them right on the baking sheet, the moisture that runs out of the chicken will pool underneath, and you’ll end up steaming the bottom half of the skin. The rack lifts them up so air can circulate completely around the thigh, creating an even, beautiful crust all the way around the outside.
Sharing Your Baked Chicken Thighs with Spring Herbs Experience
Now that you have made this beautiful, aromatic, and perfectly crispy Baked Chicken Thighs with Spring Herbs, I truly hope it brought some sunshine to your dinner table! I live for hearing how these recipes fit into your busy family lives. Did it make the cut for your Mother’s Day celebration? Was it a big hit with your partners or kids?
I want to see what you created! Please take a moment to leave a star rating right below this section—it helps other home cooks find reliable recipes like this one. If you snapped a photo of that unbelievably crisp skin, share it on social media and be sure to tag me. I absolutely love seeing your version of my spring herb chicken!
And don’t hesitate to pop down to the comments section below. Tell me what side dishes you served with it, or if you ended up trying a slight substitution! We’re all learning together here in the HearthBite kitchen, and I love reading your ideas. If you need to reach out directly about this or any other recipe, you are always welcome to drop me a line through the contact page. Happy cooking, friends!
PrintBaked Chicken Thighs with Spring Herbs for Crispy Skin

Make bone in chicken recipes with crispy skin using fresh spring herbs for a comforting, easy roasted chicken dinner.
- Prep Time: 10 min
- Cook Time: 40 min
- Total Time: 50 min
- Yield: 4 servings 1x
- Category: Dinner
- Method: Baking
- Cuisine: American
- Diet: Low Fat
Ingredients
- 4 bone in, skin on chicken thighs
- 1 tablespoon olive oil
- 1 teaspoon kosher salt
- 1/2 teaspoon black pepper
- 1/2 teaspoon garlic powder
- 1/4 cup fresh dill, chopped
- 1/4 cup fresh parsley, chopped
- 1 tablespoon fresh thyme leaves
Instructions
- Preheat your oven to 425 degrees Fahrenheit. Place a wire rack inside a baking sheet.
- Pat the chicken thighs completely dry with paper towels. This step helps achieve crispy skin.
- In a small bowl, mix the kosher salt, black pepper, and garlic powder.
- Rub the chicken thighs all over with olive oil. Sprinkle the salt and spice mixture evenly over the skin side of the chicken.
- Place the seasoned chicken thighs skin-side up on the wire rack.
- Roast for 35 to 40 minutes, or until the internal temperature reaches 165 degrees Fahrenheit and the skin is deeply golden brown and crisp.
- While the chicken rests for 5 minutes after removing it from the oven, combine the chopped dill, parsley, and thyme in a small bowl.
- Sprinkle the fresh herb mixture over the hot, crispy chicken thighs before serving.
Notes
- For extra crispy skin, you can place the seasoned chicken in the refrigerator uncovered for up to 4 hours before baking.
- Use a meat thermometer to check for doneness; this prevents overcooking.
Nutrition
- Serving Size: 1 thigh
- Calories: 350
- Sugar: 0
- Sodium: 450
- Fat: 22
- Saturated Fat: 6
- Unsaturated Fat: 16
- Trans Fat: 0
- Carbohydrates: 1
- Fiber: 0
- Protein: 33
- Cholesterol: 110