
If you love the weekend baking cycle, you know the feeling: you’ve got all this beautiful, active sourdough starter sitting around, and suddenly you have a big bowl of discard staring back at you. Before you let it go to waste, I want to share my absolute favorite way to use it up—it transforms your casual Friday night into a special event! We’re making the fluffiest, chewiest, and most flavorful **Sourdough Discard Pizza Crust** you can imagine. At HearthBite, we believe good food should bring people together without adding stress, and what’s better for family than homemade pizza? You can learn more about our philosophy over at our story. This recipe lets you capture that perfect, slightly tangy, artisan chew right in your own kitchen.
- Why This Sourdough Discard Pizza Crust is Perfect for Your Pizza Party
- Gathering Ingredients for Your Sourdough Discard Pizza Crust
- Step-by-Step Instructions for the Best Sourdough Discard Pizza Crust
- Baking Your Homemade Pizza with the Sourdough Discard Pizza Crust
- Tips for Success with Your Sourdough Discard Pizza Crust
- Making This Recipe a True No Waste Pizza Solution
- Serving Suggestions for Your Homemade Pizza
- Storage and Reheating Instructions
- Frequently Asked Questions About Tangy Pizza Crust
- Nutritional Estimate for This Recipe
- Share Your Homemade Pizza Creations
Why This Sourdough Discard Pizza Crust is Perfect for Your Pizza Party
When you’re knee-deep in your regular baking routine, seeing that bowl of discard can sometimes feel like a chore. But this recipe turns that necessity into real joy! This isn’t just about using up leftovers; it’s about creating a genuinely superior experience for your family pizza night. Trust me, once you try this **sourdough pizza** base, you’ll start looking forward to having discard.
-
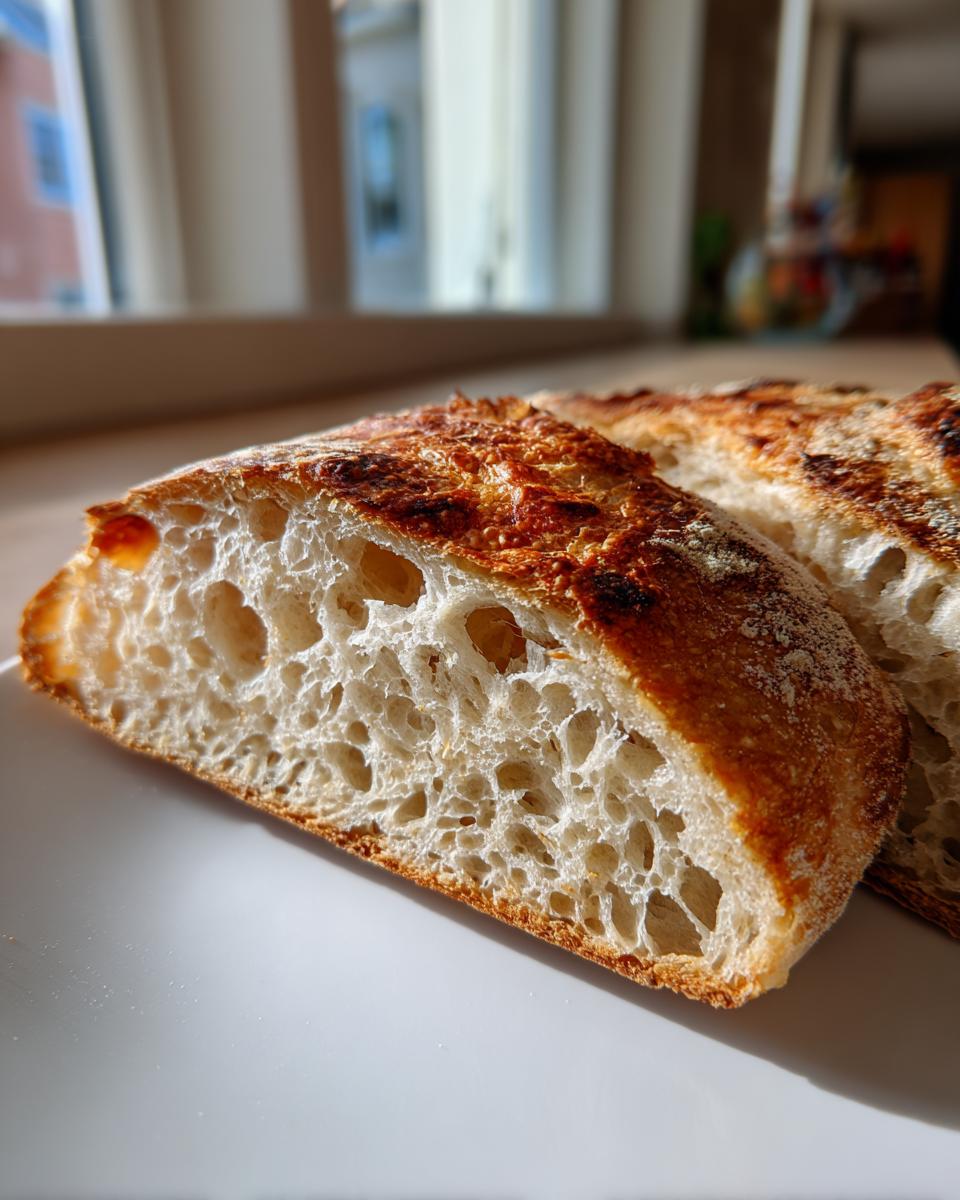
Achieving the Perfect Tangy Pizza Crust Flavor
That natural tanginess we all chase in sourdough? It’s right there in the discard! Since the discard has already begun the fermentation process longer than a newly fed starter, it gives you that sought-after acidic punch without needing a long, overnight bulk rise for the final dough. It’s the perfect way to utilize what you already have during your weekly baking cycle.
-
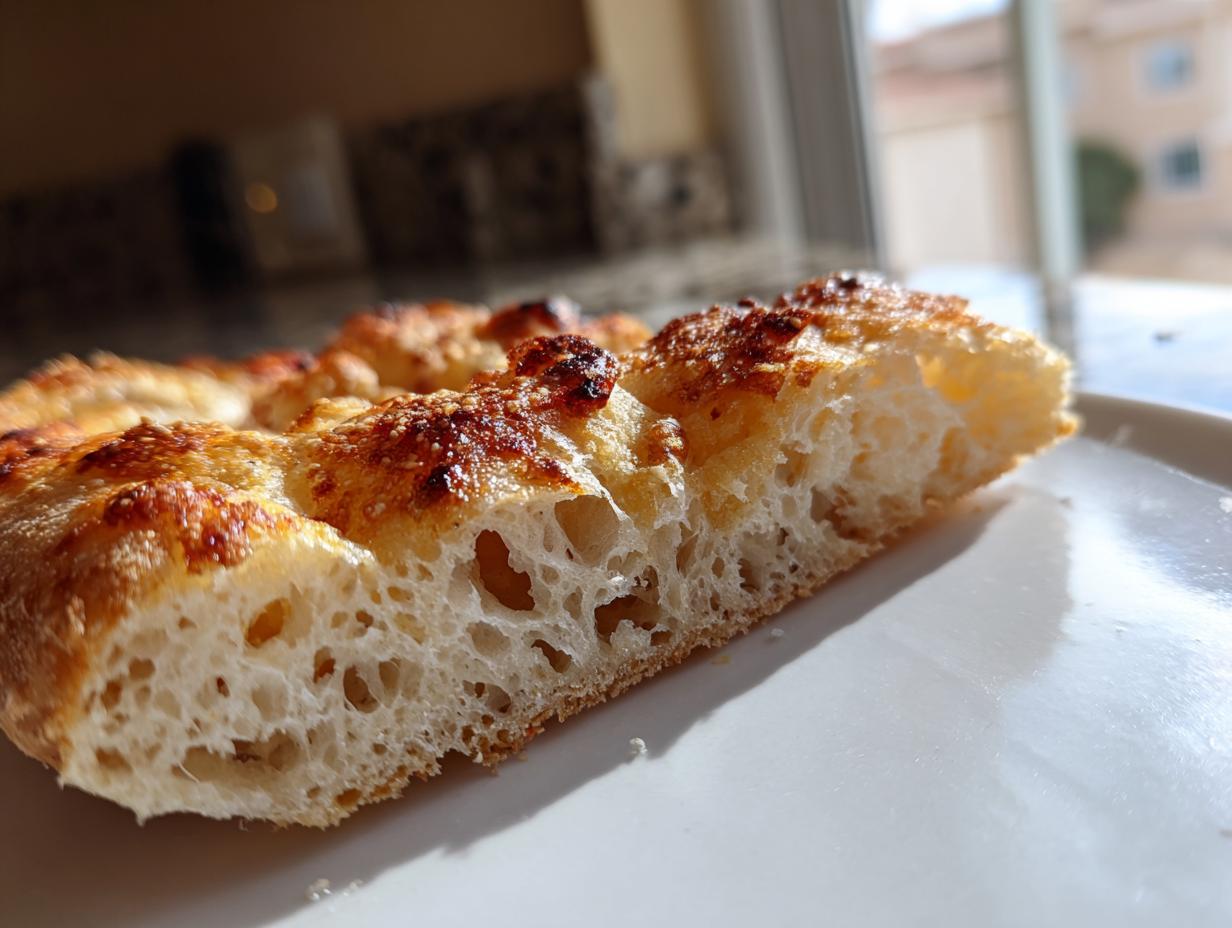
The Chewy Texture Secret of This Sourdough Discard Pizza Crust
Using discard, which already contains some hydration, along with a little added yeast, gives you incredible control over the final texture. You get that satisfying resistance when you bite into it—that hallmark of an artisan crust—but it’s also surprisingly light and much easier to digest than standard bread dough. It makes for a genuinely satisfying homemade pizza.
Gathering Ingredients for Your Sourdough Discard Pizza Crust
Okay, let’s talk about what you need for this fantastic **discard recipe**. The great thing here is that you’re using leftovers, so you don’t need to go out and buy loads of specialist flour. We’re just rounding out the flavor and structure. I always make sure I have these items ready before I even put my apron on. If you’re looking for a simple sauce to go with this, don’t forget to check out my recipe for easy, quick, no-cook pizza sauce!
- 200g active sourdough discard (This is the key!)
- 150g all-purpose flour
- 50g whole wheat flour
- 1 teaspoon instant dry yeast (We add this for a little boost!)
- 1 teaspoon fine sea salt
- 1 tablespoon olive oil
- 100ml warm water (approximate)
Ingredient Notes and Substitutions for the Dough
The discard needs to be just that—discard! It should be unfed or unstirred starter that you pulled off the top before you fed your main jar. It shouldn’t have risen at all yet. When it comes to flour, I use a mix of all-purpose and whole wheat because that little bit of whole wheat gives the crust more chew and depth. If you only have all-purpose, go ahead and use 200g of it, no problem. The water needs to be warm, not hot, just enough to encourage that yeast to wake up and get working.
And about that water measurement? It’s an approximation. Depending on how hydrated your discard was to start with, you might need a teaspoon more or a teaspoon less. The key is to add it slowly until the mixture just starts pulling together into a proper mass. We don’t want a wet, sloppy dough; we want something we can actually handle!
Step-by-Step Instructions for the Best Sourdough Discard Pizza Crust
Now for the fun part—turning that sleepy discard into something amazing! This process is straightforward, but like any good dough work, it requires a little patience and attention to feel. If you’re looking for more quick dinner ideas once this pizza is done, I have some favorites right here. You can check out my collection of quick, easy dinner recipes!
Mixing and Kneading the Sourdough Discard Pizza Crust Dough
First, let’s get everything combined in a big bowl. I toss in the discard, both the flours, the instant yeast, and the salt. Give that a good stir just until everything looks shaggy—don’t try to make it smooth yet. Now, drizzle in that olive oil. This is where you start bringing it together. Once it looks like a mess, start kneading! Dust your counter lightly and work that dough for a solid five to seven minutes. You’re looking for it to transform from something lumpy to something actually elastic and smooth. If you notice it feels too stiff, add water just a teaspoon at a time—seriously, don’t drown it! Alternatively, if it’s sticking everywhere, dust on a little more flour until you can handle it confidently.
Resting Time for Optimal Rise
Once you have that lovely, elastic dough ball, tuck it into an oiled bowl, cover it tightly with plastic wrap, and leave it somewhere warm for about one to two hours. What are we looking for during this rest? We aren’t trying to double it in size like a regular bread dough. For this **sourdough pizza**, you just want it to puff up by about half—maybe a little more. This short rest is enough time for the extra yeast we added to do its job, giving you some nice oven spring when it hits the heat. It’s the perfect timing for when you’re organizing your toppings!
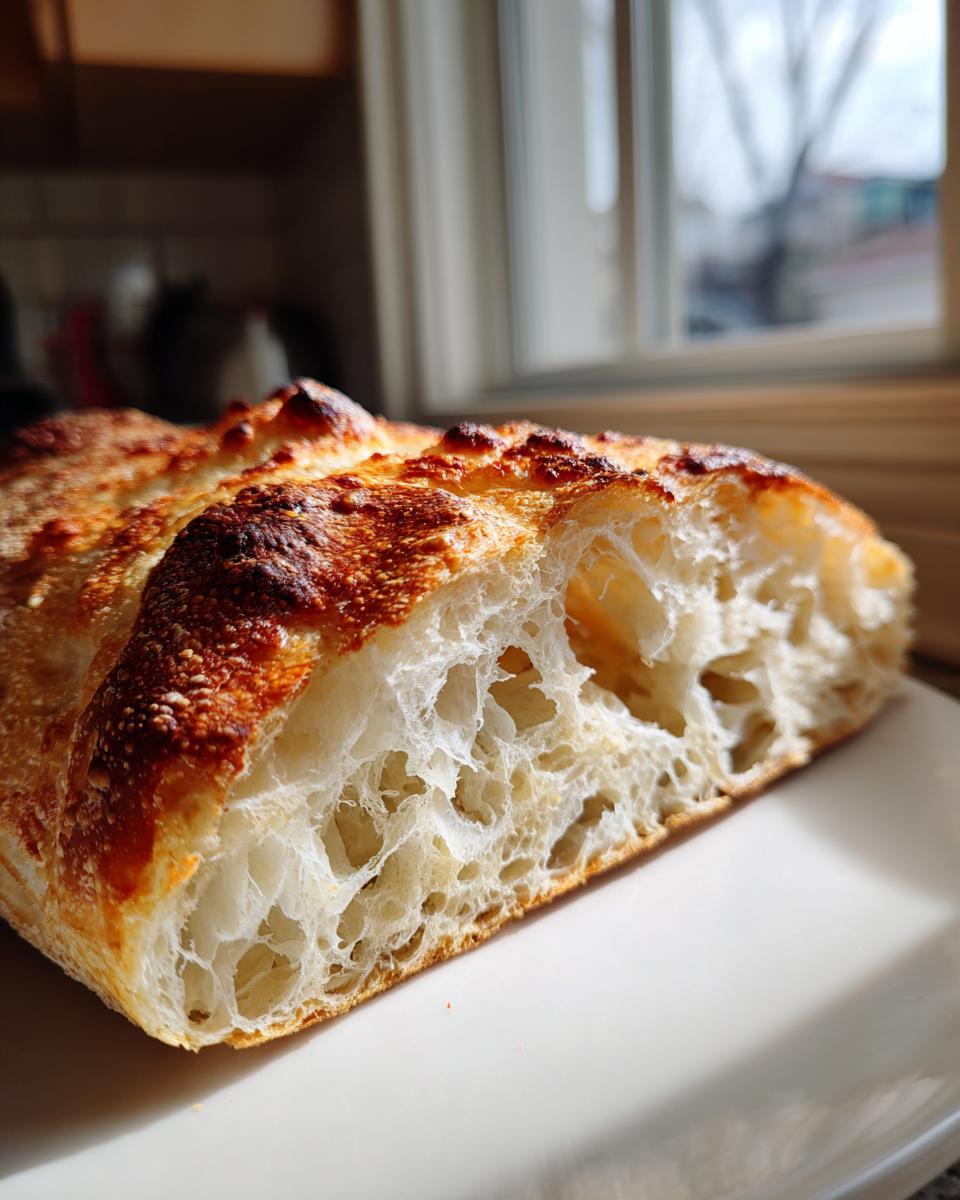
Baking Your Homemade Pizza with the Sourdough Discard Pizza Crust
This is where all that hard work really pays off! To get that truly artisan-style crust—the kind that puffs up beautifully on the edges and has that lovely crisp bottom—you absolutely must use high heat. We’re not baking a casserole here; we’re making pizza! If you have a pizza stone or a baking steel, pull it out now; it’s honestly a game-changer for that chewy texture. If you don’t have one, just use an inverted heavy baking sheet, but make sure it’s in the oven when you preheat!
Preheating and Baking Tips for a Crisp Bottom
Crank your oven up to 500 degrees Fahrenheit, or as hot as it will safely go. It needs to be roaring hot when the dough goes in. While that’s heating up—usually at least 30 minutes—divide your dough into two equal balls. Now, here’s a trick that saves my sanity every time: stretch one portion out on a piece of parchment paper that you’ve dusted lightly with cornmeal. The cornmeal acts like little ball bearings, making the transfer easy. Top your dough generously, but don’t overload it, or the center gets soggy!
When it’s ready, you carefully slide that whole parchment sheet right onto your preheated stone or steel. The intense heat hitting the bottom through the parchment gives you phenomenal oven spring right away. Bake it for about 10 to 14 minutes. You’re looking for the cheese to be gloriously bubbly and the edges of your **sourdough discard pizza crust** to be deeply golden brown. If you want to make fun little snacks later, remember you can adapt this dough for pizza muffins too!
Tips for Success with Your Sourdough Discard Pizza Crust
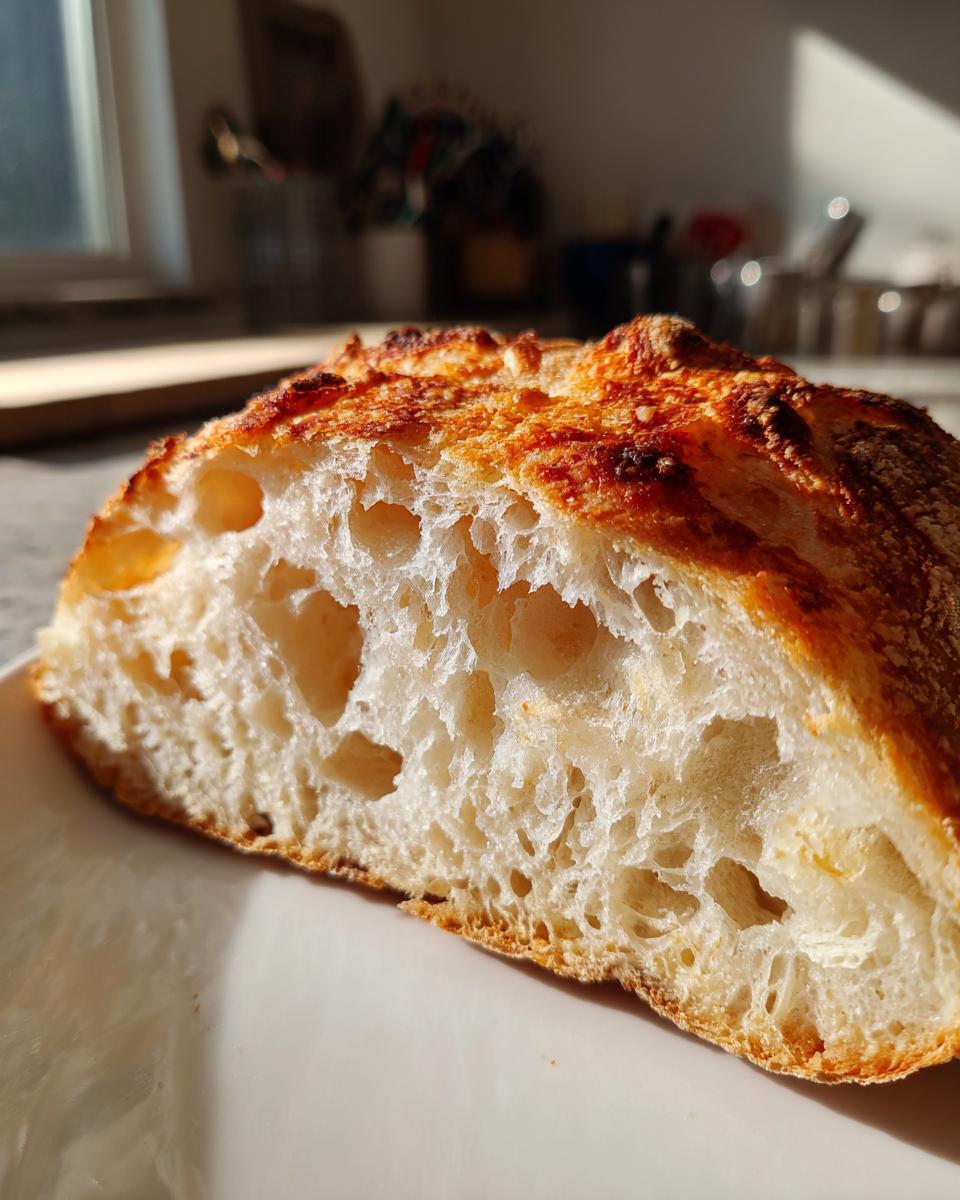
I want every pizza night to be a smash hit, so before you press out your dough, let me share a few things I learned over the years that really make the difference with this **sourdough discard pizza crust**. When I first started making this years ago, I had to learn the hard way that handling the dough correctly is just as important as the ingredients themselves!
If you’re making pizza for a special occasion later in the week, I highly recommend the cold fermentation trick. This is one of the secrets to getting that truly deep, **tangy pizza crust** flavor that mimics long-fermented breads. As noted in the recipe details, you can let the mixed dough rest in the refrigerator for 12 to 24 hours before shaping. That little bit of chill time really develops the acids in the discard. Just remember to let it sit on the counter for about an hour before you plan to stretch it out! You’ll want that dough pliable before you start shaping those amazing rounds.
Also, please, please, please, use that high-heat baking surface we talked about. Whether it’s a steel or a stone, that heat retention is what gives you that incredible oven spring and cooks the bottom crust perfectly before your toppings burn. Don’t be tempted to dust your work surface with too much flour when stretching! A little bit of flour is fine, but too much, and it clumps up on the bottom of your pizza, resulting in a dry, dusty patch. I try to use my hands for stretching as much as possible. If you’re following these steps, you’ll be looking at some of the best comfort food recipes you’ve ever made at home, guaranteed.
Making This Recipe a True No Waste Pizza Solution
For me, the best thing about this recipe is that it closes the loop on my whole baking cycle. If you’re maintaining an active starter, you generate discard almost every single day. I know some people just toss it, but that feels wrong when you think about all that good flour and natural yeast going down the drain!
This recipe is so forgiving with the amount of discard—200g is a standard amount I pull off before I feed my jar midweek. Turning that into two medium pizzas means dinner is sorted, and I feel great about not wasting anything. It’s a perfect mid-week dinner solution that uses exactly what I need.
If you find you have too much discard one week—maybe you weren’t baking as much bread—you can easily double this recipe, or you can freeze the dough portions after step 5. That way you have quick, pre-made dough balls ready to go for the next impromptu pizza night! If you’re looking for other ways to use up that excess starter, I have a wonderful recipe for sourdough discard rolls that are amazing for sandwiches.
It’s satisfying, it tastes incredible, and it solves a common problem for everyone who loves keeping a bubbly starter on their counter. That’s what home cooking is all about!
Serving Suggestions for Your Homemade Pizza
So, you’ve got this incredible, chewy, tangy **sourdough pizza** base ready to go. What goes on top? Honestly, because this crust has so much flavor itself, you don’t need to go crazy with toppings. Sometimes I think overdoing it just masks that beautiful sourdough note we worked so hard to achieve!
For a classic, simple approach, I love going light on the sauce. If you want to make a super quick sauce that highlights the crust texture, you absolutely must try my quick, no-cook pizza sauce. It’s ready in minutes!
When it comes to cheese, fresh mozzarella that you tear by hand melts much better than the pre-shredded stuff, which often has anti-caking agents that stop it from getting gooey. A little basil sprinkled on *after* it comes out of the oven helps keep that vibrant green color, too. This crust is also fantastic with thinly sliced prosciutto added right before baking—the salty meat crisps up beautifully against that chewy edge.
Storage and Reheating Instructions
Alright, this is the tough part: having leftovers! Because this **sourdough pizza** crust is so phenomenal, you’re going to want to save some for lunch the next day, right? Here’s how I handle the aftermath of a great pizza party. Please, whatever you do, skip the microwave if you can—it’s the mortal enemy of a good, crisp crust!
For refrigeration, you need to store the leftover slices tightly wrapped. I usually stack them between layers of parchment paper inside an airtight container or a heavy-duty zip-top bag. This keeps them from drying out but also stops them from sticking together. This homemade pizza will keep perfectly well in the fridge for about three to four days. Any longer, and that beautiful chew starts to fade, which is a shame!
To bring that crust back to life and rescue some of that glorious crispness, you’ve got two main options, both requiring a little time. My favorite method is using the oven. Just preheat your oven (or a toaster oven, which is faster!) to about 350 degrees Fahrenheit. Place the slices directly on the rack for about 8 to 10 minutes. You want the cheese to melt again and the crust edges to get just a little bit crispy. If you’re in a real rush, you can use a dry skillet over medium heat for about 3 minutes per side, which works wonders on the bottom crust, but it won’t heat the toppings as evenly.
Remember, the pizza is always better the next day if you treat it right! It’s a great way to enjoy the fruits of your baking labor without any guilt about waste.
Frequently Asked Questions About Tangy Pizza Crust
I get so many great questions every time I share this recipe, mainly because everyone wants that artisan taste without the fuss! It’s wonderful to see so many of you jumping into these **discard recipes** to tackle food waste. Here are a few things I hear most often about making the perfect **sourdough pizza** base.
Can I use 100% discard in this sourdough pizza recipe?
That’s a great question, and unfortunately, the answer is no, not if you want something that holds its shape! While the discard gives you that amazing flavor, it doesn’t have the structural strength needed to be baked into a crust on its own. It’s basically already partially digested flour and water, so it lacks the gluten network to support heavy toppings. We need that extra flour—both the AP and the small amount of whole wheat—to build a solid, elastic base that won’t collapse into a puddle when you try to top it.
Can I freeze the prepared Sourdough Discard Pizza Crust dough?
Absolutely, and I highly recommend this for busy weeks! After you complete Step 5 (the 1-2 hour rest), when the dough has puffed up by half, you can divide it into your two portions, shape each one loosely into a ball, and wrap them super tightly in plastic wrap or put them in a freezer-safe bag. They freeze beautifully for up to three months. When you’re ready to bake, just pull one ball out the night before and let it thaw slowly in the fridge. Then, let it sit on the counter an hour before shaping, just like fresh dough!
What makes this crust more digestible than regular pizza dough?
This is one of the best parts about using sourdough elements, even just the discard! The magic lies in the natural acids and bacteria present in the starter. Although we aren’t giving this dough a 24-hour slow rise like a traditional loaf, that bit of pre-fermentation activity happening in the discard starts breaking down some of the complex starches and gluten before it even hits the oven. So, for many people, this lighter **tangy pizza crust** feels less heavy and is gentler on the stomach than a quick-mixed yeast-only dough. It’s a hidden benefit of dipping into the sourdough world!
If you’re interested in baked goods that are easier on digestion but don’t involve sourdough, I have a few gluten-free recipe options you might want to explore!
Nutritional Estimate for This Recipe
I always try to give you a rough idea of what you’re looking at nutritionally, but I have to give you the famous disclaimer you see in every cookbook! These numbers are just estimates based **only** on the crust recipe itself. Seriously, what you put on top—the cheese, the pepperoni, the extra basil—that’s where the calories really shift. So, consider this the baseline for our delicious **homemade pizza** foundation!
We’re looking at two medium pizzas out of this batch. The following breakdown is for one generous serving, which is half of one pizza:
- Serving Size: 1/2 pizza
- Calories: 350
- Sugar: 1g
- Sodium: 450mg (This is mostly salt in the dough, so don’t go crazy with salty sauce!)
- Fat: 5g
- Saturated Fat: 1g
- Unsaturated Fat: 4g
- Trans Fat: 0g
- Carbohydrates: 65g
- Fiber: 3g
- Protein: 12g
- Cholesterol: 0mg
See? That’s a pretty respectable base for a satisfying meal. It’s got good heft from the flours, and the protein count is solid. It really shows you what you can create from simple ingredients and that leftover discard. Try pairing it with lighter, fresh veggies to keep the whole meal feeling bright—it makes for a perfect, balanced dinner!
Share Your Homemade Pizza Creations
I truly hope you enjoyed making this **tangy pizza crust** as much as I enjoy eating it! There’s nothing better than hearing from you all about how you customized your pizzas. When you take the time to turn that simple discard into something spectacular like this, you deserve applause!
At HearthBite, we thrive on that connection—knowing that these recipes are showing up on your tables and becoming part of your family’s comfort food traditions. If this recipe worked its magic for your Friday or Saturday pizza night, please leave a quick rating below! Five stars just let me know I need to share more of my favorite **discard recipes**.
And if you snapped a picture of that perfectly browned, chewy edge, I would absolutely love to see it! You can always send photos or any questions you might have about getting the rise just right over to me via the contact page. Happy baking, and may your next pizza night be full of laughter!
PrintSourdough Discard Pizza Crust for a Tangy, Chewy Crust

Use your extra sourdough discard to make a flavorful, chewy, and easily digestible artisan pizza crust for your next pizza party.
- Prep Time: 20 min
- Cook Time: 14 min
- Total Time: 1 hour 34 min
- Yield: 2 medium pizzas 1x
- Category: Dinner
- Method: Baking
- Cuisine: American
- Diet: Vegetarian
Ingredients
- 200g active sourdough discard
- 150g all-purpose flour
- 50g whole wheat flour
- 1 teaspoon instant dry yeast
- 1 teaspoon fine sea salt
- 1 tablespoon olive oil
- 100ml warm water (approximate)
Instructions
- In a large bowl, combine the sourdough discard, all-purpose flour, whole wheat flour, instant dry yeast, and salt.
- Mix the dry ingredients into the wet ingredients until a shaggy dough forms.
- Add the olive oil and begin kneading the dough on a lightly floured surface for about 5 to 7 minutes until it becomes smooth and elastic.
- If the dough is too dry, add water, one teaspoon at a time, until it comes together. If too sticky, add a small amount of flour.
- Place the dough in a lightly oiled bowl, cover it with plastic wrap, and let it rest in a warm place for 1 to 2 hours, or until it has increased in volume by about half.
- Preheat your oven to 500 degrees Fahrenheit (260 degrees Celsius) with a pizza stone or baking steel inside, if you have one.
- Gently punch down the risen dough and divide it into two equal portions for two medium pizzas.
- On a lightly floured surface, stretch or roll one portion of the dough into your desired pizza shape, about 12 inches in diameter.
- Transfer the shaped dough to a piece of parchment paper dusted with cornmeal.
- Top the crust with your favorite sauce and toppings.
- Carefully slide the pizza (on the parchment) onto the preheated stone or steel.
- Bake for 10 to 14 minutes, or until the crust is golden brown and the cheese is bubbly.
- Remove from the oven, slice, and serve immediately. Repeat with the second dough portion.
Notes
- For an extra tangy pizza crust flavor, you can let the mixed dough rest in the refrigerator for 12 to 24 hours before shaping.
- Use a high-heat baking surface like a pizza stone or steel for the best oven spring and a crispier bottom crust.
- This recipe works well for a no waste pizza approach to your weekly baking cycle.
Nutrition
- Serving Size: 1/2 pizza
- Calories: 350
- Sugar: 1
- Sodium: 450
- Fat: 5
- Saturated Fat: 1
- Unsaturated Fat: 4
- Trans Fat: 0
- Carbohydrates: 65
- Fiber: 3
- Protein: 12
- Cholesterol: 0