
Sometimes, you just need a dessert that doesn’t hold back. I’m talking about something wildly decadent, a treat so rich it practically demands a nap afterward! If you’ve ever looked at a candy jar full of those legendary gold-wrapped cups and thought, ‘That needs to be cake,’ well, you’re in the right place. The **Reese’s Peanut Butter Cup Earthquake Cake** is one of those recipes that delivers pure, unadulterated comfort. It’s reliable, it’s over-the-top, and it creates those coveted gooey pockets that everyone fights over at family gatherings. If you love deep, fudgy chocolate, you might also want to check out my recipe for the ultimate moist chocolate fudge cake. Trust me, sometimes the best things in life involve a little bit of delicious chaos.
- Why This Reese's Peanut Butter Cup Earthquake Cake is a Must-Bake
- Gathering Ingredients for Your Reese's Peanut Butter Cup Earthquake Cake
- Essential Equipment for Making How to make Earthquake Cake
- Step-by-Step Instructions for the Reese's Peanut Butter Cup Earthquake Cake
- Tips for the Perfect Decadent Chocolate Peanut Butter Dessert
- Ingredient Notes and Substitutions for Your Reese's Peanut Butter Cup Cake Recipe
- Serving Suggestions for This Gooey Peanut Butter Cake
- Storing and Reheating the Reese's Peanut Butter Cup Earthquake Cake
- Frequently Asked Questions About This Easy Peanut Butter Cup Layer Cake
- Nutritional Estimate for Your Reese's Peanut Butter Cup Earthquake Cake
- Share Your Baking Success
Why This Reese’s Peanut Butter Cup Earthquake Cake is a Must-Bake
I know, I know, there are a million “over-the-top” recipes out there. But this one genuinely earns the title. It’s the ultimate comfort food mashup, and it’s so much simpler than it looks!
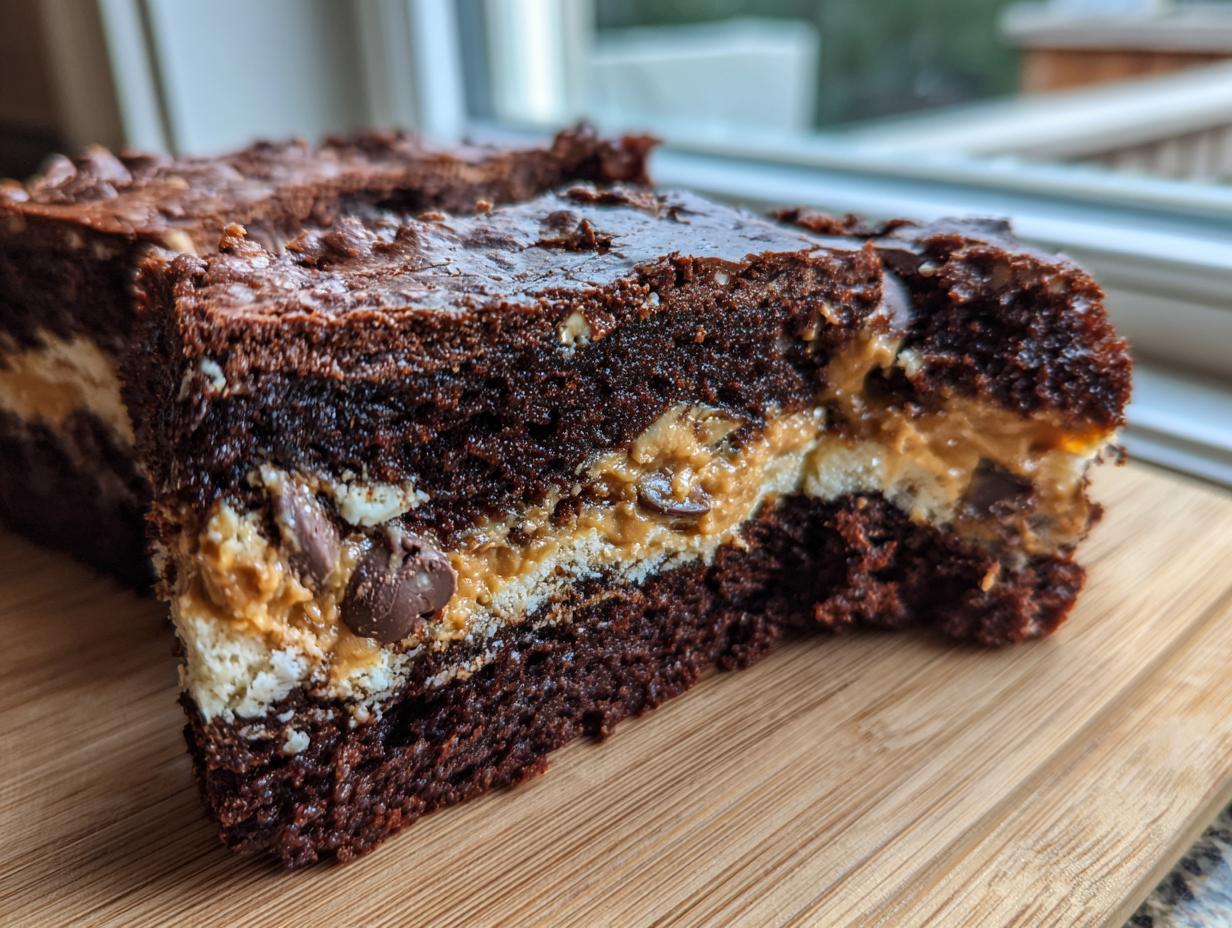
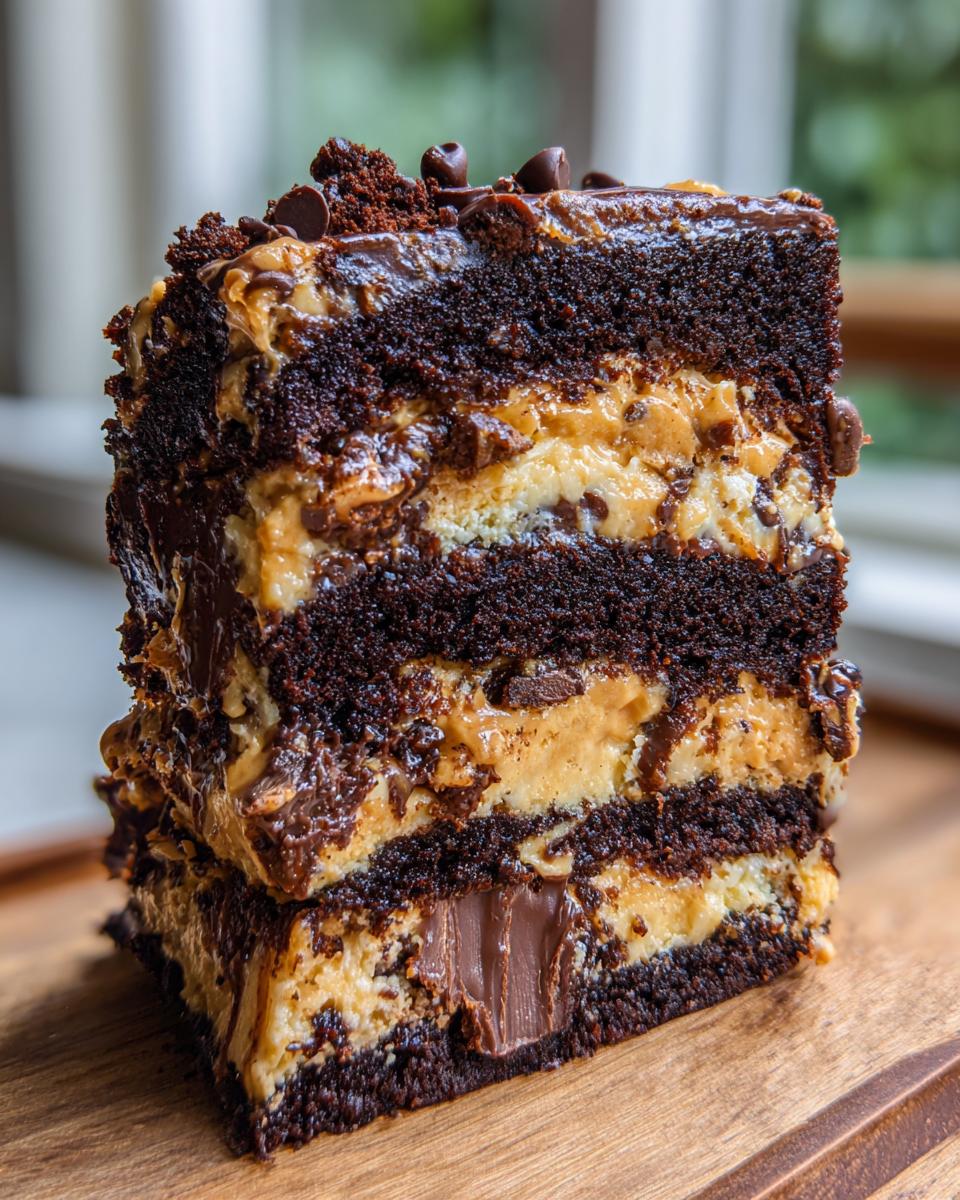
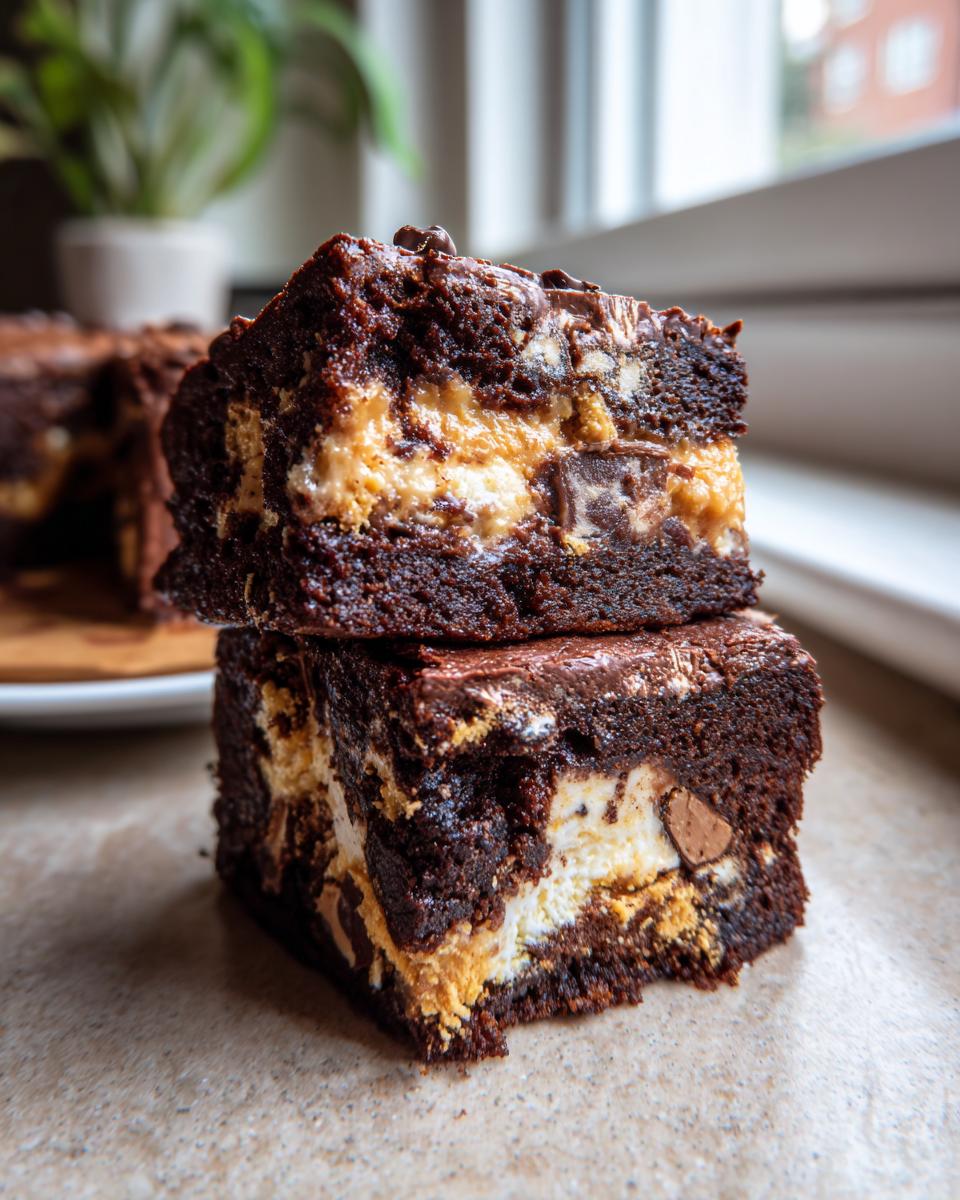
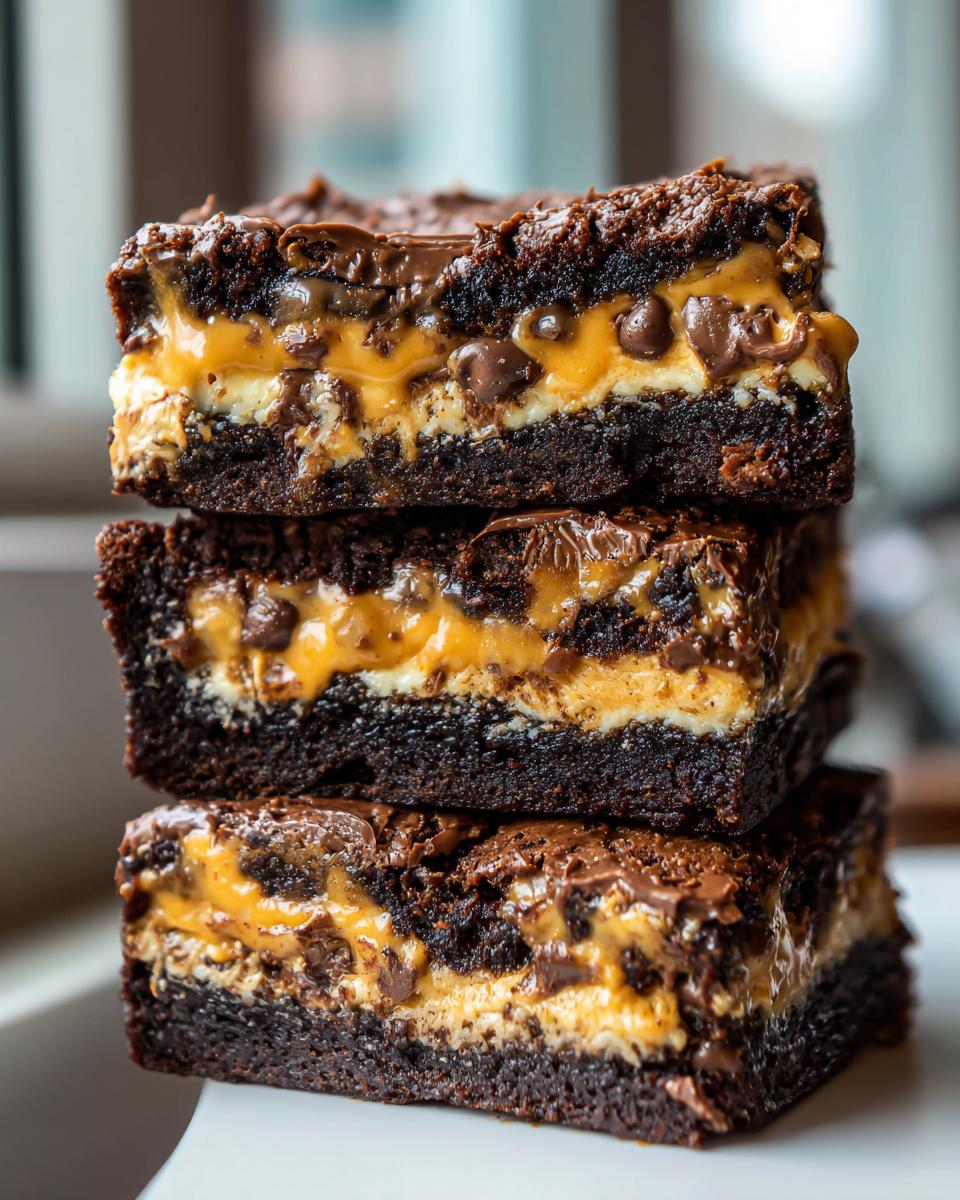
- It gives you that perfect, glorious texture—pockets of melted cream cheese and gooey, soft Reese’s cups mixed right into the chocolate crumb.
- The flavor combination of rich chocolate, tangy cream cheese, and salty peanut butter is just unbeatable.
- Seriously, it uses a standard cake mix as a base, jumping you right to the fun part. I love shortcuts when they taste this homemade. You can see some of my favorite ways to incorporate other comfort flavors in my comfort food collection!
Gathering Ingredients for Your Reese’s Peanut Butter Cup Earthquake Cake
Okay, the beauty of an Earthquake Cake is that it uses pantry staples mixed with all that glorious candy. You don’t need a fancy shopping list for this one! It comes together fast because most of the heavy lifting is done by the box mix, which I personally love for a busy weeknight treat. If you’re looking for another great peanut butter indulgence, you definitely need to check out my recipe for classic soft and chewy peanut butter cookies!
Here’s what you’ll need to gather up. Make sure that cream cheese is actually soft—cold cream cheese is the enemy of good swirling!
- One whole box of your favorite chocolate cake mix (15.25 oz).
- We’re fortifying that mix with a little extra structure: one cup of all-purpose flour, one cup of granulated sugar, one teaspoon of baking soda, and half a teaspoon of salt.
- For the wet stuff: one cup of cold water, half a cup of vegetable oil, two large eggs, and just a splash of vanilla extract.
- The filling needs 8 ounces of cream cheese (softened!), half a cup of powdered sugar, and half a cup of creamy peanut butter.
- Now, for the fun bits: one cup of semi-sweet chocolate chips, and one cup of miniature Reese’s Peanut Butter Cups, which you’ll want to give a rough chop.
- If you’re feeling extra ambitious—and you should be—grab half a cup of peanut butter chips too! They melt just beautifully.
Essential Equipment for Making How to make Earthquake Cake
You don’t need a stand mixer for this one, but I highly recommend having an electric hand mixer for the cream cheese layer—it saves your arm! Make sure you have your mixing bowls ready before you start dumping things in. A good 9×13 inch pan is mandatory for this recipe, so grab that one first!
- A 9×13 inch baking pan (greased and floured, please!).
- One large mixing bowl for the cake base.
- A separate medium bowl for that amazing cream cheese swirl.
- An electric hand mixer (or a strong whisk and determination).
- Whisk and rubber spatula.
- A toothpick for checking doneness later on!
Step-by-Step Instructions for the Reese’s Peanut Butter Cup Earthquake Cake
This is where the magic happens! Remember, an Earthquake Cake is supposed to be a little messy during the construction phase because all those heavy toppings sink down. My biggest rule here is: respect the batter! We aren’t making bread; we want air in there, so don’t go crazy mixing. When do you stop? Right when you stop seeing streaks of flour, that’s when. Once the batter is in the pan, it’s time to drop in those glorious ingredients to make those pockets of joy. If you want to see another recipe where timing is everything—like my super quick no-cook pizza sauce—I promise this patience pays off!
Preparing the Base Batter
First things first, get your oven humming at 350 degrees F (175 C) and make sure that 9×13 pan is greased up real good. In your big bowl, whisk together all the dry stuff: the cake mix, the flour, the sugar, and the baking soda. Then, add the water, oil, eggs, and vanilla. Mix it on medium speed—just until everything comes together and looks like proper cake batter. Don’t even think about mixing it for another minute after that! Pour this right into your prepared pan.
Creating the Cream Cheese Swirl Layer
Now, get your tools out for the filling. Beat that softened cream cheese until it’s looking smooth and happy. Slowly beat in the powdered sugar until there are no lumps left. Then, mix in that half cup of peanut butter. I like to use creamy here for the best melt, but chunky works if you like some texture! You want this mixture to be uniform and thick. When you drop spoonfuls of this over the cake batter, they shouldn’t immediately sink completely. If they disappear instantly, your cream cheese might have been too soft, so let the whole assembly sit for five minutes before moving to the next step.
Layering the Peanut Butter Cups and Baking
This is the fun part! Sprinkle those chocolate chips, those chopped-up Reese’s cups, and the optional peanut butter chips evenly over the top—try not to just drop everything in one spot. They will sink, that’s the earthquake effect we want! Pop it in the oven for about 40 to 50 minutes. You’ll know it’s done when the edges look set and a toothpick comes out *mostly* clean, meaning there are still moist crumbs clinging on those heavy, gooey spots. I’ve got a whole section on the best ways to bake with candy bars if you’re looking for your next project: Baking with Reese’s Candy! Let it cool completely before you dare slice it; those pockets need time to set up!
Tips for the Perfect Decadent Chocolate Peanut Butter Dessert
When you’re making something this rich, a couple of little tricks can take it from good to absolutely phenomenal. I learned these little secrets watching my friends bake, and they really make a difference in the final gooey payoff. Don’t skip paying attention to how you handle the mix-ins!
First, that cream cheese layer? It absolutely *must* be room temperature. If it’s cold, you’ll end up with little hard chunks of cheese marbling the cake instead of a smooth, melty swirl. It needs to be soft enough to drop easily from a spoon.
Second, distributing the toppings evenly is key to surviving the serving stage! If you dump all the Reese’s cups in one corner, one person gets a dry slice and another gets a mountain of chocolate. Try to sprinkle them edge-to-edge over the batter layer. If you also love that blend of salty and sweet in other recipes, you have to try my recipe for easy homemade soft and chewy sea salt caramels—it uses the same principle!
Finally, resist the urge to overbake! Since we are looking for that signature gooey, ‘earthquake’ texture, you want the center to look slightly underdone, with moist crumbs when you test it. It firms up beautifully as it cools.
Ingredient Notes and Substitutions for Your Reese’s Peanut Butter Cup Cake Recipe
Since this is a base-recipe mashup, people often ask if they can swap things out. And while I usually tell folks to stick rigidly to my recipes—especially when candy is involved—I get it; sometimes you’re missing an ingredient! For a recipe this fun, flexibility is good, as long as the spirit stays the same.
What about those peanut butter chips? If you don’t have them, don’t panic! They mostly melt into the background, so you can simply leave them out. You won’t miss them terribly. However, if you want to replace them, use an extra half cup of mini chocolate chips instead. That keeps the texture nice.
If you only have crunchy peanut butter on hand for the cream cheese layer, go ahead and use it! Just know that you are giving up a bit of that super smooth, velvety swirl we’re aiming for. The texture will be slightly more rustic. Crunchy in the batter is fine, but for the swirl, creamy melts better.
Can you use a different cake mix? Absolutely! This cake is fantastic with dark chocolate cake mix instead of standard chocolate if you want a deeper flavor, or even a Devil’s Food mix if you can find one! It’s hard to mess up the core structure here. If you are looking for no-bake variations using peanut butter, you have to try the no-bake peanut butter balls I make around the holidays!
Serving Suggestions for This Gooey Peanut Butter Cake
Because this cake is so unbelievably rich, you don’t need much on the side! In fact, a big, cold glass of milk is my favorite pairing—it cuts through the sweetness perfectly without competing with the chocolate and peanut butter flavors.
If you are serving it warm, just pop a slice in the microwave for about 10 or 15 seconds. It brings back that fresh-from-the-oven gooeyness! Otherwise, it holds up beautifully cooled on the counter for days. We sometimes eat leftovers with a scoop of vanilla bean ice cream piled on top. Speaking of classics, if you’re looking for another comforting, creamy dessert idea, check out my recipe for best old-fashioned Southern banana pudding!
Storing and Reheating the Reese’s Peanut Butter Cup Earthquake Cake
This cake is so ridiculously moist that it will actually last quite well, which is great news because I promise you won’t finish it in one sitting! Since it has that cream cheese layer baked right in, you do have to be a little mindful of temperature. It’s tempting to leave it on the counter, but for food safety, especially if you have leftovers more than a day later, I always recommend covering it tightly with plastic wrap and popping it right into the refrigerator.
Don’t let it sit cold too long though! A refrigerated slice of this gooey peanut butter cake won’t be nearly as good when it’s hard and chilled. You need that melt-factor back!
For reheating, I have a simple trick. Take out a slice and let it sit on the counter for about 20 minutes to take the chill off. Then, microwave it for about 10 to 15 seconds, just enough to warm the chocolate chips and soften that cream cheese swirl again. It brings back that fresh-baked feeling instantly! If you need other recipes that store well and are great for making ahead, you should look at my moist date nut bread; it just gets better overnight!
Frequently Asked Questions About This Easy Peanut Butter Cup Layer Cake
I always get questions when a recipe is this fun and loaded, so let’s clear up the important bits about baking this dreamy dessert. It brings together so many great flavors, which means people definitely want to know how to tweak it for their own tastes or how to store it properly. If you’re looking for other desserts that are fun to assemble, you absolutely have to check out my easy recipe for easy cool whip cookies!
Can I use crunchy peanut butter in the cream cheese layer?
You certainly can! If you only have crunchy peanut butter available, feel free to substitute it for the creamy version in the cream cheese swirl. Just know that your texture will change a little. Instead of that perfectly smooth, velvety pocket you get with creamy, you’ll end up with a slightly grainier texture, which some people actually prefer. It’s a trade-off between smoothness and chew!
What makes this a true Earthquake Cake?
That’s the best part! It’s called an Earthquake Cake because of how the layers behave while baking. You layer the cake batter, then the cream cheese dollops, and finally the heavy toppings like the chocolate and Reese’s cups. Because those toppings are so heavy, they sink deep down into the batter as it cooks, creating lots of gooey, sunken pockets—like little trenches after an earthquake! That’s what makes every bite different and so rich.
Can I make this Over the Top Candy Bar Cake ahead of time?
You definitely can prepare this ahead of time, but you must—and I mean *must*—let it cool completely first. If you try to wrap it while it’s even slightly warm, all that condensation will make the top sticky and messy when you try to cut it later. Once it’s 100% cool, cover it tightly with plastic wrap or foil and store it at room temperature for a day, or pop it in the fridge for up to three days. Just remember to let a slice warm up a bit before serving!
Nutritional Estimate for Your Reese’s Peanut Butter Cup Earthquake Cake
Now, let’s talk numbers. Because this cake is loaded with chocolate, cream cheese, and candy bars, it is definitely on the decadent side—this is a treat, not an everyday staple! These figures are just estimates, based on standard calculations for the ingredients listed, so treat them as a general guide for everyone enjoying a slice after dinner.
For one generous serving slice, you are looking at about 450 calories. You’ll get around 25 grams of fat, 55 grams of carbohydrates, and 6 grams of protein. We also have about 350mg of sodium and 35mg of cholesterol in that estimate. Remember to enjoy this amazing dessert guilt-free—it’s food made for happy memories, after all!
Share Your Baking Success
That’s it, my friend! You’ve managed to tame the beast and created one of the richest, most incredible chocolate and peanut butter desserts known to home bakers. I am genuinely so excited for you to take that first bite and watch your family devour every single gooey piece. Don’t keep this amazingness a secret!
I truly want to see your creations. Did your cream cheese layer swirl just right? Did your Reese’s cups melt into the perfect little molten pools? Snap a photo! Tag me on social media so I can celebrate with you. Seeing your baking projects is the absolute best part of running HearthBite, and it reminds me why we all love to cook together.
If you followed these steps and ended up with a show-stopping dessert, please hop back here and leave a star rating! It helps other folks feel confident when they tackle this recipe. And hey, if you have any questions about substitutions or techniques after the fact, don’t hesitate to reach out through my contact page. Happy baking, and may your kitchen always be full of delicious smells!
PrintReese’s Peanut Butter Cup Earthquake Cake

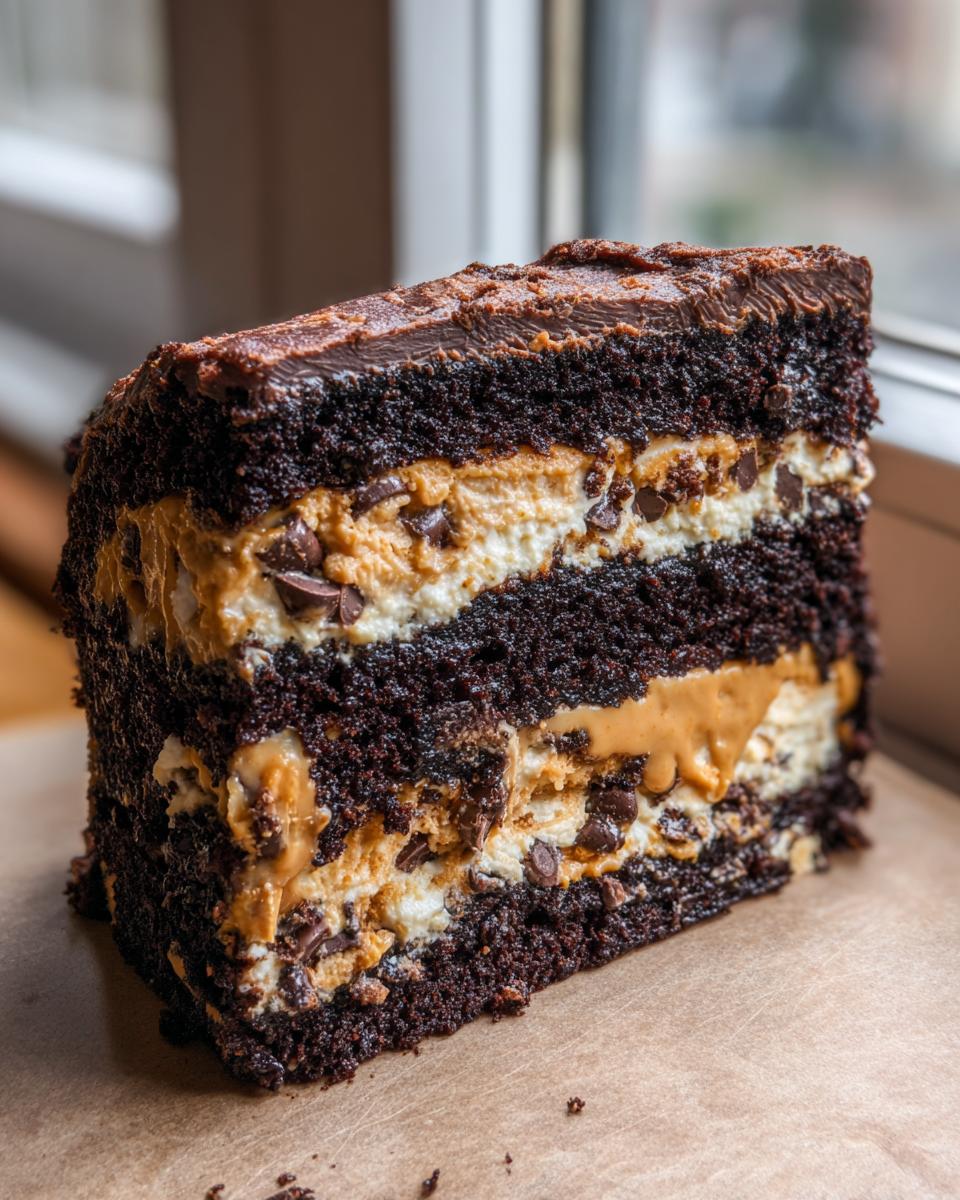
Make this rich and decadent chocolate cake that features layers of peanut butter, cream cheese, and Reese’s Peanut Butter Cups that sink during baking for a gooey, layered texture.
- Prep Time: 15 min
- Cook Time: 50 min
- Total Time: 65 min
- Yield: 12 servings 1x
- Category: Dessert
- Method: Baking
- Cuisine: American
- Diet: Vegetarian
Ingredients
- 1 box (15.25 oz) chocolate cake mix
- 1 cup all-purpose flour
- 1 cup granulated sugar
- 1 teaspoon baking soda
- 1/2 teaspoon salt
- 1 cup cold water
- 1/2 cup vegetable oil
- 2 large eggs
- 1 teaspoon vanilla extract
- 1 package (8 oz) cream cheese, softened
- 1/2 cup powdered sugar
- 1/2 cup creamy peanut butter
- 1 cup semi-sweet chocolate chips
- 1 cup miniature Reese’s Peanut Butter Cups, chopped
- 1/2 cup peanut butter chips (optional)
Instructions
- Preheat your oven to 350 degrees F (175 degrees C). Lightly grease and flour a 9×13 inch baking pan.
- In a large bowl, whisk together the dry ingredients for the cake mix: cake mix, flour, granulated sugar, and baking soda.
- Add the wet ingredients: cold water, vegetable oil, eggs, and vanilla extract. Mix on medium speed with an electric mixer until just combined. Do not overmix.
- Pour the batter into the prepared baking pan.
- In a separate bowl, beat the softened cream cheese until smooth. Gradually beat in the powdered sugar until fully incorporated. Mix in the 1/2 cup of creamy peanut butter until the mixture is uniform.
- Drop spoonfuls of the cream cheese mixture randomly over the top of the cake batter.
- Sprinkle the chocolate chips, chopped Reese’s Peanut Butter Cups, and peanut butter chips (if using) evenly over the top of the batter and cream cheese dollops.
- Bake for 40 to 50 minutes, or until a toothpick inserted near the center comes out mostly clean. The cake will sink in spots and the toppings will create gooey pockets.
- Let the cake cool completely in the pan on a wire rack before slicing and serving.
Notes
- For an extra gooey texture, you can drizzle a simple chocolate glaze over the cooled cake.
- Use room temperature cream cheese for the easiest mixing of the cream cheese layer.
- Chop the Reese’s cups slightly smaller than bite-sized so they distribute better.
Nutrition
- Serving Size: 1 slice
- Calories: 450
- Sugar: 45g
- Sodium: 350mg
- Fat: 25g
- Saturated Fat: 8g
- Unsaturated Fat: 17g
- Trans Fat: 0g
- Carbohydrates: 55g
- Fiber: 2g
- Protein: 6g
- Cholesterol: 35mg