
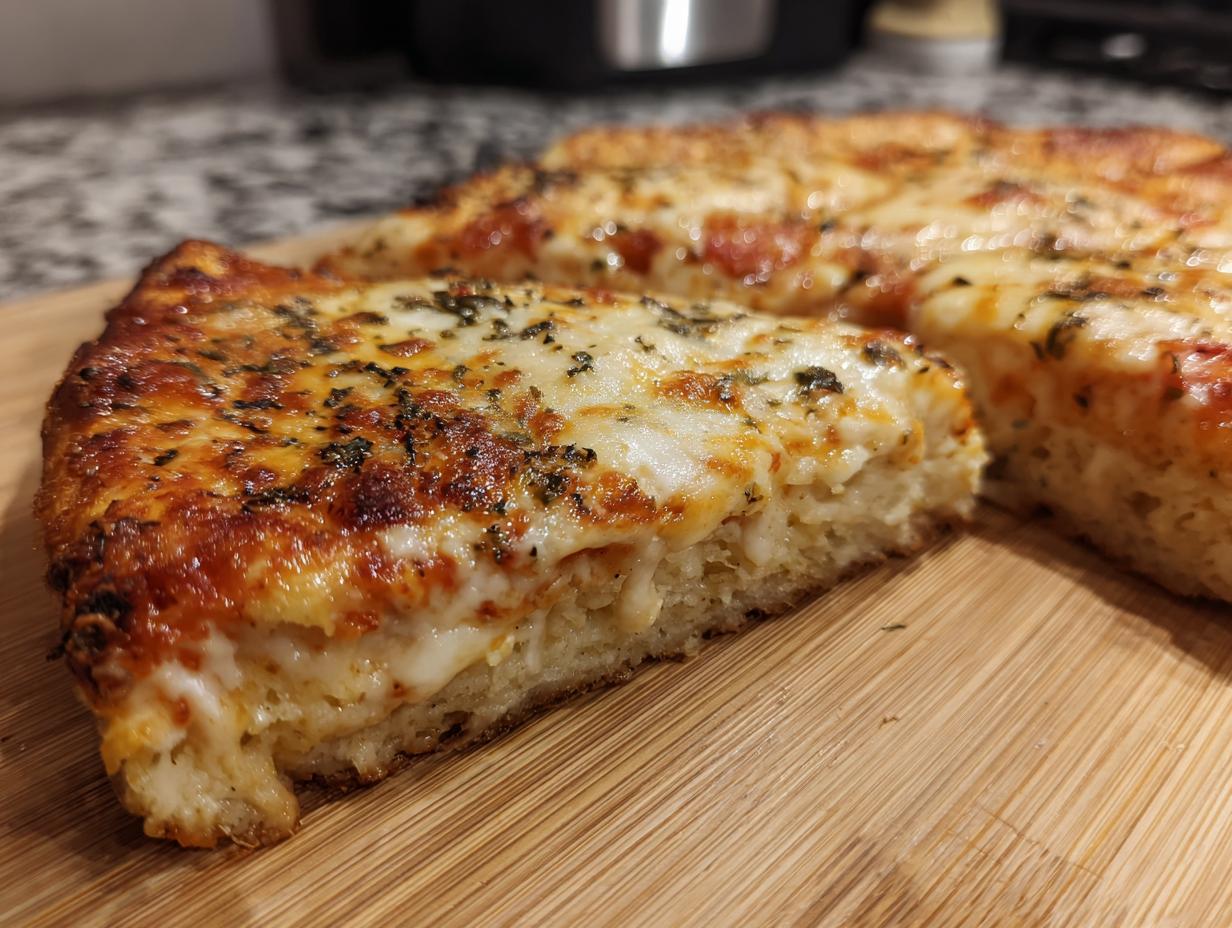
Oh, pizza night. It always feels like a celebration, but sometimes that heavy, dense dough just weighs you down, right? Here at HearthBite, we believe comforting meals shouldn’t require you to forfeit your goals for the week. That’s why I, Sarah Miller, am thrilled to share a recipe that has totally revolutionized our family dinners: the cottage cheese pizza crust. It’s everything you want in a quick weeknight meal—high in protein, surprisingly low in carbs, and unbelievably straightforward.
This isn’t some complicated, yeasted affair that takes all afternoon. Absolutely not! This recipe embodies the HearthBite philosophy: taking real, accessible ingredients and turning them into something deeply delicious and reliably stress-free. It’s proof that even when life feels hectic, you can still create moments of connection around a satisfying meal. If you’re looking to lighten up your pizza game without losing that satisfying, cheesy texture, trust me, this is the quick, easy dinner recipe you’ve been waiting for. Let’s get blending!
- Why This Easy 3-Ingredient Cottage Cheese Pizza Crust is a Game Changer
- Gathering Ingredients for Your Cottage Cheese Pizza Crust
- Step-by-Step Instructions for the Perfect Cottage Cheese Pizza Crust
- Cooking Your Cottage Cheese Pizza Crust in the Air Fryer
- Serving Suggestions for Your High Protein Pizza Crust
- Storing and Reheating Your Homemade Pizza Without Yeast
- Troubleshooting Common Cottage Cheese Pizza Crust Issues
- Frequently Asked Questions About Cottage Cheese Pizza Crust
- Understanding the Nutrition of Your Cottage Cheese Pizza Crust
Why This Easy 3-Ingredient Cottage Cheese Pizza Crust is a Game Changer
Honestly, I keep this recipe tucked away for those nights when the kids suddenly declare it’s ‘Healthy Pizza Night‘ but I only have 30 minutes to cook. That’s the magic here—it’s a total Quick Pizza Crust Hack! This isn’t about skipping pizza; it’s about upgrading it. We get all the satisfaction without the carb guilt, and since it’s so fast, it’s perfect for weeknights when we want to sneak in more good stuff.
Protein Packed Baking for Satisfying Meals
Forget those diet crusts that taste like cardboard; this one actually feels like a treat! Because we rely on that thick cottage cheese base, you’re loading up your meal with serious gains. We’re talking about a genuinely High Protein Pizza Crust that keeps everyone full longer. The cottage cheese blends down so smoothly, lending structure and richness without needing any heavy fats or yeast.
Gluten Free Pizza Dough Alternative That Actually Works
I know what you’re thinking: most low-carb bases fall apart the second you put sauce on them. Not this one! This cottage cheese pizza crust is surprisingly sturdy once baked. It’s a fantastic Gluten Free Pizza Dough Alternative because that blend of cheese and egg creates a firm enough base for even pepperoni and extra veggies. I started serving this to Dad when he cut back on grains, and now the whole family prefers this lighter base. You should check out some of my other healthy lunch recipes while you’re at it!
Gathering Ingredients for Your Cottage Cheese Pizza Crust
Okay, time to talk about what you actually need to make this glorious cottage cheese pizza crust happen. The beauty of this recipe is that it uses pantry staples, proving this is such an Easy Cottage Cheese Recipe! We only need three things to make the base dough, which is just wild when you think about how tasty the final pizza is.
- 1 cup cottage cheese (full-fat or low-fat, drained if very watery)
- 1 large egg
- 1/2 cup all-purpose flour (or substitute with almond flour for lower carb)
Ingredient Notes and Substitutions for Your Low Carb Pizza Base
Listen, the cottage cheese can sometimes come packed in watery stuff, and nobody wants a sad, soupy crust! If yours looks super wet, take a second to drain off that excess liquid. This is key for a sturdy base. If you’re keeping things super strict on the low-carb count, you can absolutely swap the regular AP flour for almond flour. It gives you a beautiful, denser, Low Carb Pizza Base every time. Just remember the star here is the cheese, which makes this whole baking project so much more filling!
Step-by-Step Instructions for the Perfect Cottage Cheese Pizza Crust
Making this crust is almost goof-proof, which is exactly why I love it for busy evenings. We aren’t messing around with rising times or kneading here; this is modern speed baking at its best! The whole process relies on a good blend, so make sure your food processor or blender is ready to go. You’ll want to follow these steps exactly to get that sturdy, satisfying foundation for your toppings.
First things first, heat up that oven real good—we’re aiming for 400°F (200°C). Line a baking sheet with parchment paper, or you’ll be scraping for hours, trust me! Toss in your cottage cheese, the egg, and the flour right into the processor. Blend it all up until it’s completely smooth and looks like a thick, creamy batter. Seriously, you shouldn’t see any lumps of cheese floating around!
Next, pour that batter onto your prepared sheet. Use a spatula—or just the back of a spoon—to spread it out into an even 10-inch circle. Keep it about 1/4 inch thick, which is perfect for holding ingredients. Bake this plain crust for about 12 to 15 minutes. Keep an eye on the edges; they should start looking just barely golden brown. Once that happens, pull it out. This partial bake is crucial for a great final product. Don’t forget to check out my easy, quick dinner recipes for ideas on what to top it with!
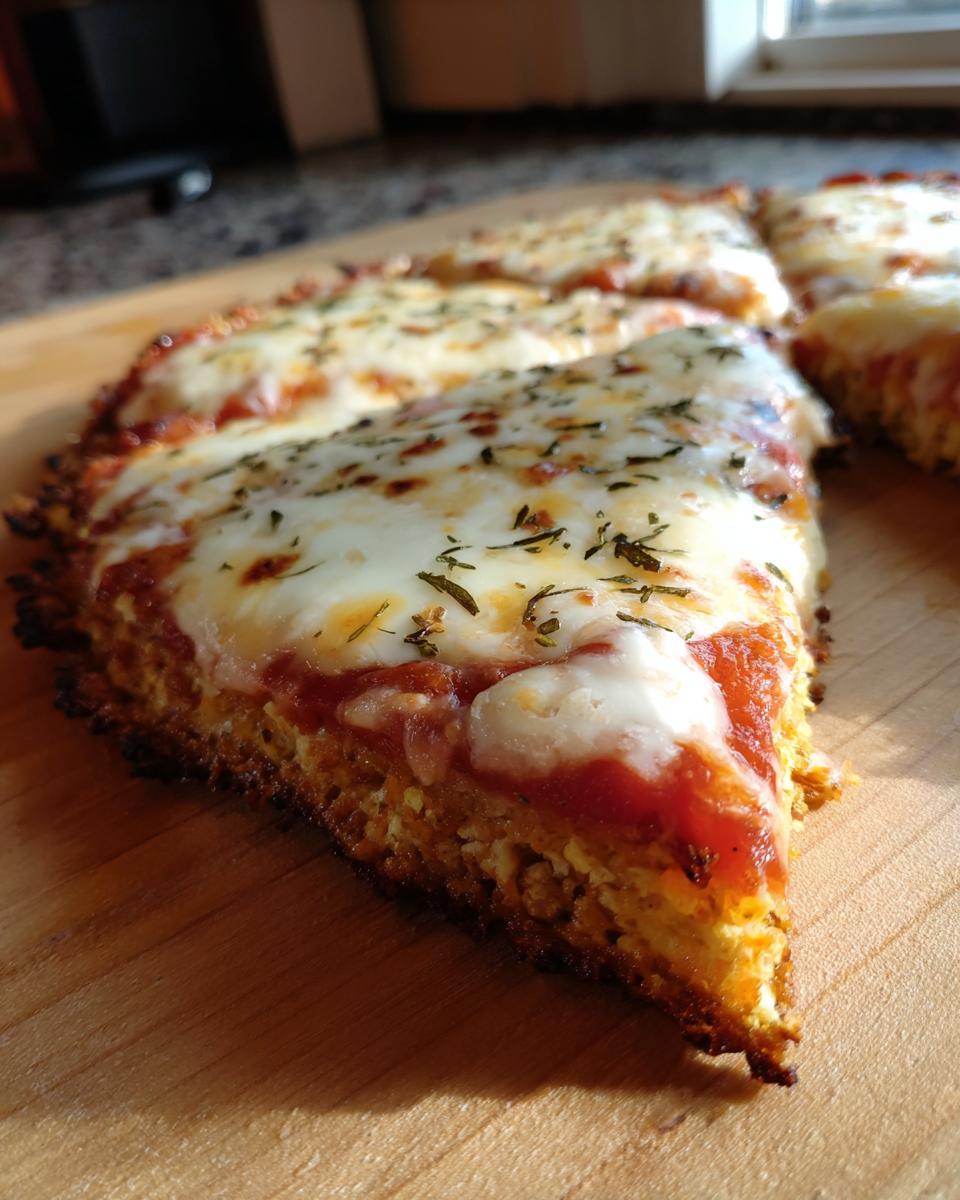
Achieving a Crispy Cottage Cheese Crust Texture
If you are aiming for that perfect Crispy Cottage Cheese Crust texture, that initial bake is your secret weapon! If you pull the crust out and it still feels a little soft in the very center, don’t panic. Just pop it back in for an extra two or three minutes. Once it’s pre-baked and firm enough to handle, *now* you add your sauce, cheese, and favorite toppings. Returning the loaded pizza to the oven for just another 5 to 8 minutes ensures the cheese melts perfectly without getting the base soggy. That pre-bake evaporates just enough moisture to give you a delightful crunch!
Cooking Your Cottage Cheese Pizza Crust in the Air Fryer
Okay, you know I love my oven, but sometimes, you just need faster, extra-crispy results, right? If you have an air fryer humming away on your counter, you absolutely have to try this! Turning this into an Air Fryer Pizza Crust is such a great Quick Pizza Crust Hack, especially if you hate waiting for a full-size oven to preheat.
The process is nearly identical to baking, but faster! Once you’ve blended up your batter and poured it onto a small piece of parchment paper that fits inside your air fryer basket, you’re ready to go. Because the heat circulates so much more intensely in those machines, we need to drop the temperature slightly to prevent the edges from burning before the center sets up.
For the pre-bake, set your air fryer to 375°F (190°C). Cook the crust plain for about 8 to 10 minutes. You want it firm to the touch. Once it’s set, carefully pull the basket out (be careful, it’s hot!), add your sauce and toppings, and then pop it back in for another 4 to 6 minutes until that cheese is golden and bubbly. It comes out beautifully **crispy** every time! Seriously, don’t be shy about trying new appliance methods for this cottage cheese pizza crust—it handles the heat like a champ!
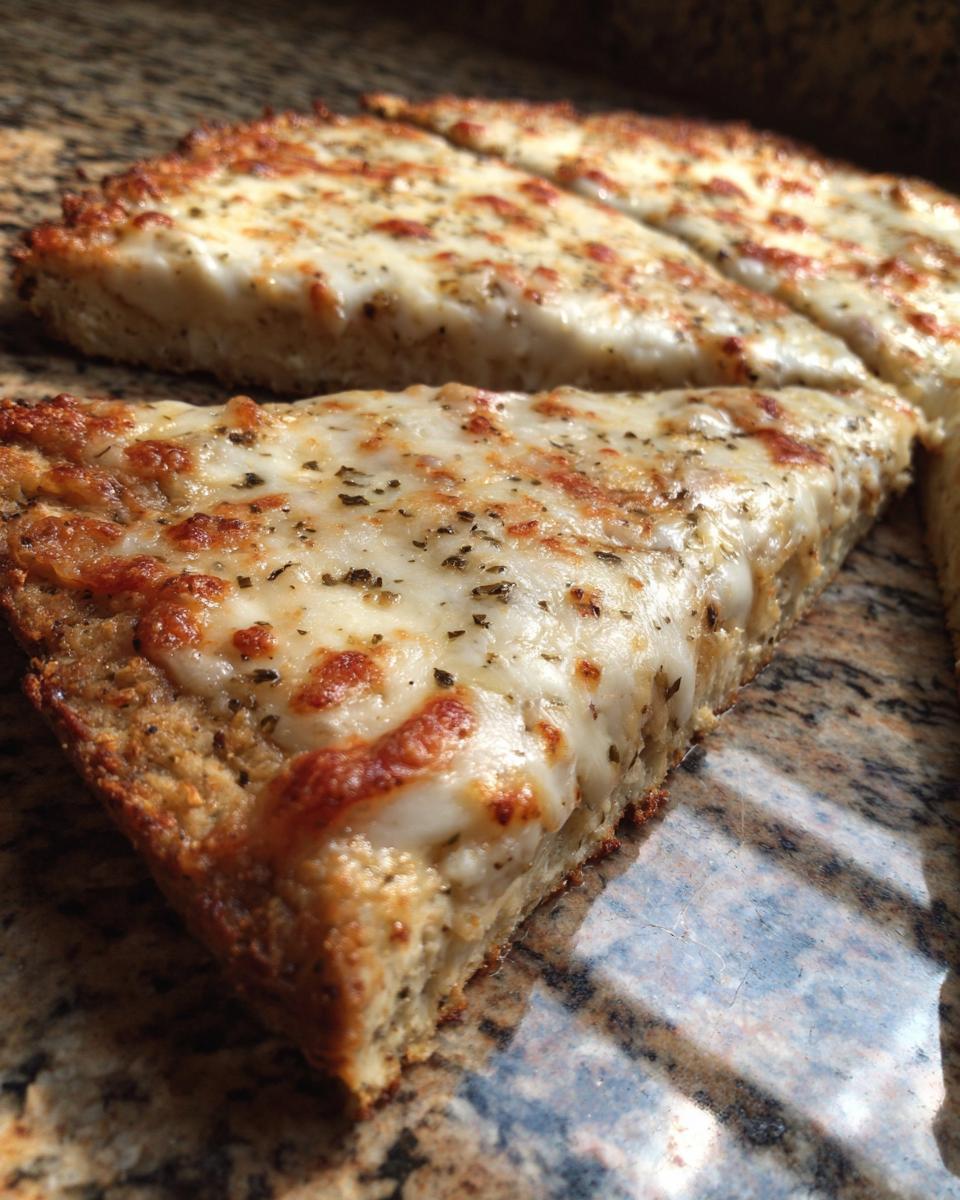
Serving Suggestions for Your High Protein Pizza Crust
Now that you have this amazing, sturdy foundation—your High Protein Pizza Crust—the real fun begins! Because this base is already wonderfully cheesy and holds its structure so well, you can get creative without worrying about a Soggy Bottom Syndrome. It’s so versatile; you can go classic Italian or lean into that lighter, fresh feel of a Cottage Cheese Flatbread.
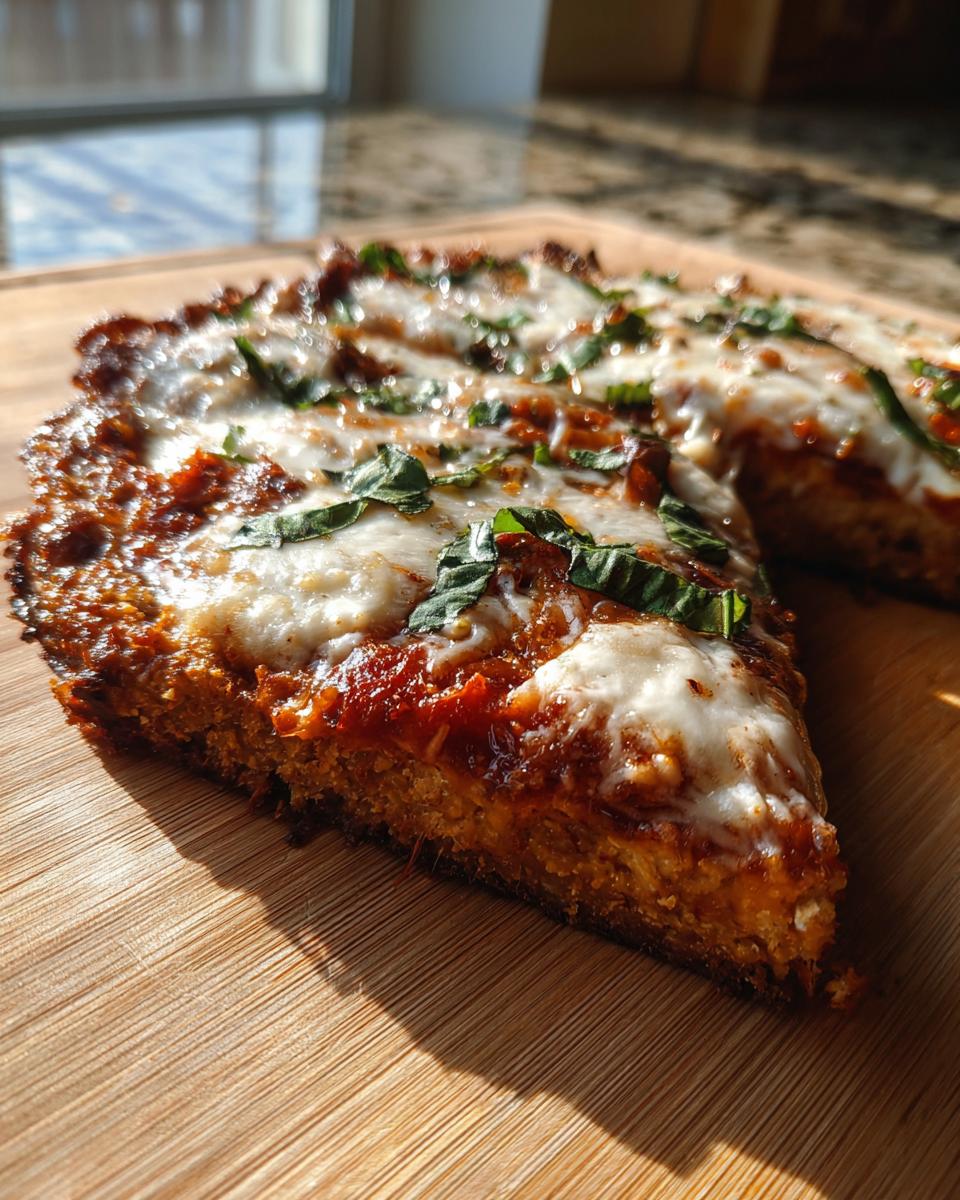
For a more traditional pizza night, go for classic toppings, but try to keep the sauce layer thin. A thick slathering of marinara can sometimes weigh down any lighter crust. I love a homemade roasted garlic base instead of heavy tomato sauce sometimes—it really lets the cheesy notes of the crust shine through! Don’t forget your easy breakfast recipes for the morning after; leftover cold pizza is truly divine, by the way!
If you want to skip the heavy meat and go for that brighter flatbread style, think fresh toppings added right near the end of the bake time. Try a drizzle of high-quality olive oil, some fresh arugula tossed lightly in lemon juice, maybe some thinly sliced prosciutto added right after it comes out of the oven. A little sprinkle of fresh basil, maybe some shaved Parmesan? It really sings! This cottage cheese pizza crust is truly ready for anything you throw at it, but lighter toppings really let its unique texture shine.
Storing and Reheating Your Homemade Pizza Without Yeast
One of the things I really love about this recipe is how well it holds up. Since we are skipping the yeast and traditional dough-making—this is totally a Homemade Pizza Without Yeast solution—it makes it fantastic for meal prep! You absolutely shouldn’t feel like you have to eat the whole thing in one sitting. This is perfect for batch cooking.
Once you have the crust fully pre-baked (before you add any toppings—that’s key!), let it cool completely on a wire rack. I mean *completely* cool. Warm crust steaming inside plastic is just asking for trouble!
For storage, you have two great options. If you plan to eat it within three or four days, wrap that pre-baked base tightly in plastic wrap, and then tuck it into a zip-top bag or an airtight container. This keeps it fresh and ready to go. If you want to freeze it for those true emergency dinners later on, wrapping it individually prevents sticking. You can keep these frozen bases tucked away for up to two months. This turns it into a fantastic, quick ‘Meal Prep Pizza Crust‘ option!
Now, for reheating—the moment of truth! We want that crispy texture back, right? You can gently warm a slice up in the microwave, but honestly, you’ll lose all that lovely texture. Skip that if you can. The best way to revitalize the crust is to use a toaster oven or a regular oven set to about 350°F (175°C). Place the naked crust directly onto a rack for about five minutes just to crisp it up again. Then, add your sauce and cheese and return it to the oven until the cheese melts. If you love exploring other grain-free options, be sure to look over my gluten-free recipes collection!
Troubleshooting Common Cottage Cheese Pizza Crust Issues
Even with super simple recipes, sometimes things don’t go exactly as planned. Don’t throw in the towel just because your first attempt at a cottage cheese pizza crust didn’t come out magazine-perfect! These little hiccups are honestly how we learn to trust our instincts in the kitchen, which is the whole point of HearthBite—building confidence.
Usually, when this type of crust misbehaves, it comes down to two things: moisture control or spreading technique. If the base isn’t getting firm enough, we need to adjust that water content or give it more time in the heat. Trust me, I’ve learned this through trial and error at our own dinner table!
Why Did My Crust Turn Out Soggy?
This is the number one complaint I hear, and it almost always circles back to moisture. If your base is ending up soggy or chewy when you wanted that crispy edge, you probably skipped the crucial step I mentioned earlier: pre-baking! You have to bake the crust alone first—letting that moisture steam out is non-negotiable for a sturdy base. If you added sauce and toppings to raw batter, it’s going to seep in.
Also, remember what I said about draining the cottage cheese? If your cheese was really watery when you blended it, that excess liquid has nowhere to go but into the dough. Next time, dab that cottage cheese dry with a paper towel before you toss it in the food processor. A little patience here results in a wonderfully sturdy base!
Did My Crust Crack When I Tried to Spread It?
If you noticed fine cracks spider-webbing across your crust when you were trying to spread it into a circle, chances are you overworked the batter or spread it too thin. Since this mixture doesn’t have the gluten structure of traditional dough, it doesn’t stretch; it smears. You want to gently guide the batter into place using the back of a spoon.
If you try to push it out too aggressively once it’s on the parchment, you are just going to tear the developing structure. Think gentle persuasion, not forceful stretching! If it’s too thick, it won’t bake through evenly, which can lead to crumbling when you try to lift it. Aim for that consistent 1/4-inch thickness across the entire circle for the best results.
The Cheese Isn’t Melting Right on Top
This is an easy fix! If you notice your toppings are burning or the cheese is developing those tough, rubbery spots while the edges of the crust are getting too dark, it means your pre-bake might have been too long, or you’re putting cold toppings straight onto a hot crust.
After you pre-bake the base (12-15 minutes), take it out, *then* add your sauce and cheese. If your sauce is ice-cold straight from the fridge, it drops the overall temperature too much. Let the sauce sit on the counter for 10 minutes first. Then, when you return it to the oven for the final 5-8 minutes, everything should melt together beautifully and evenly without burning the edges of your delicious **cottage cheese pizza crust**.
Frequently Asked Questions About Cottage Cheese Pizza Crust
I always get questions when people see this incredible base for the first time! It’s understandable; using cottage cheese to make a pizza crust sounds a little wild at first, but once you try it, you’ll see why it’s replacing traditional dough in our home so often. We want you to feel totally confident baking this, so here are answers to the things I hear most often about this amazing, **guilt-free pizza** solution.
Can I make this a Keto Pizza Crust without flour?
Oh, absolutely! If you’re aiming for a stricter Keto Pizza Crust, you’ve got great options. In the recipe above, I suggested swapping the all-purpose flour for almond flour, which keeps the carbs super low. But if you truly want to go flourless? You can! Some versions lean heavily on just the cottage cheese, egg, and maybe some mozzarella mixed right into the batter. That version tends to be a little softer, more like a Flourless Pizza Base, so make sure you pre-bake it really well until it’s firm!
What is the best cheese for a Cheesy Protein Crust?
Honestly, the base itself is already packed with protein from the cottage cheese, but cheese on top makes it pizza, right? I always stick to low-moisture, part-skim mozzarella for the perfect gooey melt. It stretches just like we want it to! However, if you want to amp up the flavor of the crust itself—turning it into an even more amazing Cheesy Protein Crust—try whisking about two tablespoons of finely grated Parmesan cheese right into the wet ingredients along with the cottage cheese and egg. It adds such a nice sharp, salty flavor!
How long can I meal prep this crust for?
This is one of my favorite parts about this **cottage cheese pizza crust**; it’s fantastic for Meal Prep Pizza Crust! As I mentioned before, you should only pre-bake the naked crust—never add toppings yet. Once it’s cooled completely after that 15-minute bake, you can wrap it tightly and freeze it wrapped in plastic wrap and then foil for up to two months. When you want pizza, just take it out, unwrap it, and pop it straight into a 350°F oven for about 10 minutes until it’s warm and crisp again before topping it. It saves so much time on those crazy busy nights! If you’re looking for more ways to cook ahead, check out my favorite comfort food recipes that are ready to reheat!
Understanding the Nutrition of Your Cottage Cheese Pizza Crust
When you’re making mindful swaps at dinner time, you want to know exactly what you’re putting in your body, and that’s perfectly fine by me! Portion control is key when you’re aiming for a Low Calorie Pizza Base, and that’s why breaking down the macros is so helpful. Since this cottage cheese pizza crust is so high in protein, it really changes the game for a satisfying dinner. This isn’t just ‘diet’ food; it’s fuel that tastes amazing!
Just remember that these numbers are based on the specific ingredient list provided earlier—if you swap out the AP flour for almond flour, the carbs will dip down further, which is great for folks aiming for a true Keto Pizza Crust experience. Think of this as a baseline for a plain, pre-baked slice.
Check out the estimated nutrition facts below for one typical slice of the pre-baked crust. You can use this as a guide for planning out your healthy toppings later on. If you need ideas for rounding out your macros with healthy snacks to go with this, my post on easy homemade protein bars might give you inspiration!
- Serving Size: 1 slice
- Calories: 180
- Protein: 18g (Wow, right? That’s more filling than standard dough!)
- Carbohydrates: 15g
- Fat: 6g
- Sugar: 2g
- Fiber: 1g
See? That protein count is fantastic for keeping you satisfied until breakfast. It just goes to show that you don’t have to settle for boring food just because you’re watching your carbs. This crust proves that Protein Packed Baking can be delicious and easy for your family!
Print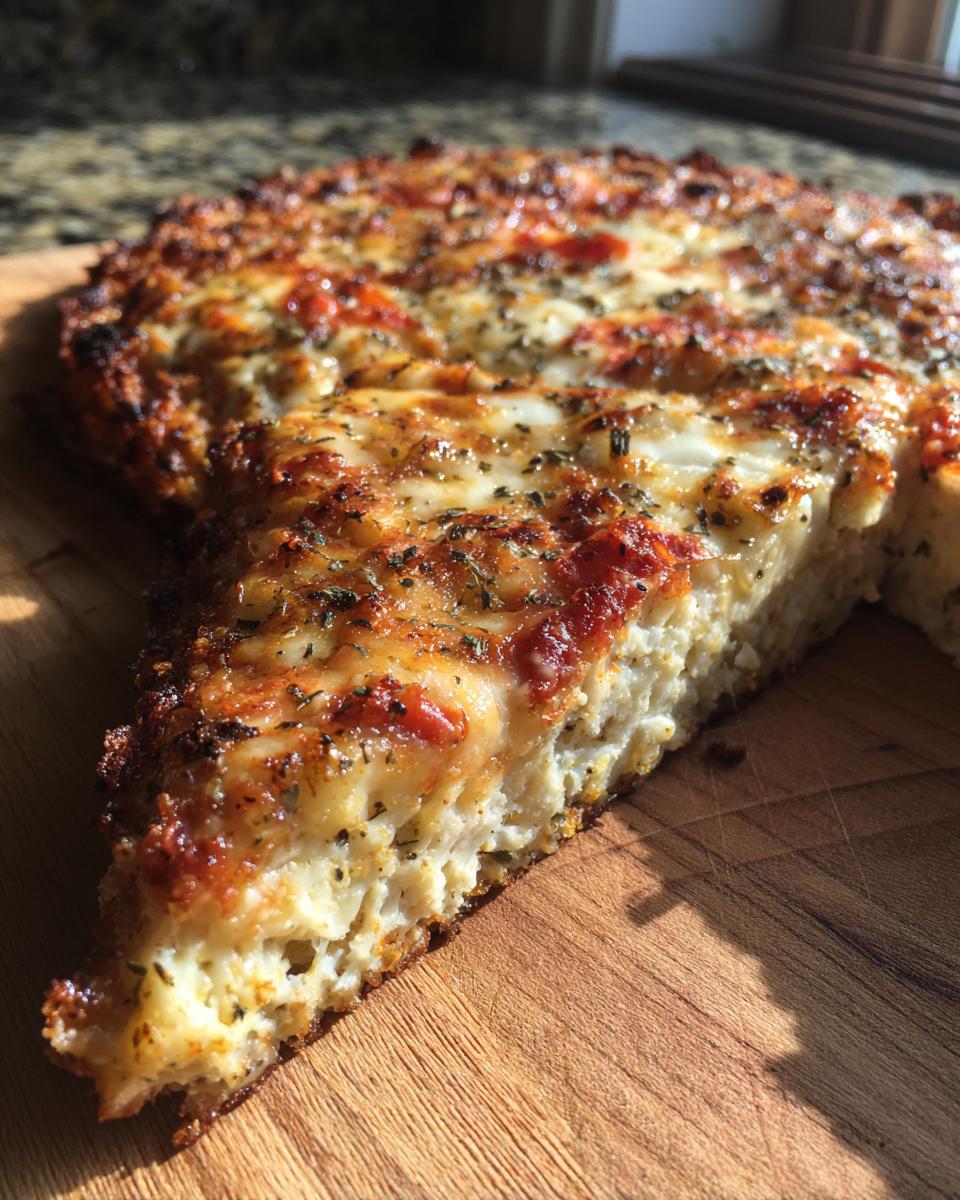
Easy 3-Ingredient Cottage Cheese Pizza Crust: High Protein & Low Carb
Make a simple, high-protein pizza crust using cottage cheese. This recipe is a low-carb, gluten-free alternative to traditional dough, perfect for quick weeknight dinners.
- Prep Time: 10 min
- Cook Time: 20 min
- Total Time: 30 min
- Yield: 1 medium pizza (4 servings) 1x
- Category: Dinner
- Method: Baking
- Cuisine: American
- Diet: Low Fat
Ingredients
- 1 cup cottage cheese (full-fat or low-fat, drained if very watery)
- 1 large egg
- 1/2 cup all-purpose flour (or substitute with almond flour for lower carb)
Instructions
- Preheat your oven to 400°F (200°C). Line a baking sheet with parchment paper.
- Place the cottage cheese, egg, and flour into a food processor or blender. Blend until the mixture is completely smooth. You should have a thick batter consistency.
- Pour the batter onto the prepared baking sheet. Use a spatula or the back of a spoon to spread the mixture into a 10-inch circle, about 1/4 inch thick.
- Bake the crust for 12 to 15 minutes, or until the edges start to turn light golden brown.
- Remove the crust from the oven. Add your desired pizza sauce, cheese, and toppings.
- Return the pizza to the oven and bake for another 5 to 8 minutes, or until the cheese is melted and bubbly.
- Slice and serve immediately.
Notes
- For a crispier crust, bake the crust for an extra 3-5 minutes before adding toppings.
- If you use almond flour instead of all-purpose flour, the crust will be lower in carbohydrates.
- You can also cook this crust in an air fryer at 375°F (190°C) for about 8-10 minutes before topping.
Nutrition
- Serving Size: 1 slice
- Calories: 180
- Sugar: 2g
- Sodium: 250mg
- Fat: 6g
- Saturated Fat: 3g
- Unsaturated Fat: 3g
- Trans Fat: 0g
- Carbohydrates: 15g
- Fiber: 1g
- Protein: 18g
- Cholesterol: 60mg