
Oh, you need an appetizer, and you need it five minutes ago, right? We’ve all been there! Entertaining can feel rushed, but Sarah Miller here at HearthBite believes that feeding people you care about should never feel like a chore. That’s why I’m obsessed with recipes that deliver maximum flavor with minimum fuss. Forget those complicated spreads that take forever; today, we are making the Quick and Creamy Cold Black and Green Olive Dip. Trust me, this incredible olive dip is ready in about 10 minutes flat, total! It hits all those savory, tangy notes you’re craving, and because we test every recipe until it’s absolutely reliable, you can whip this up for guests and know it’s going to be a huge hit, no stress required. You know, this kind of straightforward, soulful food reminds me so much of the classic comfort foods we all cherish.
- Why This Quick and Creamy Olive Dip is Your New Favorite Appetizer
- Gathering Ingredients for Your Homemade Olive Dip
- Step-by-Step Instructions for This Easy Olive Dip Recipe
- Tips for Success with Your Cold Olive Spreads
- Variations on the Classic Olive Dip Recipe
- Storage and Make Ahead Dips Instructions for Your Olive Dip
- Serving Suggestions: Pairing with the Best Olive Dip for Crackers
- Frequently Asked Questions About This Olive Dip
- Nutritional Estimates for This Savory Spread
Why This Quick and Creamy Olive Dip is Your New Favorite Appetizer
When I need something exceptional on the table fast—like, *really* fast—I turn to this recipe. It’s the definition of one of those quick appetizer dips that tastes like you spent hours fussing over it. Seriously, knowing I can pull this together in 10 minutes makes it my secret weapon for unexpected guests. It really proves that home cooking, even for party starters, doesn’t need to be complicated to be delicious.
Here’s why this dip earns a permanent spot on my entertaining rotation:
- It truly is one of the best 10 Minute Appetizers you can find. No oven required here!
- It’s incredibly balanced—tangy, salty, and wonderfully creamy all at once.
- It holds up perfectly! Unlike some dips that wilt after an hour, this stays fresh and firm.
Speed and Simplicity: The 10-Minute Olive Dip Advantage
The best part? It’s completely no-cook. You dump everything in the food processor and pulse. That’s it! You don’t have to worry about preheating the oven or timing anything fussy. Because it’s so reliable and easy, it instantly becomes my favorite Simple Party Dip anytime I’m hosting. It’s the definition of impressive, easy entertaining.
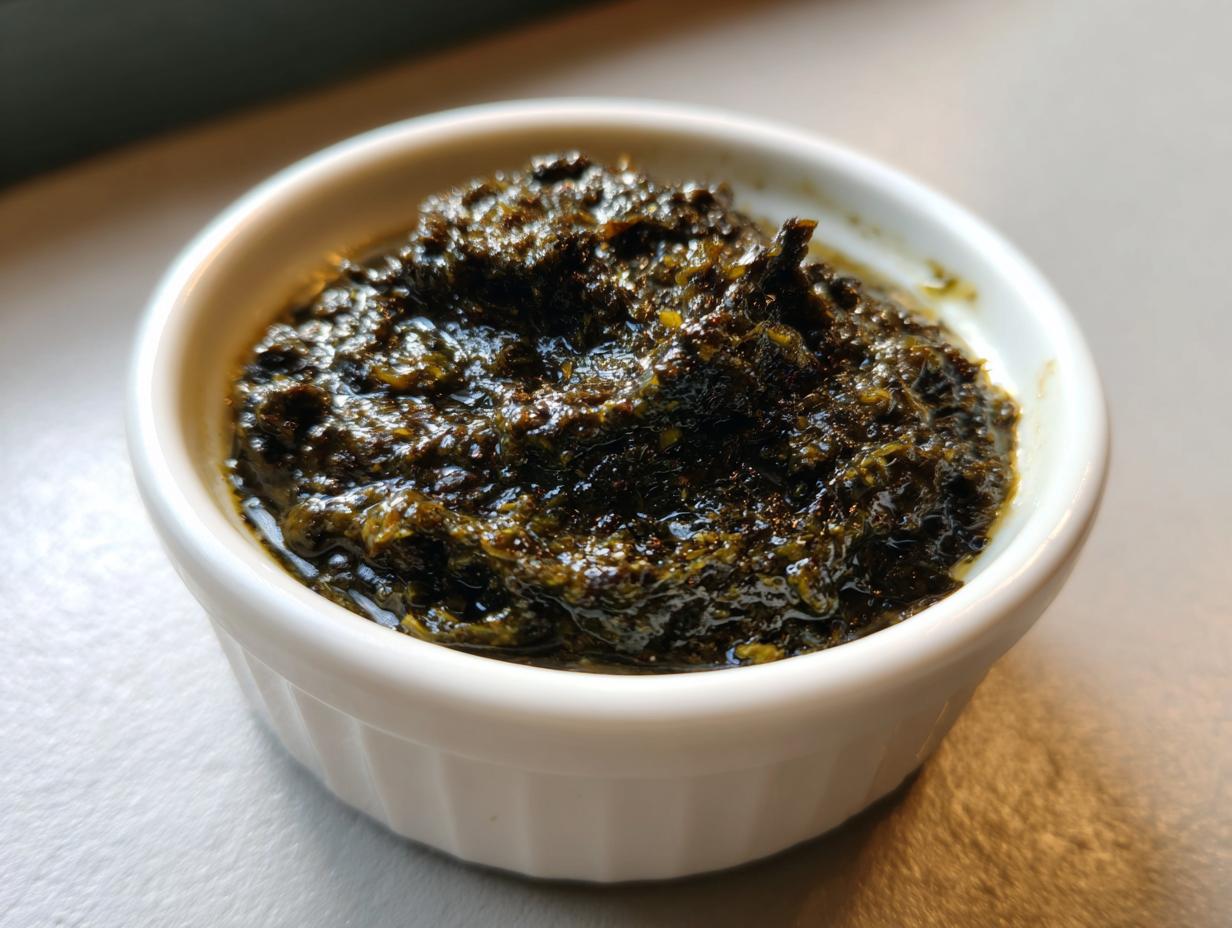
Flavor Profile: Balancing Black and Green Olive Dip Notes
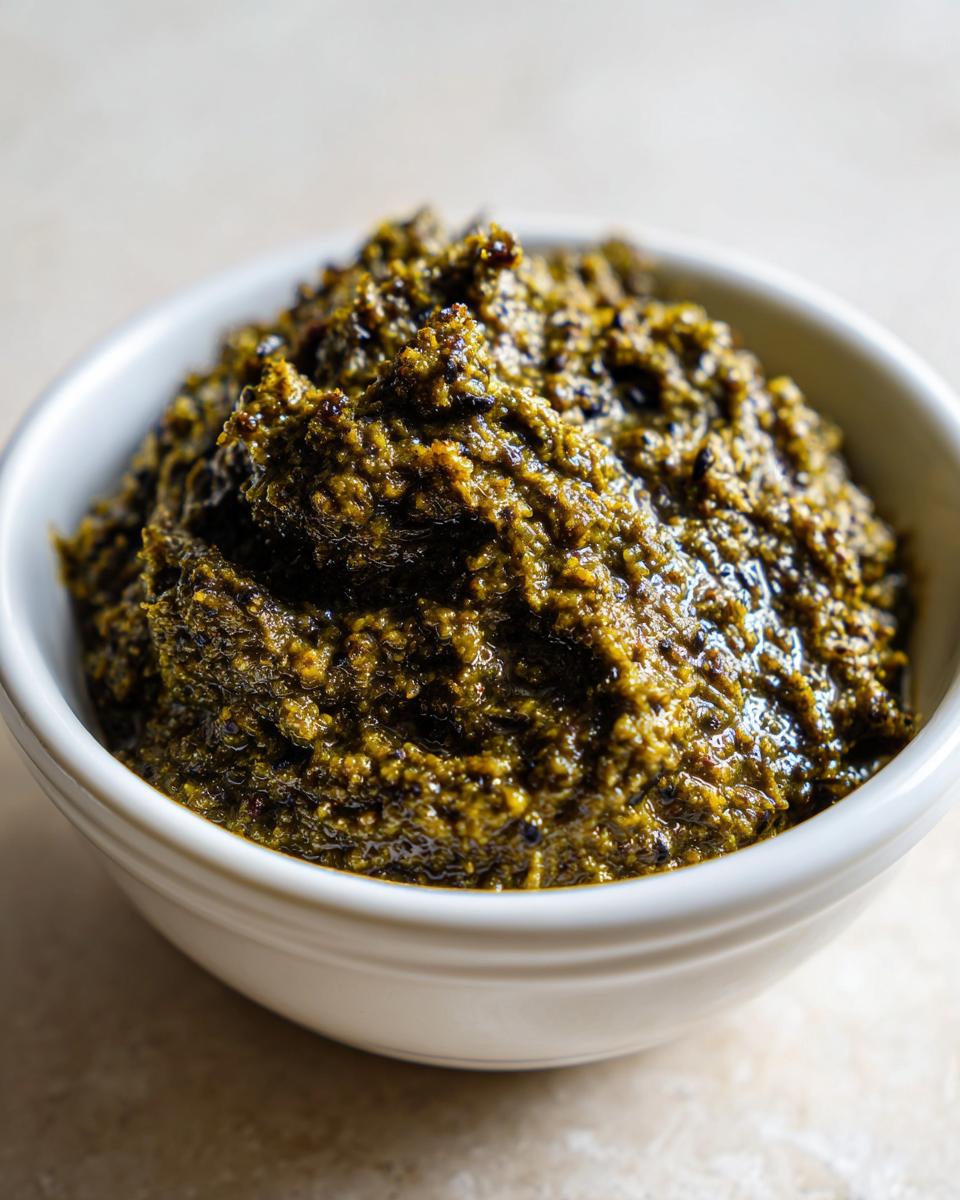
I love that this recipe uses both black and green olives. The black olives give that deep, earthy, slightly mellow saltiness, while the green ones provide that bright, sharp, almost fruity tang. When they blend with the cream cheese base, you get this perfectly balanced, versatile Cold Olive Spread that pairs well with everything from sourdough crackers to raw carrots. You get complexity without needing a dozen different ingredients.
Gathering Ingredients for Your Homemade Olive Dip
Okay, now that you know this olive dip is fast, let’s talk about what you need to grab from the pantry and fridge. The beauty here is that we are using standard ingredients, but the way we measure them is what keeps this reliable, batch after batch. I want you to write these quantities down exactly, because precision is how we lock in that perfect texture.
You’re looking for two cups of pitted olives total—one cup of those deep black ones and one cup of the bright green ones, both drained really well. For our creamy base, grab four ounces of cream cheese, and please make sure it’s softened! And don’t skimp on the mayo; we need a quarter cup of that too. Then we toss in two cloves of garlic, minced finely, a tablespoon of fresh lemon juice, a teaspoon of dried oregano, and just a quarter teaspoon of black pepper. That’s it! See? No fancy sourcing required for truly amazing Savory Spreads!
Ingredient Clarity for the Best Olive Dip Texture
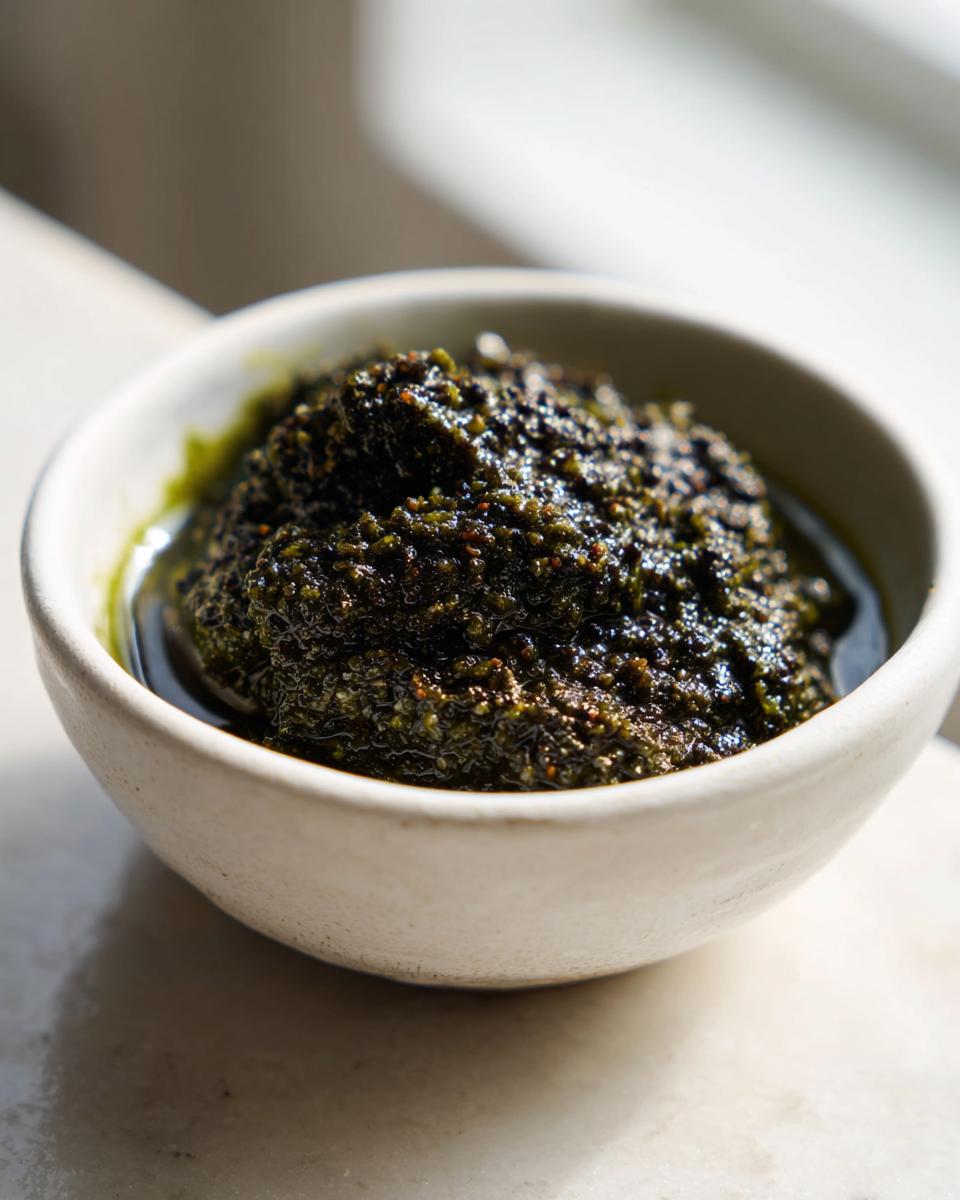
Because this is a cold dip, ingredient preparation is everything—there’s no oven to help smooth things out later. That cream cheese has to be truly softened, meaning you can easily press an indent into it with just a little pressure. If it’s too cold, the dip will end up stiff, not creamy. Also, drain your olives thoroughly! If they are too watery, your dip will separate. I usually drain them, pat them a bit with a paper towel, and then they are ready for the food processor. This simple attention to temperature and moisture ensures we nail that beautiful, slightly chunky Creamy Olive Dip.
Step-by-Step Instructions for This Easy Olive Dip Recipe
This is where the magic happens, and honestly, it couldn’t be easier. Because we are aiming for that perfect, slightly textured, spreadable consistency—the hallmark of a great Creamy Olive Dip—the food processor is our best friend. Just follow these steps in order, and you’ll have this ready for the table before you’ve even finished pouring the first drink!
- First things first, get all those ingredients we just talked about into the bowl of your food processor. That means both the drained olives, the softened cream cheese, the mayonnaise, minced garlic, lemon juice, oregano, and pepper all go in together. It looks like a lot, but trust me, it blends down beautifully.
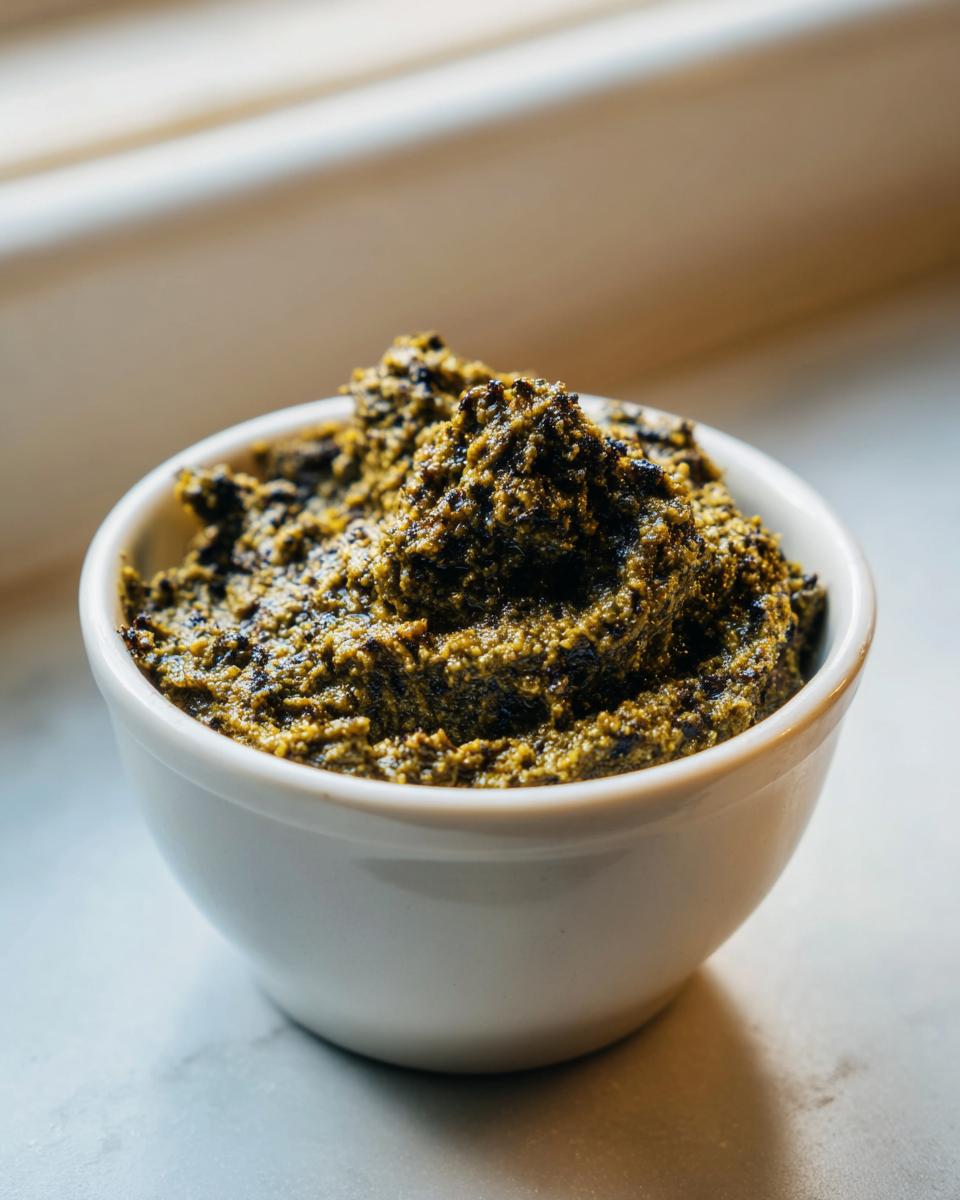
- Now, this is the most important part for texture, so listen up! You want to pulse the mixture. Don’t just turn it on and walk away! We are intentionally *not* making this perfectly smooth. Pulse it several times until you reach that coarse, slightly chunky texture. If you over-process it, you lose that lovely rustic bite that makes a homemade dip special.
- Stop the machine and scrape down the sides a couple of times to make sure those little bits of garlic and olive on the edges actually mix in. Then give it a few more pulses.
- Taste it now! This is where you check your seasoning. If your olives weren’t packed in a heavy brine, you might need just a tiny pinch of salt, but usually, the olives handle all the seasoning you need.
- Once you’re happy with the texture of your amazing olive dip, transfer it right away to the serving dish you plan on using.
- And here’s a non-negotiable step if you want the best flavor: you absolutely must chill this! Stick it in the fridge for at least fifteen minutes. This rest time is crucial—it lets the garlic and oregano really bloom and lets the flavors marry together perfectly. Don’t skip this resting period if you want the best flavor payoff for your easy appetizer dip.
Processing the Creamy Olive Dip to Perfection
Remember what I said about pulsing? That is the key to avoiding a hummus-like texture. We want that pleasant resistance when you scoop it up with a cracker. If you use a blender instead of a food processor, you need to use the pulse setting even more conservatively—think quick taps. If it gets totally silky smooth, you haven’t made a rustic Creamy Olive Dip; you’ve made something closer to a paste. The little bits of olive flesh and zest give this spread fantastic visual appeal and a much more satisfying mouthfeel, so go easy on the blending time!
Chilling and Serving Your Simple Party Dips
After that mandatory 15-minute chill (or longer if you’re making other things!), this olive dip is ready for action. I love serving it in a small, shallow bowl surrounded by sturdy options. My absolute favorite pairing is those crusty, salty pita chips. If you’re going healthier, crisp celery sticks or sweet bell pepper strips are fantastic, too. You can even use this as a spread on toasted baguette slices, which feels a little dressier than just serving crackers. It works every time for my Simple Party Dips lineup.
Tips for Success with Your Cold Olive Spreads
Even though this recipe is incredibly straightforward, a few small tricks can elevate it from good to absolutely unforgettable. We want to build confidence in you, the home cook, so you know exactly what to look for! Since this is a simple, no-cook recipe, paying attention to texture right in the food processor is the secret sauce. I always think about how a recipe can be adapted, too. For example, we have the standard slightly chunky version, but sometimes you want something decadent, almost cloud-like, especially if you’re serving it to someone who isn’t a huge fan of chunky spreads.
We’ve all got preferences, right? Whether I’m dealing with a crowd or just making a snack for myself, I have to know how to adjust the consistency of my Homemade Olive Dip easily. The adjustments are minor but make a big difference in the final presentation.
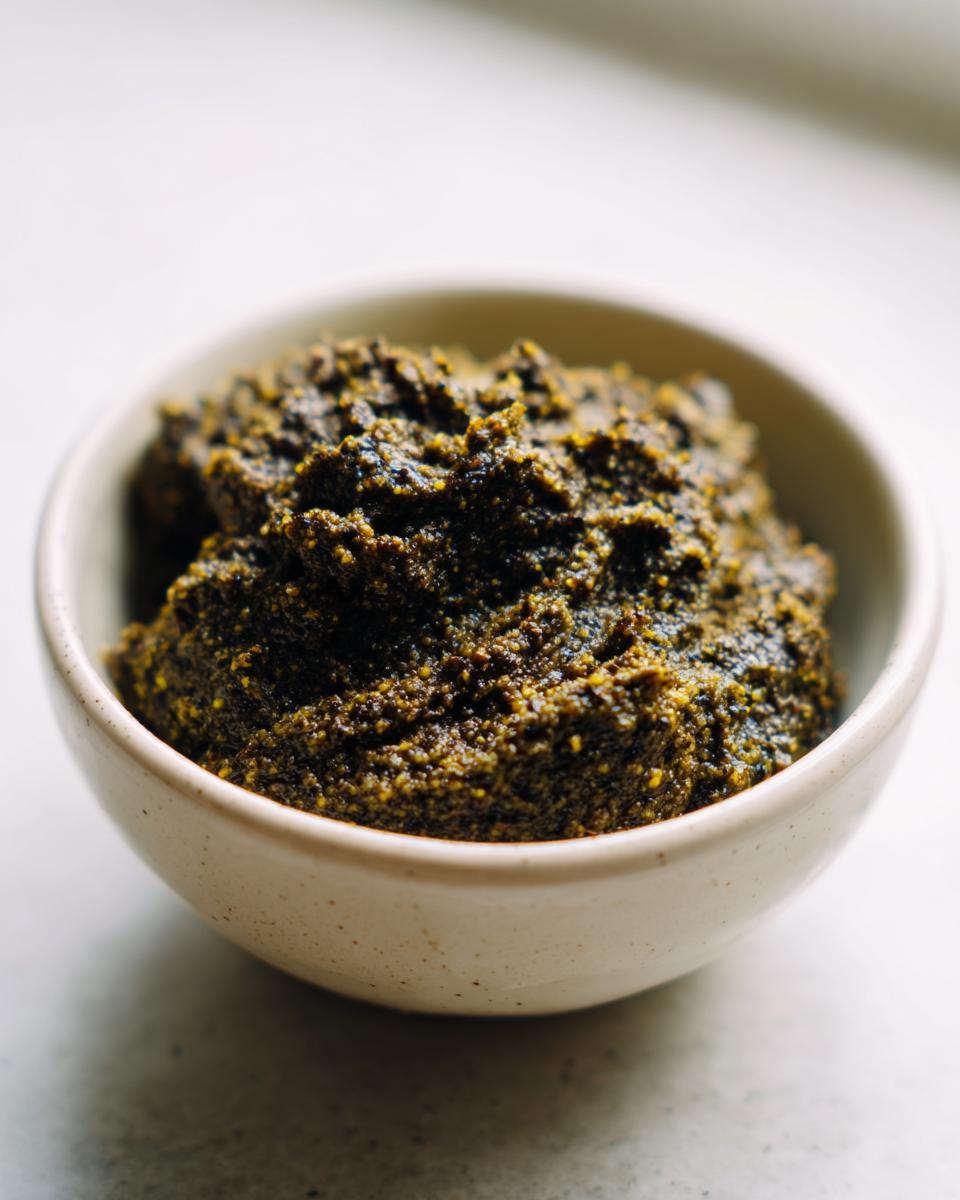
Making a Smoother Whipped Cheese and Olive Dip
The original instructions call for pulsing to maintain some texture, which I love for crackers. But if someone asks for a truly silky spread—maybe you’re topping crostini or just want that luxurious mouthfeel—you just need to keep running the food processor! If you want that ultra-smooth experience, keep blending past the initial coarse texture. You are essentially making a Whipped Cheese and Olive Dip at that point. You’ll process it until all those little chunks of garlic and olive disappear and the mixture looks homogenous and airy. It takes just another minute or two, but the texture completely transforms. It’s still the same amazing flavor, just delivered in a much smoother package. That’s the beauty of using one machine for everything!
Variations on the Classic Olive Dip Recipe
While I stand by the power of a cold, creamy olive dip, I know that sometimes you want something warm, or maybe you just have a jar of one type of olive staring at you from the pantry. That’s okay! I’ve played around with this base recipe a lot, and it’s forgiving enough to handle a few changes without losing its core deliciousness. The beauty of this recipe is that it covers so many needs—from Green Olive Dip No Cook freshness to a warm, cheesy appetizer.
Thinking about how sometimes a hot dip just hits the spot during the cooler months, or maybe you’re serving something that needs more of a melted topping, I’ve got simple swaps for you right here. You don’t have to stick to my exact ratio if you have a flavor craving you just can’t ignore!
How to Turn This Into a Baked Olive Dip
If you wanted to take this cold spread—maybe you swapped out some mayo for actual feta cheese, or you just want that golden, bubbly top—it’s super easy to bake! Just mix up your ingredients as usual, but swap the chilling step for baking. Transfer your mixture into a small oven-safe dish. Pop it into an oven that’s already preheated to 350°F (or 175°C for my international friends). It only needs about 15 minutes in there. You’re just waiting until it’s piping hot all the way through and looks a little golden around the edges. It’s fantastic served straight from the little baking dish with pieces of warm cornbread!
Ideas for Green Olive Dip No Cook Flavor Boosts
If you are strictly sticking to the no-cook method, maybe focusing only on the green ones for a vibrant punch, you can really amp up the tang! A teaspoon of capers blended right in adds an extra salty brightness that is just addictive. Or, if you need a little kick, a tiny drizzle of your favorite hot sauce—I like chipotle for the smokiness—blended in creates a dynamic flavor profile. These are great ways to make your Green Olive Dip No Cook version feel brand new while keeping the 10-minute prep time intact.
Storage and Make Ahead Dips Instructions for Your Olive Dip
One of the main reasons I adore this recipe so much is because it falls right into that glorious category of Make Ahead Dips. You simply cannot beat having a fantastic appetizer ready to go! This olive dip keeps beautifully in the refrigerator for up to three full days. Just make sure you seal it up tight.
I always transfer fresh leftovers into an airtight container—a glass jar works perfectly too—and make sure to press a layer of plastic wrap directly onto the surface of the dip before sealing the lid. This prevents any kind of skin from forming on top. Then, when company shows up, all you have to do is pull it out, let it sit on the counter for about ten minutes to take the deep chill off, and serve! Easy, right?
Serving Suggestions: Pairing with the Best Olive Dip for Crackers
Honestly, this hearty olive dip is spectacular, but what you serve it with makes all the difference! While it is absolutely deserving of the title, the Best Olive Dip for Crackers pairing depends on your mood. I strongly recommend a mix of sturdy water crackers or thin slices of toasted baguette for that perfect, satisfying crunch.
But don’t limit yourself! If you are looking for something lighter, this dip pairs beautifully with crisp vegetable sticks—think crunchy radishes or sweet bell pepper strips coated in our garlic herb seasoning. For something a bit more substantial, serve it alongside warm pita bread triangles. It truly elevates any snacking board instantly!
Frequently Asked Questions About This Olive Dip
Whenever I share a recipe perfected over time, people always have great questions, and that’s wonderful! Asking how to adapt things is how we all learn to trust our own kitchens more. I’ve gathered some of the most common things folks ask me about serving up this olive dip so you can feel totally confident hosting with it.
Can I make a Black Olive Dip Recipe without a food processor?
Oh, absolutely! Not everyone has a big food processor, and that’s totally fine. If you’re making this as a rustic Black Olive Dip Recipe entirely by hand, you’ll want to chop those garlic cloves and olives as finely as you possibly can first. Then, you can use a sturdy fork or a potato masher to work the cream cheese and mayo together until they’re smooth, and then slowly mash in the olives. Just know that this will result in a much chunkier, more rustic bite than the machine gives you, but it tastes just as good! If you have a regular blender, you can try pulsing it there, but watch out—blenders can get too powerful quickly and turn it into soup before you realize it.
Is this considered a Mediterranean Dip Idea?
Yes, most definitely! Olives, garlic, lemon, and oregano are pillars of Mediterranean Dip Ideas, so this definitely fits the bill. Even though we’re using cream cheese and mayo to make it creamy—a bit more Americanized for that classic spread texture—the core flavors are pure Mediterranean. It’s a fantastic, easy way to bring those bright, savory notes to your next gathering without having to chop fresh herbs for hours. This is a great bridge recipe for people new to those intense flavors!
What is the difference between this dip and tapenade?
That is a fantastic question that gets right into the heart of green olive dip territory! Traditionally, tapenade is much more robust, made primarily of finely chopped olives, capers, and caper brine, usually heavily coated in olive oil—it tends to be very coarse and somewhat oily. Our recipe is intended to be a true dip, which means we introduce the cream cheese and mayonnaise to create a much lighter, fluffier, and definitely creamier texture. Think less coarse paste and more airy spread. It’s a wonderful Tapenade Alternative Recipe when you need something that scoops easily onto a cracker.
Nutritional Estimates for This Savory Spread
Now, I know some of you are monitoring macros or just trying to keep things generally balanced, and that’s fair! Even the most comforting recipes deserve an honest look at what’s inside. I always want you to feel good about what you’re serving, whether it’s a hearty meal from our healthy lunch recipes collection or a casual appetizer like this olive dip.
When we crafted this recipe, we were aiming purely for flavor and ease, not low-fat status, but understanding the components helps! Remember, these numbers are just estimates based on the exact ingredients listed above, and they are calculated for a standard serving size of just two tablespoons. If you eat half a bowl, well, the calories go up faster than my oven preheats!
- Serving Size: 2 tablespoons
- Calories: About 85 per serving
- Total Fat: Around 8 grams
- Saturated Fat: Roughly 3 grams
- Carbohydrates: Very low, about 2 grams total
- Protein: About 1 gram
Since this is an Easy Olive Dip Recipe that relies heavily on cream cheese, olives, and mayonnaise, you’ll see the fat content is where most of the calories come from. But we count the healthy fats in those olives too! It’s a rich, savory spread designed for enjoying life, not restricting it. Don’t worry too much about the numbers; just enjoy the appetizer!
PrintQuick and Creamy Cold Black and Green Olive Dip
Make this easy olive dip in minutes. This cold spread combines black and green olives for a tangy, savory appetizer perfect for crackers or vegetables.
- Prep Time: 10 min
- Cook Time: 0 min
- Total Time: 10 min
- Yield: About 1.5 cups 1x
- Category: Appetizer
- Method: No Cook
- Cuisine: Mediterranean
- Diet: Vegetarian
Ingredients
- 1 cup pitted black olives, drained
- 1 cup pitted green olives, drained
- 4 ounces cream cheese, softened
- 1/4 cup mayonnaise
- 2 cloves garlic, minced
- 1 tablespoon fresh lemon juice
- 1 teaspoon dried oregano
- 1/4 teaspoon black pepper
Instructions
- Place the black olives, green olives, softened cream cheese, mayonnaise, minced garlic, lemon juice, oregano, and black pepper into a food processor.
- Pulse the mixture until it reaches a coarse, slightly chunky texture. Do not over-process; you want some texture remaining.
- Scrape down the sides of the bowl as needed during processing.
- Taste the dip and adjust seasoning if necessary. Add a pinch of salt if your olives were not packed in brine.
- Transfer the olive dip to a serving bowl.
- Chill the dip for at least 15 minutes before serving to allow the flavors to combine.
- Serve this simple party dip with crackers, pita bread, or vegetable sticks.
Notes
- For a smoother, whipped cheese and olive dip, process the ingredients longer until very smooth.
- You can make this dip ahead of time; it keeps well in the refrigerator for up to three days.
- If you prefer a baked olive dip, mix the ingredients and bake at 350°F (175°C) for 15 minutes until hot and bubbly.
Nutrition
- Serving Size: 2 tablespoons
- Calories: 85
- Sugar: 1
- Sodium: 280
- Fat: 8
- Saturated Fat: 3
- Unsaturated Fat: 5
- Trans Fat: 0
- Carbohydrates: 2
- Fiber: 1
- Protein: 1
- Cholesterol: 10