
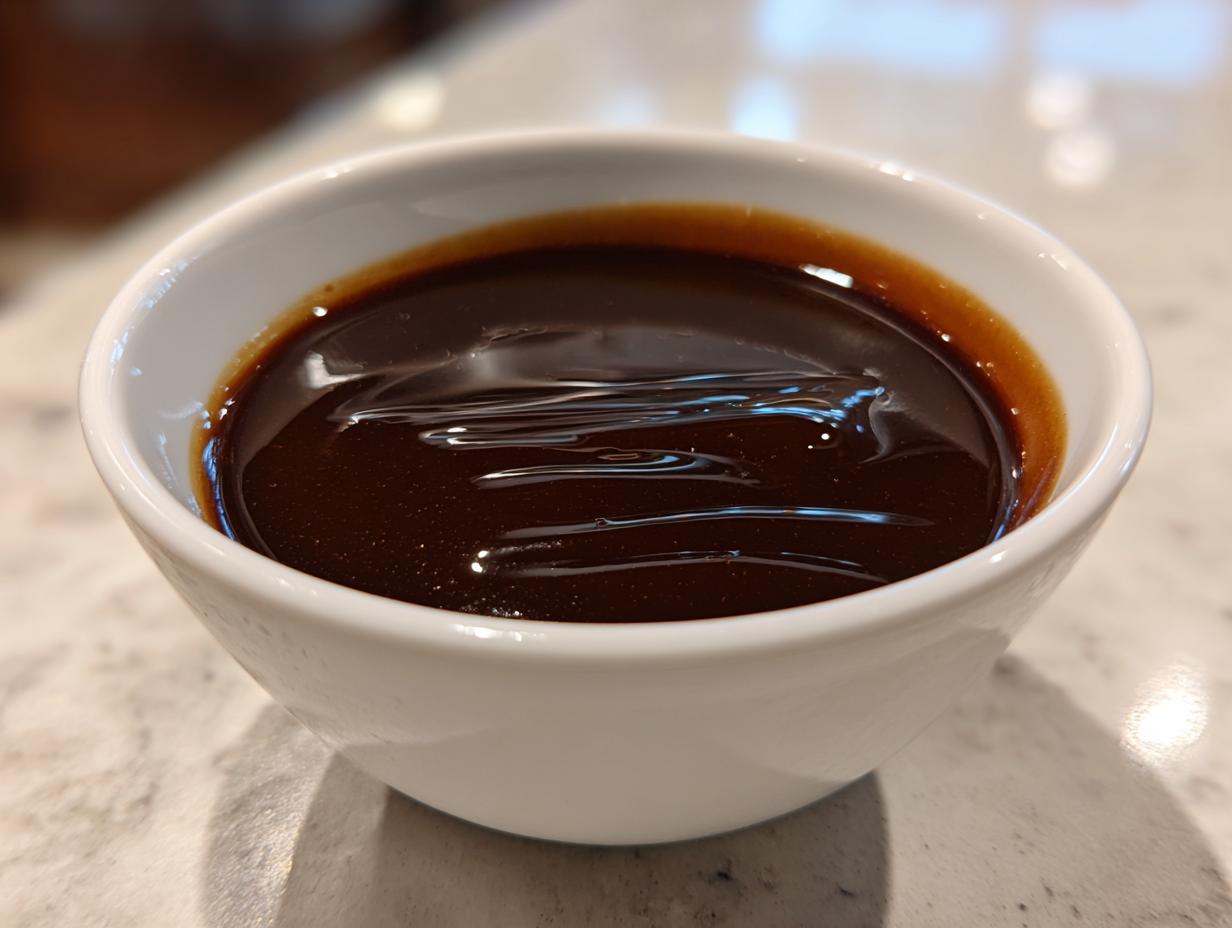
Oh, the tragedy of watery, tasteless gravy! We’ve all been there, staring down a plate of perfect mashed potatoes, knowing they deserve something special, but all you have is that sad packet mix. Not anymore! I promise you, creating a truly luxurious, homemade brown gravy from scratch is shockingly easy, even if you didn’t just roast a turkey or prime rib. Here at HearthBite, Sarah always focuses on bringing you those deeply satisfying comfort food recipes that feel earned but don’t demand hours of fiddling. This incredible, rich, and savory sauce delivers all that deep flavor using just a beautifully browned roux and broth—no pan drippings required, ever! Best of all? It’s ready in under 15 minutes. You’re going to wonder why you ever bought the packet stuff.
- Why This Homemade Brown Gravy Recipe is Your New Go-To (Gravy Without Drippings)
- Gathering Ingredients for Perfect Homemade Brown Gravy
- Step-by-Step Instructions: How To Make Brown Gravy
- Tips for the Best Homemade Gravy Every Time
- Serving Suggestions for Your Homemade Brown Gravy
- Storage and Reheating Instructions for Homemade Brown Gravy
- Frequently Asked Questions About Brown Gravy From Scratch
- Nutritional Estimate for Your Homemade Brown Gravy
- Share Your Homemade Brown Gravy Success
Why This Homemade Brown Gravy Recipe is Your New Go-To (Gravy Without Drippings)
Honestly, this is the gravy without drippings recipe that changed my entire weeknight routine. We shouldn’t have to wait for a big roast just to have something delicious to pour over our dinner! This recipe gives you that incredibly rich savory gravy flavor you dream about, all thanks to one simple technique we’ll cover in a minute. It’s proof that you can have amazing comfort food sauces without dirtying up a roasting pan.
Speed and Simplicity: The 15-Minute Homemade Gravy Recipe
You read that right—fifteen minutes, start to finish! That’s faster than most microwave meals, making this the ultimate quick dinner gravy. Since this is a simple stovetop gravy, all you really need is a little whisking arm and a saucepan. If you need a topping for mashed potatoes in a pinch, this recipe is your hero.
Achieving Deep Flavor in Your Rich Savory Gravy
The real secret to making this brown gravy from scratch taste like it simmered all day is browning the flour and butter first, which is called making a roux. Don’t be scared of that word! We aren’t just making *blond* roux here; we are deliberately cooking it until it’s a gorgeous, deep nutty brown. That deep color locks in amazing flavor that totally bypasses the need for drippings. If you want to see a great example of how fast this technique is, check out this quick method here.
Gathering Ingredients for Perfect Homemade Brown Gravy
Okay, let’s get our ducks in a row! Since we aren’t relying on drippings, every single ingredient in our homemade brown gravy has to pull its weight. Don’t stress; these are all pantry staples. You’ll need four tablespoons of butter, the same amount, four tablespoons, of all-purpose flour, and two cups of beef broth. Don’t forget the little flavor boosters: salt, pepper, onion powder, garlic powder, dried thyme, and that tiny splash of savory Worcestershire sauce.
Ingredient Notes and Substitutions for Brown Gravy From Scratch
A quick word on the broth: I always keep low-sodium beef broth on hand. That way, I control the salt level later on—it’s so much easier to add salt than take it away! If you absolutely have to skip the butter, you can use vegetable oil, but trust me, butter helps create that classic, rich mouthfeel. That little bit of Worcestershire sauce? That’s my secret weapon for adding that deep, meaty umami flavor, even though we aren’t using any actual meat juices!
Step-by-Step Instructions: How To Make Brown Gravy
This is where the magic happens, and I swear, it’s so simple you’ll feel like a kitchen wizard whipping up this rich sauce. Everything happens right in one saucepan, making cleanup a breeze—perfect for when you’re trying to get dinner on the table fast. We take the basic butter and flour mixture and we push it! We don’t stop until it’s perfectly brown and fragrant before adding any liquid. If you’re looking for more inspiration on quick meals where this gravy shines, I’ve got a whole list of quick and easy dinner recipes!
Creating the Flavor Base: Browning the Roux for Homemade Brown Gravy
First thing: melt your butter over medium heat. Once it’s happy and swirling, whisk in all your flour right away. Now, this is the critical part for a truly deep flavored gravy: you must keep whisking! For about two to three minutes, you’ll watch this mixture go from pale white to peanut butter, and finally, to a gorgeous, rich, dark brown. If you rush this step, your gravy will taste floury. We need that deep color—it means we’ve cooked out the raw flour taste and unlocked serious savory complexity without needing any drippings. Don’t let it burn, but get it dark!
Simmering for a Velvety Brown Gravy Consistency
Once your roux is that perfect brown shade, it’s time to introduce the cold broth. Pour it in slowly, a little bit at a time, whisking like crazy the entire time. If you dump it all at once, you’ll end up with lumps—and nobody wants that in their velvety brown gravy! Once all the broth is incorporated, whisk in your seasonings: the thyme, powders, and Worcestershire sauce. Bring it up to a gentle simmer. Keep it there for about five minutes, stirring every now and then. It will thicken beautifully as it heats up. If you watch closely, you can see it transform! You can find a few great ideas on how to deepen the color even further, if you’re aiming for a restaurant look, over at this excellent resource.
Tips for the Best Homemade Gravy Every Time
We’ve made the base, but now let me share a few things I’ve learned over the years to make sure your homemade gravy moves from “good” to “absolutely perfect.” Honestly, making gravy is more about feeling it out than following my instructions blindly. You know your pot, you know your stove a little better than I do! These little adjustments are what transition this from just brown sauce to the glorious, thick gravy sauce you serve at every holiday.
Troubleshooting Common Homemade Brown Gravy Issues
So, what happens if you didn’t quite nail the simmer time? Don’t panic! That’s a classic home cooking moment. If your gravy seems a little too thin—and you’ve already let it simmer for those full five minutes—just keep it going! Simmering longer is always the first step, because evaporation helps tighten things up. If, after another few minutes, it’s still looser than you’d like for your mashed potatoes, you can make a quick slurry. Take a teaspoon of cornstarch and mix it with an equal amount of *cold* water or broth until it’s totally smooth. Whisk that right into your simmering gravy, and watch it thicken up instantly!
Now, on the flip side, what if you accidentally created a delicious gravy paste? Oops! If it’s too thick, just whisk in a tablespoon of warm water or extra broth until it loosens up again. Remember, gravy will tighten up more as it cools, so always err on the side of slightly thinner when you take it off the heat. I found this advice floating around on this site, and it really works for fixing thickness!
A final little trick I picked up from my notes: if, after all that hard work browning your roux, your gravy still seems a bit pale for your liking, you have an easy fix! Add just a quarter teaspoon of dark soy sauce. Seriously! It adds zero taste of soy sauce but gives you that gorgeous deep brown color instantly—a perfect easy pan gravy alternative touch! If you are having trouble achieving that perfect release from your pan, check out my favorite recipe for homemade cake release, because the same principle applies to keeping your sauces smooth and clean!
Serving Suggestions for Your Homemade Brown Gravy
Now that you’ve mastered your **homemade brown gravy** and it’s piping hot, what are you going to pour it over? This stuff is liquid gold for comfort food! Obviously, it is the ultimate **mashed potato topping**—creamy potatoes just beg for this rich sauce. But don’t stop there!
This is what you want on your holiday table too; think of it as excellent **Thanksgiving gravy ideas** for your turkey slices or even dressing. It is spectacular over meatloaf, smothered chicken breasts, or anything that needs that deeply savory boost. If you’re serving my slow-cooker turkey breast, this gravy is non-negotiable! Or, if you’re feeling fancy, try it over these amazing twice-baked potatoes!
Storage and Reheating Instructions for Homemade Brown Gravy
The best part about making a big batch of homemade brown gravy is knowing you have leftovers for later! This sauce keeps really nicely, which is a huge win because who wants to make this from scratch three nights in a row? Once it cools down a bit, transfer any extra gravy into an airtight container. It’ll stay fresh and delicious in the refrigerator for about three or four days, tops. Honestly, if it lasts that long in my house!
Now, when you go to reheat it, remember that gravy—especially roux-based gravy—tends to get super thick, almost like pudding, once it chills. That’s totally normal; don’t panic that you ruined it. You just need to wake it back up!
Put the gravy in a small saucepan over medium-low heat. You absolutely need to whisk it as it warms. As it heats, start adding liquid slowly—a tablespoon at a time. You can use warm water or, even better, warm broth if you have some handy! Keep adding that warm liquid and whisking until the gravy loosens up to that beautiful, velvety consistency you loved straight off the stove. Remember, it thickens as it sits, so take it off the heat when it’s *just* a shade thinner than you want it to be. That’s the key to keeping it perfectly smooth and pourable for those second-day mashed potatoes!
Frequently Asked Questions About Brown Gravy From Scratch
I get so many great questions after people try making this sauce for the first time! It’s wonderful hearing how quickly everyone masters this! Here are some of the common things folks ask when trying to make the best homemade gravy without opening a can of something.
Can I use water instead of beef broth for homemade brown gravy?
You totally *can* use water, but if you do, you’re going to miss out on the richness that makes this recipe so spectacular! Water will just give you a salty, thickened liquid without much personality. If you are out of beef broth, I strongly suggest grabbing some good quality beef bouillon cubes or powder and dissolving those in hot water first. Or, if you don’t mind a slightly lighter flavor, vegetable broth works beautifully too! It keeps the savory notes going without the beef base.
How do I make this gravy gluten-free?
That’s a fair question, especially when dealing with a **roux based gravy**! Because we rely on the flour to form that deep brown roux, swapping it out changes the process slightly, but it’s easy. Instead of mixing flour into the butter, you melt the butter, remove it from the heat, and then whisk in a slurry made from cornstarch and *cold* water. Use about 2 tablespoons of cornstarch mixed into about 1/4 cup of cold water. Once you whisk that into the melted butter, then proceed with adding your warm broth. It thickens up just as wonderfully!
What makes this the Best Homemade Gravy?
In my opinion, what sets this apart as the absolute best homemade gravy—aside from being quick enough for any night—is that gorgeous roux! If you properly brown that flour and butter until it smells nutty and looks dark brown, you are essentially brewing a deep flavor concentrate right in the pan. That technique gives the **rich savory gravy** the complexity that most people think only good, rendered pan drippings can achieve. It’s all about technique, my friends!
If you’re looking for more fantastic, quick kitchen wins, be sure to check out my thoughts on easy breakfast recipes for busy mornings. Enjoy smothering everything in your new favorite sauce!
Nutritional Estimate for Your Homemade Brown Gravy
Now, you know I’m not a nutritionist, and the numbers below are just rough estimates based on the ingredients I listed. If you use low-sodium broth, different amounts of salt, or swap butter for oil, your count will shift! These estimates are based on a serving size of about 1/4 cup, which feels about right when you’re piling this glorious sauce onto everything.
Here’s what you can generally expect per serving of this wonderful sauce:
- Calories: Around 95
- Fat: About 7 grams
- Carbohydrates: Roughly 6 grams
- Protein: About 1.5 grams
See? Not too bad for something so incredibly delicious! It’s rich and comforting, but since we aren’t using drippings loaded with heavy meat solids, it keeps things relatively light. Just remember, these are just guidelines. The real nutrition comes from the hearty dinner you’re topping this **homemade brown gravy** with!
Share Your Homemade Brown Gravy Success
Phew, we made it! I hope your kitchen smells absolutely amazing right now from that **homemade brown gravy**. Learning to make a fantastic sauce completely from scratch, especially one that doesn’t rely on drippings, is a huge milestone in the kitchen. I’m so excited for you to pour this over your dinners!
Now for the most important part: tell me about it! Did you give this a whirl for a weeknight dinner, or was it part of a big holiday spread? I’d love to know what magnificent comfort food you smothered with your batch of **easy brown gravy**. Head over to the comments below and leave a rating so others know how much you loved this sauce. If you have any lingering questions or want to share a picture of your plate, you can always reach out to us directly through our contact page. Happy cooking, and thank you for trusting HearthBite with your gravy needs!
PrintThe Ultimate Homemade Brown Gravy (No Drippings Needed!) – Rich & Savory Perfection
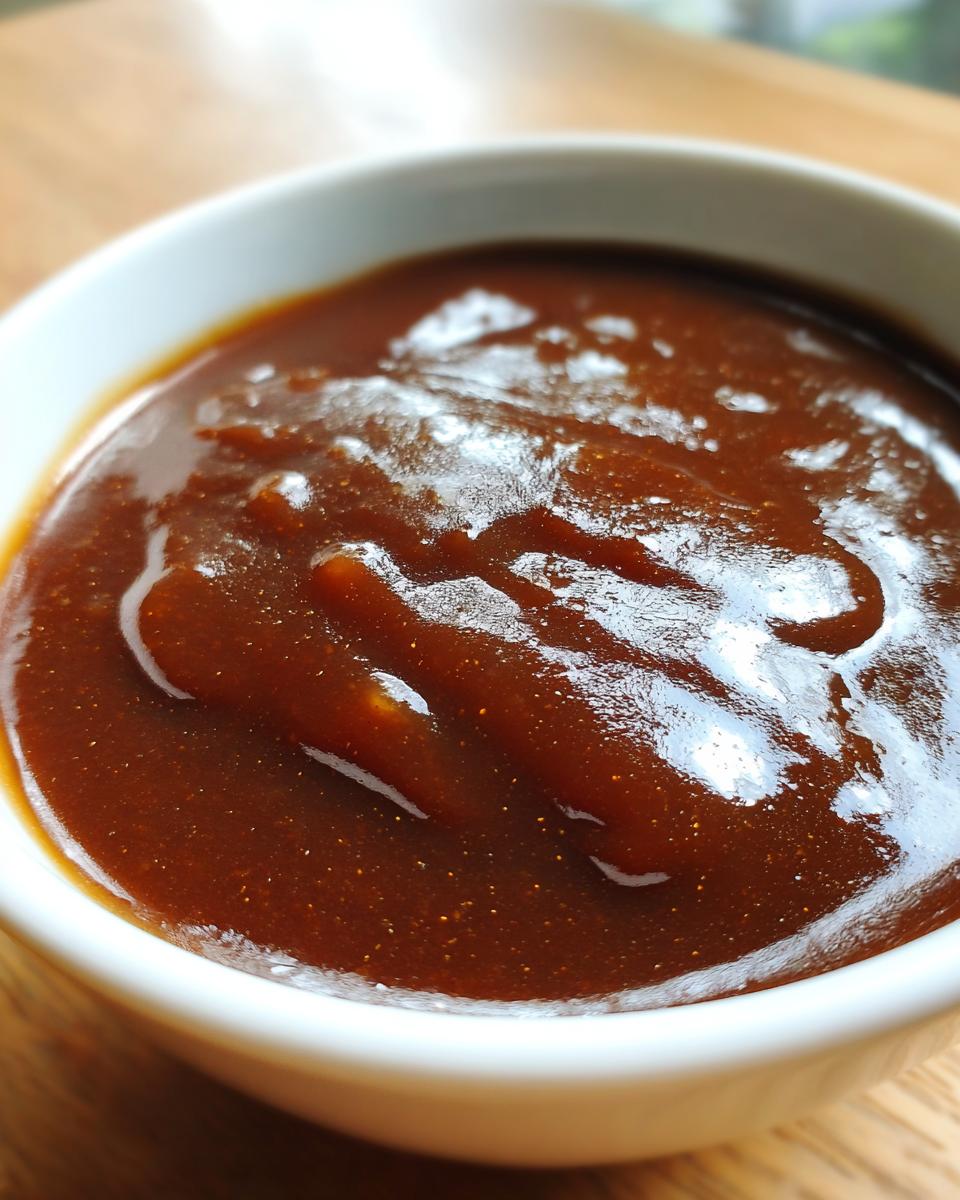
Make rich, velvety brown gravy from scratch without relying on meat drippings. This simple stovetop recipe uses a browned roux and beef broth for deep flavor, ready in under 15 minutes for mashed potatoes or roasts.
- Prep Time: 5 min
- Cook Time: 10 min
- Total Time: 15 min
- Yield: About 2 cups 1x
- Category: Sauce
- Method: Stovetop
- Cuisine: American
- Diet: Vegetarian
Ingredients
- 4 tablespoons unsalted butter
- 4 tablespoons all-purpose flour
- 2 cups beef broth (low sodium preferred)
- 1 teaspoon onion powder
- 1/2 teaspoon garlic powder
- 1/2 teaspoon dried thyme
- 1 teaspoon Worcestershire sauce
- 1/2 teaspoon salt (or to taste)
- 1/4 teaspoon black pepper (or to taste)
Instructions
- Melt the butter in a medium saucepan over medium heat.
- Whisk the flour into the melted butter. Continue whisking constantly for 2 to 3 minutes until the mixture turns a deep, rich brown color. This is your roux; browning it develops deep flavor.
- Slowly pour in the beef broth while whisking continuously to prevent lumps.
- Bring the mixture to a simmer, still whisking occasionally. The gravy will begin to thicken as it heats.
- Stir in the onion powder, garlic powder, dried thyme, Worcestershire sauce, salt, and pepper.
- Reduce the heat to low and let the gravy simmer gently for 5 minutes, stirring occasionally, until it reaches your desired thickness.
- Taste the gravy and adjust the salt and pepper as needed before serving hot over your favorite comfort foods.
Notes
- For an even deeper flavor, use half beef broth and half vegetable broth.
- If the gravy becomes too thick after cooling slightly, whisk in a tablespoon of warm water or broth until the consistency is correct.
- If you prefer a darker color without further cooking the roux, add 1/4 teaspoon of dark soy sauce or a few drops of brown food coloring (optional).
Nutrition
- Serving Size: 1/4 cup
- Calories: 95
- Sugar: 0.5
- Sodium: 350
- Fat: 7
- Saturated Fat: 4
- Unsaturated Fat: 3
- Trans Fat: 0
- Carbohydrates: 6
- Fiber: 0.2
- Protein: 1.5
- Cholesterol: 15