
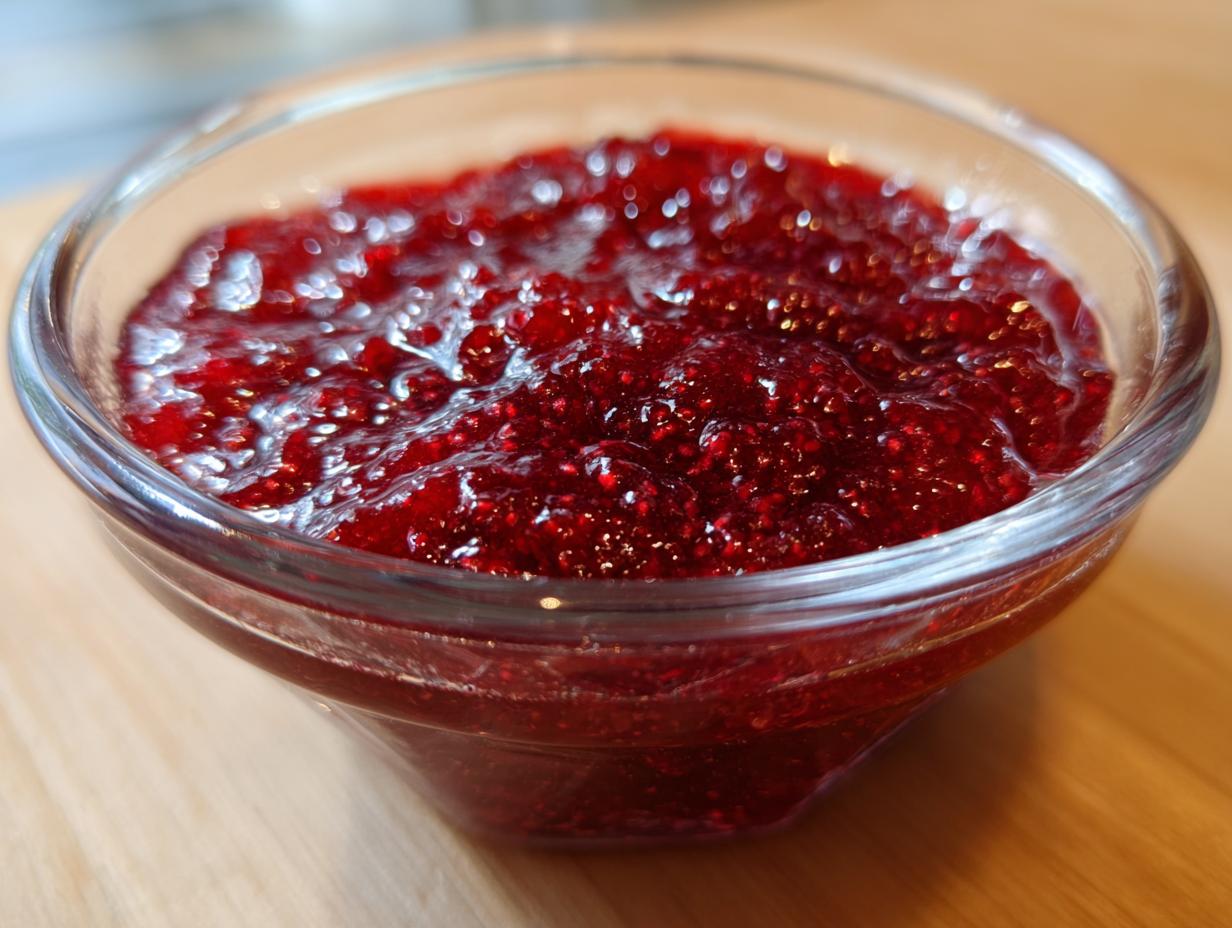
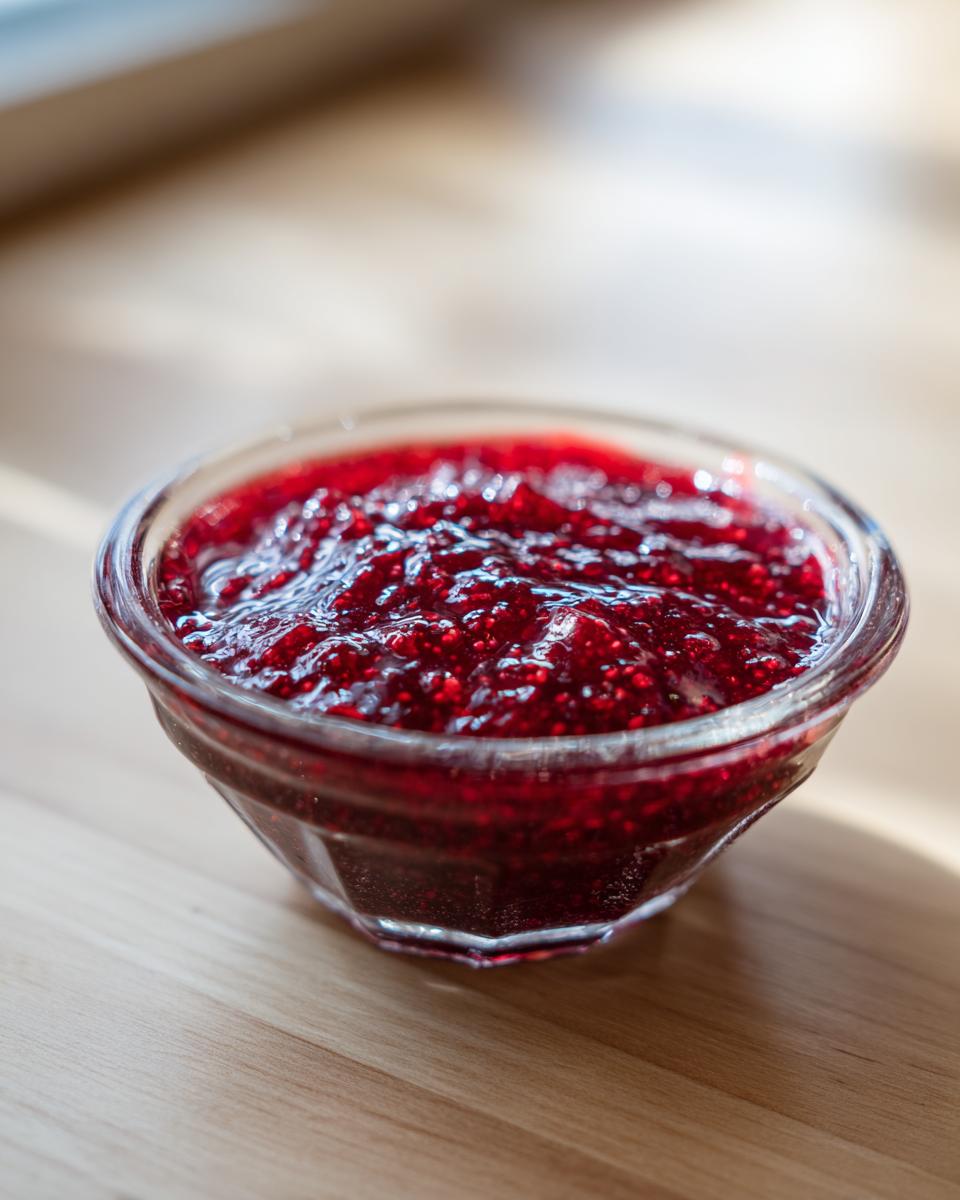
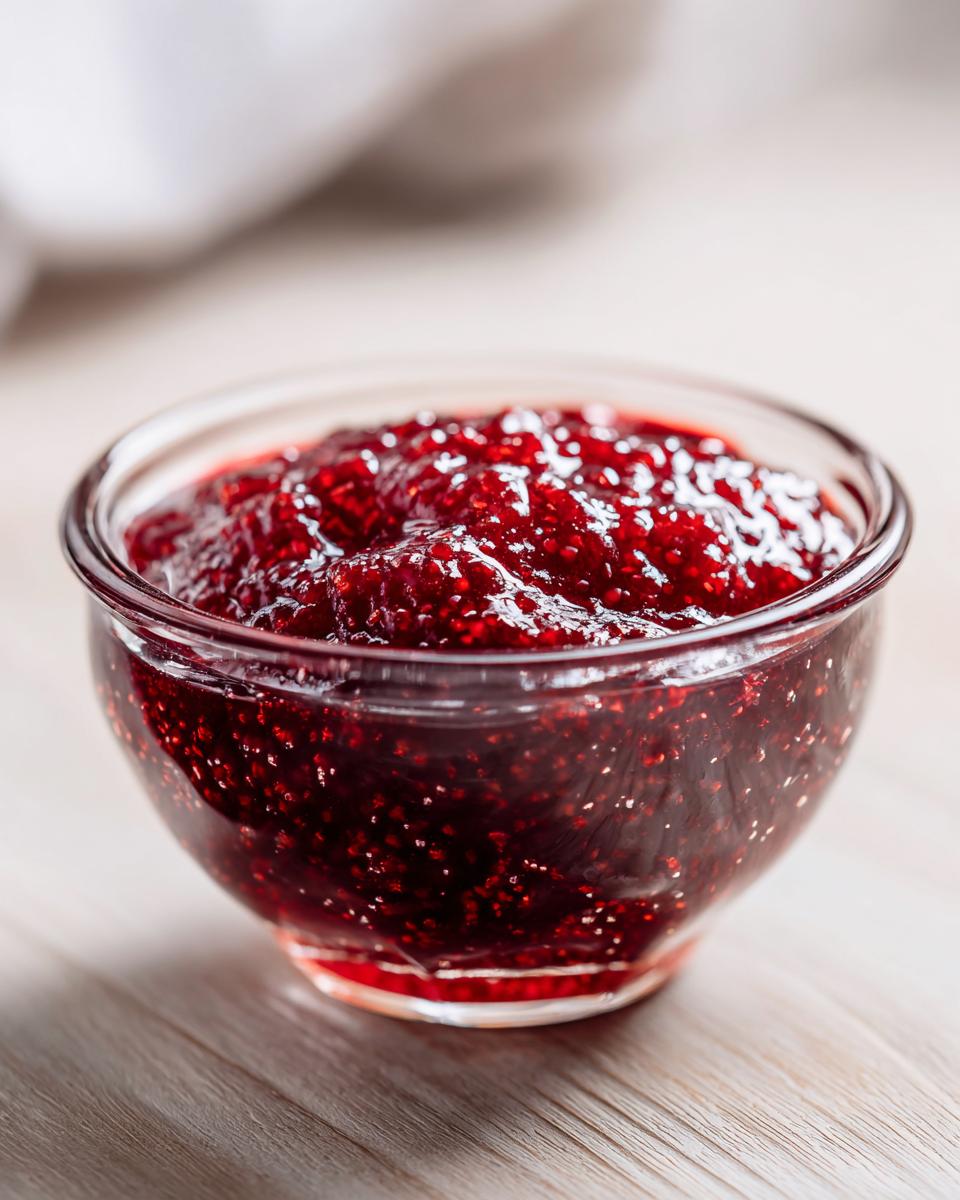
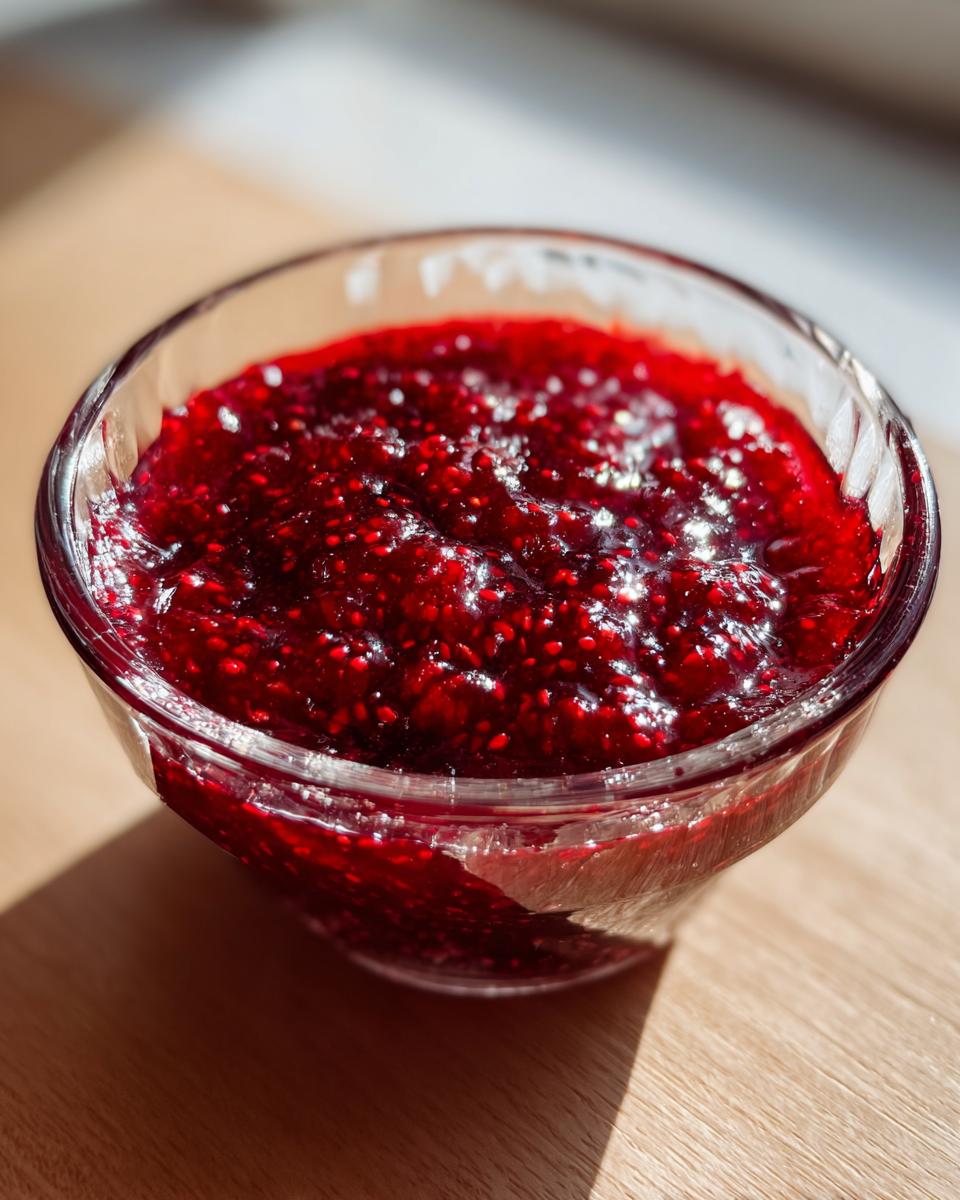
There’s nothing quite like the taste of summer captured in a jar, that bright, tangy burst of flavor that only homemade goodness can deliver. If you’ve ever been intimidated by preserving fruit, I want you to forget everything you think you know about complicated canning today! We are making the most wonderful, ruby-red raspberry jam using just three simple ingredients. That’s right—no store-bought pectin required here. Trust me, this ultra easy, no pectin jam recipe is incredibly reliable, which is exactly what we need in the home kitchen. This simple method is perfect for preserving summer bounty; you’ll feel so accomplished! If you’re looking for a speedy meal after all that jam making, check out my guide for quick, easy dinner recipes.
- Why This Is the Best Homemade Raspberry Jam Recipe for Beginners
- Gathering Ingredients for Your 3 Ingredient Raspberry Jam
- How to Make Thick Raspberry Jam Step-by-Step
- Canning Raspberries Safely: Water Bath Processing Tutorial
- Tips for Success When Making Raspberry Jam
- Serving Suggestions for Your Fresh Raspberry Jam
- Storage & Reheating Instructions for Homemade Raspberry Jam
- Frequently Asked Questions About Making Raspberry Jam
- Sharing Your Culinary Creations from Our Hearth
Why This Is the Best Homemade Raspberry Jam Recipe for Beginners
I promise you, if you can boil water and stir, you can make incredible comfort food recipes like this one! This straightforward approach to easy jam making is designed specifically for the person who wants that vibrant, homemade flavor without any fuss. My goal here is to make you feel confident in your kitchen from the very first batch.
- Quick Summer Preserves Ready in Under an Hour: Seriously, we are talking about minimal active time. This recipe turns your fresh haul into delicious jam fast—perfect for a spontaneous weekend preserve project!
- No Pectin Jam Recipe: Relying on Natural Fruit Power: You will see tons of recipes calling for that added pectin packet, but we don’t need it here. Raspberries have a fantastic natural balance of acid and setting power. When we combine them with the right amount of sugar and cook them down correctly, they set up perfectly all on their own. It’s pure fruit magic!
Gathering Ingredients for Your 3 Ingredient Raspberry Jam
The beauty of this 3 ingredient jam is how few things you need to round up. When I make my homemade raspberry jam recipe, I always try to use the ripest berries I can find because that deep flavor is what makes this recipe shine, whether they are fresh off the bush or straight from the freezer bag.
Ingredient Specifications and Sourcing Tips
Keep it simple! Here is exactly what you need to pull this together:
- 4 cups fresh or frozen raspberries. Yes, frozen works perfectly fine, which is great if raspberries aren’t quite in season yet!
- 3 cups granulated sugar. This is measured precisely to help activate the natural pectin.
- 1 tablespoon fresh lemon juice. Please make sure this is fresh. That little bit of acid is our secret weapon for thickness, not flavor!
How to Make Thick Raspberry Jam Step-by-Step
Now we move to the exciting part—turning those humble ingredients into that glossy, rich, spreadable treasure we love! If you’re new to this, don’t panic about the temperature; we’ll talk about the spoon test later, too. Making this homemade raspberry jam recipe thick relies heavily on getting the chemistry right through consistent cooking time, which is why I always suggest giving this one your full attention while it’s on the heat. You’ll want to make certain you try this no pectin jam recipe soon!
Drawing Out Juices: The Initial Soak for Your Raspberry Jam
First up, grab your largest, heavy-bottomed pot—don’t cram this mixture into a tiny thing, or it *will* scorch! Combine all your raspberries and the full measure of sugar in that pot. Now comes the waiting game, but it’s worth it. Let this mixture sit undisturbed for about 30 minutes. This resting time is vital because the sugar draws all that beautiful, wonderful juice right out of the berries. Skipping this makes the jam much more likely to stick to the bottom when you first turn on the heat.
Cooking Down the Raspberry Jam to the Setting Point
Once they’ve rested, set the pot over medium-high heat and only stir until the sugar crystals are totally gone and the mixture starts a rolling boil. Right when it hits that vigorous boil, stir in your tablespoon of fresh lemon juice. Now, the work begins! You need to keep it boiling hard and stirring frequently so nothing burns. This phase usually takes between 15 to 25 minutes. You’re looking for the jam to reach 220 degrees Fahrenheit on your best candy thermometer. If you don’t have one, test it by spooning a little off and seeing if it coats the back of a spoon thickly.

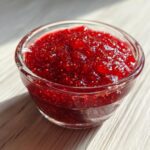
Finishing Steps: Skimming Foam and Jarring Your Raspberry Jam
Once you hit that setting point, immediately yank the pot off the burner! You’ll likely see some foamy bubbles floating on top—that’s normal, but it can look strange in a clear jar. Use a metal spoon and gently skim that foam right off the surface. Next, working quickly because the jam is still extremely hot, ladle the finished product carefully into your sterilized jars. Make sure you leave about 1/4 inch of space at the top—that specific amount is called headspace, and it’s important for safe storage. For wonderful pairings later, check out my easy breakfast recipes.
Canning Raspberries Safely: Water Bath Processing Tutorial
Alright, now that your beautiful raspberry jam is perfectly thick and hot, we move on to setting it up for shelf stability! If you plan to keep these jars tucked away in your pantry for months, you must follow proper preservation guide steps. This is where we build that trustworthiness and ensure everything lasts.
We are using the boiling water bath method, which is standard for high-acid fruit jams like this. Place your filled jars—remembering that 1/4 inch headspace—into your canner, ensuring the water covers the tops by about an inch. Bring that water to a full, rolling boil, and process them for exactly 10 minutes. I always check local altitude adjustments, because even a couple of hundred feet can change how long you need to process those jars.
But listen, if that sounds like too much fuss, I understand! If you’re just making a small batch for immediate enjoyment, you can skip the whole water bath process. Just let those jars cool down on the counter, and once they are room temperature, pop them straight into the fridge. They are ready to eat after about four hours of chilling time. Keeps beautifully for several weeks, which is perfect for slathering on your toast!
If you’re prepping some healthy meals for the week, don’t forget to check out my thoughts on healthy lunch recipes!
Tips for Success When Making Raspberry Jam
When you’re making any kind of preserve, whether it’s a big official batch for gifting or just a tiny small batch jam recipe for yourself, having a few tricks up your sleeve makes all the difference. My biggest piece of advice, which I learned the hard way, is to stir constantly once that mixture starts to heat up! Scorching is the enemy of good quick, easy dinner recipes and even worse for jam.
Also, please remember that this recipe works beautifully, whether you are starting with gorgeous fresh raspberry desserts haul or pulling out bags of frozen berries from the deep freeze. If you use frozen, just know it might take an extra five minutes for the sugar to dissolve and come to that rolling boil, so be patient!
Achieving Seedless Raspberry Spread
I know some people in my family absolutely *hate* those little seeds in their raspberry jam. If you are making jam primarily as a raspberry dessert filling or you just prefer a silkier texture, here is the key: sieve it *after* it has cooked but *before* you jar it. Once the jam has finished boiling and you’ve skimmed the foam off, pour the entire hot batch through a fine-mesh sieve placed over a large bowl. You’ll have to use the back of a spoon or a spatula to push the thick pulp through, leaving all those seeds behind. It’s a little extra step, but wow, the resulting smooth condiment is worth it!
Small Batch Jam Recipe Success for Fresh Eating
If you decided to skip the water bath canning—maybe you just made a teeny recipe for Sunday breakfast—don’t worry about the processing step at all! For jams that will stay in the fridge, make sure you let the jars cool completely on the counter first. Then, pop them in your refrigerator. That chilling time is crucial for the final set. We need about four hours in the cold before it’s firm enough to spread on the best homemade jam for toast. If it hasn’t set by then, don’t panic, just give it a few more hours!
Serving Suggestions for Your Fresh Raspberry Jam
Once that gorgeous raspberry jam is set, you’ve got to be creative! Sure, it’s wonderful piled high on toast—the best homemade jam for toast, hands down. But don’t stop there; those jars hold so much potential!
Think about swirling a spoonful into yogurt this week. It makes a fantastic, tangy glaze for simple roasted chicken or pork chops. And when you need that perfect burst for baking, this jam is an amazing raspberry dessert filling for thumbprint cookies or layered cakes. If you’re exploring different ingredient needs for your baking adventures, you might want to peek at my gluten-free recipes for inspiration!
Storage & Reheating Instructions for Homemade Raspberry Jam
Okay, you’ve successfully made the most glorious raspberry jam, and now you are wondering how to keep this summer sunshine around as long as possible! It really depends on how you finished the process. Storing my homemade raspberry jam recipe correctly is just as important as getting the right setting point!
If you went through the boiling water bath canning process—congratulations on your safe heat processing!—those sealed jars are shelf-stable. This means you can store them in a cool, dark pantry (your basement or a cupboard away from the oven works great) for up to a year. Once you crack that seal, though? Treat it like the refrigerated batch below and keep it cold. It’s always best practice to check that the lid stayed sealed before storing it away, just for peace of mind.
For the jars that just cooled on the counter and are chilling in the fridge (the ones ready to eat immediately!), they have a shorter lifespan, but they are such an easy grab for your early morning toast. These need to stay refrigerated and should generally be used within three to four weeks. Honestly, in my house, this stuff never lasts that long!
If you happen to have a jar that’s been open a while and seems a little fuzzy or smells off—toss it gently. But usually, if you followed the canning instructions and the seal is good, you’re good to go well past the next time you need an idea from my easy breakfast recipes for inspiration.
Frequently Asked Questions About Making Raspberry Jam
I know you might still have a few nagging questions swirling around once you try making your first batch of homemade raspberry jam recipe. That’s totally normal! Canning and preserving sometimes feels like science—and messy science at that! But I promise, most issues are easy fixes. We’ve got you covered so you feel like a pro by the time you put those lids on.
Can I use frozen raspberries for this raspberry jam recipe?
Absolutely, yes! I already mentioned this above, but it bears repeating because it’s super helpful. You can use frozen berries without thawing them first. Just toss them right into the pot with the sugar. The only thing you need to watch for is that it might take an extra 5 to 10 minutes for the mixture to reach a full, rolling boil initially because the frozen berries are, well, frozen! It works perfectly for that quick summer preserves feeling.
What if my homemade raspberry jam doesn’t set?
Oh, the dreaded runny jam! Don’t throw it out! If your raspberry jam cools down and it’s simply too loose—more like a syrup than a spreadable consistency—you can easily fix it. Take the whole batch back up to a boil. You have two options: either add another tablespoon of fresh lemon juice and boil again, or stir in about a quarter cup of extra sugar and boil until it hits 220 degrees Fahrenheit. If you’re genuinely not concerned about canning it, just pour the slightly looser jam into a clean jar—it makes a fantastic sauce for ice cream or your next batch of fresh raspberry desserts!
Sharing Your Culinary Creations from Our Hearth
Now the sweet part: I absolutely love seeing what you folks create! Once you’ve sealed those jars of gorgeous raspberry jam or enjoyed the first spoonful straight from the fridge, please pop over and let me know how it went. Drop a rating below, or better yet, reach out to me on the contact page and share a picture. Seeing your success is truly the best part of bringing these recipes from my kitchen to yours!
PrintEasy 3-Ingredient Raspberry Jam (No Pectin Needed)
Make this simple, homemade raspberry jam using just three ingredients. This recipe is perfect for beginners, requires no added pectin, and yields a thick, flavorful spread ideal for toast or baking.
- Prep Time: 30 min (plus resting time)
- Cook Time: 25 min
- Total Time: 55 min
- Yield: About 4 half-pint jars 1x
- Category: Preserves
- Method: Stovetop Cooking
- Cuisine: American
- Diet: Vegetarian
Ingredients
- 4 cups fresh or frozen raspberries
- 3 cups granulated sugar
- 1 tablespoon fresh lemon juice
Instructions
- Combine the raspberries and sugar in a large, heavy-bottomed pot. Let the mixture sit for 30 minutes to draw out the juices.
- Place the pot over medium-high heat. Stir constantly until the sugar dissolves completely and the mixture begins to boil.
- Once boiling, add the lemon juice. Continue to boil, stirring frequently to prevent scorching, until the jam reaches 220 degrees Fahrenheit on a candy thermometer, or until it thickens enough to coat the back of a spoon. This usually takes 15 to 25 minutes.
- Remove the pot from the heat. Skim off any foam that forms on the surface.
- Ladle the hot jam into sterilized jars, leaving 1/4 inch headspace. Wipe the rims clean.
- Process the jars in a boiling water bath canner for 10 minutes, adjusting for altitude if necessary, or cool completely and store in the refrigerator for fresh use.
Notes
- For seedless raspberry spread, press the cooked jam through a fine-mesh sieve before filling the jars.
- If you are not canning, this jam sets well in the refrigerator and is ready to eat after chilling for 4 hours.
- This recipe makes a small batch perfect for preserving summer berries.
Nutrition
- Serving Size: 2 tablespoons
- Calories: 105
- Sugar: 27g
- Sodium: 1mg
- Fat: 0g
- Saturated Fat: 0g
- Unsaturated Fat: 0g
- Trans Fat: 0g
- Carbohydrates: 27g
- Fiber: 1g
- Protein: 0g
- Cholesterol: 0mg