
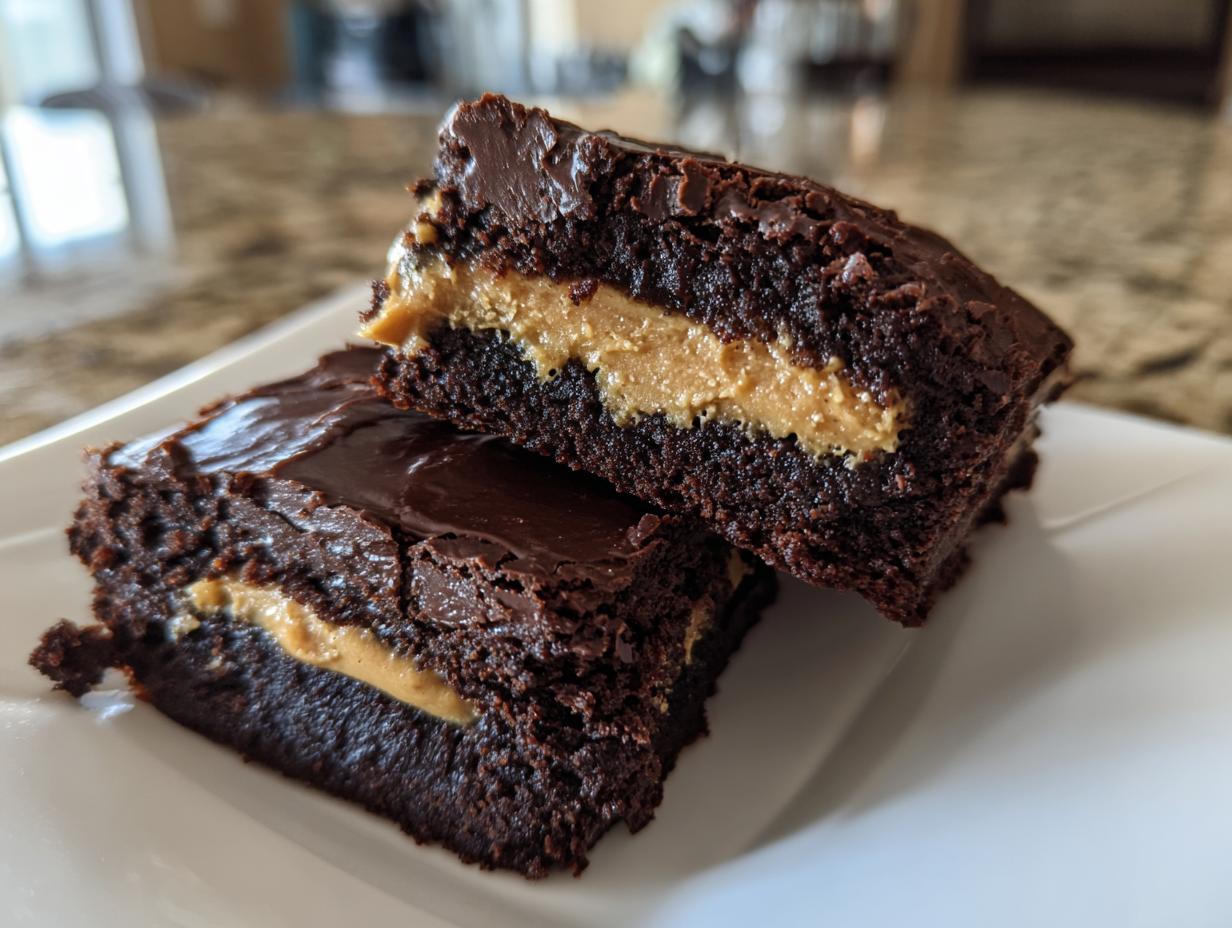
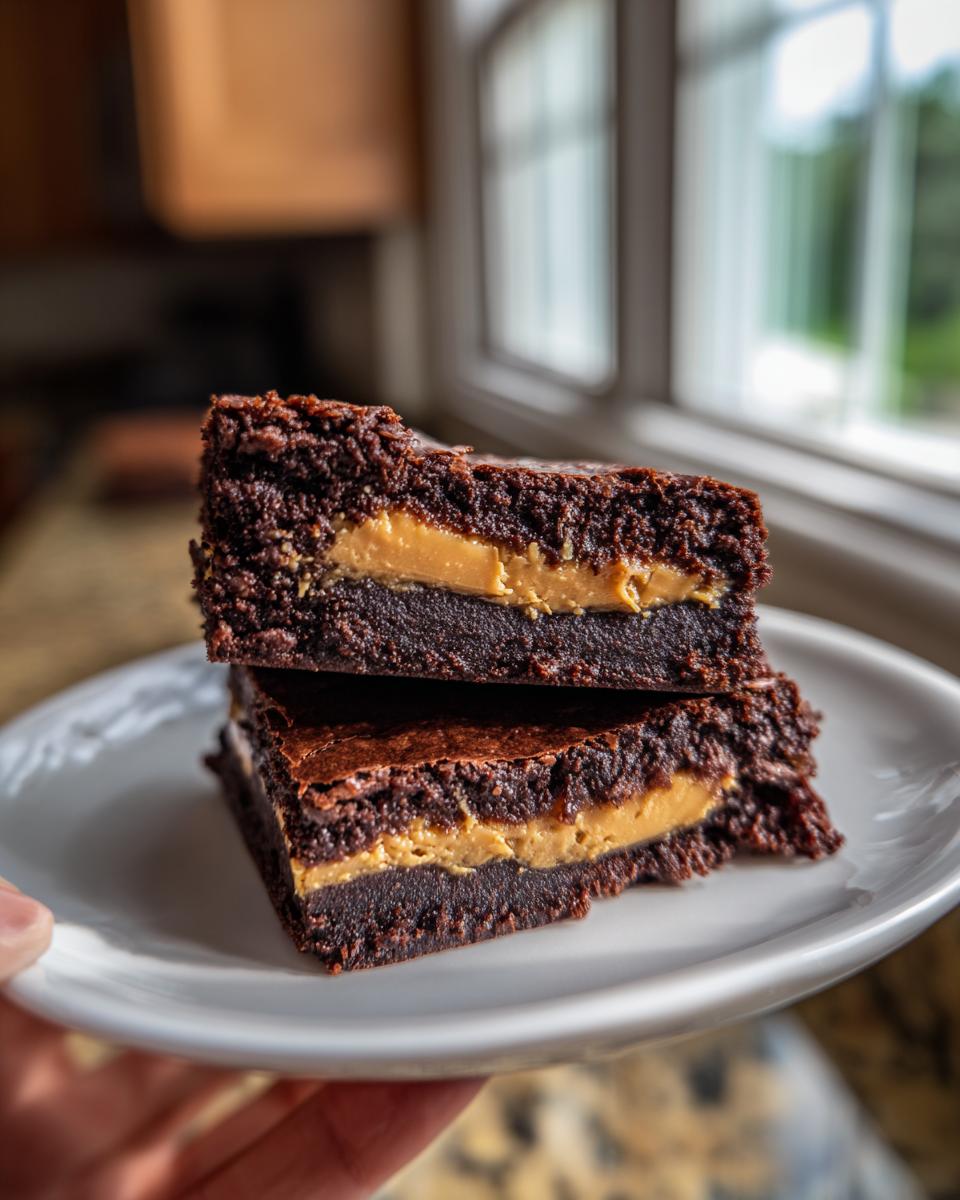
There are desserts, and then there are things that stop you dead in your tracks with the first bite. For me, nothing beats that moment when rich, dark chocolate gives way to a perfectly set, creamy river of peanut butter inside. I’m Sarah, and I started HearthBite because I believe baking should bring that kind of pure joy into your everyday life, not just holidays. That’s why I’m sharing my obsession: these perfectly layered peanut butter stuffed brownies that manage to be deeply fudgy without being heavy. Trust me, once you master this layering technique, your dessert game changes forever. If you love classic American comfort, be sure to check out some of my other favorite comfort food recipes!
- Why You Will Love This Easy Stuffed Brownie Recipe
- Gathering Ingredients for Perfect Peanut Butter Stuffed Brownies
- Step-by-Step Instructions for Layered Peanut Butter Stuffed Brownies
- Tips for Achieving the Best Peanut Butter Stuffed Brownies
- Ingredient Notes and Substitutions for Your Peanut Butter Stuffed Brownies
- Storage and Reheating Instructions for Homemade Peanut Butter Center Brownies
- Serving Suggestions for Decadent Peanut Butter Brownies
- Frequently Asked Questions About Peanut Butter Stuffed Brownies
- Nutrition Estimate for These Rich Chocolate Peanut Butter Desserts
Why You Will Love This Easy Stuffed Brownie Recipe
I promise you, this recipe is a winner. It’s straightforward, but the results look gourmet. It’s one of those foolproof ways to step up your baking game and make everyone ask for the recipe. Plus, it hits all the right texture notes!
- The texture is perfectly fudgy—we skip the cakey results!
- The layering process is surprisingly simple to manage.
- That classic, decadent mix of deep chocolate and creamy peanut butter never fails.
If you enjoyed this flavor profile, you might also want to check out my recipe for fudgy red velvet brownies!
Gathering Ingredients for Perfect Peanut Butter Stuffed Brownies
Okay, here’s the deal with the ingredients—we need quality stuff because these peanut butter stuffed brownies are truly spectacular and deserve the best components. Don’t be tempted by the ‘natural’ peanut butters here; they separate way too easily when you’re trying to make that perfect center layer! We want that reliable, creamy kind for spectacular results.
I always lay out everything first, like my mom taught me, which helps me focus on the technique later. You’ll find the lists below, but make sure your butter for the filling is perfectly softened, not melted. If you love working with peanut butter, you should check out my recipe for the best soft peanut butter cookies!
For the Rich Chocolate Brownie Batter
- 1 cup (2 sticks) unsalted butter, melted
- 1 1/2 cups granulated sugar
- 1 cup packed light brown sugar
- 4 large eggs
- 1 tablespoon vanilla extract
- 1 cup all-purpose flour
- 3/4 cup unsweetened cocoa powder
- 1/2 teaspoon salt
- 1/4 teaspoon baking powder
- 1 cup semi-sweet chocolate chips
For the Creamy Peanut Butter Filling
This filling whips up in literally two minutes, but you need to make sure that butter is soft so it creams beautifully with the powdered sugar.
- 1 cup creamy peanut butter (the kind that doesn’t need stirring!)
- 1/2 cup powdered sugar
- 2 tablespoons unsalted butter, softened
- 1/4 teaspoon salt
Step-by-Step Instructions for Layered Peanut Butter Stuffed Brownies
Alright, let’s get baking! This is where we turn those ingredients into what I consider the ultimate chocolate peanut butter dream. The magic for our peanut butter stuffed brownies is all in how we handle the layers. Don’t stress, it’s easier than it sounds, I promise! The key here is gentle assembly so that center stays nice and distinct. If you love chocolate desserts, you simply must see how I make my chocolate crinkle cookies—they are pure heaven!
Prep Work and Making the Peanut Butter Center
First things first, get your oven heated up to 350°F (175°C). I always grease my 9×13 pan and line it with parchment paper, making sure there are big flaps hanging over the sides. Those flaps are your lifesavers later when lifting them out for cutting! While that’s heating, mix up your peanut butter filling ingredients. Use a hand mixer or a strong spoon until it’s completely smooth—no lumps allowed.
Mixing the Fudgy Peanut Butter Stuffed Brownies Batter
Now for the dark, glorious batter. Whisk the melted butter and both sugars together until they look happy, then beat in your eggs one by one. When you fold in the dry mixtures—the flour, cocoa, salt, and baking powder—be gentle! Seriously, stop mixing the second you don’t see any more flour streaks. Overmixing means these will get tough, and we are aiming for fudgy magic here. Fold those chocolate chips in last.
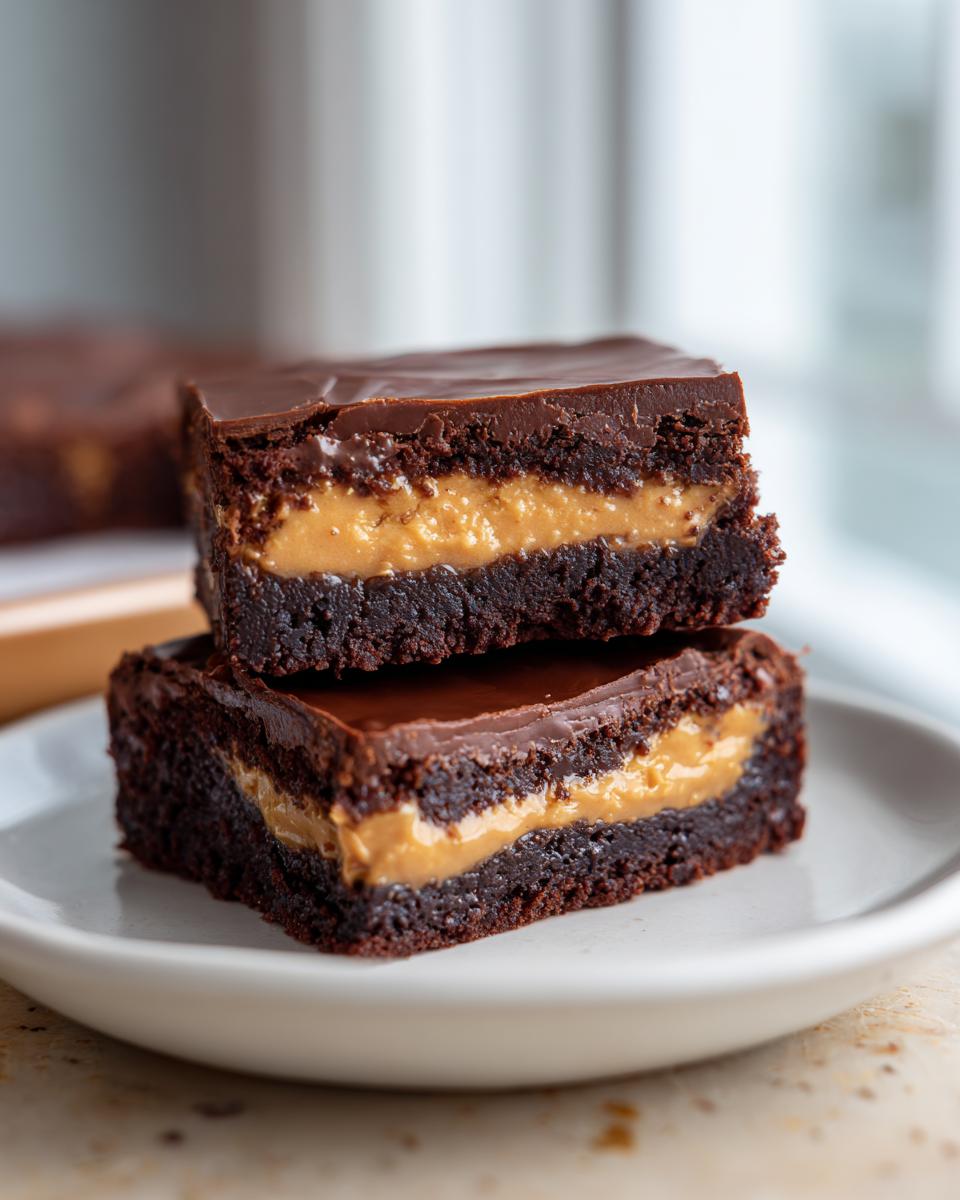
Layering and Baking Your Peanut Butter Stuffed Brownies
Here’s the fun part. Spread about two-thirds of that rich batter into your prepared pan. Next, dollop spoonfuls of the peanut butter filling randomly over the top. It doesn’t need to be perfect! Then, take that last one-third of batter and gently spread it over the top, covering as much of that filling as you can without dragging the layers into each other. Bake this beauty for 30 to 35 minutes. When you test it, you want moist crumbs clinging to the toothpick, not wet goo. That ensures they stay deliciously fudgy!
Tips for Achieving the Best Peanut Butter Stuffed Brownies
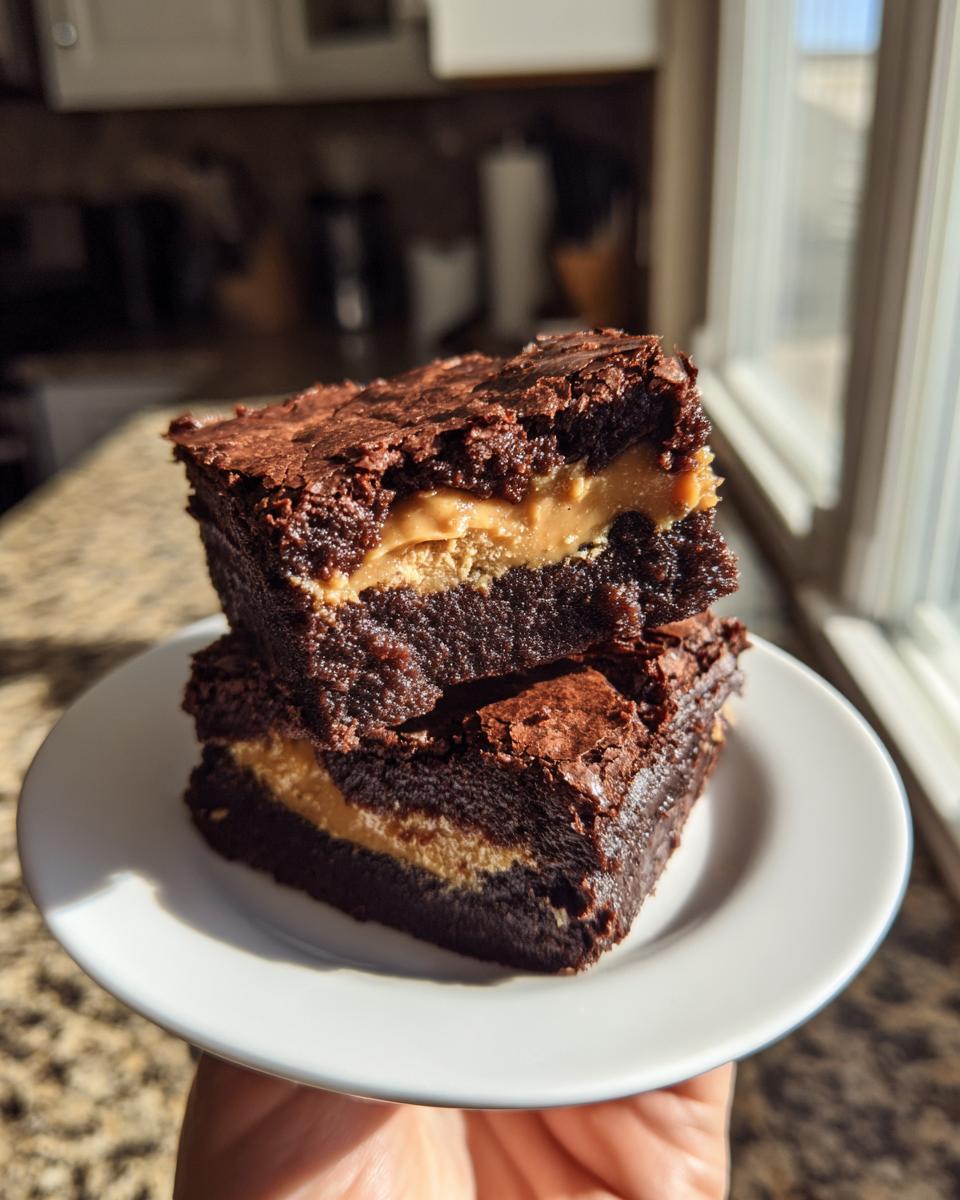
Getting these peanut butter stuffed brownies just right is all about technique, especially when it comes to texture. Remember I said fudgy is the goal? To nail that, stop baking right at the 30-minute mark and check those crumbs. If you bake them even five minutes too long, you start heading toward chewy territory instead of that molten center we love. I learned this the hard way when I tried to serve them hot—they fell apart into a chocolate puddle! Trust me, you must let them cool completely.
If you want them on the chewier side, just add 5 more minutes to the timer. If you’re craving something truly decadent and rich, check out my method for ultimate moist chocolate fudge cake for inspiration on texture control!
Ingredient Notes and Substitutions for Your Peanut Butter Stuffed Brownies
I know sometimes we don’t have exactly what the recipe calls for, and that’s okay! But when it comes to peanut butter stuffed brownies, a couple of ingredients really matter for structure. If you were thinking of swapping out the melted butter for oil, please don’t! Butter gives us that rich flavor and, more importantly, the proper structure when it comes to fudgy brownies. Melted butter gives a better chew than oil ever could in this specific recipe.
And yes, I have to bring up the peanut butter again! I cannot stress this enough: skip the ‘natural’ kind that separates immediately. We need that creamy, shelf-stable variety for the filling to hold its shape during baking. If it gets too soft in the oven, you end up with a runny mess instead of a nice, distinct core.
Now, if you are looking to make this recipe accessible for gluten-free friends, you absolutely can! You’ll want to swap the all-purpose flour for a good quality 1-to-1 gluten-free blend. It works beautifully, though you might find the internal chocolate fudginess is slightly less dense. Always check out my dedicated page for gluten-free recipes for more swapping tips!
Storage and Reheating Instructions for Homemade Peanut Butter Center Brownies
You’ve made these incredible peanut butter center brownies, the last thing you want is to ruin them by storing them wrong! The good news is they hold up great. Keep them in an airtight container right on your counter at room temperature for up to four days. Don’t refrigerate unless your kitchen is super hot, because the fridge can sometimes dry out the brownie part.
If you do pop them in the fridge, just microwave a square for about 10 seconds before serving. That little bit of warmth melts the peanut butter filling just perfectly again, bringing back that fresh-baked gooeyness!
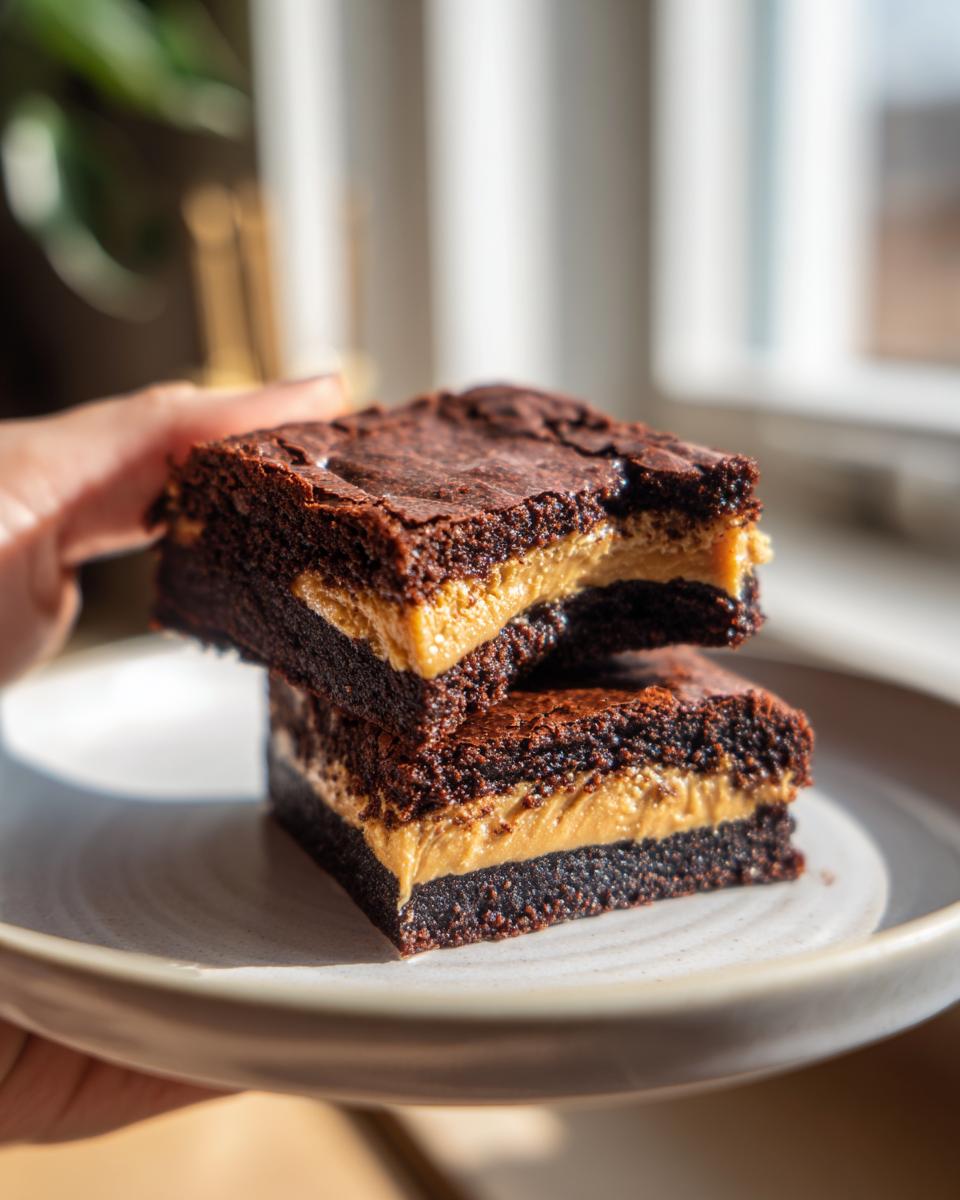
Serving Suggestions for Decadent Peanut Butter Brownies
Now that your decadent peanut butter brownies are baked, cooled, and cut, we have to talk about how to serve them! Honestly, they are perfect standing alone—a little square of chocolate heaven. But if you want to turn this into a full-on dessert experience, I have a few must-try pairings that really make those peanut butter layers sing.
The first thing that comes to my mind, especially if I’ve baked them slightly warm, is vanilla ice cream. You need that cold temperature contrast with the rich, soft chocolate. Scoop a generous spoon right on top and watch it melt down into all those fudgy crevices. Forget your diet for five minutes, it’s worth it!
If you’re serving these after dinner, a strong cup of coffee is my go-to companion. The bitterness of the coffee cuts through the richness of both the chocolate and the peanut butter filling so beautifully. It makes these feel instantly gourmet! My kids, of course, still insist on a tall, cold glass of milk—the classic pairing for a reason, right?
For those of you who love that salty-sweet combination, try topping your individual servings of homemade peanut butter center brownies with a little drizzle of homemade caramel sauce and a sprinkle of flaky sea salt. If you need ideas for the sauce part, my recipe for easy homemade soft and chewy sea salt caramels works like a charm drizzled right over the top!
Frequently Asked Questions About Peanut Butter Stuffed Brownies
I get so many wonderful questions when folks try to master these peanut butter filled brownies for the first time! Don’t worry if things seem tricky at first. Baking perfected by trial and error, and I’m happy to share the tricks I’ve learned to ensure your layers turn out perfect every time.
Can I make these peanut butter filled brownies ahead of time?
Oh, absolutely! In fact, I prefer it that way. These stuffed brownie recipes are always better on day two because the chocolate has time to fully set, and the fudgy texture deepens. Make sure they are cooled completely—like, totally room temperature—before you cover them and store them. If I’m serving a crowd, I like to make them the night before so I’m not scrambling on the day of!
How do I get a clean cut on my stuffed brownie recipe?
This is the hardest part, honestly, because the center is so squishy and gooey! If you try to cut these while they are even slightly warm, you end up with beautiful, gooey mess, which is fine sometimes, but not when you want neat squares. For beautiful, clean cuts, you need patience. Let them cool completely—I mean completely—in the pan. Then, take a large, sharp knife, run it under very hot water for a few seconds, wipe it dry, and press straight down. Wipe the knife clean and reheat it under hot water after every single cut. This trick works wonders on any gooey peanut butter brownies!
What if I want a peanut butter swirl instead of a layer?
I love when people play with the technique! If you prefer that beautiful, marbled look over a distinct layer, it’s even easier. After you spread that first two-thirds of the batter foundation in the pan, dollop all the peanut butter filling across the top. Then, take a butter knife or a skewer and gently drag it through the top layer of batter a few times to create swirls. Don’t dig too deep! You want the filling to stay mostly near the top so it doesn’t sink entirely to the bottom. It makes for a gorgeous presentation on top!
If you’re looking for more quick and easy creations you can whip up in the morning, feel free to browse my collection of easy breakfast recipes!
Nutrition Estimate for These Rich Chocolate Peanut Butter Desserts
I always feel a little guilty looking at the numbers after baking something this decadent, but I want you to have all the information you need when preparing these amazing rich chocolate peanut butter desserts for your family. Remember, these figures are estimates based on the exact ingredients and serving size listed in the recipe—one square from a 9×13 pan.
Because we are using full sticks of butter and creamy peanut butter (which is naturally higher in fat), these are definitely a treat! But, hey, what’s dessert without a little indulgence, right? These numbers are for one square serving:
- Calories: 320
- Fat: 20g
- Saturated Fat: 8g
- Trans Fat: 0g
- Cholesterol: 65mg
- Sodium: 150mg
- Carbohydrates: 33g
- Fiber: 2g
- Sugar: 30g
- Protein: 6g
This estimate assumes you use the standard ingredients listed and cut the batch into 16 even pieces. If you cut them smaller—which is tempting when they look this good!—the numbers per piece will obviously decrease. Enjoy responsibly!
PrintFudgy Peanut Butter Stuffed Brownies
Make rich, decadent peanut butter stuffed brownies with a fudgy texture. This recipe shows you how to layer the creamy peanut butter center inside a deep chocolate batter for a satisfying dessert.
- Prep Time: 20 min
- Cook Time: 35 min
- Total Time: 55 min
- Yield: 16 servings 1x
- Category: Dessert
- Method: Baking
- Cuisine: American
- Diet: Vegetarian
Ingredients
- 1 cup (2 sticks) unsalted butter, melted
- 1 1/2 cups granulated sugar
- 1 cup packed light brown sugar
- 4 large eggs
- 1 tablespoon vanilla extract
- 1 cup all-purpose flour
- 3/4 cup unsweetened cocoa powder
- 1/2 teaspoon salt
- 1/4 teaspoon baking powder
- 1 cup semi-sweet chocolate chips
- For the Peanut Butter Filling:
- 1 cup creamy peanut butter (not natural style)
- 1/2 cup powdered sugar
- 2 tablespoons unsalted butter, softened
- 1/4 teaspoon salt
Instructions
- Preheat your oven to 350°F (175°C). Grease and line a 9×13 inch baking pan with parchment paper, leaving an overhang on the sides for easy removal.
- Prepare the peanut butter filling: In a medium bowl, mix the peanut butter, powdered sugar, softened butter, and salt until completely smooth and combined. Set aside.
- Make the brownie batter: In a large bowl, whisk together the melted butter, granulated sugar, and brown sugar until well combined.
- Beat in the eggs one at a time, mixing well after each addition. Stir in the vanilla extract.
- In a separate bowl, whisk together the flour, cocoa powder, salt, and baking powder. Gradually add the dry ingredients to the wet ingredients, mixing only until just combined. Do not overmix. Fold in the chocolate chips.
- Spread two-thirds of the brownie batter evenly into the prepared pan.
- Drop spoonfuls of the peanut butter filling evenly over the batter layer. You do not need to cover every spot.
- Gently spread the remaining one-third of the brownie batter over the peanut butter layer, covering as much of the filling as possible without mixing it into the bottom layer too much.
- Bake for 30 to 35 minutes. A toothpick inserted near the edge should come out with moist crumbs attached, but not wet batter. The center should look set but still slightly soft for a fudgy texture.
- Let the brownies cool completely in the pan on a wire rack before lifting them out using the parchment overhang. Cut into squares.
Notes
- For a chewier brownie, slightly reduce the baking time. For a firmer texture, bake for 5 minutes longer.
- If you prefer a swirl effect instead of a distinct layer, dollop the filling on top of the batter and gently swirl it in with a knife before baking.
- Natural peanut butter separates easily; use conventional creamy peanut butter for the best filling consistency.
Nutrition
- Serving Size: 1 brownie square
- Calories: 320
- Sugar: 30
- Sodium: 150
- Fat: 20
- Saturated Fat: 8
- Unsaturated Fat: 12
- Trans Fat: 0
- Carbohydrates: 33
- Fiber: 2
- Protein: 6
- Cholesterol: 65