
If your pantry is stocked with those thick, slightly artificial-tasting chocolate syrups, I’m here to politely tell you it’s time to say goodbye! Seriously, why settle when you can create something so much richer right on your stovetop in under ten minutes? Here at HearthBite, we believe even the simplest necessities, like a decadent dessert topping, should feel comforting and made with love. This meticulously tested recipe for homemade chocolate syrup is my go-to when a craving hits suddenly. It delivers that deep, authentic cocoa flavor with a beautiful, silky texture that simply blows the store-bought stuff out of the water. Trust me, once you try this quick cocoa powder syrup, you won’t look back!
- Why This Homemade Chocolate Syrup Recipe Beats Store-Bought
- Pantry Ingredients for Your Quick Cocoa Powder Syrup
- How to Prepare Your Easy Chocolate Syrup for Ice Cream
- Tips for Success Making Rich Chocolate Dessert Sauce
- Creative Ways to Use Your Chocolate Milk Syrup From Scratch
- Variations for Your Homemade Chocolate Syrup
- Storage and Shelf Life for Homemade Syrup
- Frequently Asked Questions About Making Chocolate Syrup
- Sharing Your Silky Chocolate Drizzle Recipe
Why This Homemade Chocolate Syrup Recipe Beats Store-Bought
Oh, friends, the difference here is night and day! Store-bought jars often rely on stabilizers and corn syrup to keep them shelf-stable, but we’re making ours fresh, and you can taste that quality immediately when you make this. It’s all about maximizing that pure chocolate punch.
- The flavor is undeniably rich chocolate dessert sauce quality—deep and satisfying.
- It whips up in literally under 10 minutes, making it perfect for spontaneous dessert nights.
- The final product creates an incredibly silky chocolate drizzle recipe that pools perfectly over everything.
We get incredible results without needing any fancy equipment. If you love a rich chocolate experience, you absolutely have to check out my recipe for chocolate fudge cake while you’re here!
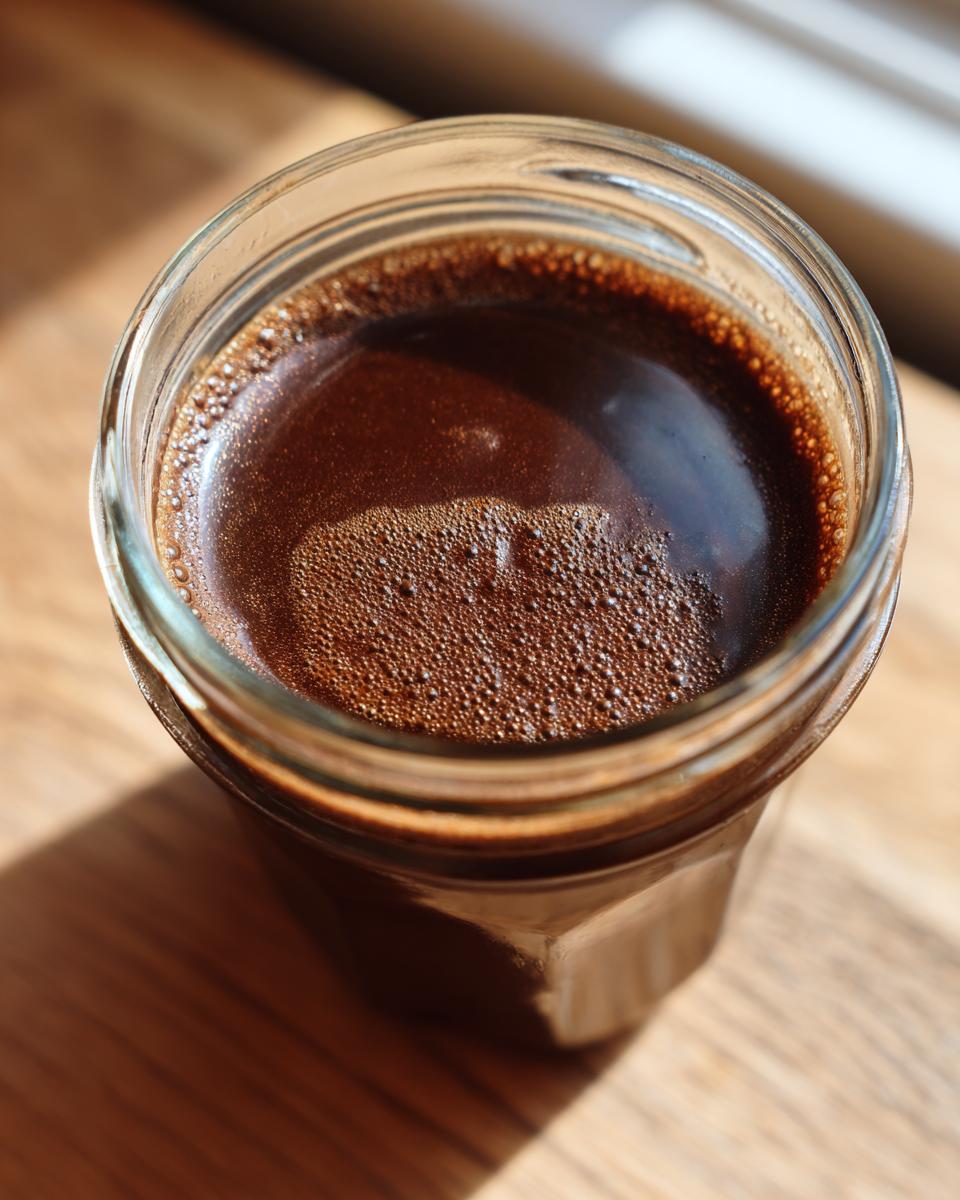
Achieving That Perfect Silky Texture
The secret to that luxurious mouthfeel is simply heating the cocoa, sugar, and water just long enough for everything to dissolve completely, then letting it cool gently. Unlike the stuff you buy off the shelf, this is a true no corn syrup chocolate sauce option, meaning the texture comes purely from the right ratio of those simple ingredients cooking together. It’s velvety, smooth, and just wonderful.
Pantry Ingredients for Your Quick Cocoa Powder Syrup
You are going to love how few things you need for this! Seriously, it’s the definition of a pantry staple chocolate sauce recipe. All you need for a batch that makes about 1 1/2 cups is good sugar, that glorious cocoa powder, water, vanilla, and a tiny dash of salt to make the chocolate truly sing. For the absolute best result, make sure you use a high-quality, unsweetened cocoa powder. That’s where most of the deep chocolate flavor comes from, and we want this to taste incredibly rich!
- 1 cup granulated sugar
- 1 cup unsweetened cocoa powder
- 1 cup water
- 1 teaspoon vanilla extract
- 1 pinch salt
How to Prepare Your Easy Chocolate Syrup for Ice Cream
Alright, let’s get this wonderful chocolate syrup made! The beauty of this recipe is that it’s so fast—we’re looking at about ten minutes total cook time before it’s ready to be put into the jar. First, grab a medium saucepan and combine your sugar, cocoa powder, and water right in there. Pop it over medium heat. Now for the critical part: you absolutely must whisk this mixture constantly until the sugar dissolves and you just start to see it simmer. Don’t rush it!
Once it simmers, immediately turn the heat down to low. We need it to cook gently for about five minutes, stirring now and then. If you let it boil rapidly, you risk getting a grainy texture, and nobody wants that. When it looks slightly thicker, pull that pan right off the heat. Stir in your vanilla extract and that pinch of salt—that last little bit makes the chocolate flavor pop! Then, pour your warm sauce into a clean container. Don’t forget to check out my recipe for soft, chewy caramels next—it’s another fast favorite!
Crucial Step: Cooling the Homemade Chocolate Syrup
This step is non-negotiable if you want that thick, pourable, best homemade chocolate topping! You have to let the syrup cool completely down on the counter before you seal it up. As it cools, it thickens up beautifully. If you seal it hot, the condensation messes things up. Patience here ensures that perfect, dreamy finish the store brands just can’t copy.
Tips for Success Making Rich Chocolate Dessert Sauce
I’ve made this best chocolate syrup recipe probably a hundred times now, and I’ve learned a couple of little tricks that make sure it comes out perfect every single time. First, remember that water ratio I gave you? If you find your finished syrup is just a tiny bit too thick for your liking after it cools down, don’t panic! Just reheat a small portion of it and stir in an extra tablespoon or two of hot water until you hit that perfect pourable state. It saves the whole batch!
I remember one time I got distracted by the baby monitor and let the syrup simmer maybe two minutes too long—oops! It cooled down into something that was almost fudge-like, which was great for dipping strawberries but terrible for drizzling on my Sunday waffles. My fix? I gently whisked in about three extra tablespoons of boiling water right on the stovetop until it relaxed back into that gorgeous, glossy texture. It worked beautifully! You can see this kind of easy fix in action over at this great resource for toppings.
Creative Ways to Use Your Chocolate Milk Syrup From Scratch
Now that you have this incredible, deep-flavored chocolate syrup sitting in your fridge, the real fun begins! I love how versatile this homemade sauce is. Forget measuring out those little packets you buy at the store; this is the real deal for spiking any drink or topping any dessert you can dream up.
Naturally, it’s fantastic spooned generously over vanilla ice cream—it hardens just slightly into a wonderful shell. It’s also the required drizzler for my kids’ pancakes on Saturday morning. But honestly, one of my favorite ways to use it up is whenever I am making a batch of my homemade hot cocoa mix—a spoonful mixed in before adding the hot milk totally elevates the experience.
Think about coffee, too! A pump of this into your afternoon iced coffee turns it into a gourmet mocha instantly. It’s so easy, and you control exactly how sweet and chocolatey it gets.
Making the Ultimate Chocolate Milk with Homemade Chocolate Syrup
To make the best chocolate milk ever, skip the powdered mixes entirely. Just start with two tablespoons of this rich syrup in the bottom of a glass. Pour in about 8 ounces of cold milk—any kind you like! Whisk it vigorously or give it a good shake in a sealed jar. The flavor is so much fresher and deeper than anything you buy bottled; it’s just pure chocolate goodness!
Variations for Your Homemade Chocolate Syrup
One of the best things about making your own chocolate syrup at home is how flexible it is! I’m so happy to report that this core recipe, using just sugar, cocoa, water, vanilla, and salt, is naturally vegan and gluten-free. That means if you need a quick, reliable vegan homemade chocolate syrup recipe, you’ve already found it. No substitutions needed, which is a huge win in my book!
Now, if you’re looking to cut back on sugar, that’s where you’ll need to experiment a little. To aim for a sugar free chocolate syrup recipe, I suggest swapping the granulated sugar for a granular monk fruit blend or stevia blend that measures 1:1 with sugar. You might need slightly less liquid, so start with 3/4 cup of water and add more as needed during that cooking phase. My friend over at The Big Man’s World has done some dedicated testing on alternative sweeteners if you want deep diving into that idea!
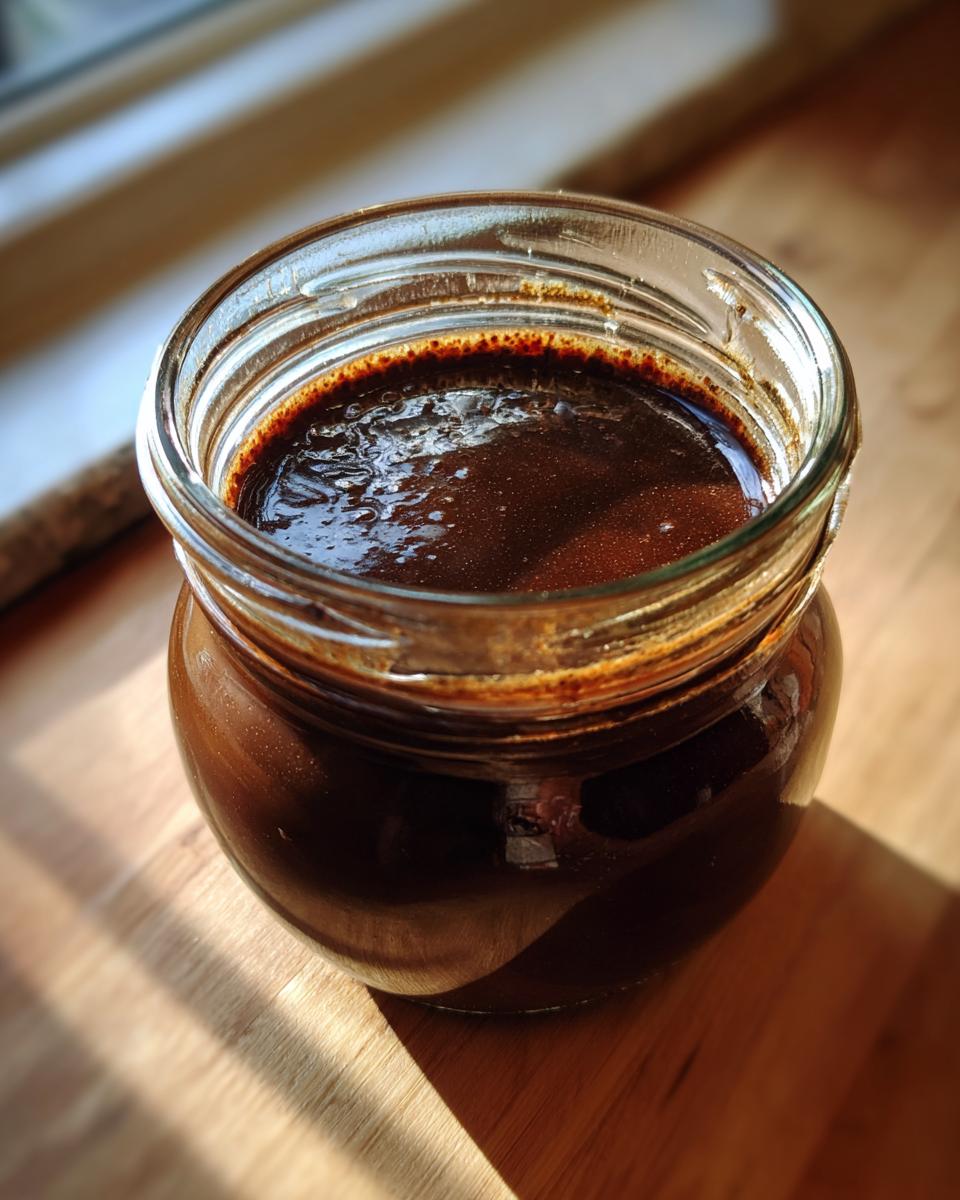
And don’t forget gift ideas! This makes a fantastic homemade holiday food gift syrup. Just cool it completely and pour it into a pretty glass jar with a nice ribbon. It’s such an easy, thoughtful way to share some homemade love. If you are looking for other ways to use sugar substitutes successfully, I shared my thoughts on sugar-free banana bread previously!
Storage and Shelf Life for Homemade Syrup
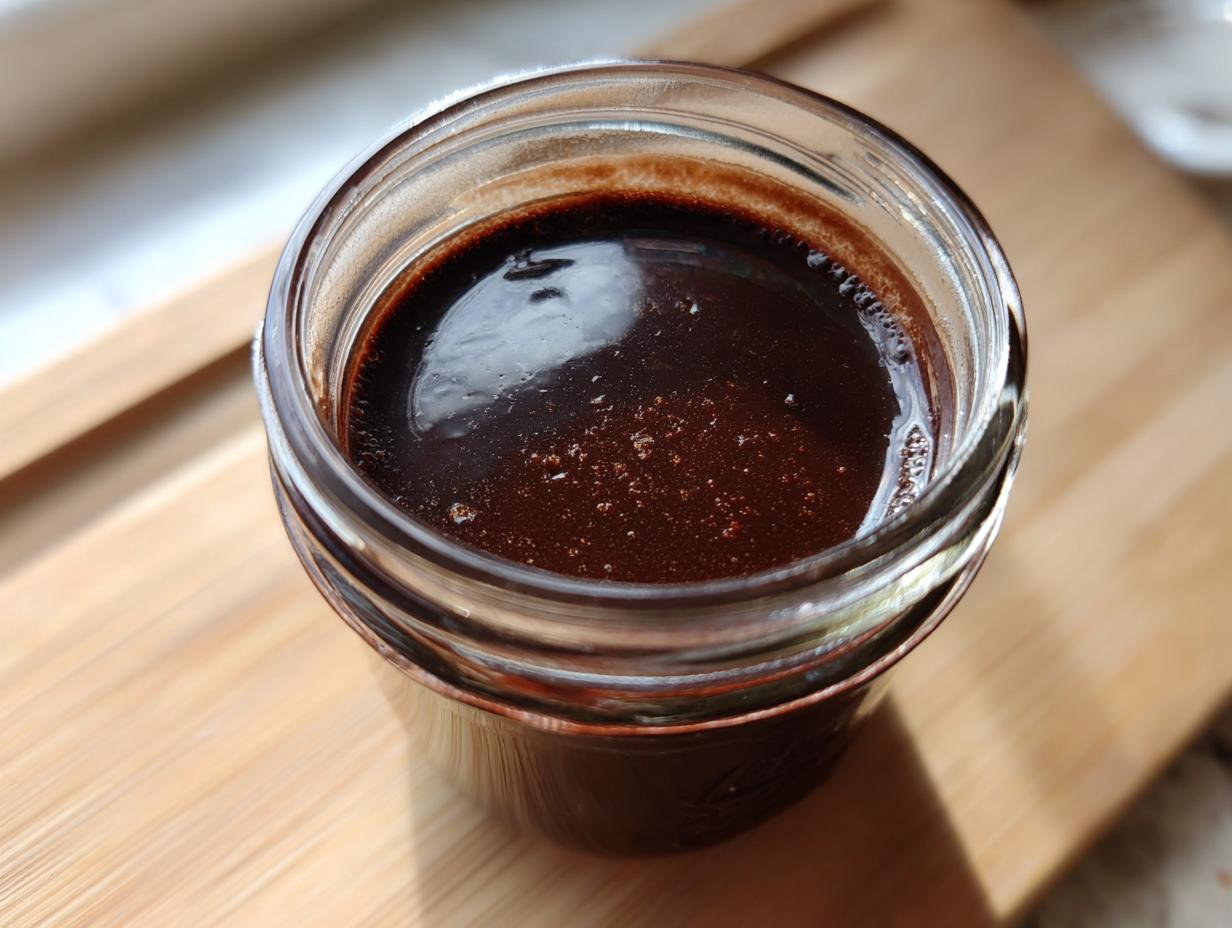
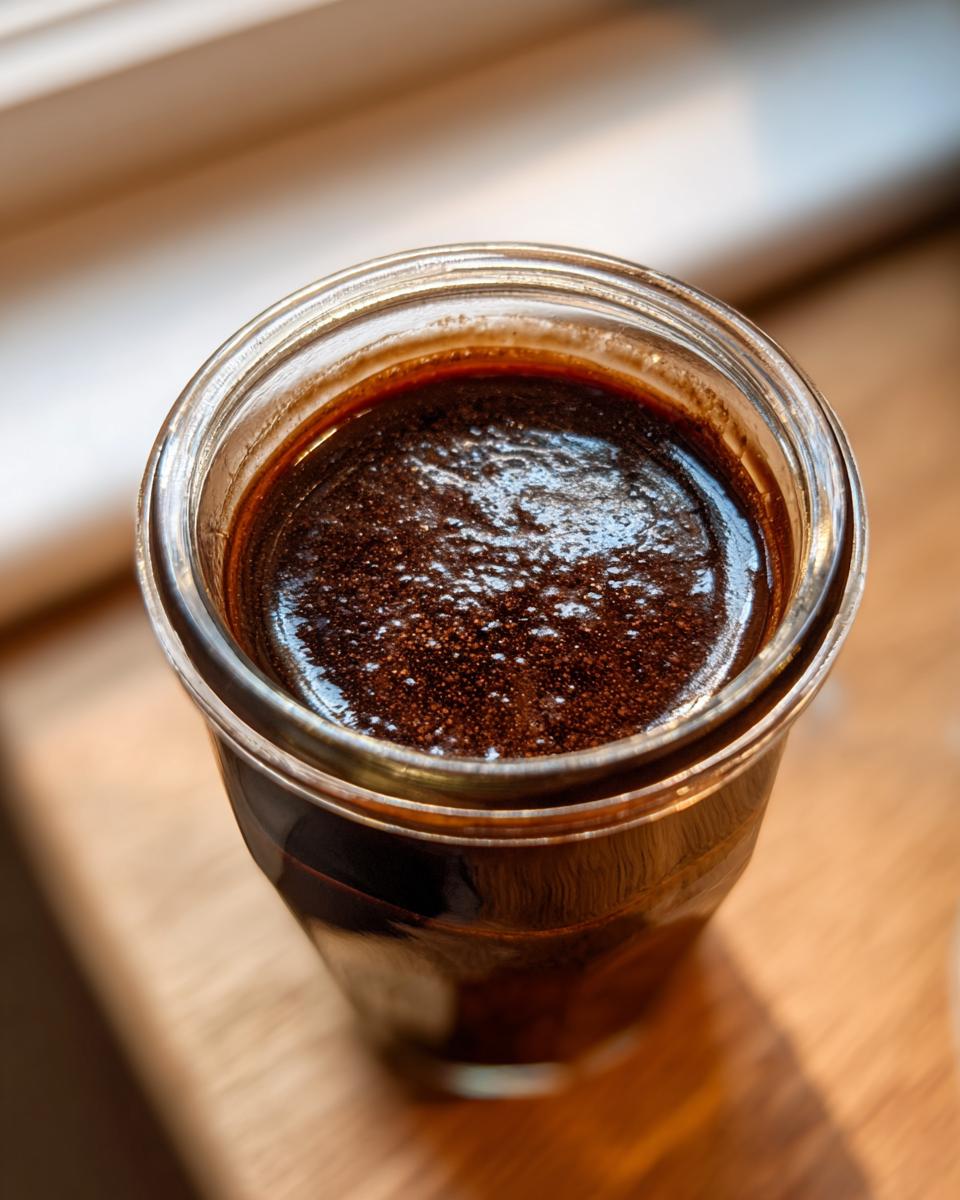
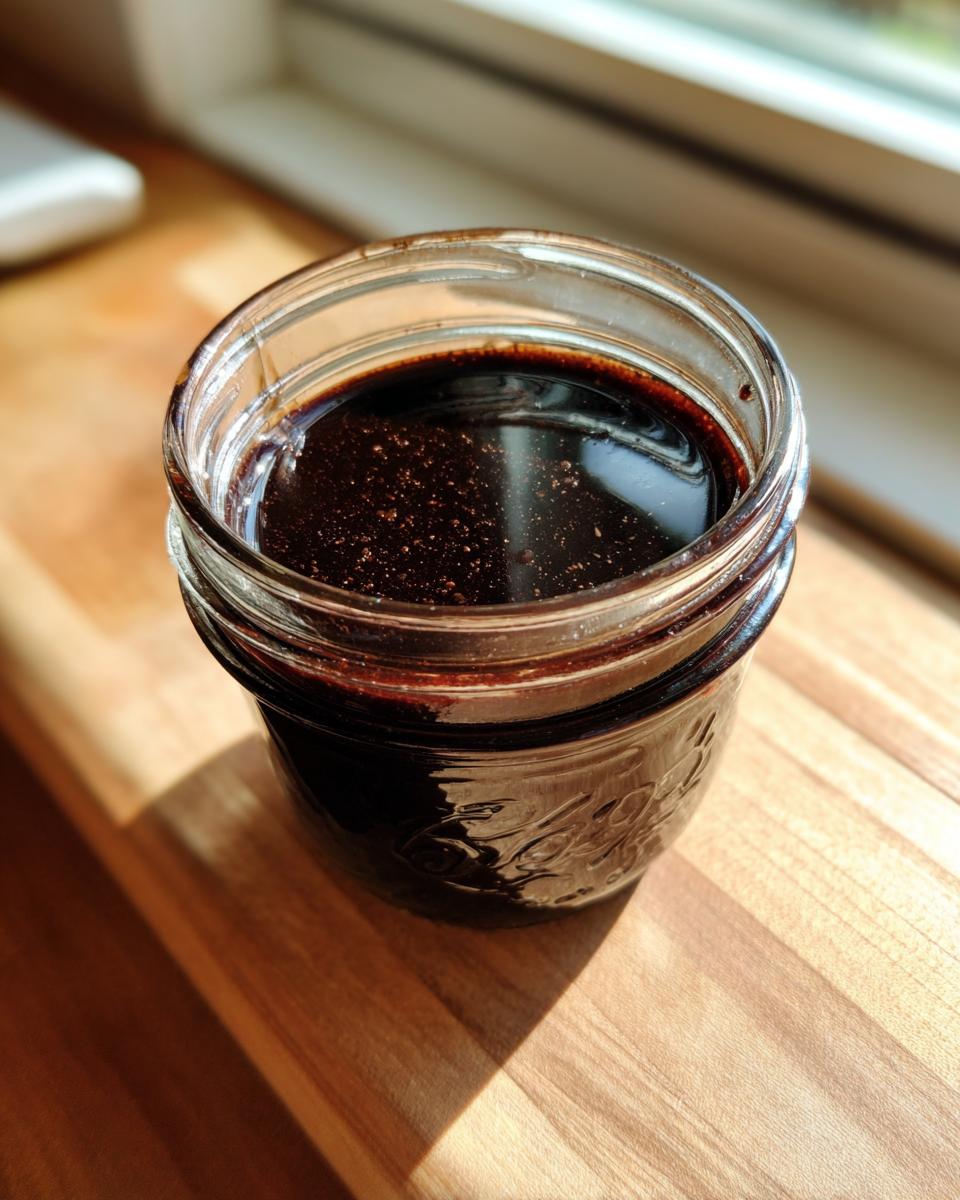
Because we skipped all those preservatives, this homemade goodness needs to be kept cozy in the fridge. Pop your cooled chocolate syrup into an airtight container—a mason jar works perfectly! It will happily last about two to three weeks in there. Just remember that colder temperatures make it stiffer, almost like a thick ganache.
If you pull it out and it feels too solid to drizzle, don’t worry! Just set the jar on the counter for about twenty minutes, or whisk in a tiny splash of warm water if you’re in a hurry. It snaps right back to that perfect pourable consistency we love. We have similar tips for keeping strawberry freezer jam tasting fresh, too!
Frequently Asked Questions About Making Chocolate Syrup
I always get questions whenever I post photos of this syrup on social media—it seems to cause a major craving! So, let’s tackle a few things readers commonly ask about getting the best chocolate syrup recipe right.
Can I use Dutch-process cocoa powder instead?
That’s a great question! Dutch-process cocoa is less acidic, which gives a darker, smoother chocolate flavor, but traditional unsweetened cocoa is what this recipe was originally tested with. If you use Dutch-process, you’ll get a slightly mellower flavor, but it absolutely still works beautifully for this quick cocoa powder syrup, so feel free to swap!
Troubleshooting Grainy Homemade Chocolate Sauce
Graininess is the enemy! This almost always happens if the sugar hasn’t completely dissolved before the mixture starts bubbling. You have to whisk constantly at the beginning until you can no longer feel any grit on the bottom of the pan. That initial constant attention when heating is what guarantees that smooth finish we are aiming for.
How do I adjust the thickness?
This is incredibly easy, even after cooling! If your syrup is too thick once refrigerated—maybe you like a real thin drizzle—just reheat about a cup of it gently and whisk in an extra tablespoon or two of hot water until it loosens up. If you want a super thick sauce, add just 3/4 cup of water instead of the full cup when you start cooking. It gives you total control over the consistency!
If you want to learn more about my testing process and why I choose certain ingredients, you can always read more about our philosophy here on the site!
Sharing Your Silky Chocolate Drizzle Recipe
Well, that’s it! You’ve officially conquered the store-bought shelf and created your own unbelievably silky chocolate drizzle recipe. I hope this tastes like pure comfort when you pour it over your next bowl of ice cream or stir it into your coffee. Since we’re all part of this big HearthBite kitchen family, I truly want to know what you think!
Please stop back by when you have a moment and leave a rating for the recipe. Also, drop a note in the comments below telling me what you used it for first! Did you make a killer glass of chocolate milk? Did you drizzle it over pancakes with berries? I absolutely love seeing how you bring these simple, comforting recipes into your own homes. If you shared a photo on Instagram, tag us so I can see your beautiful work! And if you ever have questions about technique or variations, feel free to reach out via my contact page—I’m always here to help troubleshoot!
PrintQuick & Easy Homemade Chocolate Syrup Recipe (Better Than Store-Bought)
Make rich, silky chocolate syrup from scratch in under 10 minutes using simple pantry staples like cocoa powder. This recipe produces a superior dessert topping perfect for ice cream, milk, and coffee.
- Prep Time: 5 min
- Cook Time: 5 min
- Total Time: 10 min
- Yield: About 1 1/2 cups 1x
- Category: Dessert Topping
- Method: Stovetop
- Cuisine: American
- Diet: Vegetarian
Ingredients
- 1 cup granulated sugar
- 1 cup unsweetened cocoa powder
- 1 cup water
- 1 teaspoon vanilla extract
- 1 pinch salt
Instructions
- Combine the sugar, cocoa powder, and water in a medium saucepan.
- Place the saucepan over medium heat. Whisk the mixture constantly until the sugar dissolves and the mixture begins to simmer.
- Reduce the heat to low and continue to cook, stirring occasionally, for about 5 minutes until the syrup thickens slightly. Do not boil rapidly.
- Remove the saucepan from the heat. Stir in the vanilla extract and salt until fully combined.
- Pour the hot syrup into a clean, airtight jar or container.
- Allow the chocolate syrup to cool completely to room temperature. It will thicken further as it cools.
- Store the finished syrup in the refrigerator.
Notes
- For a thinner syrup, use 1 1/4 cups of water instead of 1 cup.
- This homemade chocolate syrup is excellent for making chocolate milk or mochas.
- For a gift, bottle the cooled syrup and tie a ribbon around the jar.
- This recipe contains no corn syrup.
Nutrition
- Serving Size: 2 Tablespoons
- Calories: 95
- Sugar: 18g
- Sodium: 5mg
- Fat: 1g
- Saturated Fat: 0.5g
- Unsaturated Fat: 0.5g
- Trans Fat: 0g
- Carbohydrates: 25g
- Fiber: 1g
- Protein: 1g
- Cholesterol: 0mg