
Oh, those precious, perfectly cut sugar cookies! They look so beautiful on the cooling rack, but then you try to stack them for gifting, or maybe even breathe on them too hard, and—disaster! Smudges everywhere. It’s such a letdown when hours of careful cutting and baking get ruined by sloppy, soft cookie icing.
I know that feeling! That is exactly why I never use anything but this specific formula now. This is my foolproof, five-ingredient recipe for a sugar cookie icing that dries rock hard and comes out with this unbelievable, professional-looking, glossy finish. Honestly, it’s the backbone of my holiday baking now. It brings that simple sense of comfort and reliability back to decorating, and you will instantly feel more confident knowing your cookies are going to hold up beautifully.
- Why This Foolproof Cookie Icing Dries Hard and Glossy
- Gathering Your Ingredients for Perfect Cookie Icing
- How to Prepare Your Easy Cookie Icing That Sets Firm
- Tips for Success with Your Smooth Cookie Decorating Frosting
- Making Your Cookie Icing Look Professional and Glossy
- Storage and Reheating Instructions for Leftover Cookie Icing
- Troubleshooting Common Cookie Icing Issues
- Frequently Asked Questions About Royal Cookie Icing
- Serving Suggestions for Your Decorated Cookies
Why This Foolproof Cookie Icing Dries Hard and Glossy
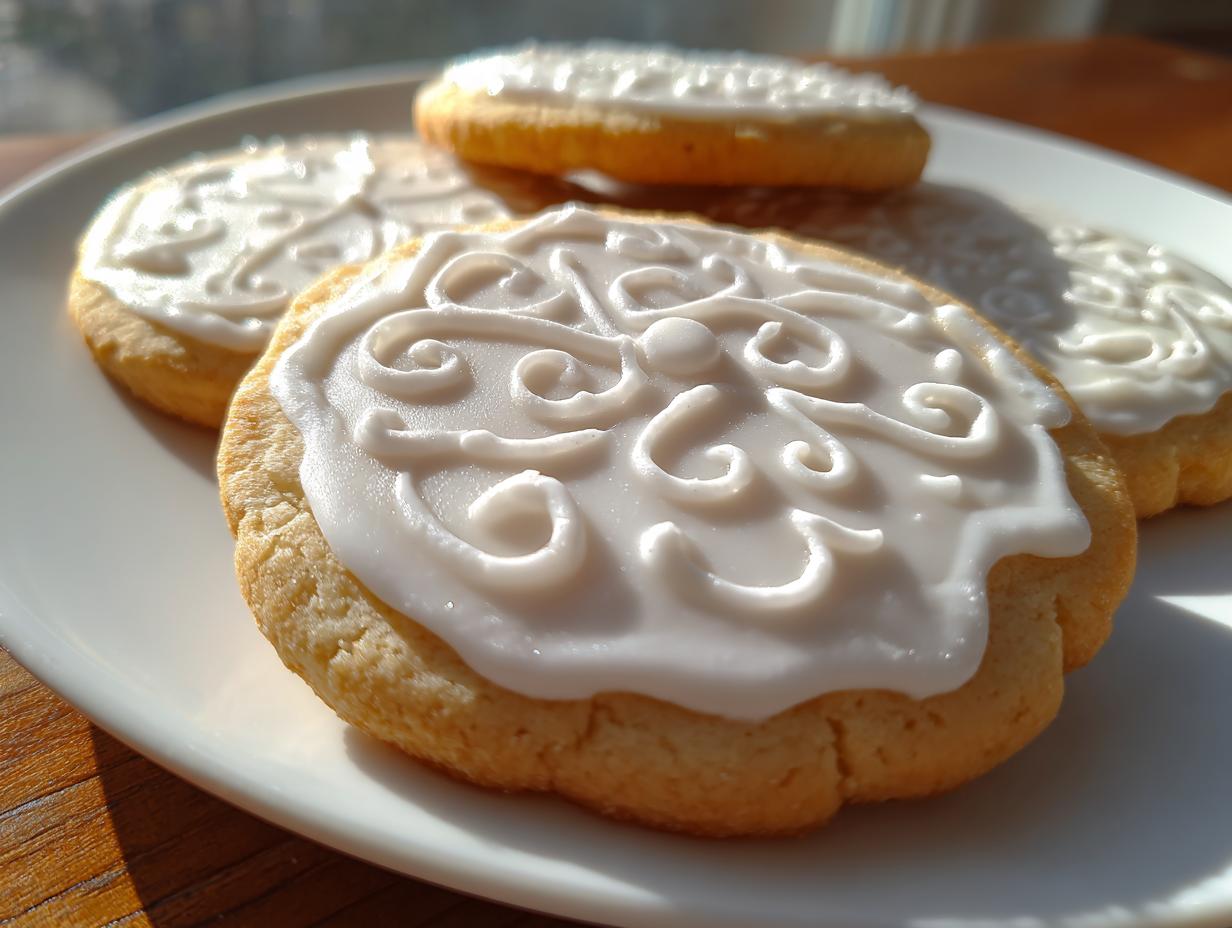
If you’ve ever tried making a simple glaze with just powdered sugar and milk, you know the disappointment! It stays soggy, it runs everywhere, and forget about gifting or stacking those treats. The magic in my formula isn’t luck; it’s science, and it comes down to what we use instead of plain milk. This isn’t just any frosting; this is the icing that hardens for cookies so you can finally achieve that sharp, photo-ready look.
When I talk about professional results, I mean the kind of smooth, durable finish you see in bakeries. This glossy cookie glaze recipe truly delivers. My older sister once tried to skip this essential ingredient and ended up with sticky messes for weeks until I made her whip up a batch of this reliable stuff!
The Secret Ingredient for Durable Cookie Icing
The real game-changer here is the meringue powder. It’s what elevates this from a simple sugar wash to something truly sturdy. Meringue powder contains stabilizers that create an incredibly strong base when mixed with water. This helps the final coating dry firm to the touch, giving you that satisfying, crisp shell instead of a soft, smudgy one.
Gathering Your Ingredients for Perfect Cookie Icing
I love that this recipe only calls for five core things! It keeps things so simple, which is exactly what we need when we’re busy baking for holidays or parties. Remember, the quality here matters because there are so few components. You need two cups of confectioners’ sugar that you’ll want to sift first—trust me on the sifting part! Then, grab three tablespoons of meringue powder. For flavor, we use one teaspoon of vanilla extract, though I use clear vanilla a lot. And finally, just six tablespoons of warm water brings it all together.
How to Prepare Your Easy Cookie Icing That Sets Firm
Okay, now that we have our star ingredients assembled, let’s talk about the actual making. This process is ridiculously fast—you’ll have your finished cookie icing ready to use in under ten minutes, which is fantastic when you’ve already spent hours baking dozens of cutouts!
First things first, we combine the dry things. Whisk that sifted confectioners’ sugar with your meringue powder right in the bowl until you think they are totally mixed. Then, you pour in the warm water and the vanilla (and if you’re going for that pure white look, toss in the clear vanilla too!). Now, this next part is crucial for that professional structure. You need to beat it! Start slow so it doesn’t make a powdered sugar cloud in the kitchen, but trust me, you need to run that mixer on medium-high for a solid five to seven minutes. That extended whipping time is what builds the strength and gloss into the base of your icing.
Achieving Piping Consistency for Outlining
Once you complete that mixing time, what you have is your piping consistency. This is the thick, wonderful stuff that holds its shape perfectly! You’ll know it’s right when it forms stiff peaks—meaning when you pull the whisk out, the icing stands straight up without flopping over. This is what you want for those beautiful, crisp outlines around the edges of your cookies.
Adjusting Cookie Icing for Flood Consistency
For filling in those outlined areas, we need the icing to relax a little. This is where knowing your piping consistency icing guide really helps! After you divide your batch, you thin the ‘flood’ portion down with water, just one teaspoon at a time. The key test is the ribbon drop—when the icing falls from your whisk, it should slowly sink back into itself after about ten seconds. If it disappears immediately, it’s too thin!

Tips for Success with Your Smooth Cookie Decorating Frosting
I want you to get that flawless, bakery style cookie icing look, so let’s chat about a few tricks I learned the hard way. First, remember how I mentioned using clear vanilla extract? I learned that lesson during a stressful Christmas Eve when I ran out! Regular vanilla extract has a brownish tint, and even a tiny bit ruins that pure, bright white base we want for decorations. Using the clear stuff ensures your icing stays sharp and beautiful for gifting. If you ever need a lighter frosting for a cake to go along with your decorated cookies, I have a great cream cheese frosting recipe, but for these cutouts, clear is the way to go!
Also, if you mix this up and it feels a little too thick for what you need—maybe it’s just not flowing right—don’t panic! Just add more sifted confectioners’ sugar, just a tablespoon at a time, until that thickness returns. On the flip side, if it’s too thin for piping? That means you need a little bit more sugar incorporated. For storage, remember this durable frosting keeps great at room temperature in an airtight container for up to two weeks. You just don’t want to put it in the fridge, which can cause condensation and ruin that beautiful, smooth cookie decorating frosting exterior.
Making Your Cookie Icing Look Professional and Glossy
Alright, once you have your piping consistency icing mixed up, you want to dive into the fun part: the color! My biggest piece of advice here is to only use gel food coloring, please! If you dump in regular liquid coloring, you’re essentially adding extra water, and that messes with the consistency we worked so hard to achieve. A tiny dot of gel goes a *long* way to give you vibrant color for your holiday cookie icing.
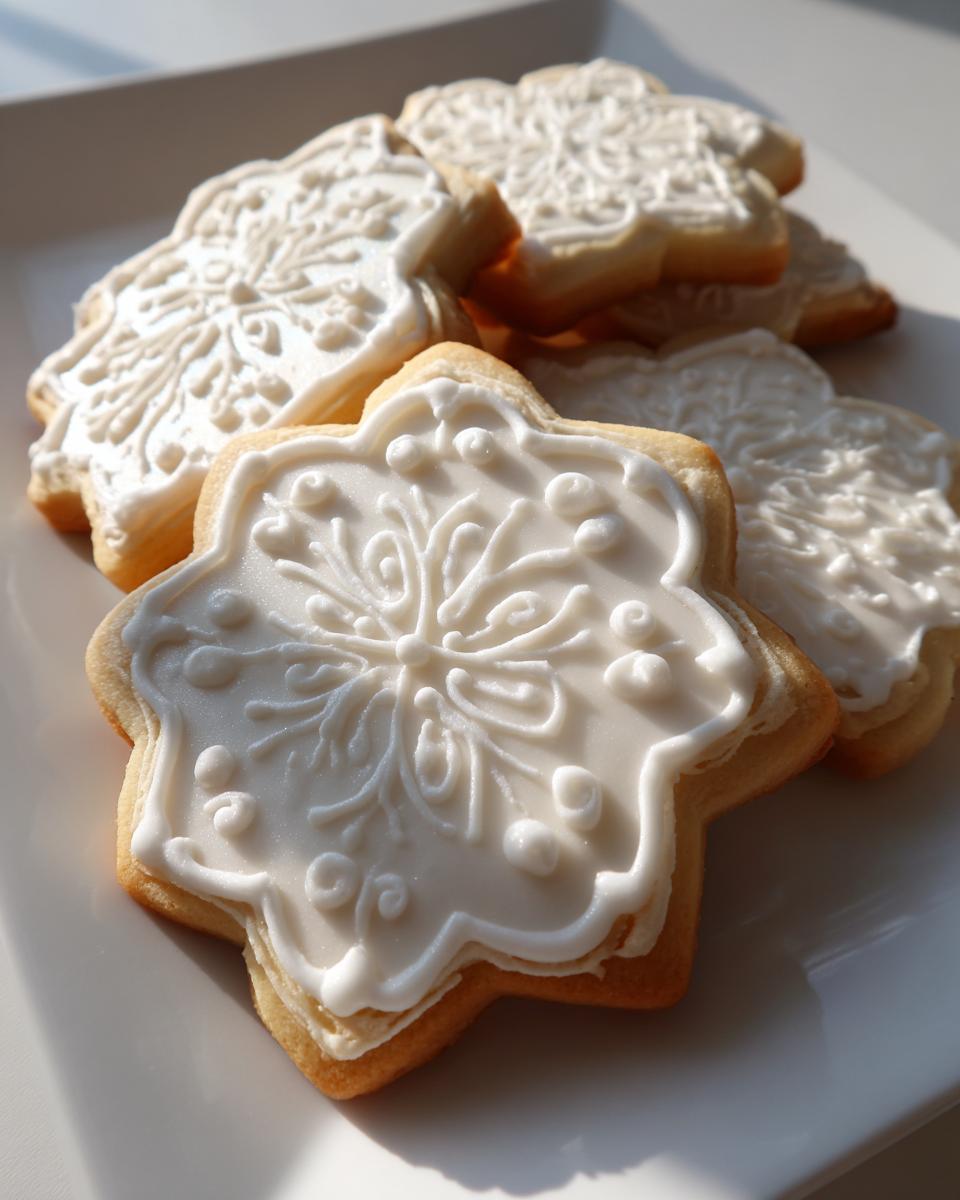
Here’s the professional technique that saves the day: Don’t flood right away! You must outline your cookie cookie with the stiff icing first, and then you let that outline dry for about fifteen to thirty minutes. This creates a little dam. Once that outline is set, you can pour your thinner flood icing inside, and it won’t run all over your counter. This two-step process is what gives you those super sharp, clean edges that make your cookies look like they came straight from a shop. If you want to see an amazing tutorial on getting those perfect lines, check out this great guide on no crack cookie icing recipe techniques.
Storage and Reheating Instructions for Leftover Cookie Icing
We all know that sometimes you just make too much icing! That’s the beauty of this recipe, though—it’s so easy to replicate, but if you have some leftover, don’t toss it! This is one of the things I love about using meringue powder; it makes for truly durable icing for decorated cookies that lasts. You simply need to keep it happy.
Store any unused icing in a basic airtight container right on your counter. That’s right, room temperature is the key! Do not, under any circumstances, refrigerate it. Putting it in the fridge causes condensation when you bring it back out, and that extra moisture will turn your perfectly firm icing into a sticky, sad puddle overnight. You can keep it good for up to two weeks if it stays sealed tightly. If it seems a little stiff when you pull it out, just stir in a half teaspoon of water until it’s smooth again. You might want to check out my notes on how I store my freezer jam; the airtight rule is just as important there!
Troubleshooting Common Cookie Icing Issues
Even with the best recipe, sometimes things go a little sideways, right? That’s normal! Baking is an art, and adjustments are part of the process, especially with humidity changing things constantly. If your thick icing for outlining seems too stiff to even come out of the bag, don’t just add huge splashes of water! Take a slow approach: work in half a teaspoon of warm water at a time, mixing really well after each addition until it loosens up just right.
Now, the scariest one is cracking. If your icing is drying chalky or cracking when dry, it usually means one of two things: you either added too much powdered sugar overall, or you didn’t mix it long enough initially. Taking those full five to seven minutes beating it really helps create a strong matrix, which is your best defense for a no crack cookie icing recipe. If cracks do show up, don’t fret! A light dusting of powdered sugar after it dries can sometimes mask those little imperfections for gifting.

Frequently Asked Questions About Royal Cookie Icing
It seems like every time I whip up a batch of this beautiful decorating icing, I get new questions from friends about the logistics! Since you want this cookie icing to be amazing for display and last long enough to ship, let’s cover a few of the most common things folks ask me about.
How long does this cookie icing truly take to harden completely?
This always depends on how thick you flood those cookies and how humid it is in your kitchen that day. If you’ve done a thin flood, you might be safe to handle them carefully after about six to eight hours. But honestly, if you want that rock-hard, shiny finish that won’t crack or smudge when you stack them up for the holidays, you just need to be patient. I always plan for them to sit out overnight. Letting them dry for a full 10 to 12 hours ensures they are completely cured.
Can I substitute the meringue powder in this cookie icing recipe?
This is a big one! Because this meringue powder icing recipe is designed to dry so firm, swapping out that meringue powder is tough. Traditionally, people used raw egg whites, and you certainly *can* use two fresh, large egg whites instead, but be warned: the consistency of egg whites can vary wildly, which means you’ll have to do a lot more adjusting with your water and sugar to nail that perfect flood. For the reliability I promise here, sticking with the meringue powder is my number one piece of advice for the best texture.
If you have any more questions about troubleshooting or setting up your next big decorating session, please feel free to reach out to me on my contact page!
Serving Suggestions for Your Decorated Cookies
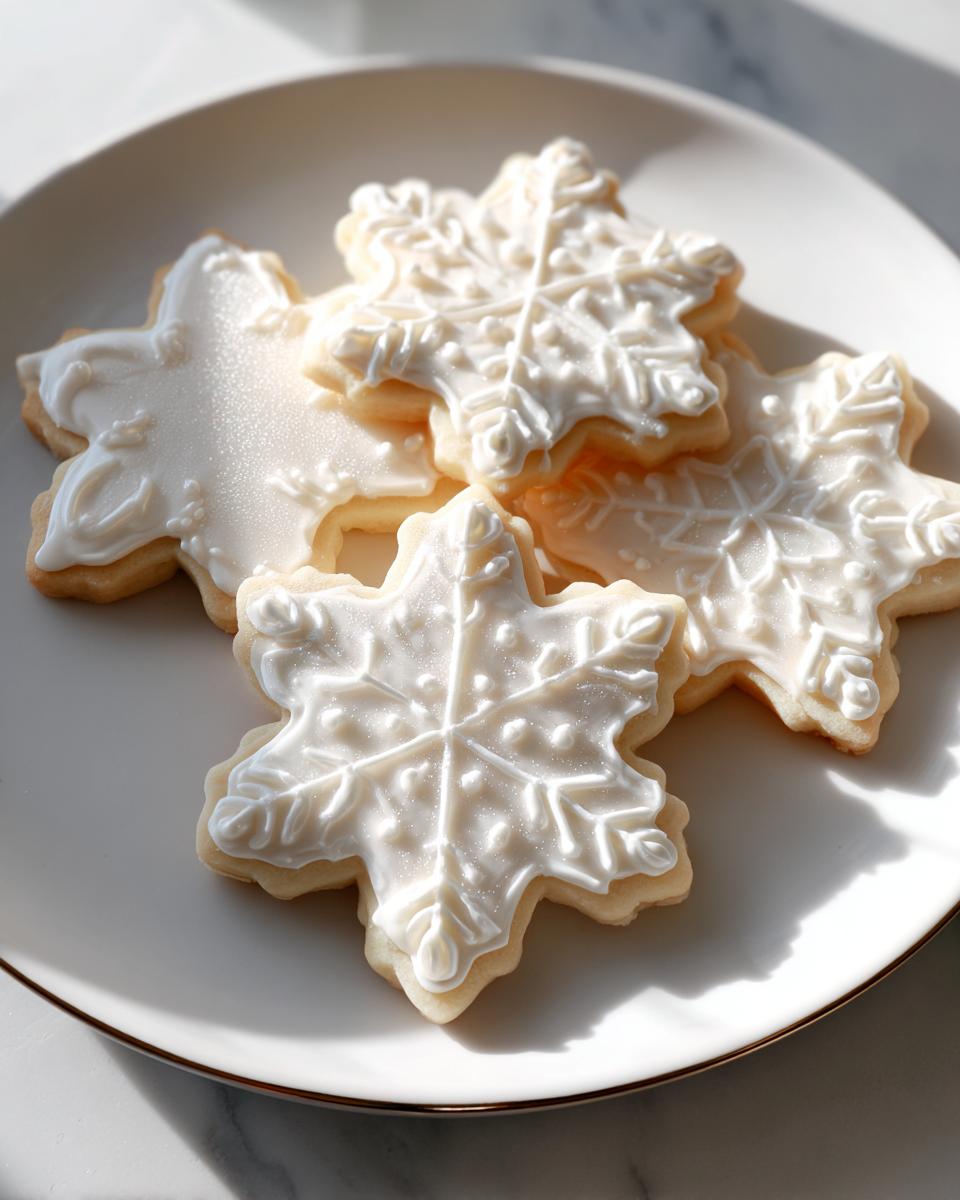
Now that you have this amazing, hard-setting cookie icing, the fun part is showing them off! Because this frosting gets so firm, these cookies are perfect for gifting—just put a little parchment between each layer, and they won’t stick. They look incredible stacked up on a festive platter for any party. How are you planning to display your beautiful, durable creations? Tell me in the comments!
PrintFoolproof 5-Ingredient Sugar Cookie Icing That Dries Hard and Glossy

Learn how to make the best sugar cookie icing that hardens perfectly for detailed decorating. This easy recipe results in a smooth, durable, and glossy finish ideal for holiday cookies and gifting.
- Prep Time: 10 min
- Cook Time: 0 min
- Total Time: 10 min
- Yield: Covers about 2 dozen medium cookies 1x
- Category: Baking
- Method: Mixing
- Cuisine: American
- Diet: Vegetarian
Ingredients
- 2 cups confectioners’ sugar, sifted
- 3 tablespoons meringue powder
- 6 tablespoons warm water
- 1 teaspoon vanilla extract
- 1/4 teaspoon clear vanilla extract (optional, for pure white color)
Instructions
- In a medium bowl, whisk together the sifted confectioners’ sugar and meringue powder until fully combined.
- Add the warm water and extracts to the dry ingredients.
- Using an electric mixer on low speed, mix until the ingredients are just combined. Scrape down the sides of the bowl.
- Increase the mixer speed to medium-high and beat for 5 to 7 minutes until the icing is very smooth, glossy, and holds stiff peaks. This is your piping consistency.
- To achieve a thinner ‘flood’ consistency for filling in large areas, add water one teaspoon at a time until the icing slowly falls from the whisk in a ribbon that disappears into the bowl after about 10 seconds.
- Divide the icing into separate bowls for coloring, if desired. Add gel food coloring sparingly and mix until the color is uniform.
- Use the stiff icing for outlining cookies and the thinner icing for flooding. Let the outlined layer dry for 15 to 30 minutes before flooding.
- Allow the decorated cookies to dry completely at room temperature for several hours, or overnight, until the icing is hard to the touch.
Notes
- For a pure white, bakery style cookie icing, substitute clear vanilla extract for regular vanilla extract.
- If your icing seems too thin for piping after mixing, add more sifted confectioners’ sugar, one tablespoon at a time.
- If your icing is too thick for flooding, add water, one half teaspoon at a time, until you reach the correct consistency.
- Store unused royal icing in an airtight container at room temperature for up to two weeks; do not refrigerate.
Nutrition
- Serving Size: 1/4 cup
- Calories: 180
- Sugar: 45
- Sodium: 15
- Fat: 0
- Saturated Fat: 0
- Unsaturated Fat: 0
- Trans Fat: 0
- Carbohydrates: 45
- Fiber: 0
- Protein: 1
- Cholesterol: 0