

Oh, the holidays! I love the magic, but let’s be honest—the baking marathon can feel just a little overwhelming sometimes, right? That’s why when I set out to create a truly fun, show-stopping Christmas treat for HearthBite, I knew it had to be incredibly simple. Forget the oven; these ultimate, easy, no-bake Grinch Oreo Balls are the answer! They deliver massive festive cheer with hardly any effort. My mother always said the best holiday memories were made when we weren’t stressed, and mixing up these little green gems proves exactly that point. If you want to know more about why we focus on simple, connected cooking here at HearthBite, check out our story!
- Why You Will Love These Easy Grinch Oreo Balls
- Gathering Ingredients for Your Grinch Oreo Balls
- The Simple Steps to Make Grinch Oreo Balls
- Expert Tips for Perfect Grinch Oreo Balls
- Making These No Bake Holiday Treats Ahead of Time
- Serving Suggestions for Your Festive Oreo Truffles
- Frequently Asked Questions About Grinch Oreo Balls
- Nutritional Estimate for Simple Holiday Truffles
- Share Your Whimsical Christmas Confections
Why You Will Love These Easy Grinch Oreo Balls
I truly believe these make the perfect addition to any holiday tray. They are reliable, which is everything when you’re juggling a million Christmas tasks. You need treats that just *work*, and these Grinch Oreo Balls certainly do!
- Totally No-Bake: We keep the oven off! Just crush, mix, roll, and chill. It’s simple holiday magic.
- Quick Assembly Time: Once you have your base ready, the dipping goes fast, especially if you have little helpers excited to stick on the hearts.
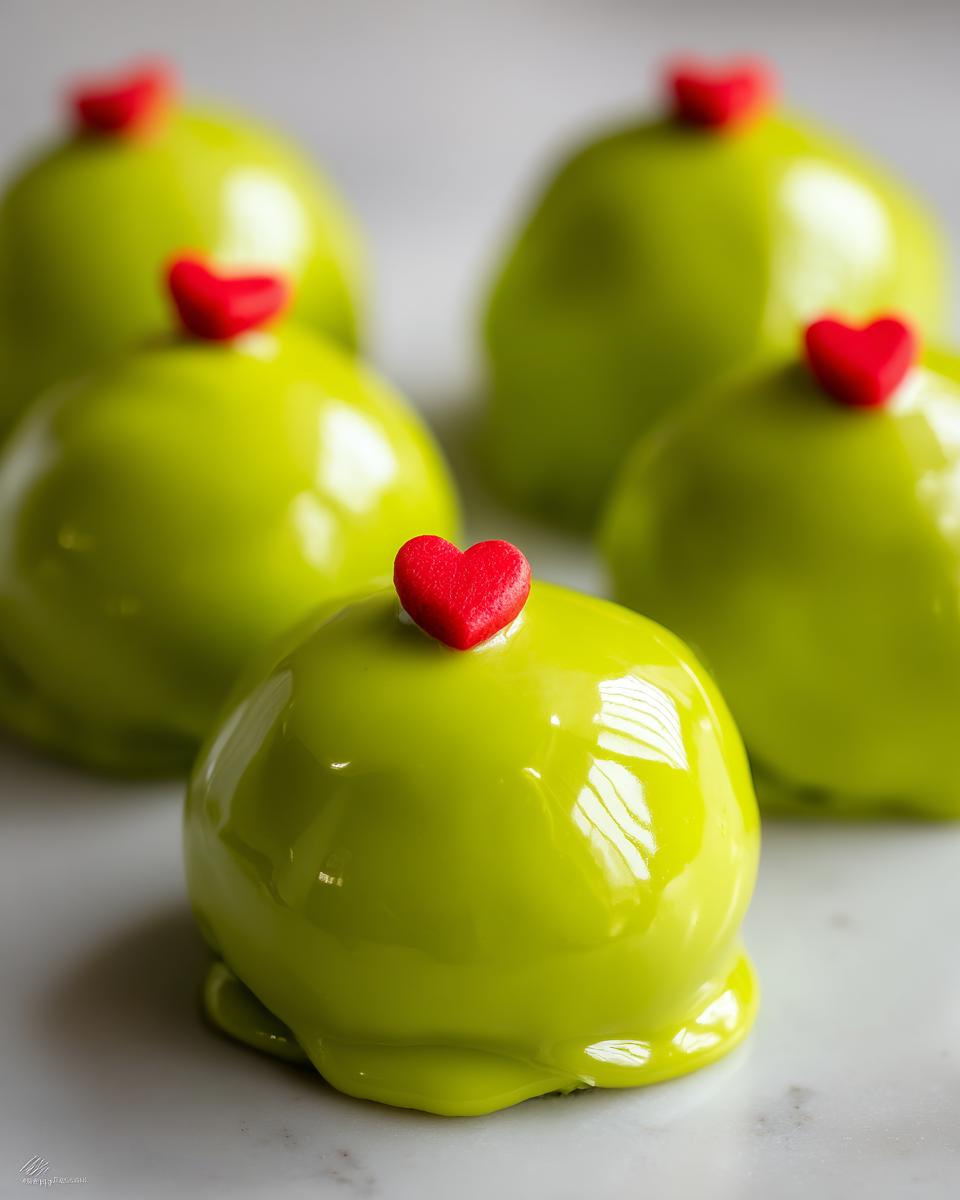
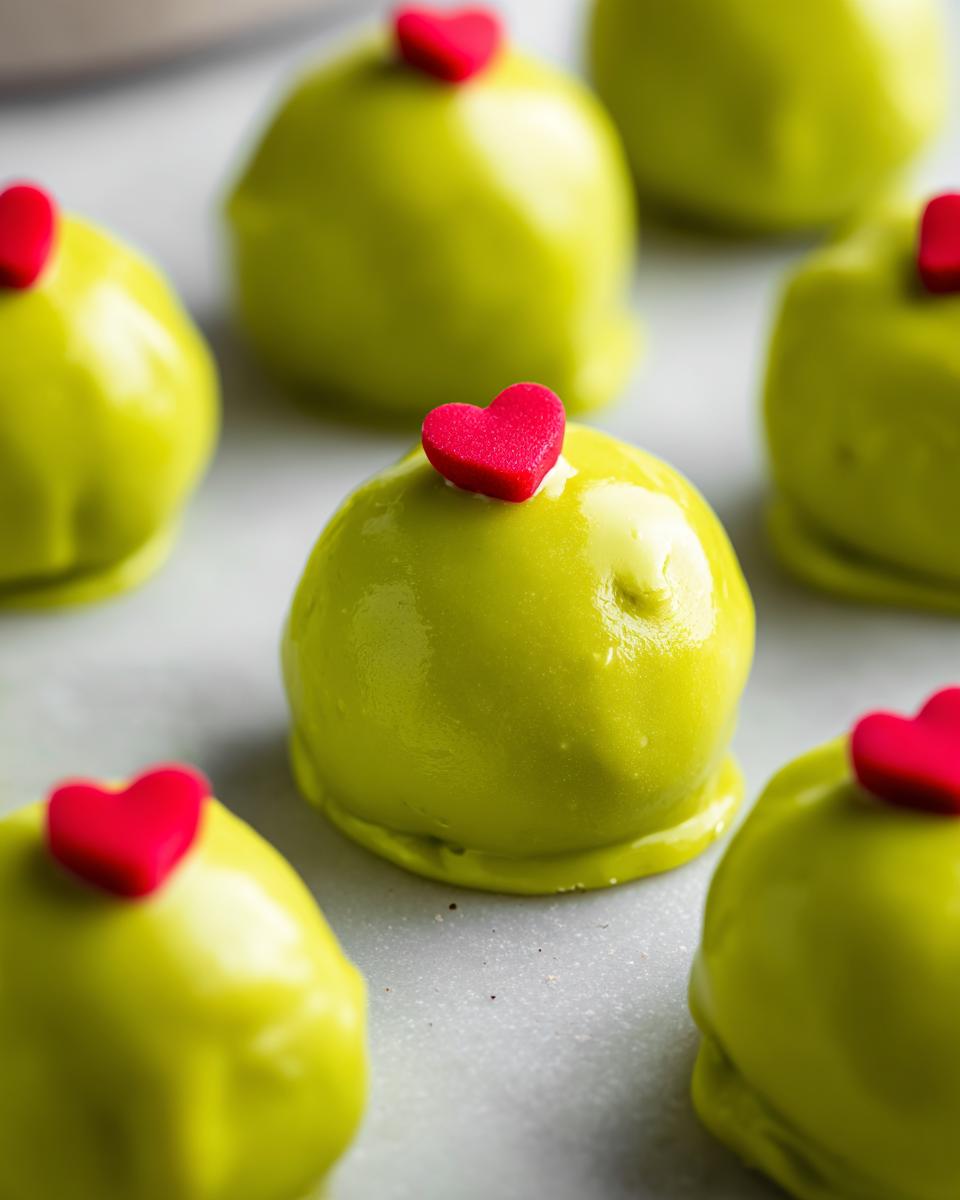
- The Festive Look: Honestly, nobody can resist that bright green color and the tiny red candy heart. They instantly elevate your whole dessert spread!
Gathering Ingredients for Your Grinch Oreo Balls
When it comes to my favorite Christmas cookie bars or these delightful truffles, having everything measured and ready is half the battle won. Since these are no-bake, the quality of what goes in really shines through. Don’t skip the chilling step later, but for now, let’s get our shopping list finalized. Trust me, you want the right green for this recipe; it makes all the difference in capturing that Grinchy look! These ingredients come together so beautifully, much like our classic Christmas cookie bars.
Essential Components for Grinch Oreo Balls
Here is what you need to grab. Make sure that cream cheese is *fully* softened—it needs to blend seamlessly!
- One package (it should be around 14.3 ounces) of regular Oreo cookies. Yep, the whole package!
- 8 ounces of cream cheese, softened completely to room temperature.
- 12 ounces of green candy coating wafers. I always recommend these over trying to dye white chocolate if you want that truly vibrant, saturated Grinch green!
- We add just a touch of coconut oil (optional, but it helps the dipping wafers melt super smooth).
- And finally, the most important part for the look: those tiny red heart sprinkles.
The Simple Steps to Make Grinch Oreo Balls
Making these adorable holiday treats is genuinely straightforward! We take the classic Oreo ball concept, add that festive green flair, and we never even turn on the oven. It’s a perfect recipe structure: get the base mixed, chill it so it holds its shape, and then dip and decorate. It’s honestly easier than our simple Cool Whip cookies! Follow these stages carefully, and you’ll have picture-perfect sweets in an hour.
Preparing the Oreo Base and Chilling
First things first, we need crumbs! If you have a food processor, use that—pulse those Oreos until they are fine crumbs. If you’re like me sometimes and don’t want to drag out that big appliance, just toss them into a really sturdy zip-top bag and take a rolling pin to them until they are pulverized. No big chunks allowed!
Toss those fine crumbs into a bowl, add that softened cream cheese, and mix it up. You need to get in there with clean hands and really work it until it’s one uniform, thick dough. You should get about 24 to 28 little balls, about an inch each. Now, pay close attention to this part: those balls need a good 30 minutes in the fridge on a parchment-lined pan. This chilling time is absolutely mandatory so they don’t fall apart when they hit the warm coating later!
Melting the Green Coating for Your Grinch Oreo Balls
While your little dough balls are chilling, we tackle the colorful shell. Using those green candy coating wafers is the secret to that bright color we need. Put them in a microwave-safe bowl. If they seem stiff, throw in just a tiny splash of coconut oil—it makes them glossy. Microwave them in short 30-second bursts, stirring really well between each burst. Seriously, don’t zap it for a full minute! You want smooth, fluid chocolate, not scorched chocolate.
Dipping and Adding the Signature Grinch Heart Detail
Time for the fun part! Pull those cold balls out of the fridge. Work one at a time so the coating stays perfectly liquid. Drop the ball into the melted green coating and use a fork to roll it around until it’s completely covered. Lift it out, gently tap the fork on the edge of the bowl—we don’t want a messy-looking base, just a nice smooth shell. Right after you tap off the extra, immediately press one tiny red heart sprinkle right on top! Do this quickly because the coating sets fast, and that little heart needs something wet to stick to. Then, place it back on your parchment paper to set up.

Expert Tips for Perfect Grinch Oreo Balls
I’ve made stacks of these Grinch Oreo Balls over the years for parties, and I’ve learned a few things that can save you a major headache, especially when you’re juggling a million things in December. These tips are all about ensuring that beautiful, bright green finish looks professional, even though the recipe is super simple underneath!
My firmest rule, which is something I learned when testing out different holiday truffles like my famous peanut butter balls recipe, is about the coating. Look, you can try to dye white chocolate chips green, but honestly? You’ll end up adding so much dye, it messes with the texture and it never gets that truly shocking, cartoonish green color we want. For the brightest look, stick to pre-colored green candy coating wafers if you can find them. That’s the way to go for max Grinch impact!
Now, let’s talk about dough consistency, because this happens way more often than I admit! If your Oreo and cream cheese mixture feels too soft to roll into neat little balls—maybe your cream cheese wasn’t quite cold enough when you softened it, or your kitchen is just too warm—don’t panic and dump in more Oreos! That will just make them dense and dry later.
Instead, just pop the whole bowl of mixed dough back into the refrigerator. Give it an extra 15 minutes, maybe even 20. Cold dough is your best friend for clean rolling, and getting those round spheres is crucial for even dipping later on. A little patience during the chilling phases makes all the difference between a cute truffle and a weirdly shaped blob!
One last thing: storage. These taste best when they are fresh, but they hold up wonderfully. Keep your finished ones in an airtight container in the fridge. They stay good for almost a week, which is great if you need to make them partly ahead for a big Christmas dessert table.
Making These No Bake Holiday Treats Ahead of Time
Oh, preparing ahead for the holidays is my absolute lifesaver. When you’re hosting or going to a big gathering, knowing your Grinch Oreo Balls are already done and waiting patiently in the fridge is such a comfort. Since these are fantastic No Bake Holiday Treats, they are built for making in advance, and that’s a huge win in my book.
I always like to make a big batch of these a few days before Christmas—maybe even a week ahead! You can definitely make the core cookie and cream cheese balls following the rolling and chilling steps, but the very best way to store them is after they are completely coated and decorated. Once that green shell is set, they firm up beautifully and stay perfect.
Store your finished, green-coated beauties in a good, airtight container. They are happiest sitting in the refrigerator, where they will hold their shape perfectly for about a week. The high sugar content of the coating keeps everything stable, just like my easy no-bake chocolate coconut balls. That means you can check them off your to-do list early!
Now, can you freeze them? Yes, you absolutely can! This is great if you’re prepping weeks ahead. Lay the finished truffle balls in a single layer on a baking sheet and pop that in the freezer until they are solid pebbles. Then, you can transfer them to a freezer-safe bag or container. They should last about a month tucked away in the deep freeze. When you want to serve them, just take them out and let them thaw slowly overnight in the fridge before setting them out on the counter for your party. They come back to life perfectly!
Serving Suggestions for Your Festive Oreo Truffles
Okay, so you’ve made your spectacular Grinch Oreo Balls! Now, how do we present these cute little guys so they truly steal the show at your holiday party? Presentation matters just as much as flavor, especially when you are going for that whimsical Christmas vibe. These aren’t just desserts; they are tiny bits of edible holiday décor!
When you build your dessert platter, try mixing textures. Since these truffles are smooth and round, they look fantastic next to something with a bit of crunch or a different shape. Think about lining them up on a white platter—the green really pops against the bright white background. I often place them standing up in little miniature cupcake liners that are red or striped just to add more color contrast. They become instant Christmas Party Desserts!

But my absolute favorite way to serve them, especially on a cold December evening, is right next to a warm mug of something cozy. These little orbs pair perfectly with a decadent hot beverage because the rich chocolate crunch feels so comforting. If you haven’t made my recipe for homemade hot cocoa mix yet, you should check it out—it’s like drinking a cloud! (My signature hot cocoa mix really brings out the Oreo flavor in these truffles, trust me.)
They are also perfect little additions to gift baskets. Package just four or five of these Festive Oreo Truffles in a clear cellophane bag tied with a thick red ribbon, and you have an instant, thoughtful neighbor gift ready to go. No fuss, maximum holiday impact!
Remember, these cute little Bite Sized Holiday Sweets look great on their own, but pairing them with other festive treats—maybe some peppermint bark or simple sugar cookies—makes your whole dessert table look professionally curated without demanding hours of baking time!
Frequently Asked Questions About Grinch Oreo Balls
I totally get it—when you’re making a new holiday staple, you always have a few questions buzzing around. It’s important to me that you feel totally confident about making these treats, whether this is your first time making Easy Grinch Desserts or your twentieth! I’ve gathered the questions I always seem to get when I’m talking about these gorgeous Festive Oreo Truffles.
Can I use different types of Oreos for these Easy Grinch Desserts?
That is such a great question! The standard chocolate Oreo is what I always recommend because it gives you that classic chocolatey center that beautifully complements the sweet cream cheese and the outer candy shell. However, you absolutely can experiment if you want to spice things up!
I know some people love using Red Velvet Oreos for an extra festive touch—it’s just so fun! If you swap them in, the texture of the base dough stays nearly identical, though you might get a very subtle flavor change. Stick to about the same amount (one standard package worth) and you’ll be totally fine with the structure of your Oreo Cream Cheese Balls Recipe.
The only thing I’d caution against is using Oreos with heavy cream fillings that aren’t standard, unless you are okay with changing the overall flavor profile dramatically. For the intended look, stick to plain or similarly flavored chocolate bases.
What is the best way to get smooth green coating for my Festive Oreo Truffles?
Smooth coating is the secret weapon for making these look professional! The biggest tip I discovered, which I mentioned before, is almost always bypassing white chocolate chips. White chocolate is temperamental, and when you add the green food coloring to it, it often seizes up or gets thick and clumpy quickly. That leaves you with a lumpy shell on your Simple Holiday Truffles.
Instead, look for specialized green candy coating wafers—the ones labeled for melting. They contain stabilizers that keep them silky smooth after melting, even if you need to reheat them a touch. If you *must* use white chocolate chips or regular melting chocolate because the wafers aren’t available, you need to thin it just slightly. A teaspoon of coconut oil or vegetable shortening mixed in when you melt it will go a long way toward achieving that beautiful, glossy finish for your Christmas Oreo Balls. Gentle reheating in the microwave is key; slow and steady always wins the race for a perfect dip!
If you need more general tips for coating and storage, I always suggest checking out my notes section for the full rundown! If you have other questions about making these quick Christmas snacking treats, feel free to leave a comment below!
Nutritional Estimate for Simple Holiday Truffles
Now, before you stress about this part—I want to remind you that when enjoying seasonal treats like these Simple Holiday Truffles, we bake for joy and connection, not calorie counts! However, for those of you curious about what goes into one delicious little snowball, I’ve pulled the estimated nutritional breakdown from the recipe ingredients. Please remember that these numbers are just a guideline, as the exact counts will vary based on the specific brand of Oreos or coating you choose. This data is based on making approximately 24 balls.
Think of this less as a strict count and more as an interesting side note to the fun you’re having!
- Serving Size: 1 ball (one glorious Grinch Oreo Ball!)
- Calories: Estimated around 180 calories
- Sugar: Roughly 18 grams
- Fat: About 10 grams total
- Carbohydrates: Around 22 grams
- Protein: About 2 grams
- Cholesterol: Near 10 milligrams
When you’re serving these up at your Christmas party, just know you are offering a sweet, rich bite of holiday happiness built around chocolate and cream cheese. That’s what matters most on the dessert table this time of year!
Share Your Whimsical Christmas Confections
Now comes my favorite part! You’ve made these adorable, bright green Grinch Oreo Balls, and I just know they look spectacular on your table. The HearthBite philosophy is all about sharing that joy, that sense of connection that comes from making something delicious with your own hands. So please, don’t keep all that green sparkle to yourself!
I absolutely adore seeing how you bring these festive treats to life in your own kitchens. Did your kids insist on putting the hearts on crooked? Did you try them with Red Velvet Oreos? Tell me everything! Head down to the comments section below and leave me a rating—five stars if you think these are the best Easy Grinch Desserts you’ve ever made!
If you snap a picture of your finished platter, I’d be thrilled if you shared it on social media. Tag me so I can see your beautiful work! Using these simple, joyful recipes is how we build those cherished memories—just like my own mother taught me. If you need help getting in touch about anything related to HearthBite, you can always find us on our contact page.
Making a batch of these No Bake Holiday Treats instantly makes any gathering feel cozy and fun. Thank you so much for letting my family’s recipe join yours this holiday season. Happy baking (or, well, happy *no*-baking!)!
PrintThe Ultimate No-Bake Grinch Oreo Balls: Easy Festive Christmas Treat

Make these adorable Grinch Oreo Balls for a festive holiday dessert. This no-bake recipe uses crushed Oreos and cream cheese, coated in bright green candy melts, and topped with a small red heart sprinkle. They are simple to prepare and perfect for Christmas parties or gifting.
- Prep Time: 25 min
- Cook Time: 5 min
- Total Time: 60 min
- Yield: 24 servings 1x
- Category: Dessert
- Method: No-Bake
- Cuisine: American
- Diet: Vegetarian
Ingredients
- 1 package (14.3 oz) Oreo cookies (about 36 cookies)
- 8 oz cream cheese, softened
- 12 oz green candy coating wafers (or white chocolate chips dyed green)
- 1 teaspoon coconut oil (optional, for smoother melting)
- Red heart sprinkles (for the Grinch heart detail)
Instructions
- Place the Oreo cookies into a food processor and pulse until you have fine crumbs. If you do not have a food processor, place them in a sturdy zip-top bag and crush them with a rolling pin.
- Transfer the Oreo crumbs to a medium bowl. Add the softened cream cheese. Mix with a rubber spatula or clean hands until the mixture is completely combined and forms a thick dough.
- Roll the dough into small balls, about 1 inch in diameter. You should get approximately 24 to 28 balls. Place the balls on a baking sheet lined with parchment paper.
- Chill the Oreo balls in the refrigerator for at least 30 minutes. This step helps them firm up before dipping.
- While the balls chill, prepare the green coating. Place the green candy coating wafers (and coconut oil, if using) in a microwave-safe bowl. Microwave in 30-second intervals, stirring well after each interval, until the coating is smooth and fully melted.
- Remove the chilled Oreo balls from the refrigerator. Working with one ball at a time, drop it into the melted green coating. Use a fork or a dipping tool to fully submerge the ball.
- Lift the ball out, gently tapping the fork on the side of the bowl to allow excess coating to drip off.
- Place the coated ball back onto the parchment-lined baking sheet. Immediately press one red heart sprinkle onto the top center of the wet coating to create the Grinch heart.
- Allow the Grinch Oreo Balls to set completely at room temperature, or speed up the process by chilling them for another 15 minutes.
Notes
- For the brightest green color, use green candy coating wafers instead of trying to dye melted white chocolate.
- If the dough feels too soft to roll, chill it for an extra 15 minutes before forming the balls.
- Store finished Grinch Oreo Balls in an airtight container in the refrigerator for up to one week.
Nutrition
- Serving Size: 1 ball
- Calories: 180
- Sugar: 18
- Sodium: 110
- Fat: 10
- Saturated Fat: 6
- Unsaturated Fat: 4
- Trans Fat: 0
- Carbohydrates: 22
- Fiber: 0
- Protein: 2
- Cholesterol: 10